- Home
- /
- Article

Thanks for your feedback.

 In this article
 Feedback?
Set up Multi Camera Director and configure Cisco PTZ 4K white balance for supported multi-camera rooms.
Set up Multi Camera Director
Set up Multi Camera Director after the multi-camera hardware is installed.
- Use a Room Navigator to access Device settings.
- Prepare the calibration board from cs.co/calibration. Print it on A4 or larger rigid material, such as foam board.
| 1 |
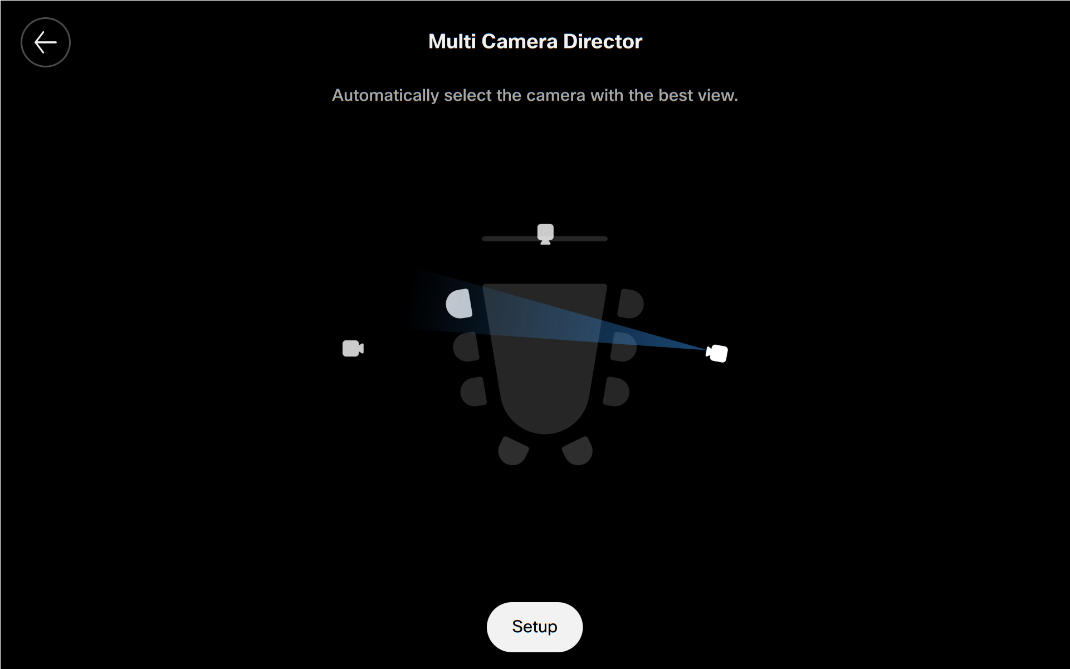
In Device settings, select Camera. Toggle on Multi Camera Director on the Room Navigator and follow the setup wizard. 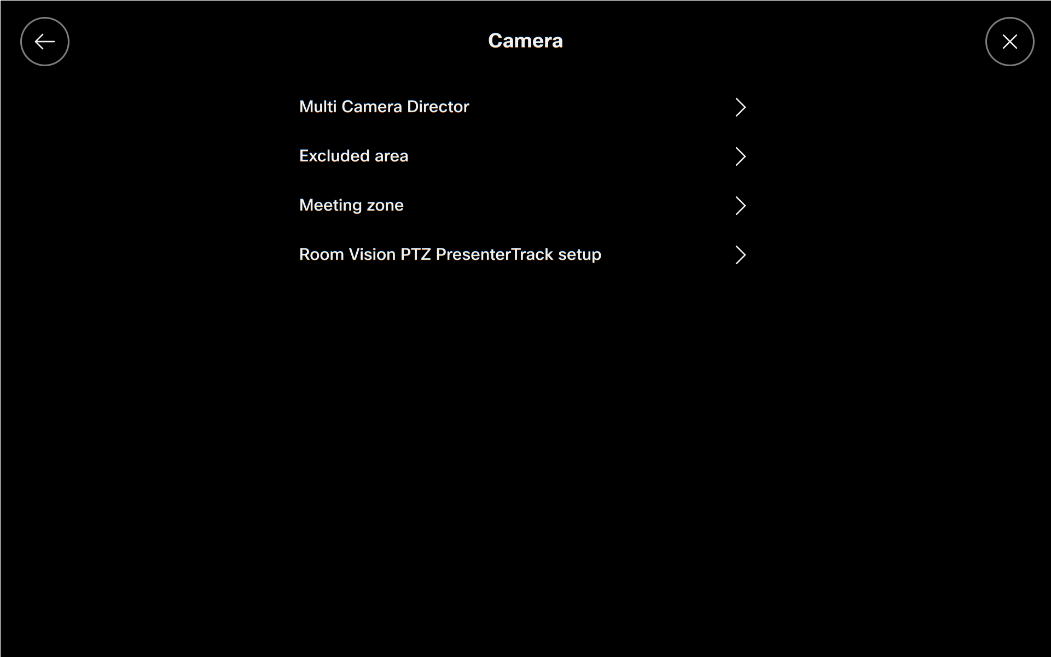
|
| 2 |
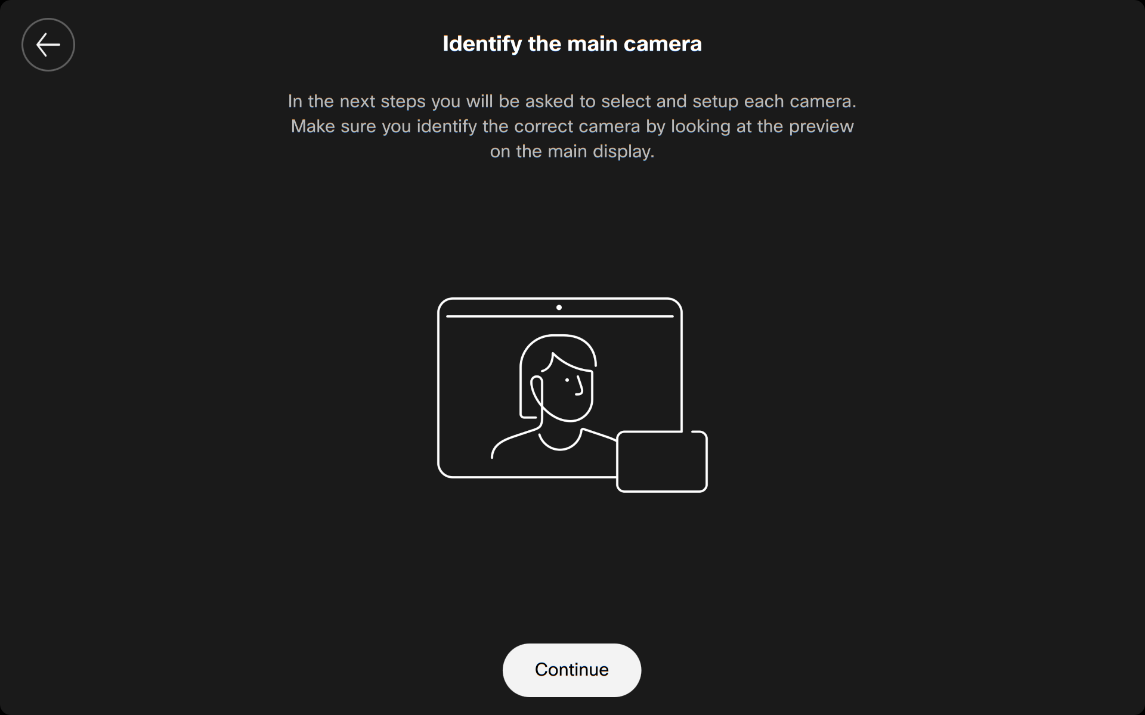
Identify the main camera by looking at the preview on the main screen. 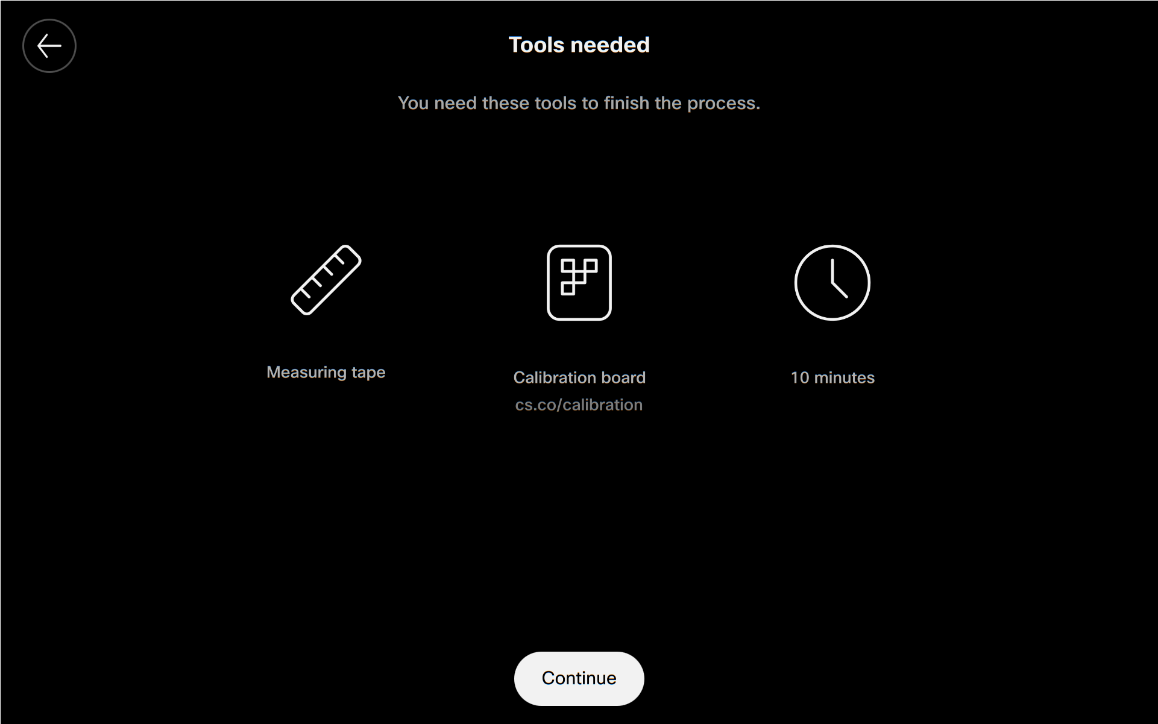
|
| 3 |
Select the main camera and select Continue. 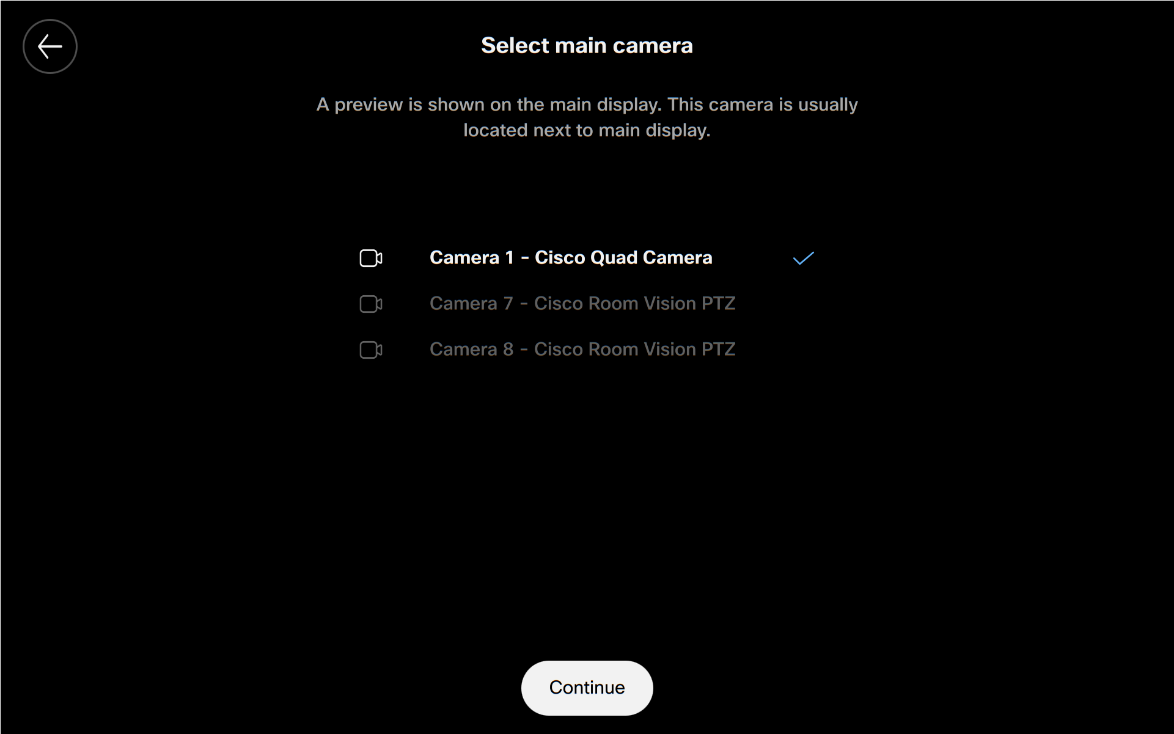
|
| 4 |
Measure the height from the floor to the center of the camera lens. Enter the height in centimeters or inches when prompted. Repeat this measurement for all cameras. 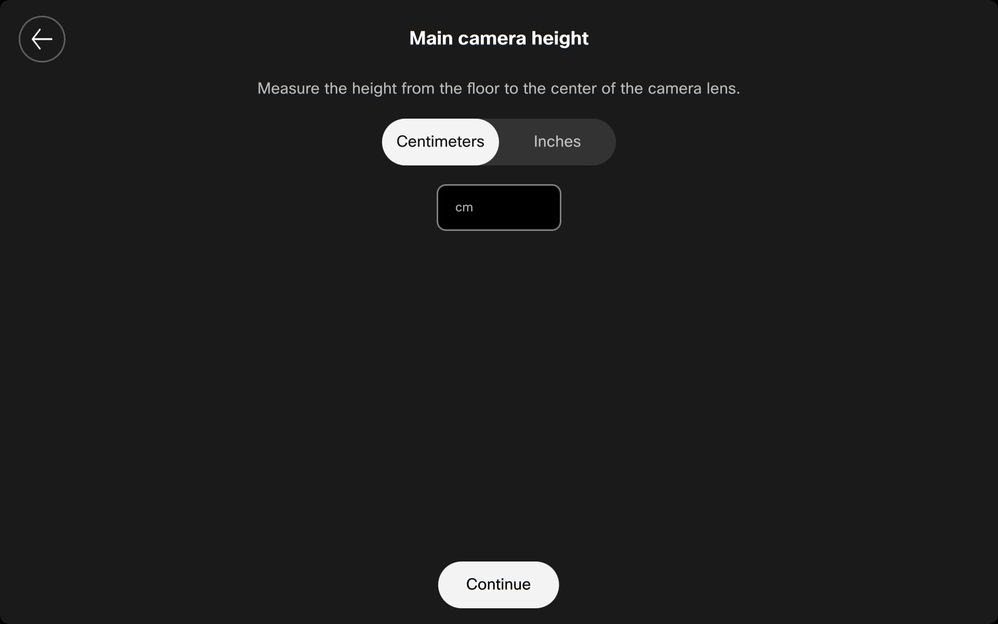
|
| 5 |
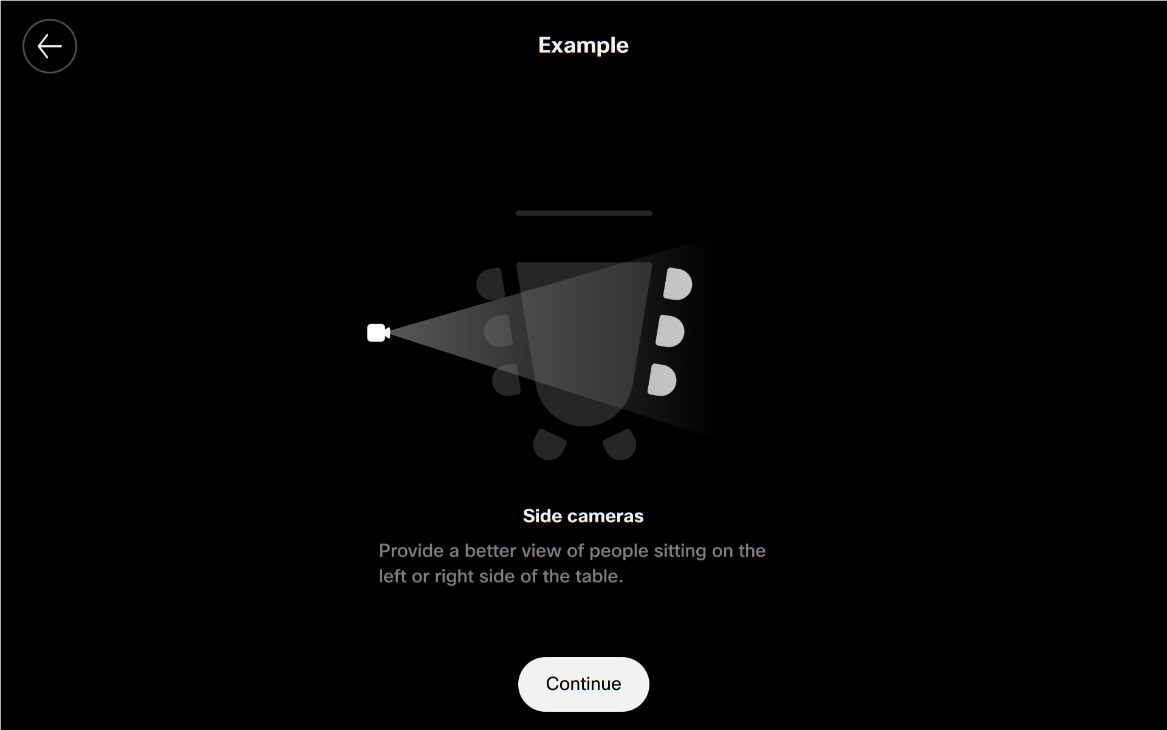
Follow the wizard prompts to adjust the camera view. 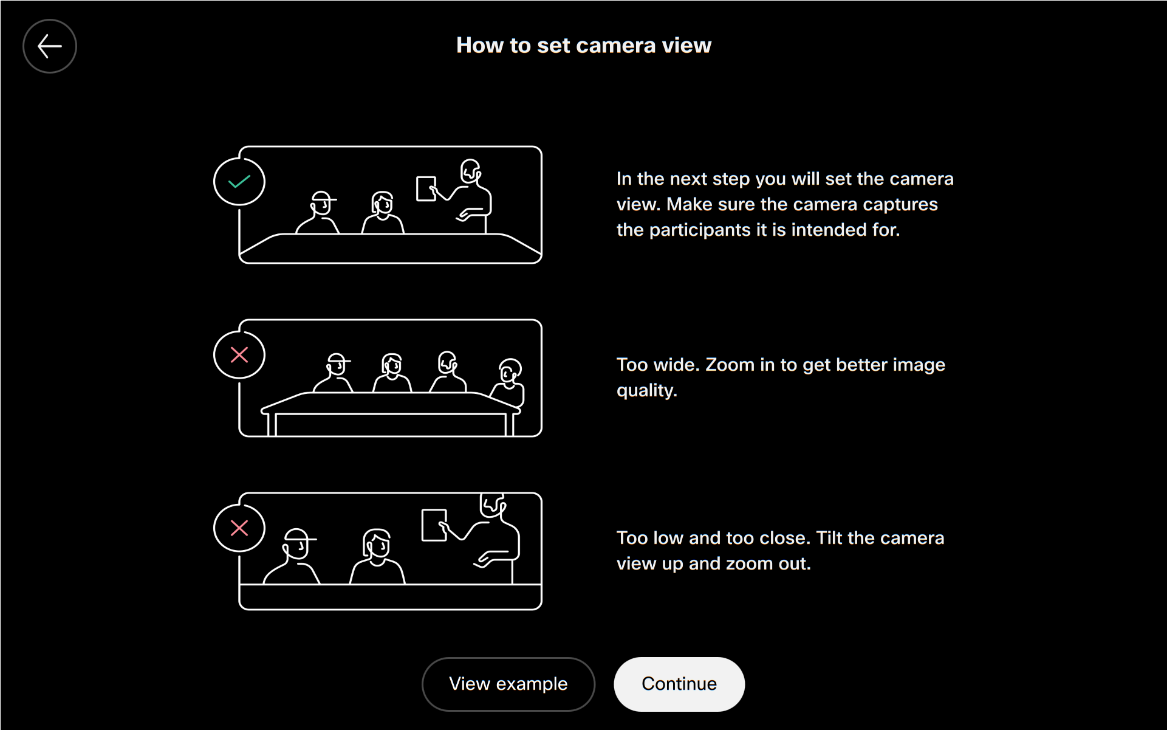
|
| 6 |
Use the camera controls to zoom in and out so that the camera accurately captures all seats. 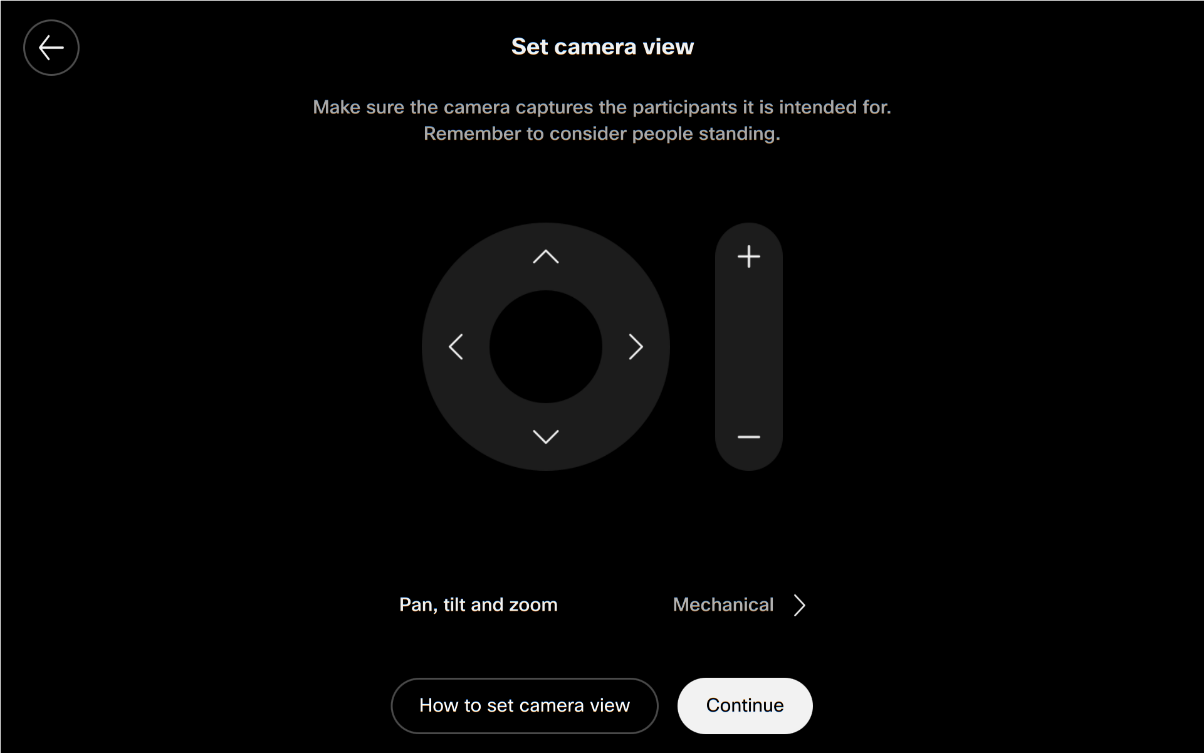
|
| 7 |
If Mechanical is available, use pan, tilt, and optical zoom to improve framing. Mechanical is supported on Room Kit EQ/EQX and Room Kit Pro/Pro G2 with Quad Camera and Room Vision PTZ cameras, and requires Cisco microphones: at least three Table Microphone Pros or one Ceiling Microphone Pro. PTZ movement operates within each camera's field of view, and a wider initial crop can increase switching time. Mechanical is enabled by default on new multicamera setups. 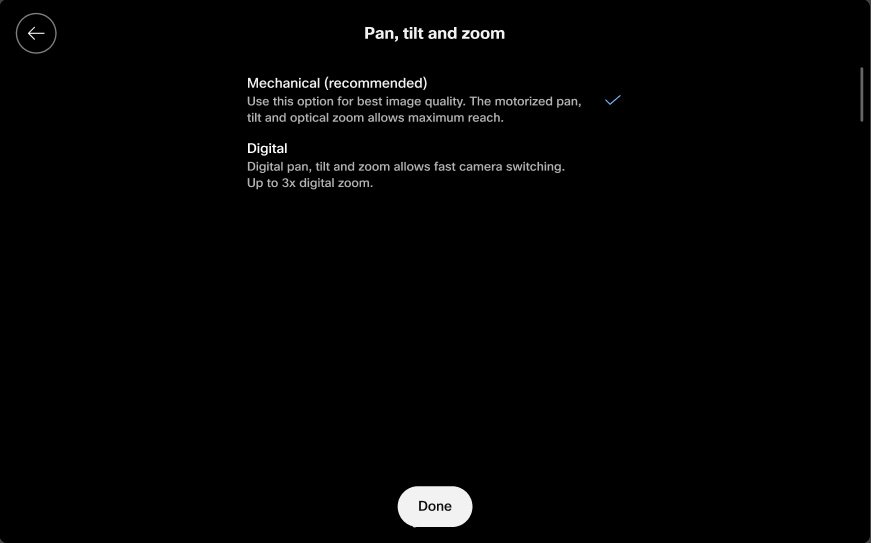
|
| 8 |
Use the calibration board to calibrate the camera positions. 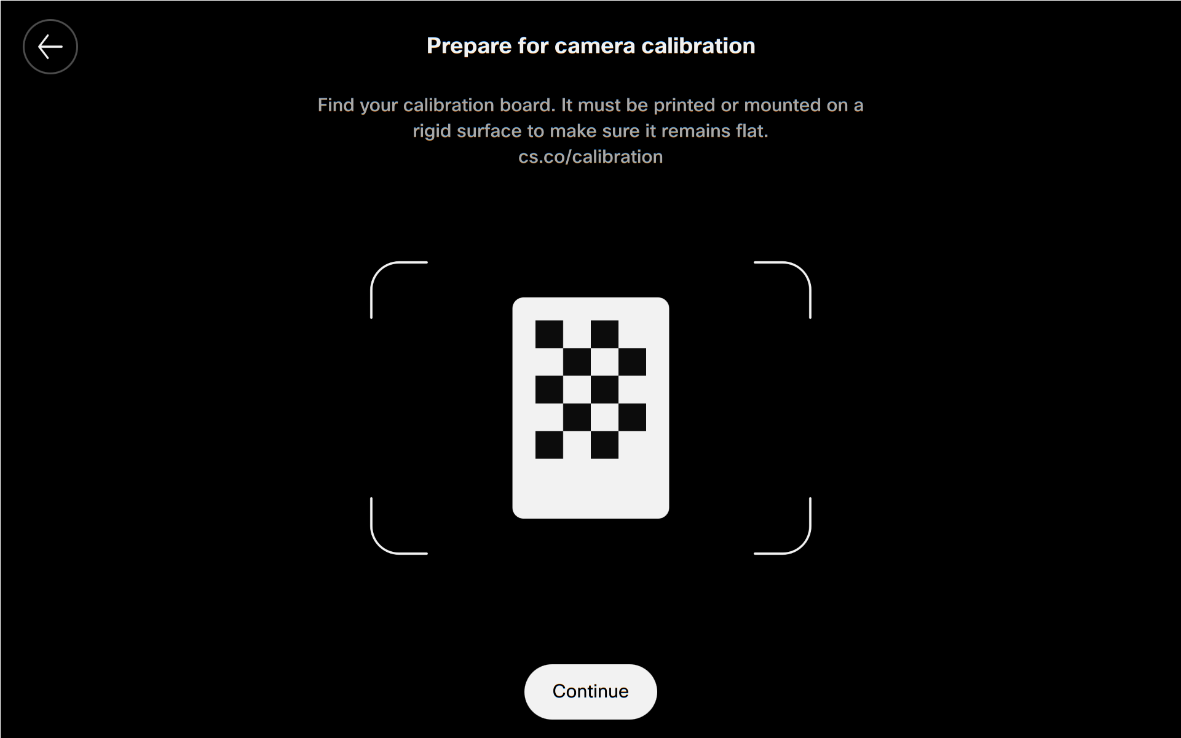
|
| 9 |
Measure the calibration board as shown on the screen. 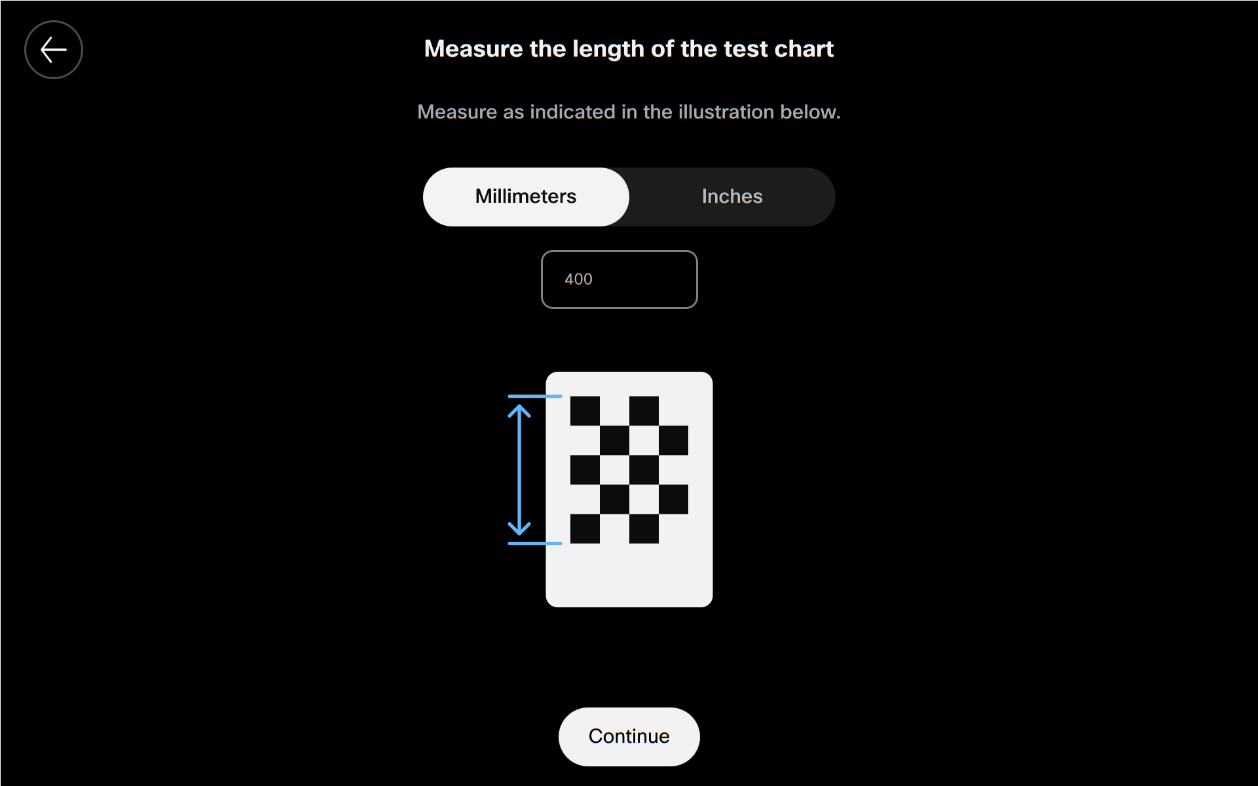
|
| 10 |
Follow the instructions on the main screen. Use the Room Navigator to take photos with the calibration board. You can take photos manually or automatically. Hold the calibration board so it is visible to the side cameras. 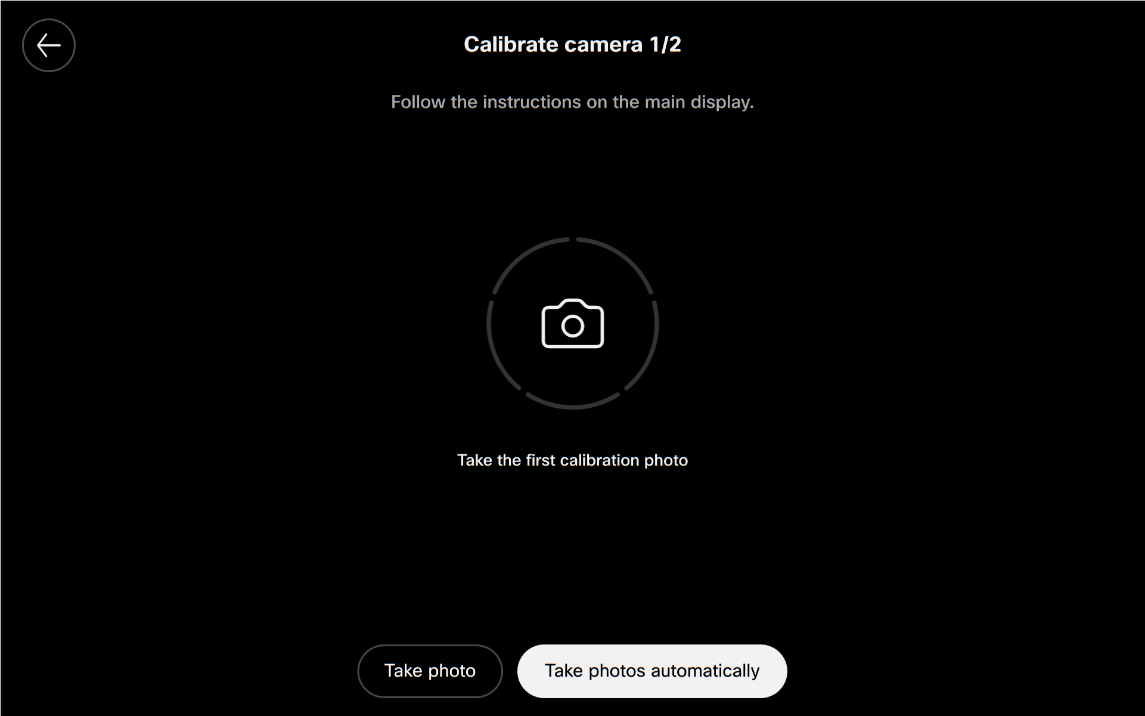
|
| 11 |
If the side cameras do not detect the calibration board, make sure the board is visible to both cameras and try again. 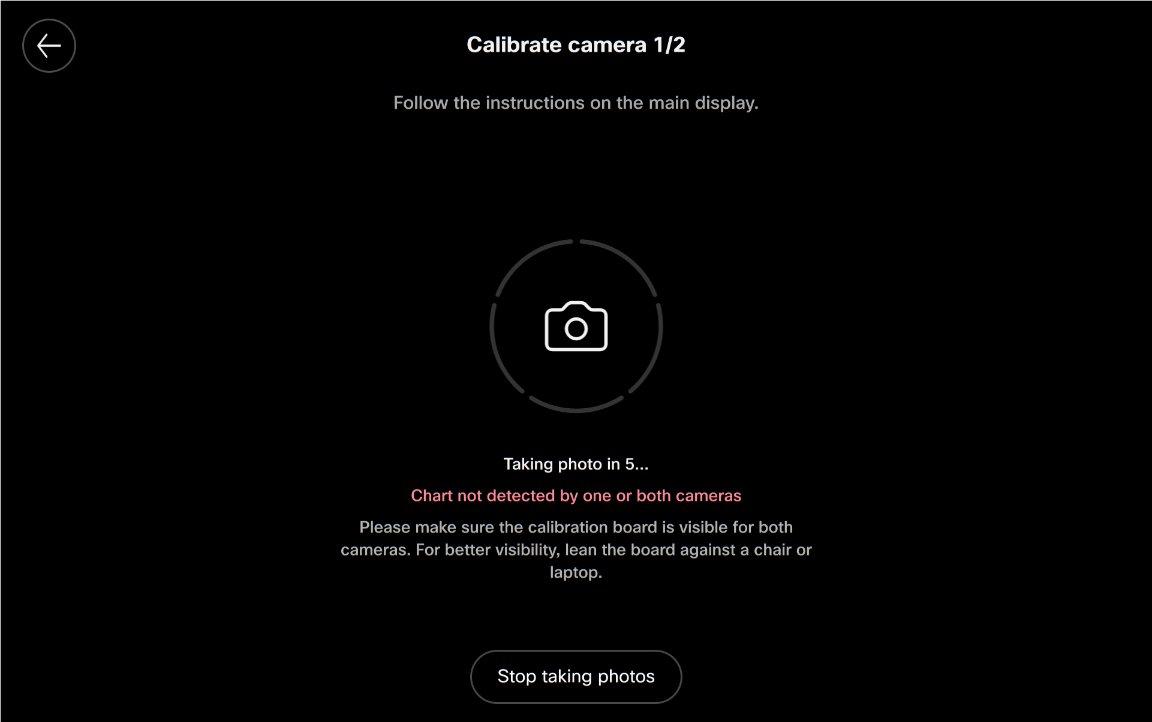
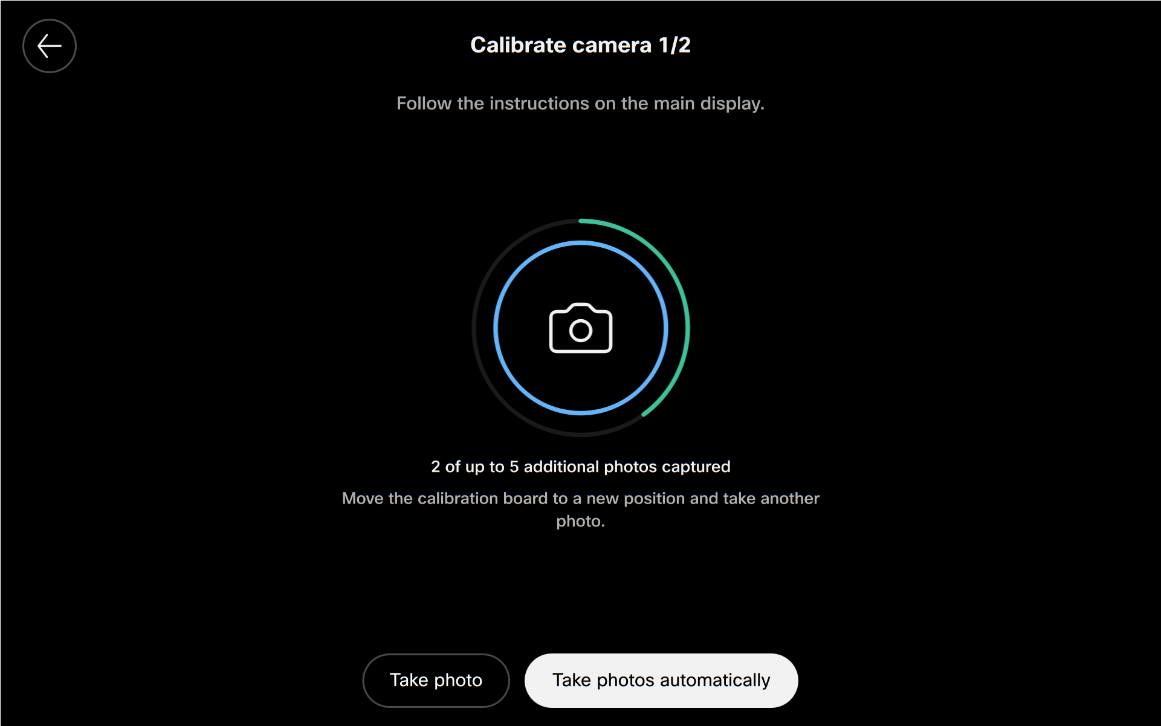
|
| 12 |
If additional photos are needed, move the calibration board to a new position. 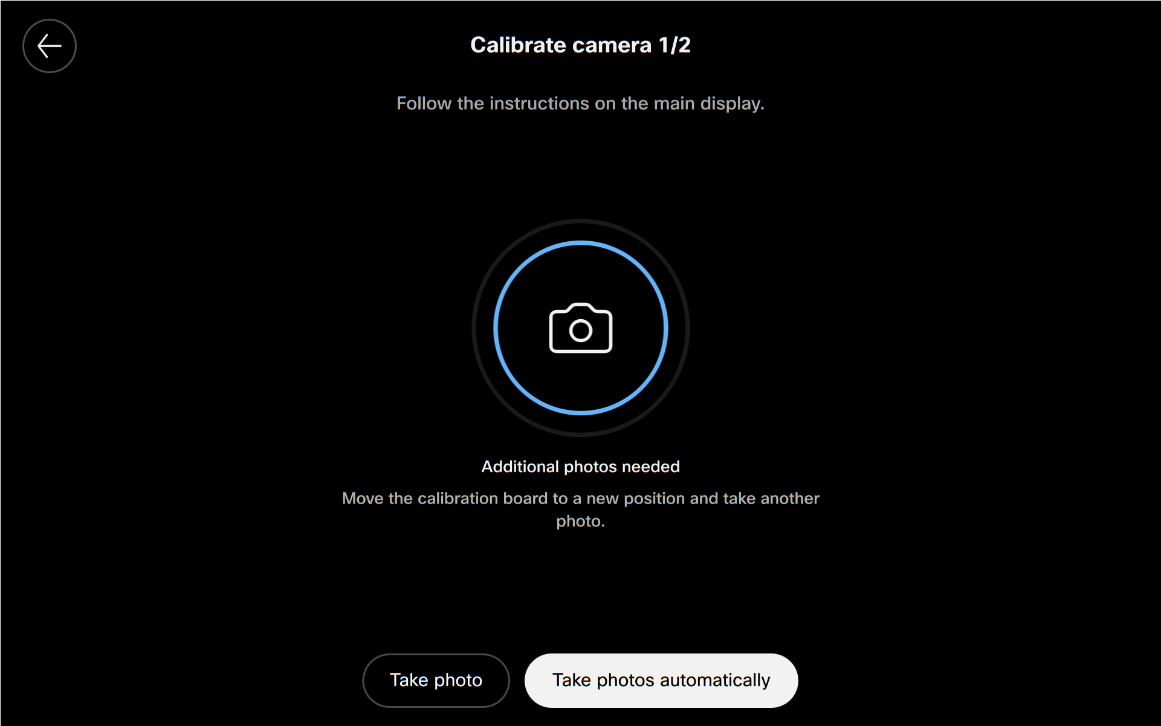
|
| 13 |
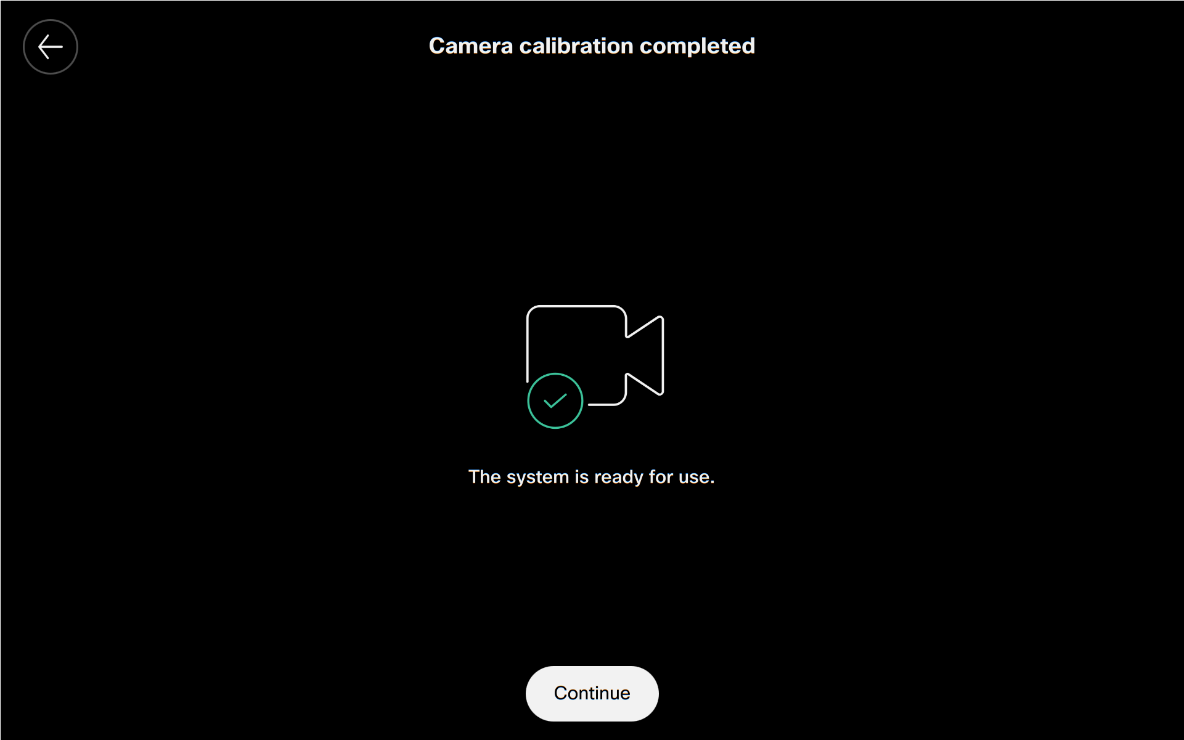
When the camera calibration is finished and the wizard displays that the system is ready for use, select Continue. 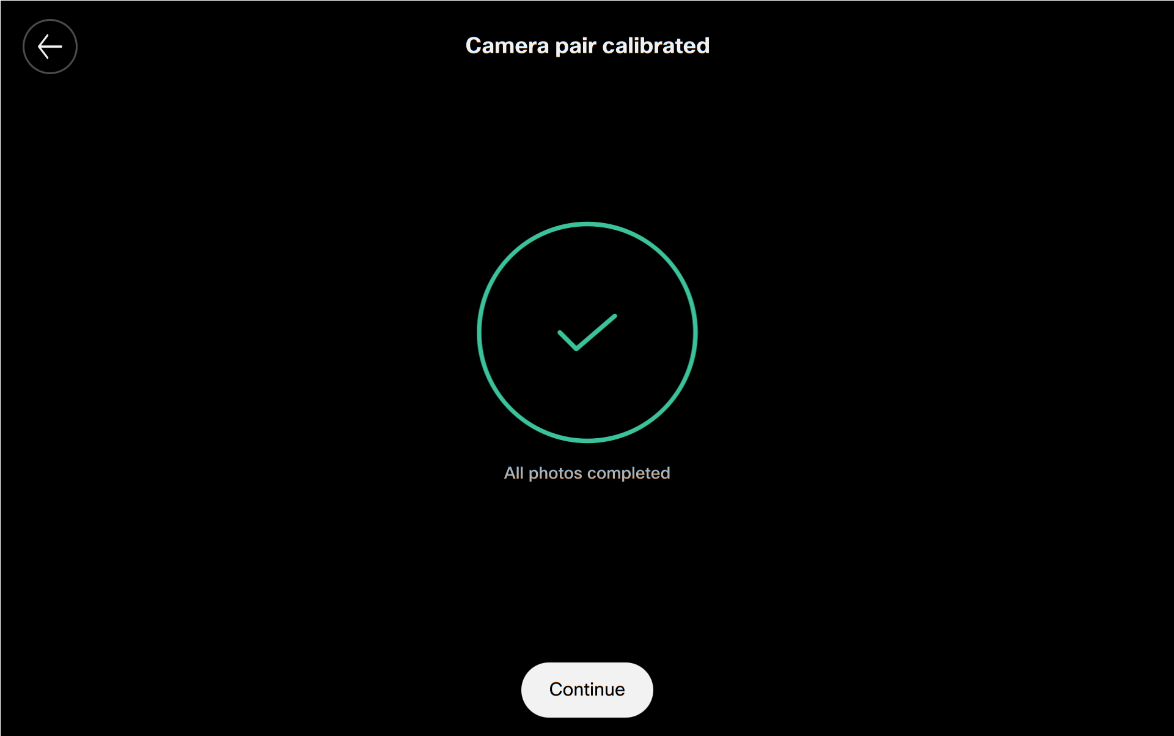
|
| 14 |
Complete the additional setups. Read the white balance calibration procedure in the next chapter. 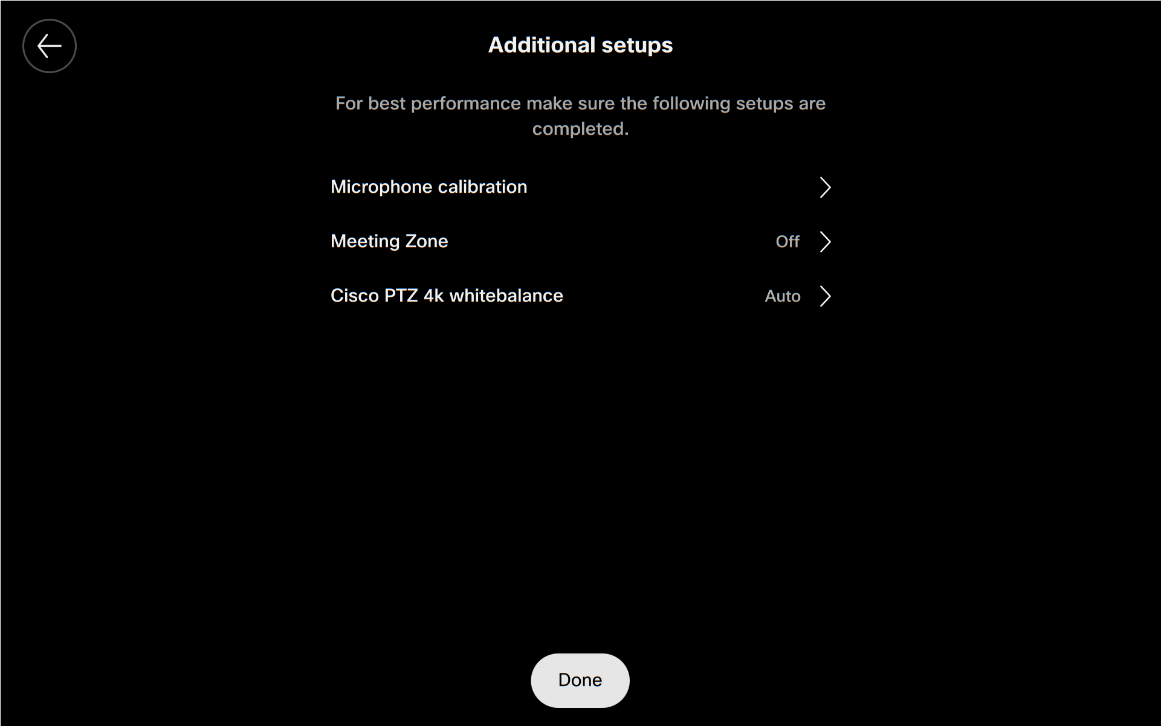
|
Configure Cisco PTZ 4K white balance
Configure a white balance profile so Cisco PTZ 4K cameras match the Quad camera in a multi-camera setup.
This procedure is available for cross-view or extended reach speaker mode setups.
| 1 |
In Device settings, navigate to Camera and select Cisco PTZ 4K white balance. 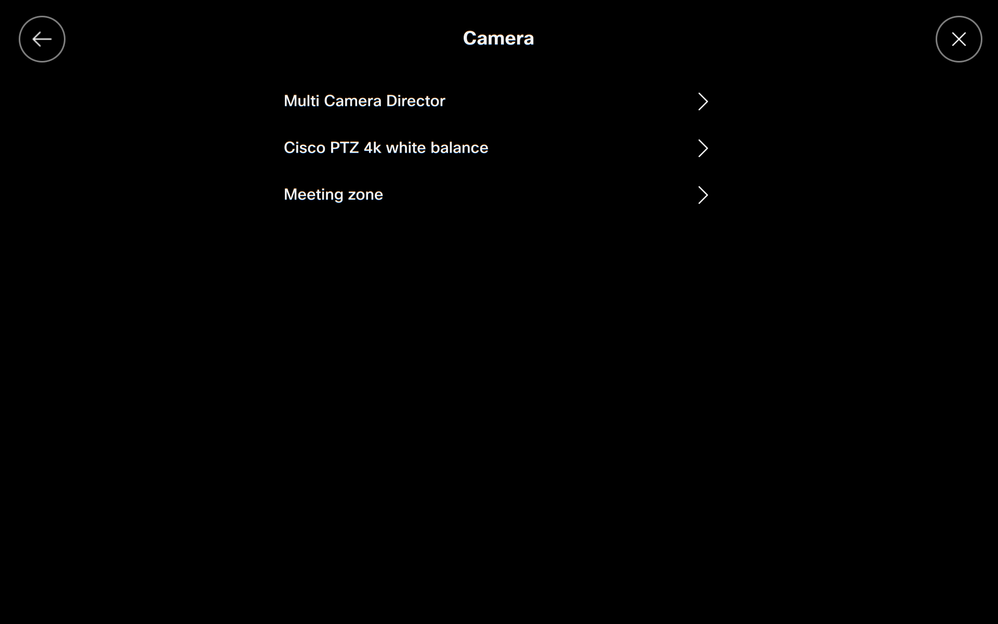
|
| 2 |
Select the white balance profile that makes the Cisco PTZ 4K cameras match the Quad camera. 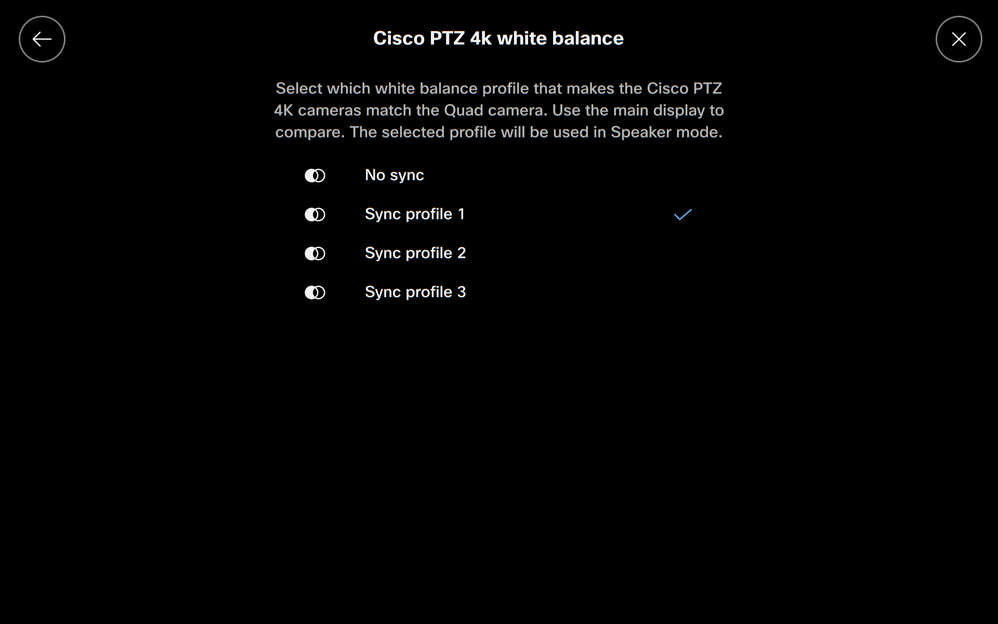
|
| 3 |
Compare the three profiles visually on the main screen and select the closest match. The profiles enable PTZ 4K cameras to match the Quad camera. |


