- Home
- /
- Article

Thanks for your feedback.

Configure Jabber in Dedicated Instance to use Customer's Domain for Login
 In this article
 Feedback?
Now you can configure the Jabber client in Dedicated Instance to use the customer's domain for login, using various login procedures.
Overview
During the TLS handshake, A standard TLS client checks the validity of the TLS server certificate. When Jabber is deployed over the internet, this setup might be vulnerable to a 'man-in-the-middle' attack.
During login, if a hacker presents their own server with a valid TLS certificate instead of the expected Expressway, Jabber might accept the certificate because of no additional controls, which could result in connecting the user to a malicious system. To avoid this issue, Jabber adds an extra validation step, it verifies that the domain entered during login matches the Subject Alternative Names (SAN) in the certificate. If it matches, Jabber tries to connect to the Expressway.
"Every SAN entry in the certificate must be signed by the Certification Authority (CA). This means that only the company that owns the domain can receive a CA-signed certificate, and the CA validates the SAN entries. Therefore, it becomes considerably harder to fake the identity of the Expressway."
In Dedicated Instance, Cisco manages the certificates for the UC applications and hence the certificates are signed with the Cisco provided domain, For example, customer.amer.wxc-di.webex.com. However, for an end user to login to the Jabber client with the customer email address, can be achieved by the following options:
Option 1 - Jabber initial end user login
Jabber initial end user login is the simplest approach, and the steps are given in detail:
-
Enter the Cisco provided voice service domain, for example, user@customer.amer.wxc-di.webex.com in the initial Jabber login screen.
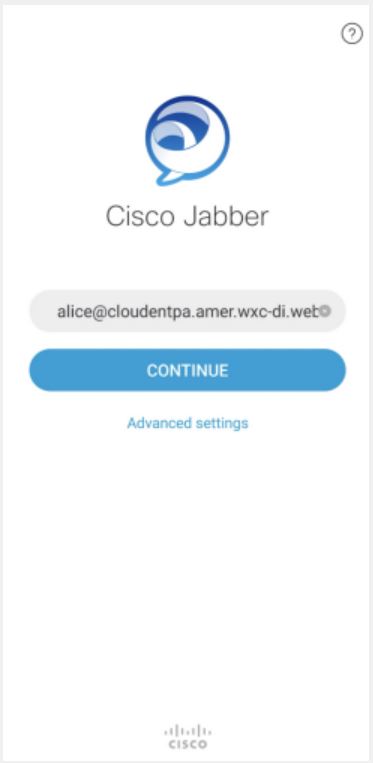
Cisco shares the customer voice service domain for every region after service activation This information is part of the access details document shared in the Webex App space. For more details, see Dedicated Instance Service Activation.
-
Enter the username or company email id along with the password for authentication.

If SSO is enabled, IdP performs the similar operation.
Subsequent logins post this doesn’t require to perform Step 1, unless the Jabber client is reset.
Option 2: Use the voice service domain
With this approach, the Jabber client can differentiate between the customer’s domain entered by the user and the service discovery domain. In the installer if the voice service domain is set to customer.amer.wxc-di.webex.com, the user can log in to the Jabber client using their company’s email address and Jabber can still do the service discovery based on the value set in the voice service domain. This removes the necessity to provide voice service domain in the initial jabber login as per the above option.
For windows:
Tools such as Microsoft Orca can be used to create custom Jabber installers, that can include the voice service domain. The users can be instructed to use these installers for the Jabber client.
For MAC, iOS, Android:
Tools such as MDM can be used to create custom Jabber installers that can include the voice service domain.
Option 3: Use the configuration URL
A configuration URL is used to set Jabber parameters before the initial login, such as the voice services domain. An example of a configuration URL: ciscojabber://provision?ServicesDomain=customer.com&VoiceServicesDomain=customer.amer.wxc-di.webex.com
By clicking the above link, the voice service domain can be set in the Jabber client running on MAC, Android, or iOS devices.
This configuration isn’t persistent, the user needs to click on the link again if the Jabber client is reset.
The Webex App doesn’t have the above requirement, the client performs the domain check, but it’s possible to provision the voice service domain in the Control Hub. When the Webex App connects to Webex, it gets the voice services domain and registers the same. For more information regarding Webex App In-app calling setup, see Webex Application Integration with Dedicated Instance for In-App Calling.
Useful Link: On-Premises Deployment for Cisco Jabber 14.0


