
Thanks for your feedback.
Webex LTI for students
 Feedback?
Meetings
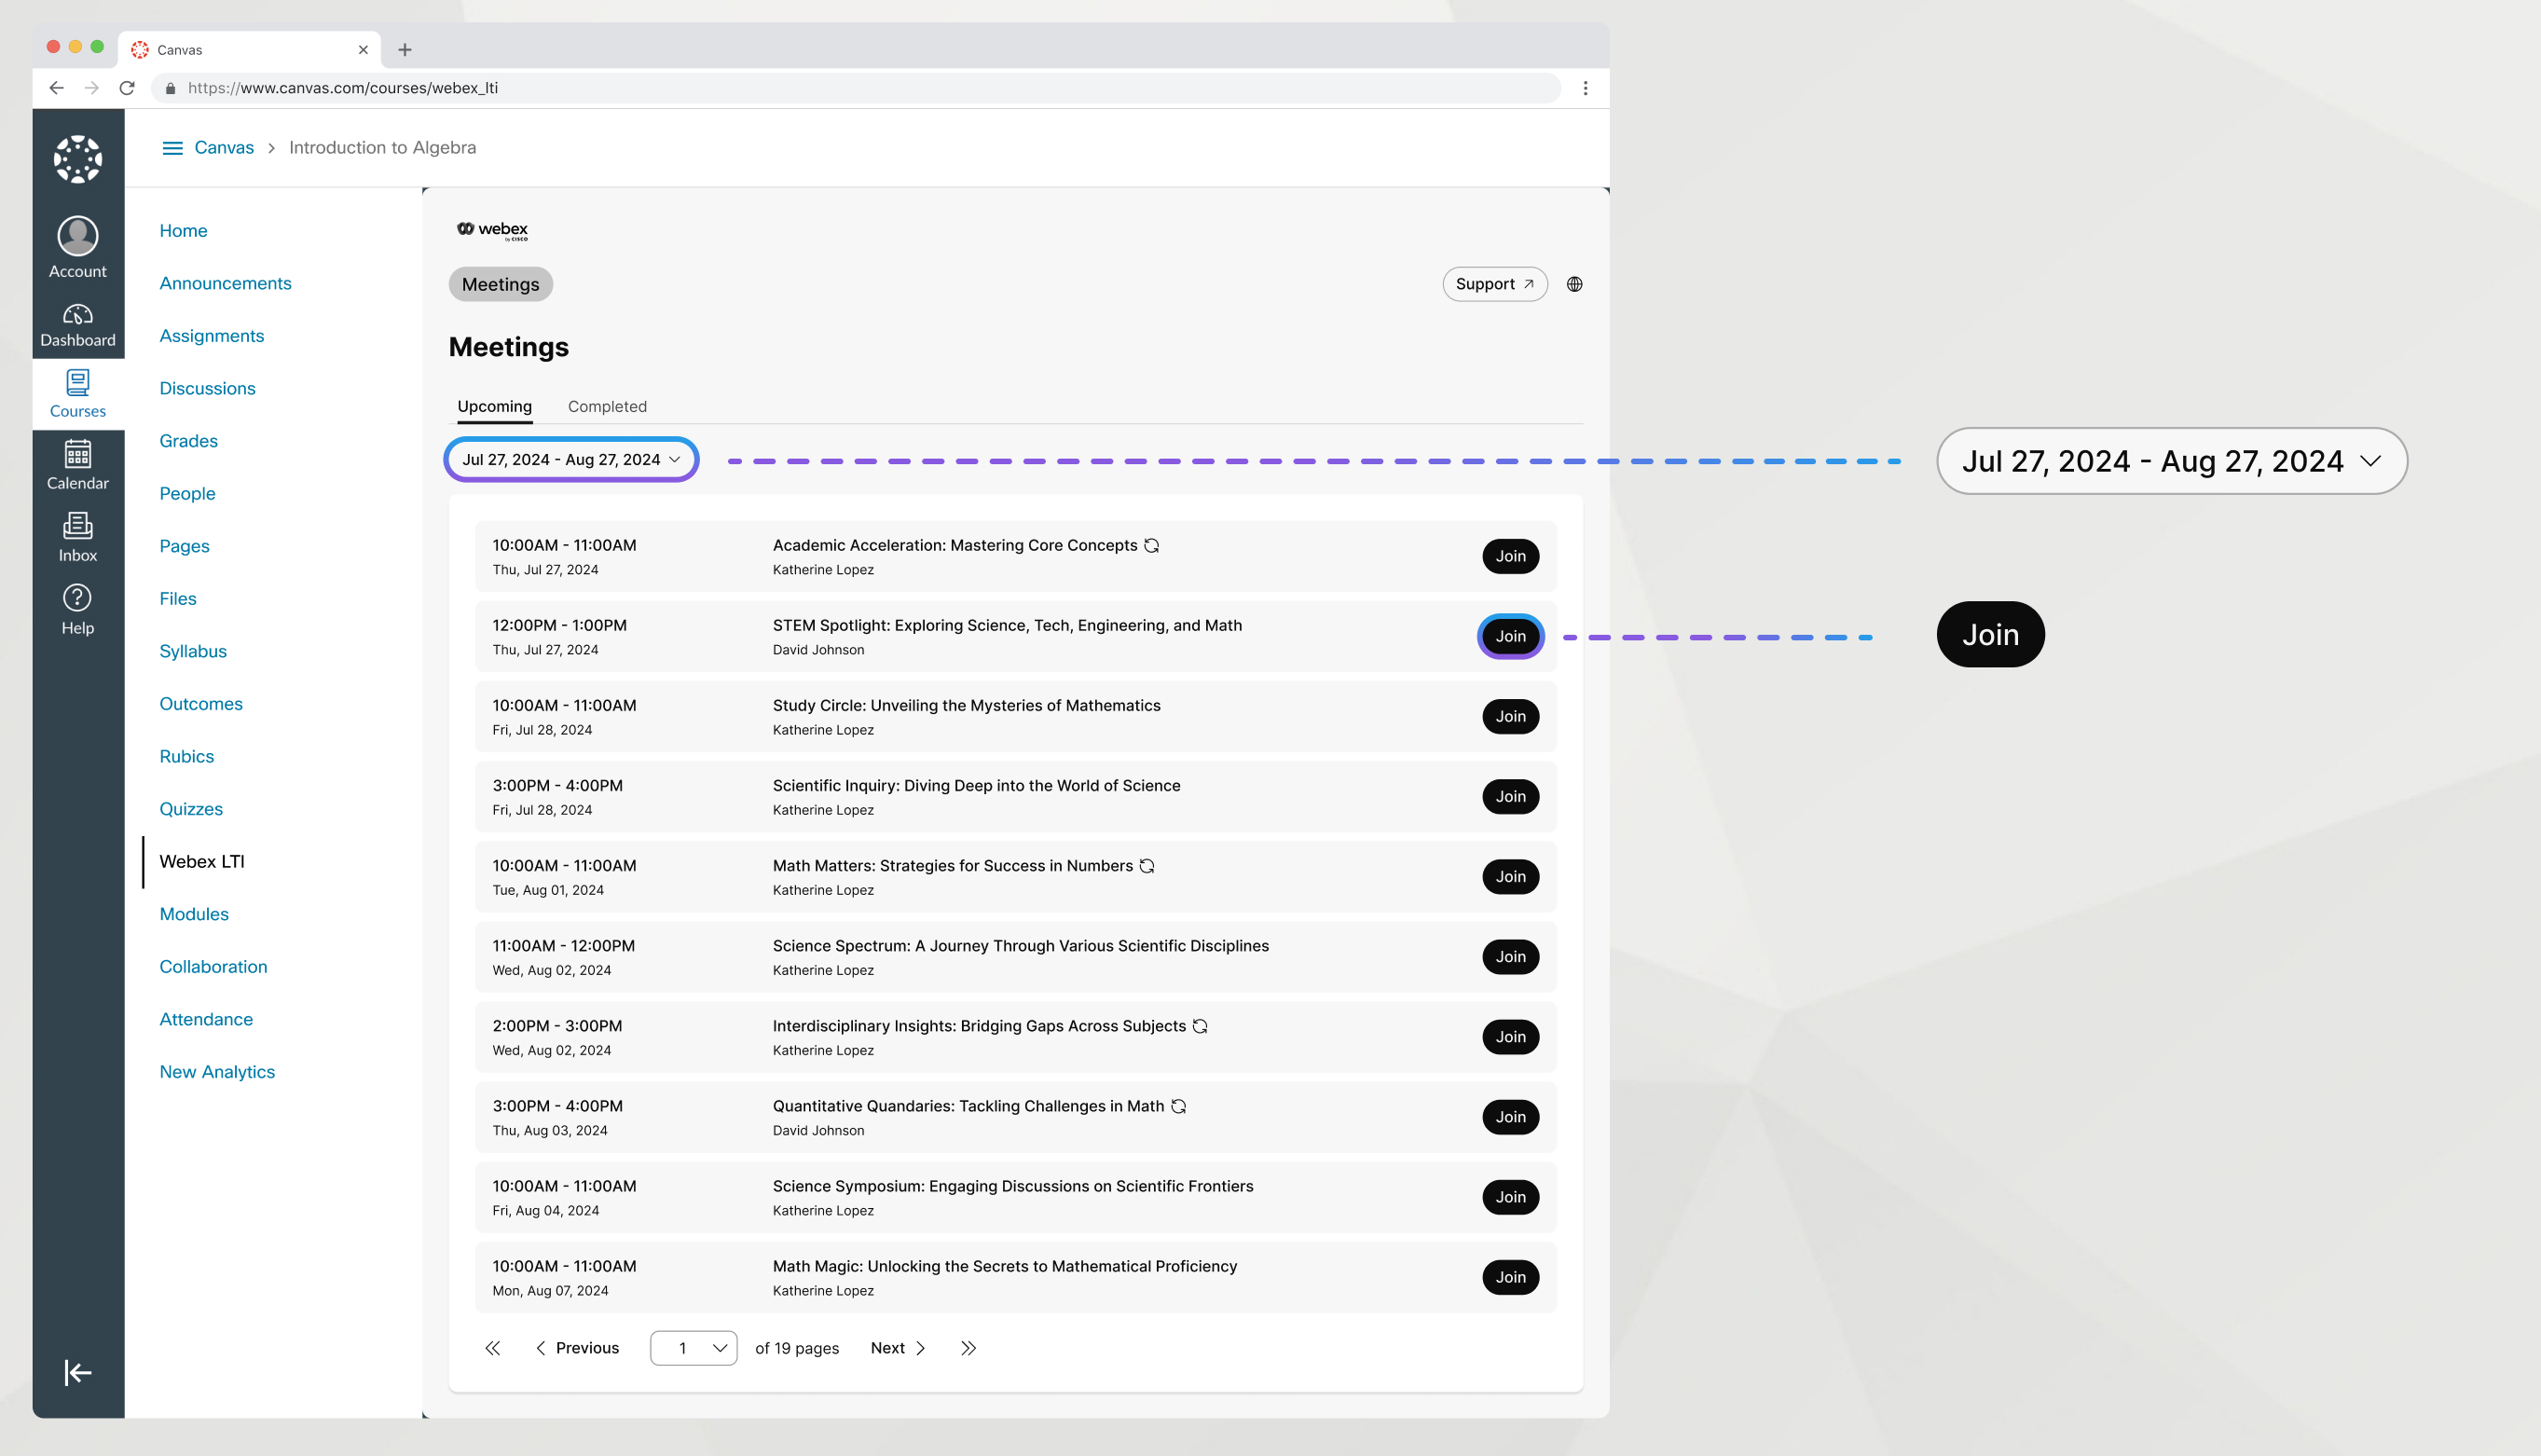
You can easily find and join meetings that are scheduled by your teacher in Webex LTI.
| 1 |
Go to the Meetings tab. |
| 2 |
Under the Upcoming tab, find your meeting. |
| 3 |
Click Join. |
| 4 |
If you have a Webex account, click Sign in and join and enter your Webex credentials. |
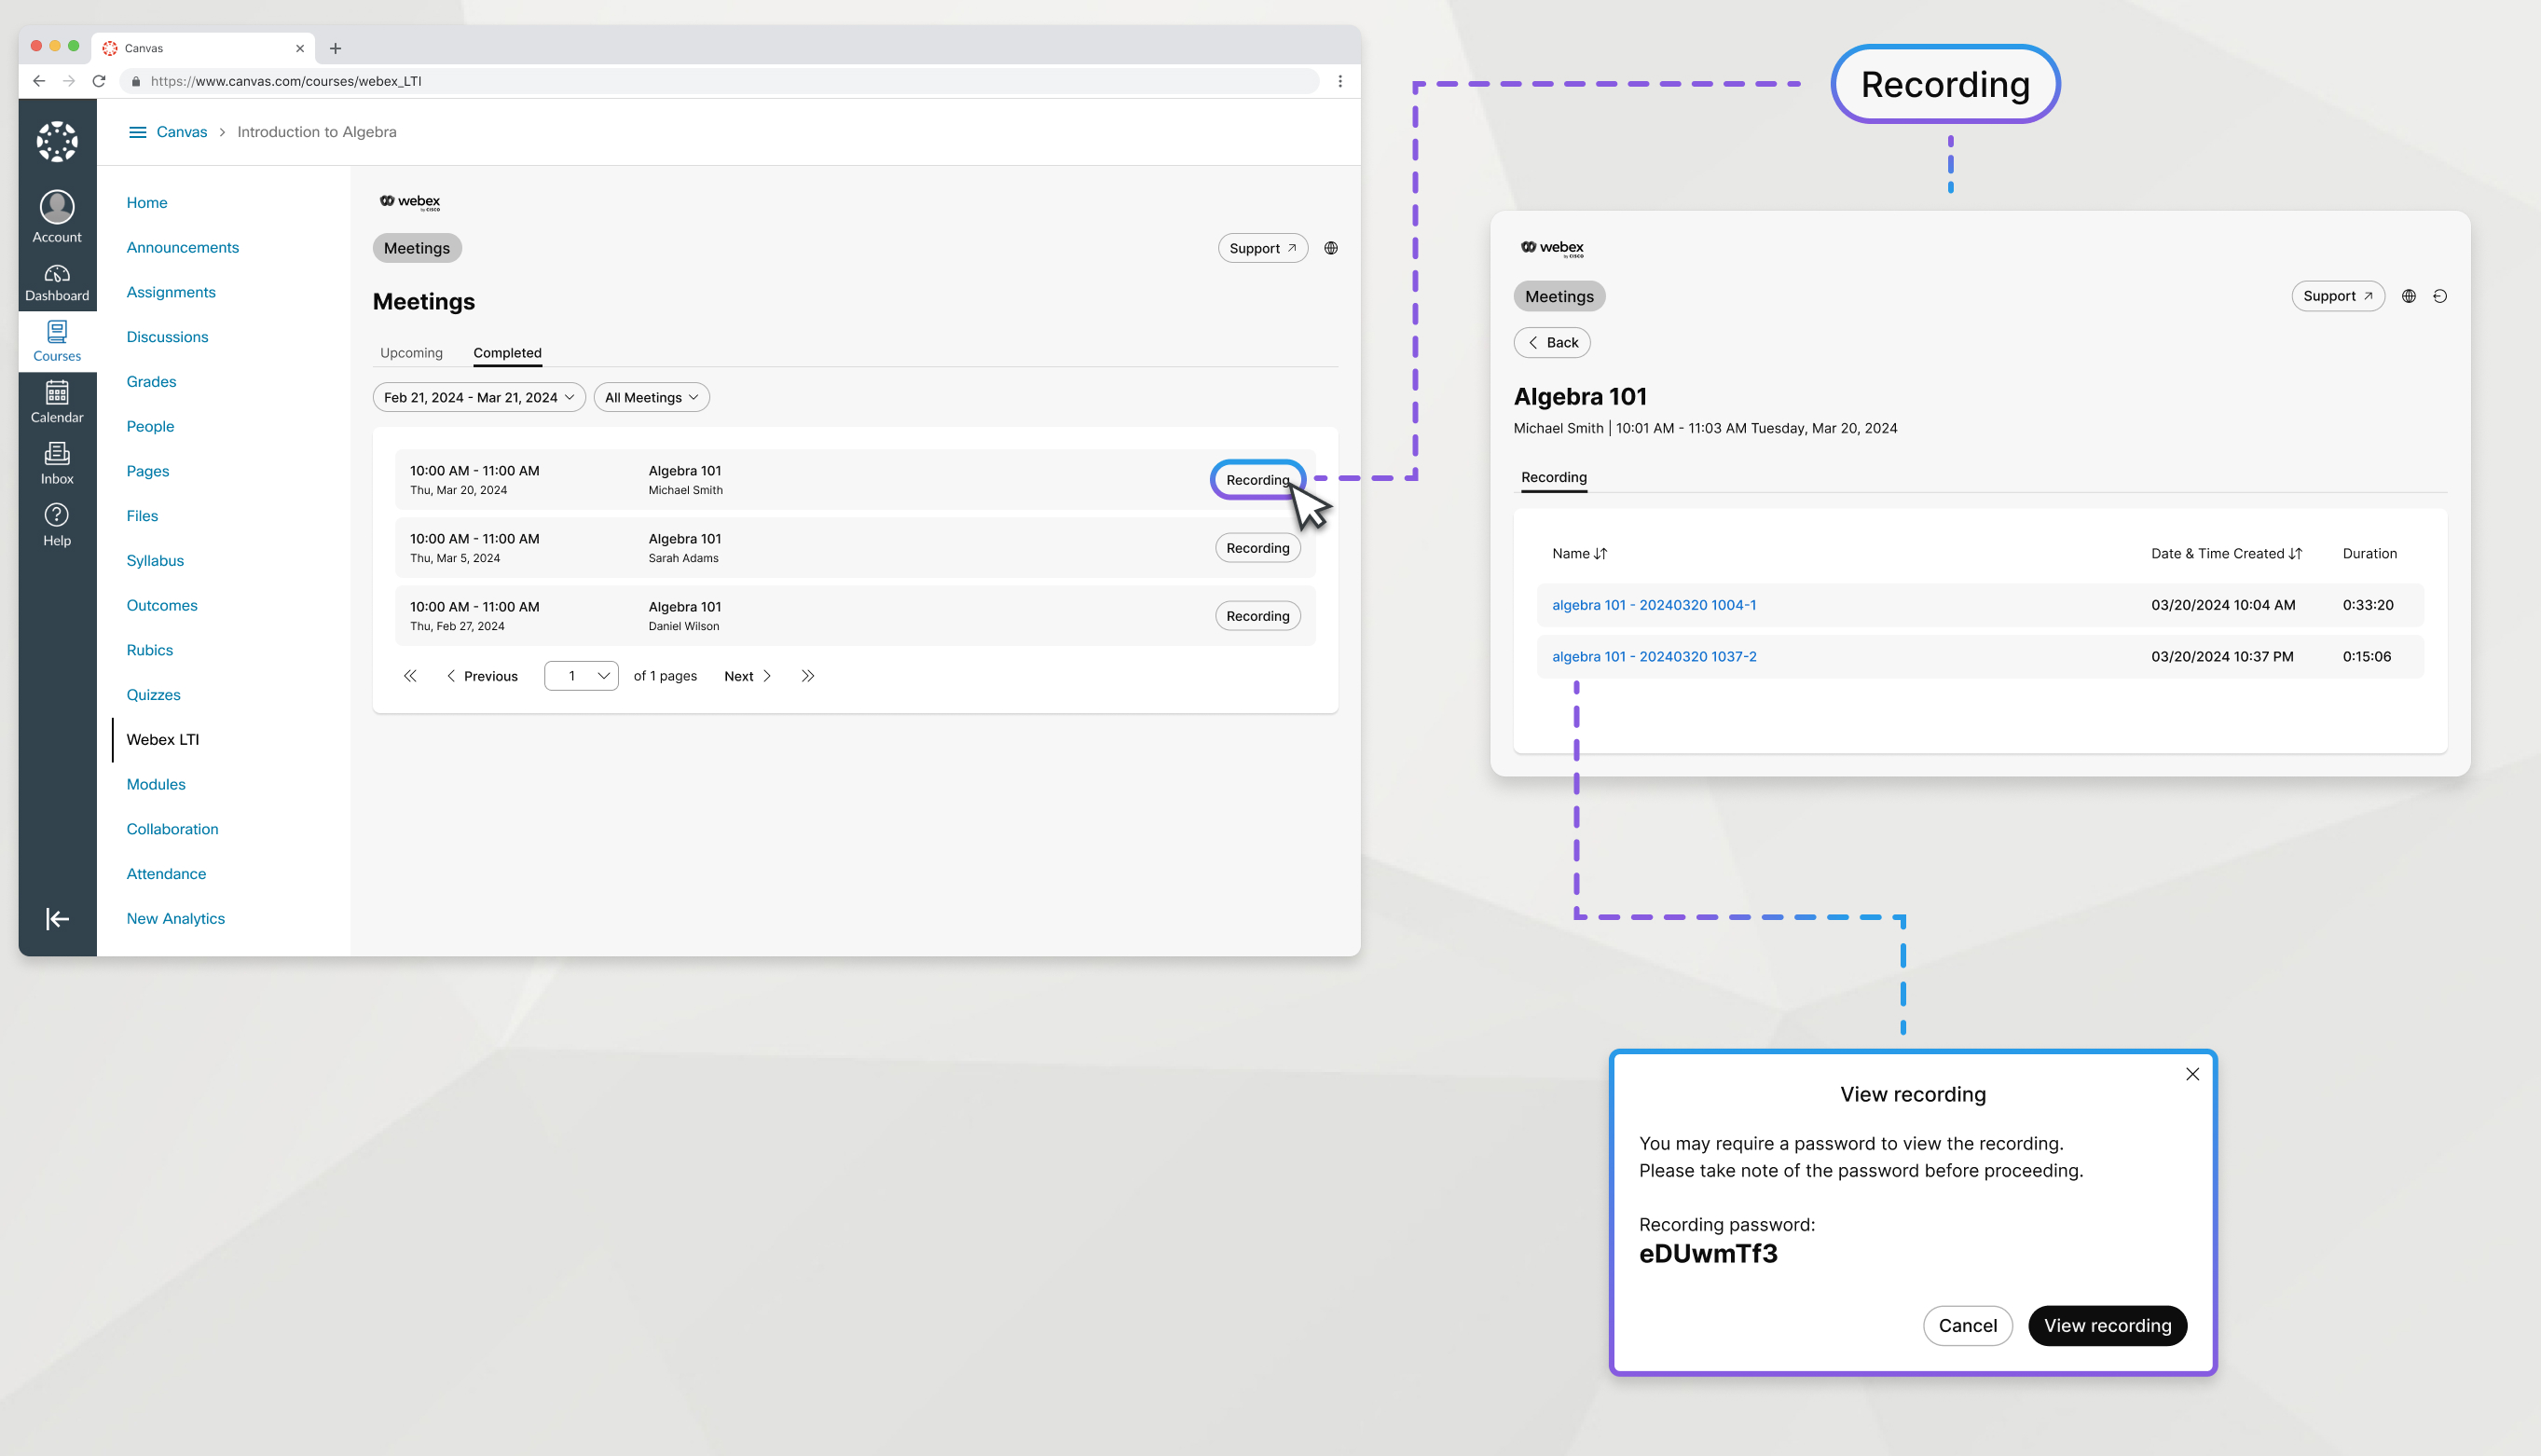
Watch recordings of your class meetings.
| 1 |
Go to the Meetings tab. |
| 2 |
Under the Completed tab, find the meeting with the recording you want to watch and click Recording. |
| 3 |
Click the name of the recording to open it. |
| 4 |
Copy the recording password and click View recording. |
Other recordings
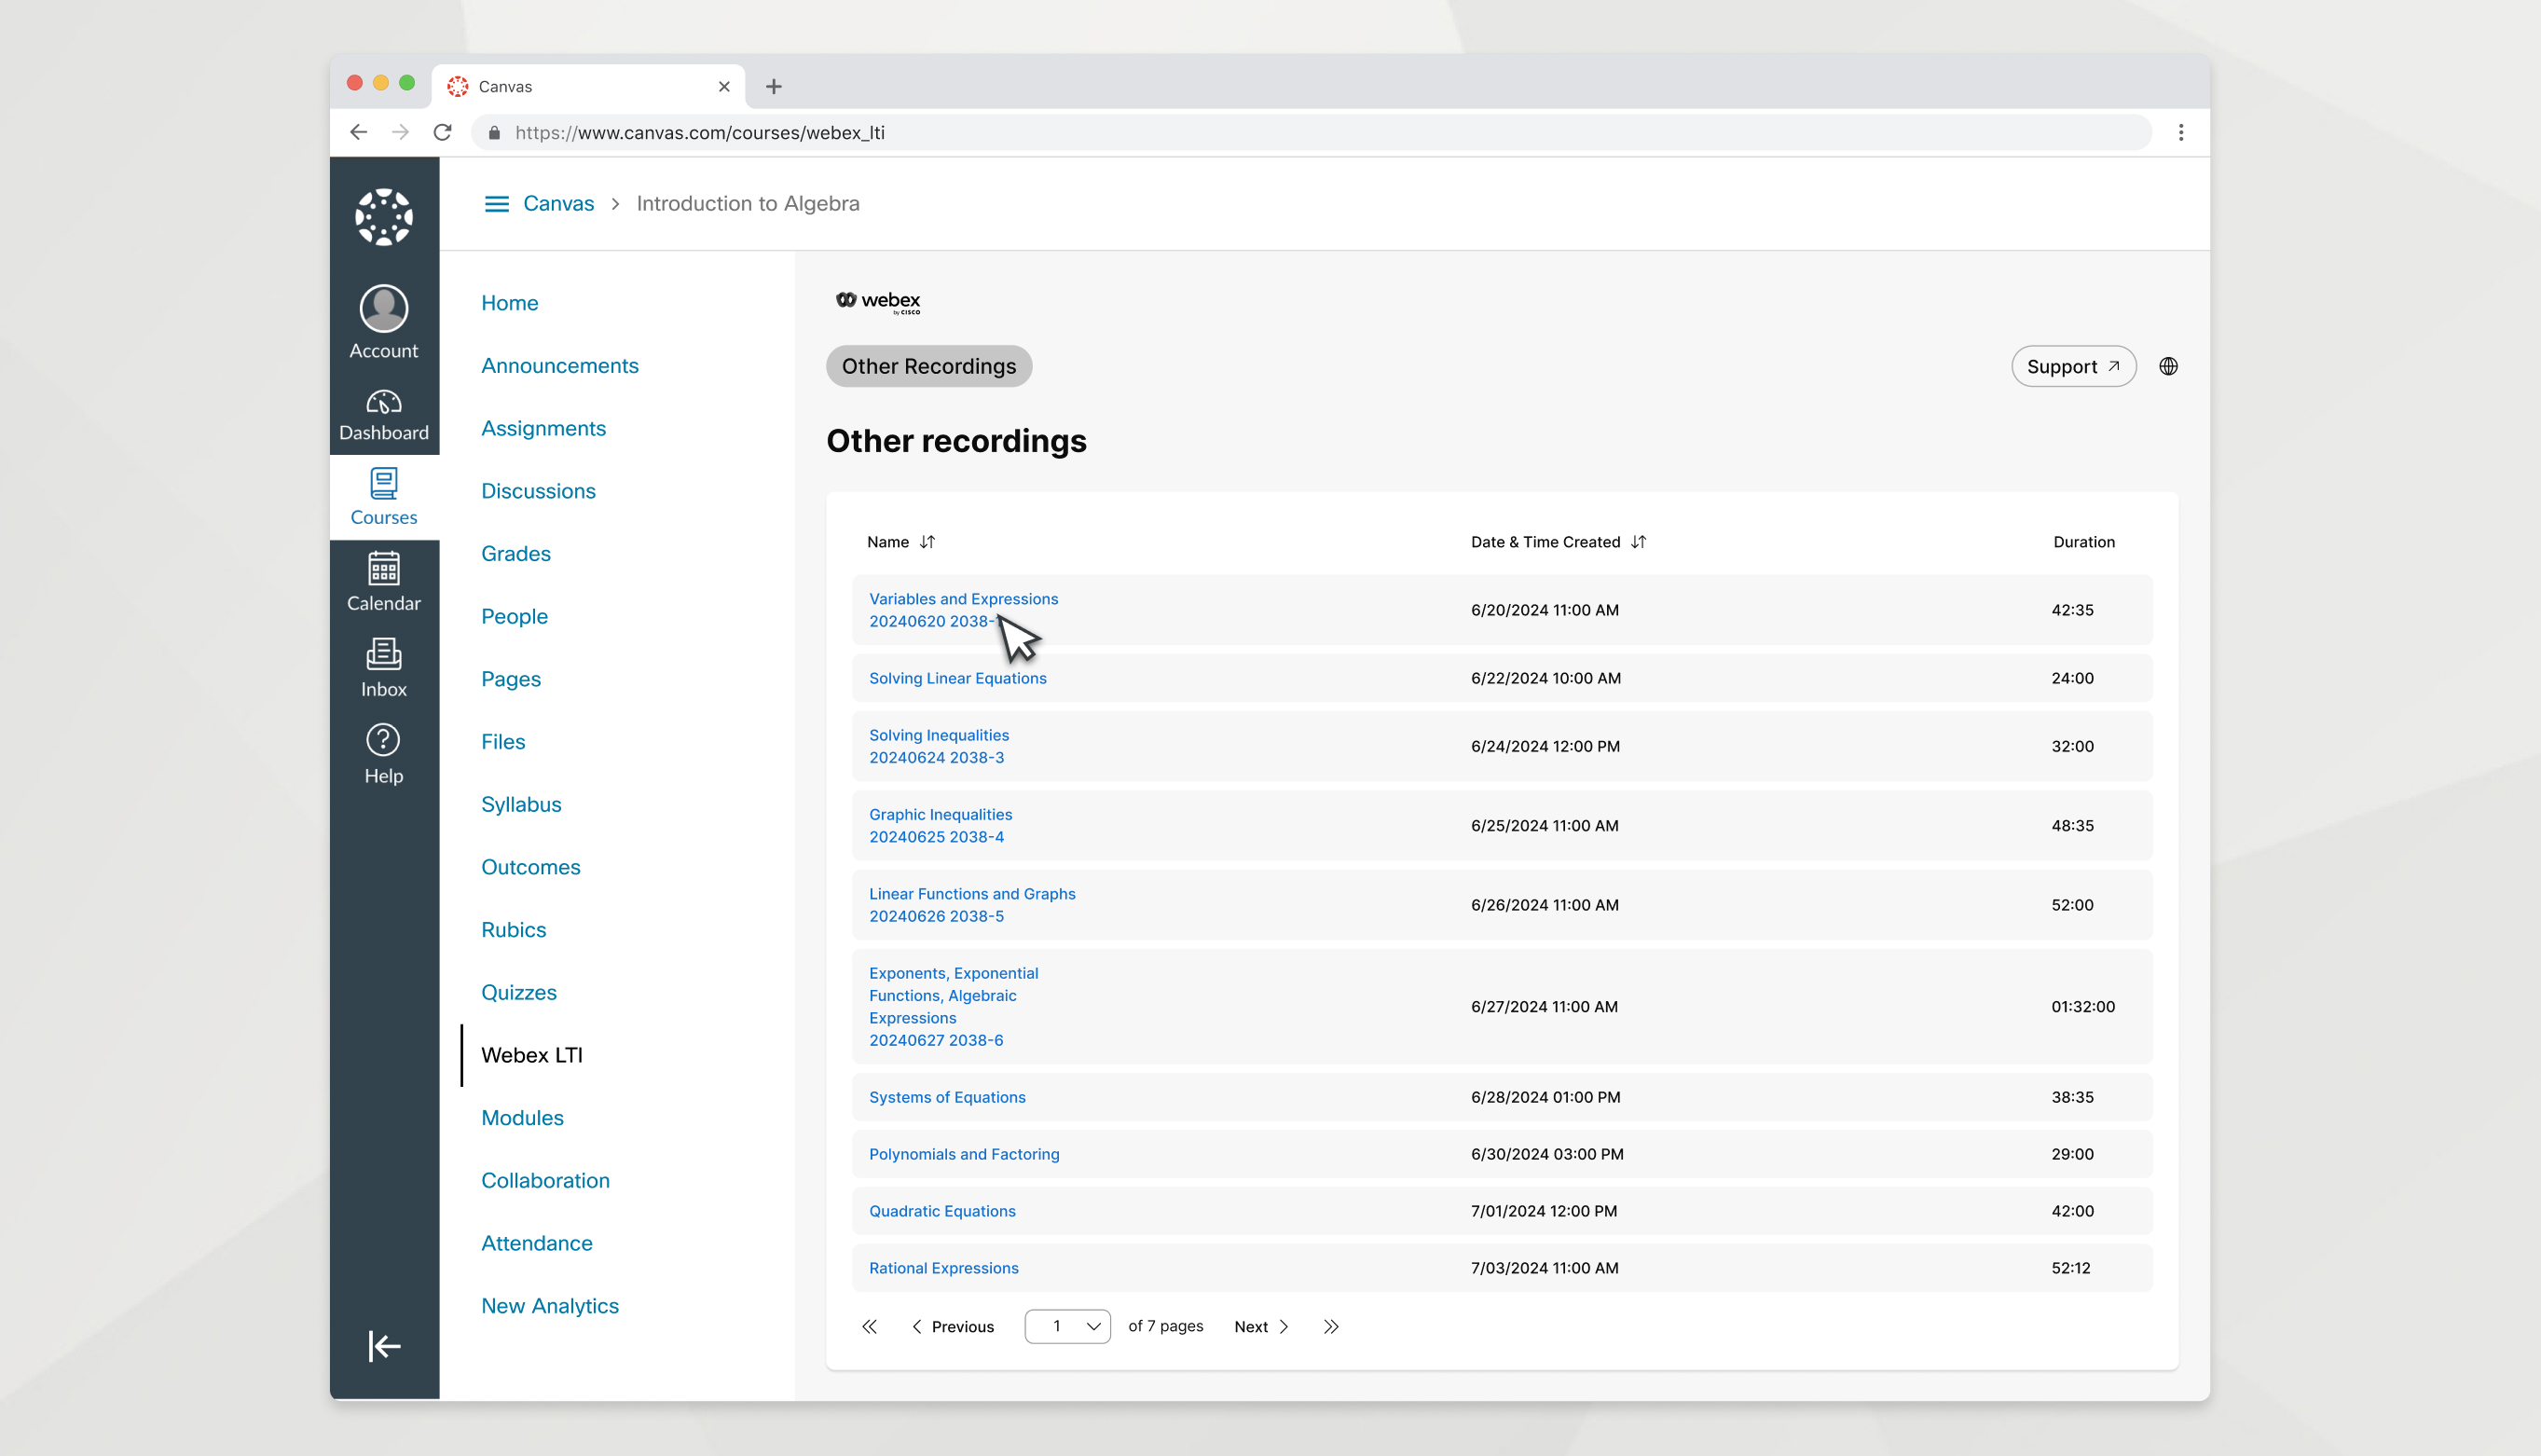
Your teacher can publish any recordings that aren't tied to a specific class meeting in the Other Recordings tab for you to access.
| 1 |
Go to the Other Recordings tab. |
| 2 |
Click the name of a recording to open it. |
| 3 |
Copy the recording password and click View recording. |
Office hours
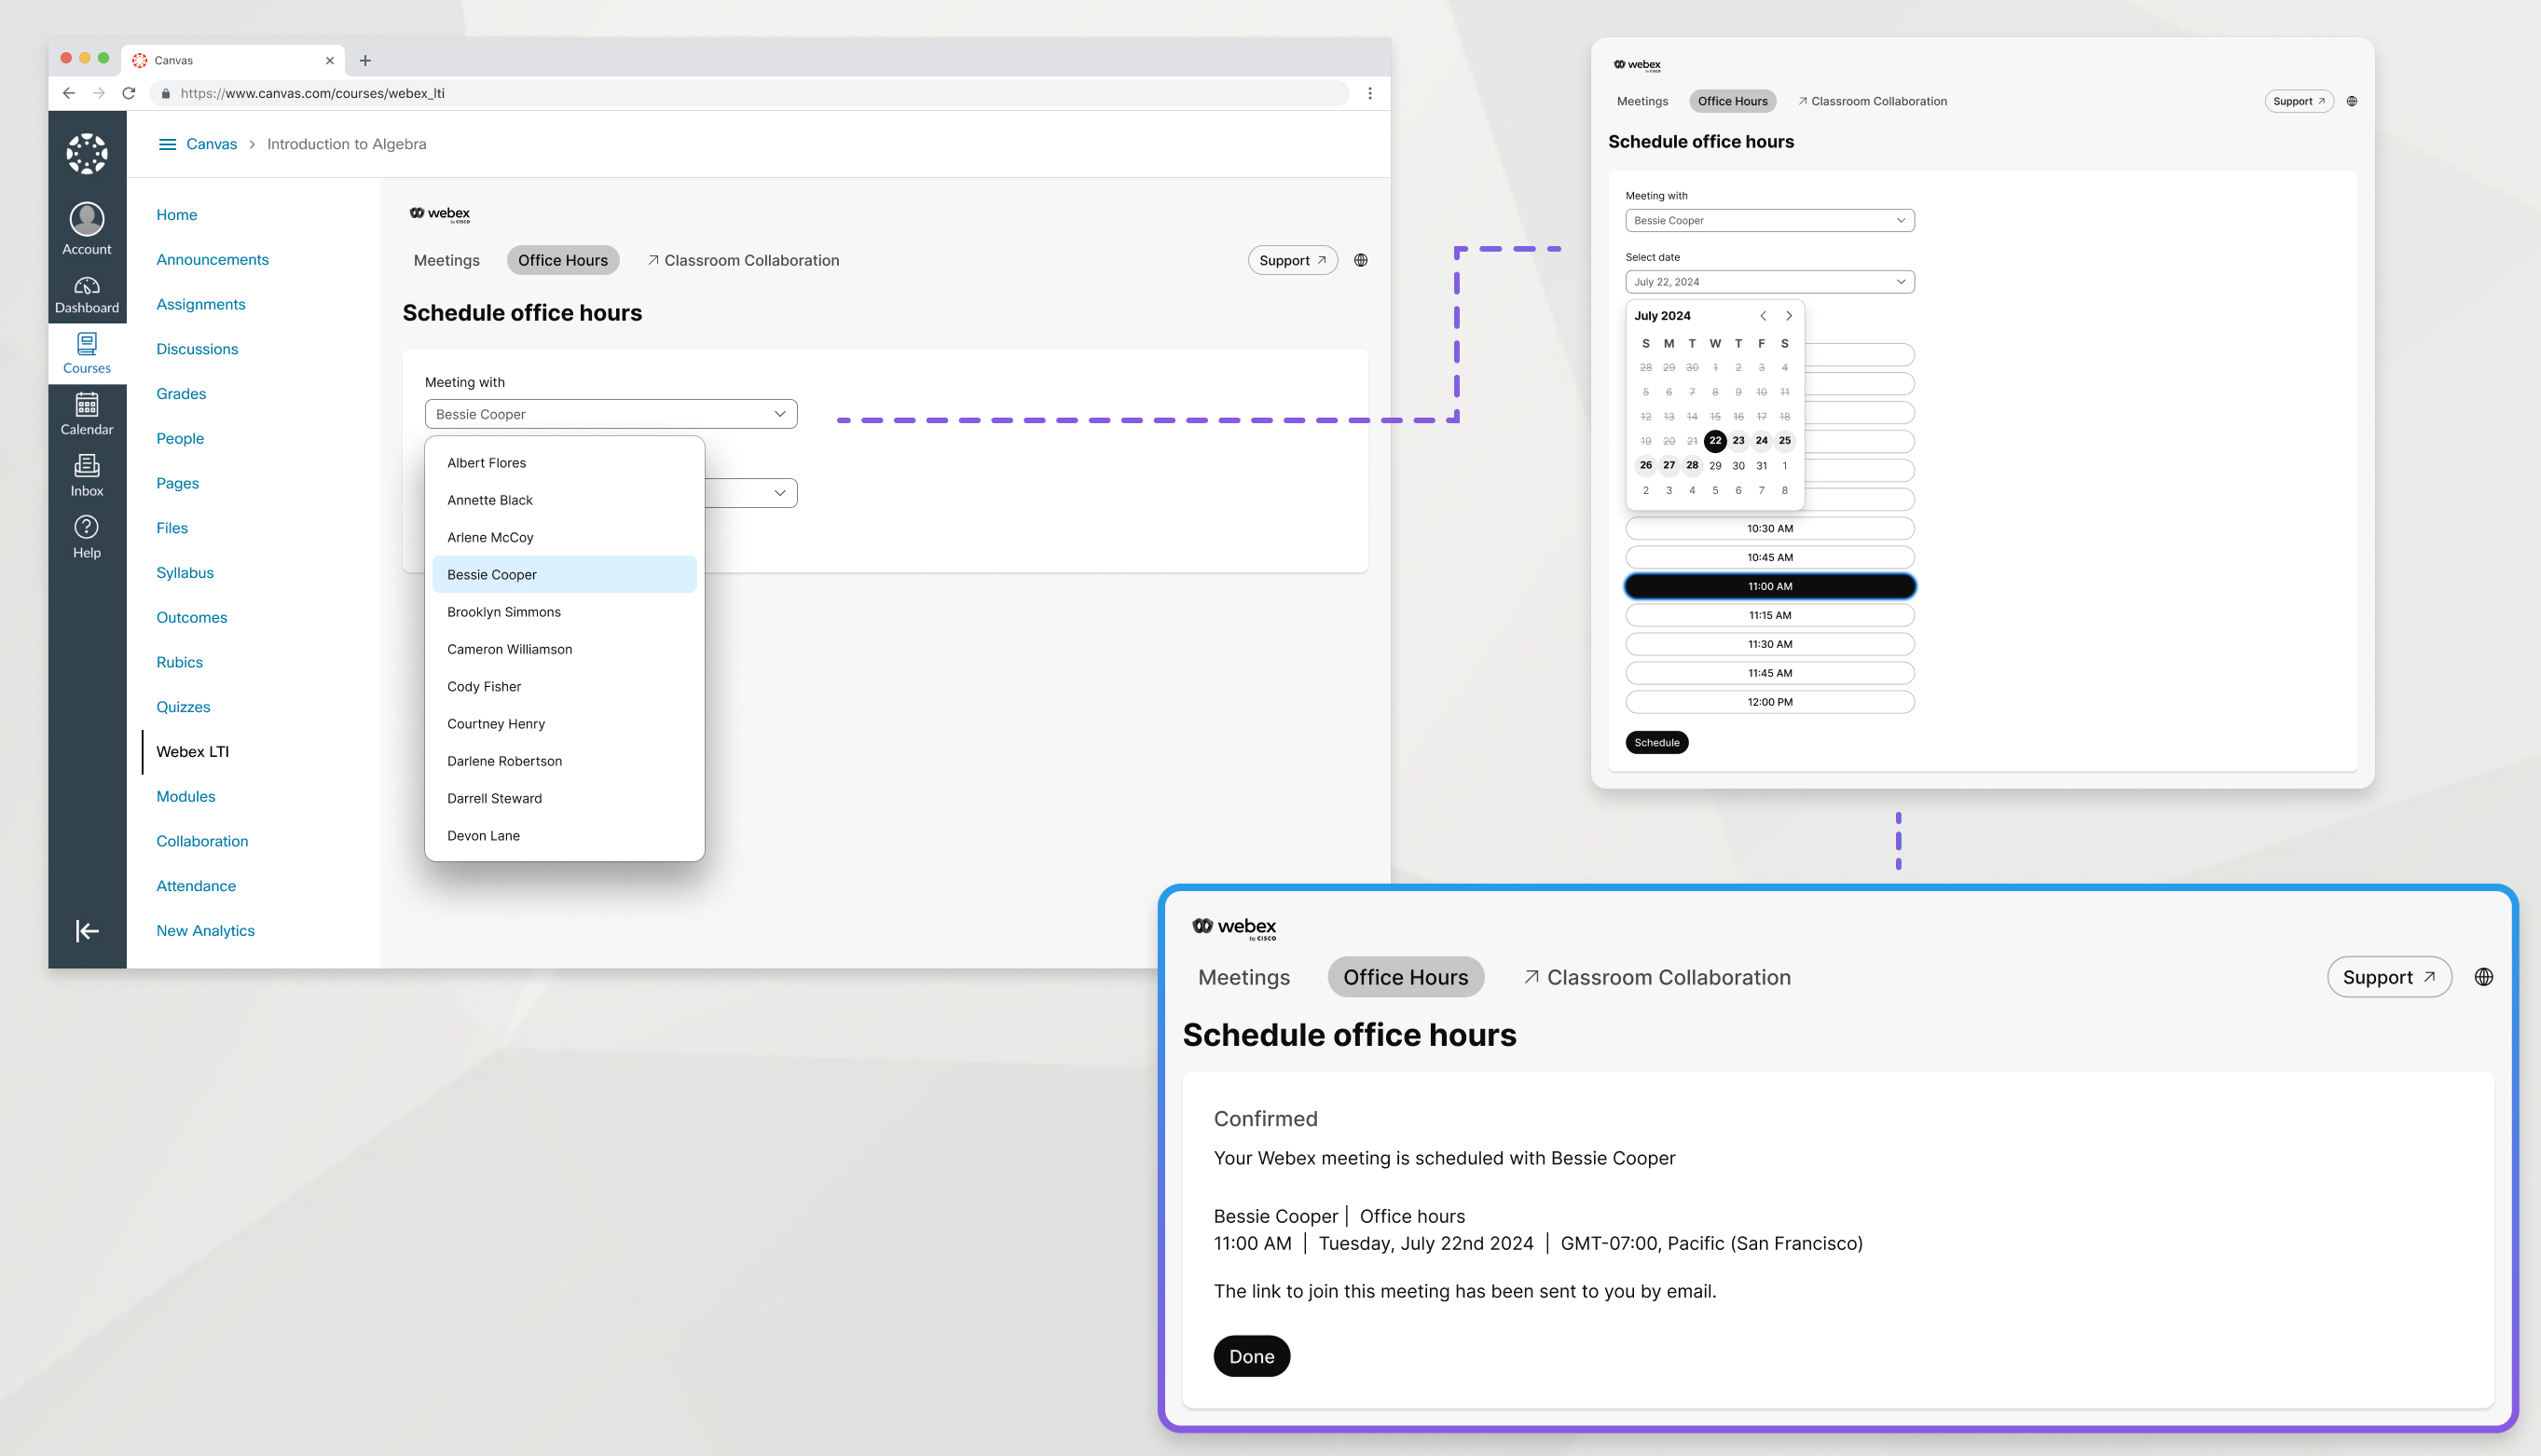
Your teacher can host office hours using Webex LTI. The available dates and times are in the Office Hours tab. To schedule time with your teacher, do the following:
| 1 |
Go to the Office Hours tab. |
| 2 |
Under Meeting with, choose the teacher that you want to meet with. |
| 3 |
Choose the date that you want to schedule the meeting. |
| 4 |
Choose an available time slot from the list. The time slots displayed are based on the course time zone that is indicated on the screen. |
| 5 |
Scroll to the bottom of the screen and click Schedule. |
Classroom collaboration
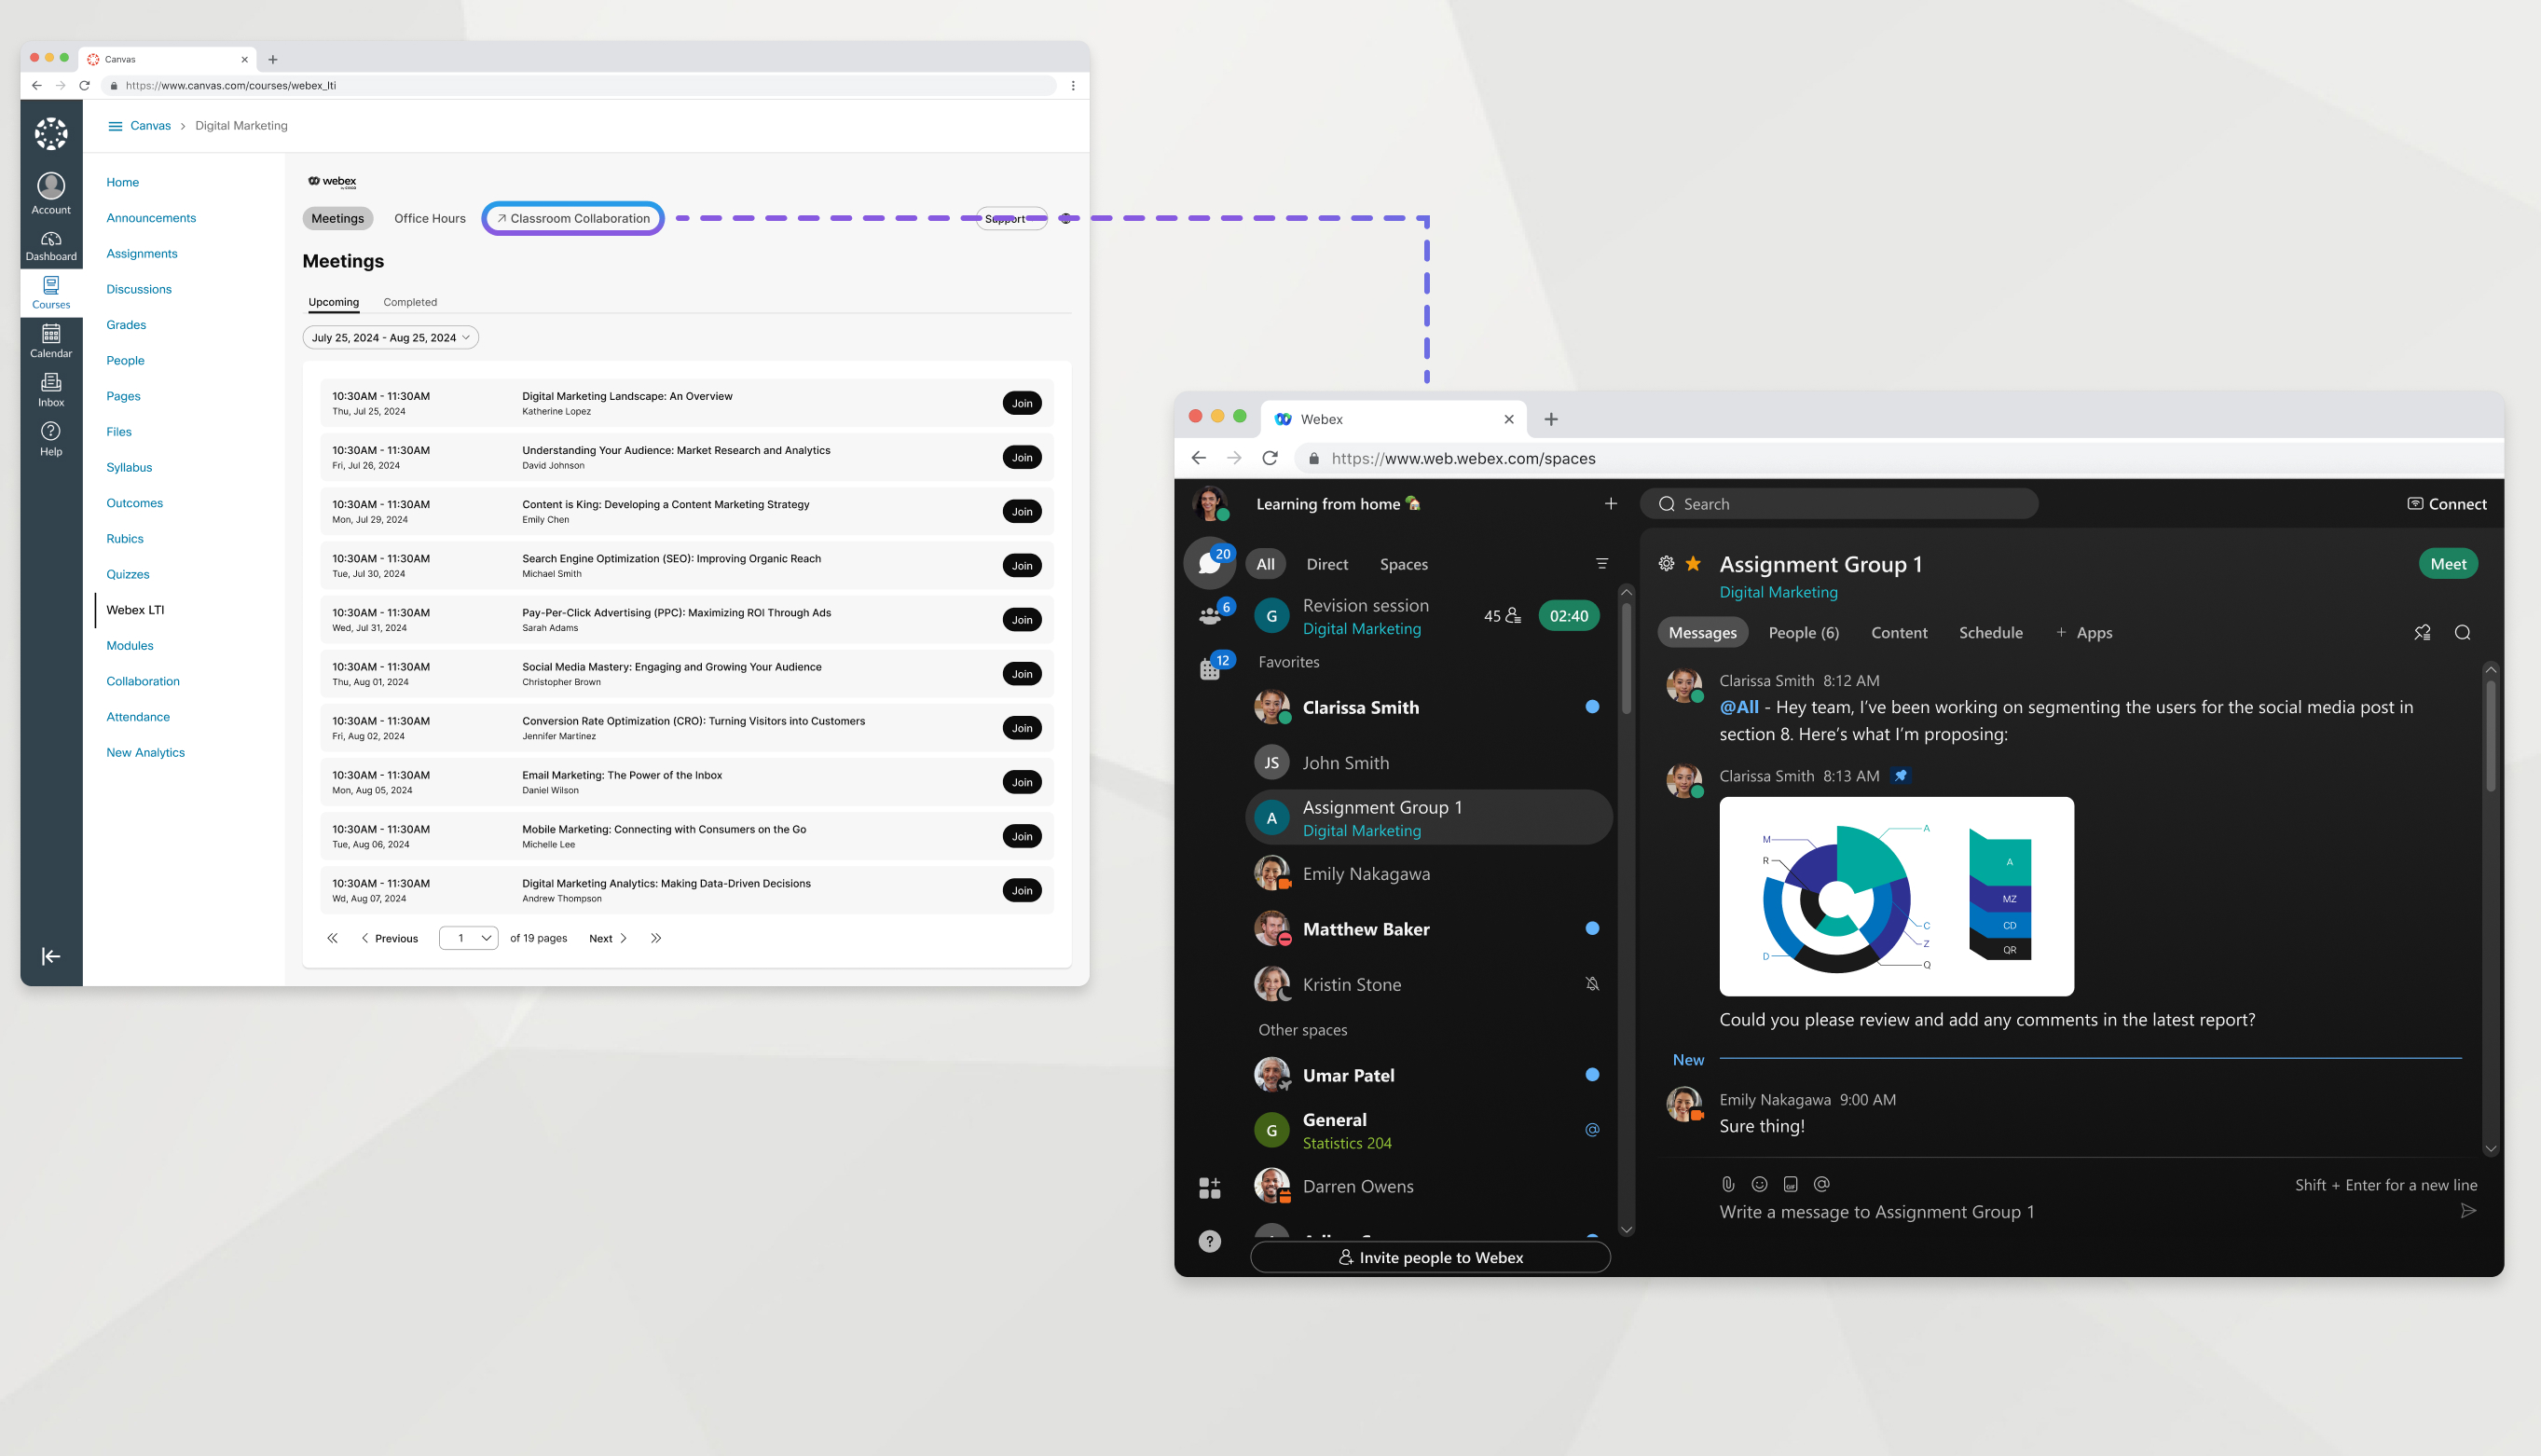
Classroom collaboration is an easy way to message a classmate or teacher, chat with a group, and share files you're collaborating on in the Webex App.
In the Webex App, teams help you keep everything organized by categorizing multiple spaces under a common theme. You have a team for your course, and you could have spaces for smaller groups within a course.
Click the classroom collaboration tab in Webex LTI to access the team for your course.


