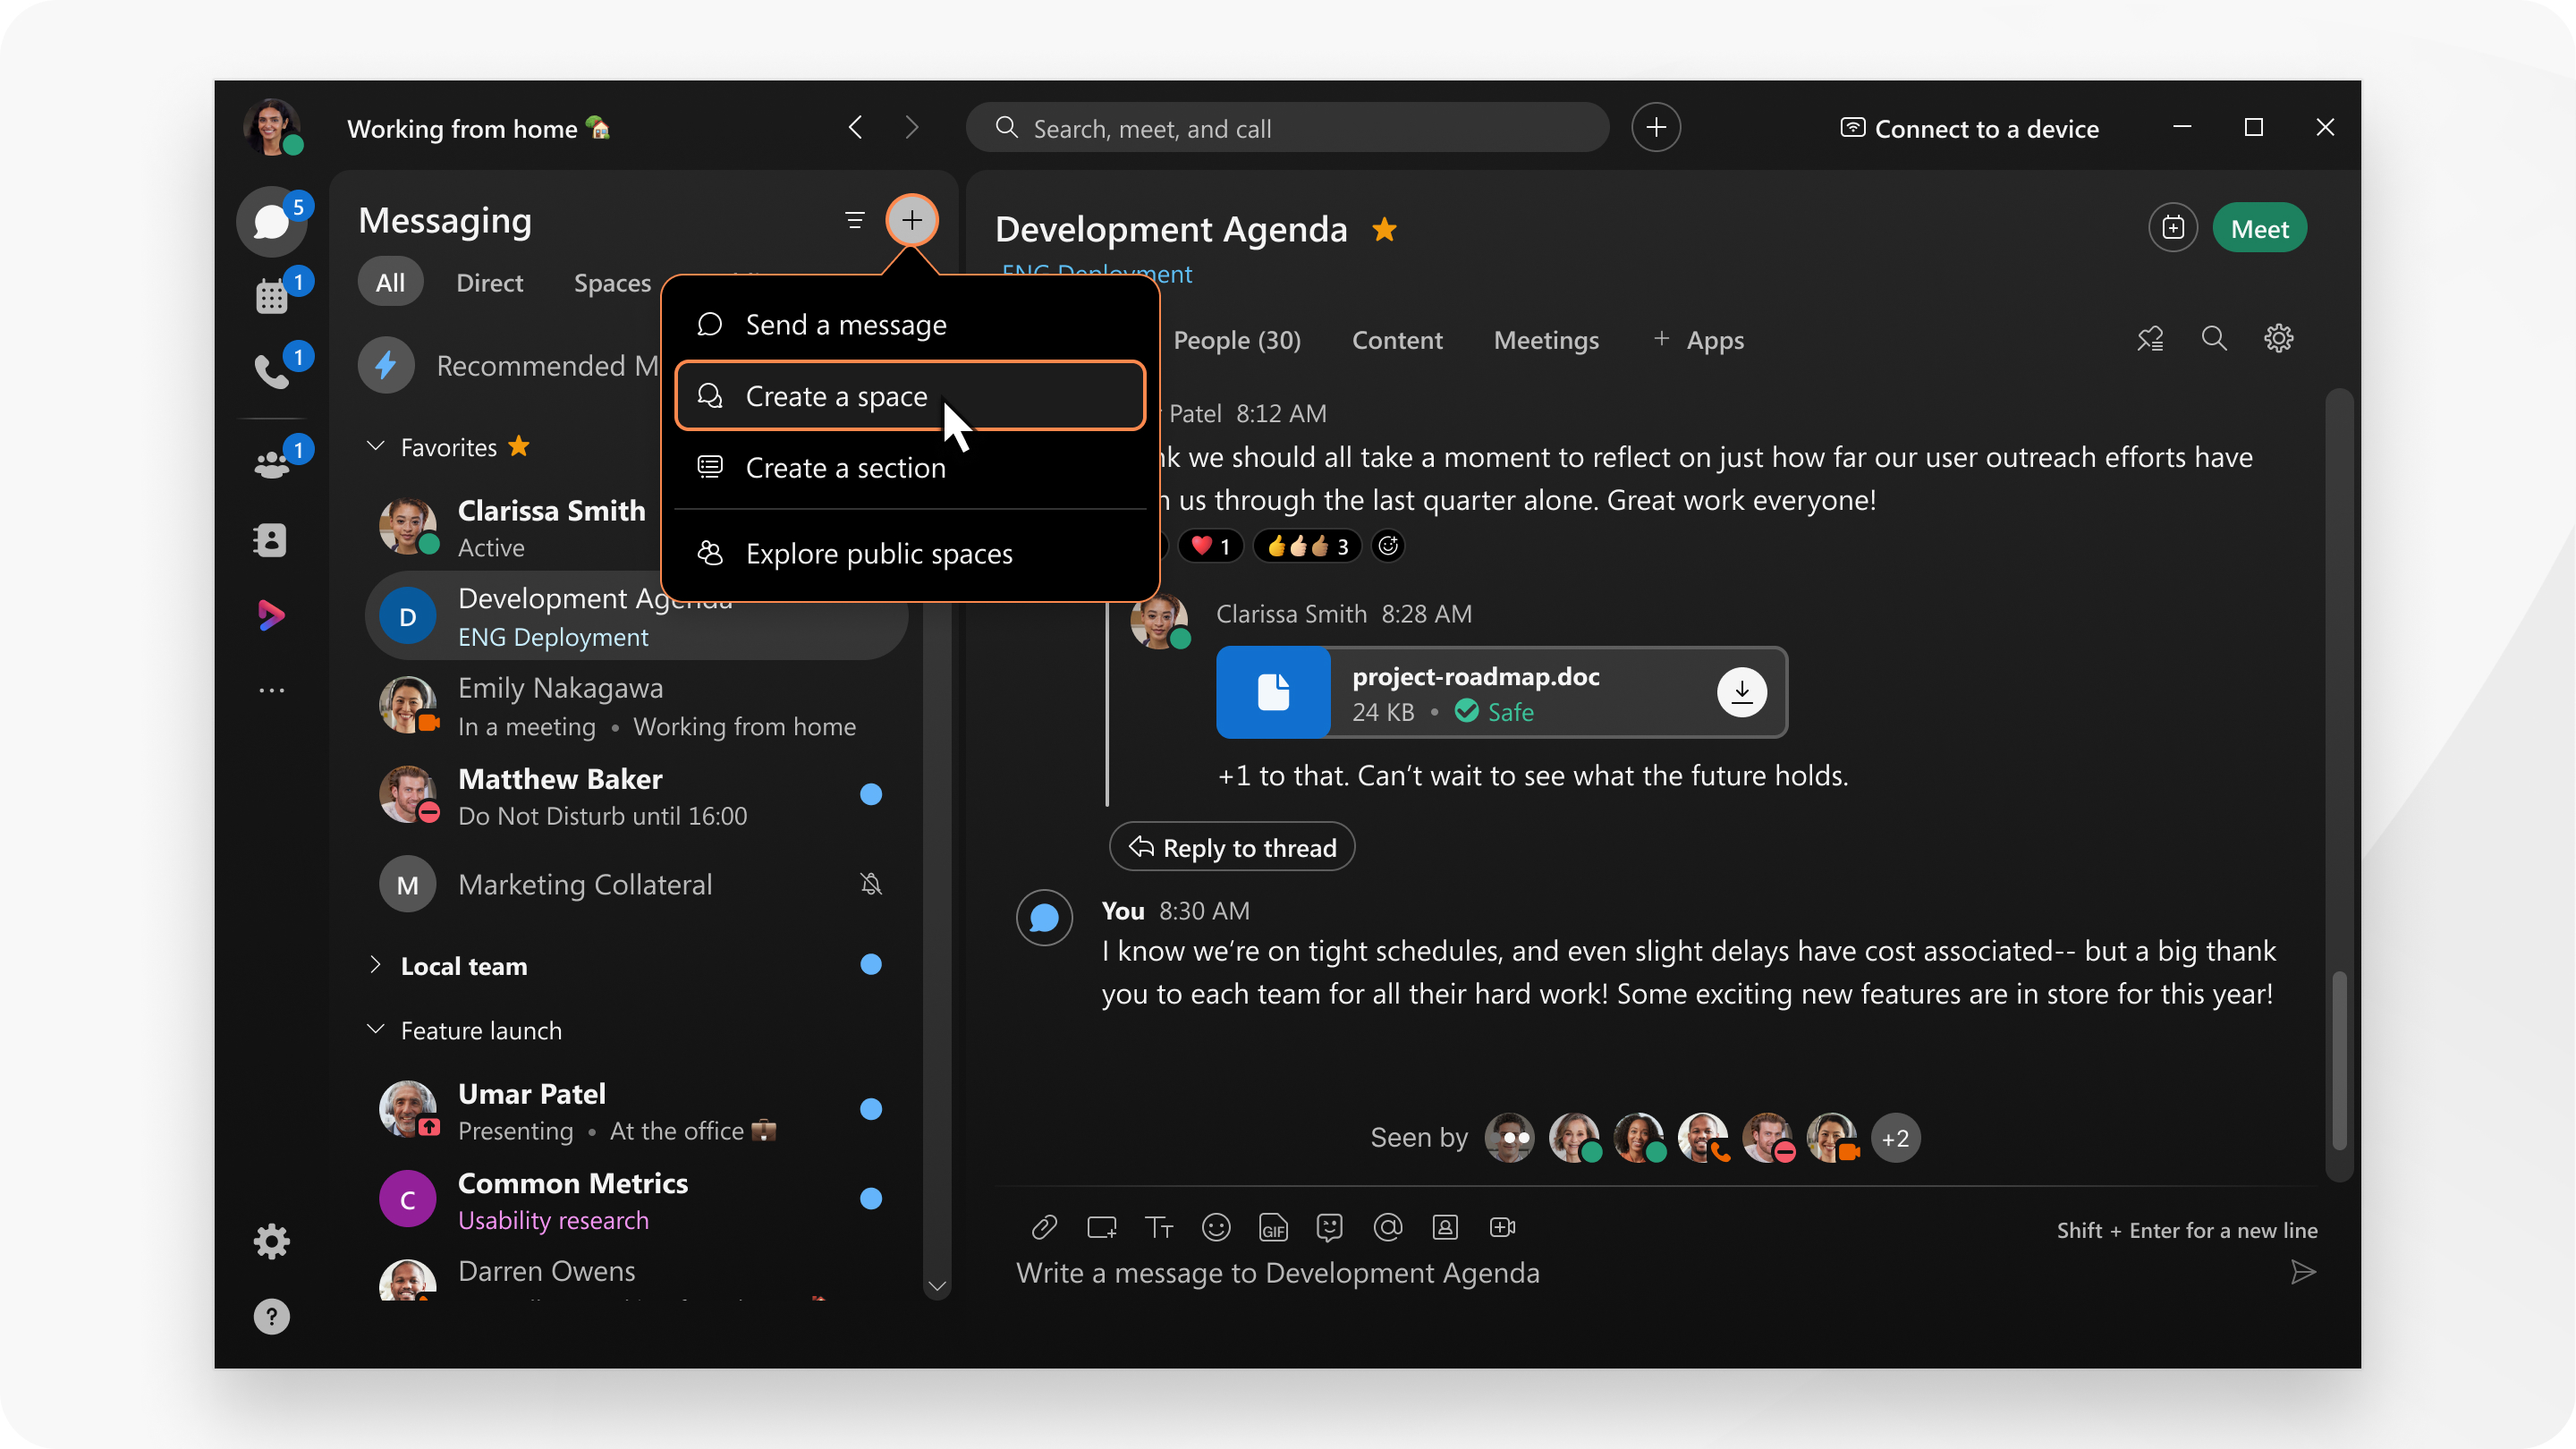
Webex App | Create a space
 Feedback?

| 1 |
At the top of your Spaces list, click You can also click |
| 2 |
Enter a name for your space. As you enter the name for your space, you may see a list of similar spaces that you're already in. If one of those suits your needs, click the space name to go to that space. |
| 3 |
Enter the email address or name for each person you want in the space. As you enter email addresses, this also filters the list of similar spaces with the space name. |
| 4 |
Click Create. |
| 1 |
Go to Messaging, tap |
| 2 |
Give the space a name and tap Next. |
| 3 |
Enter someone's name or email address and select them from the list of suggested people, to add them to the space. |
| 4 |
Then, tap Create to create the space. |
| 1 |
Go to Messaging, tap |
| 2 |
(Optional) Tap Add People, enter their name or email address and select them from the list of suggested people, tap OK to add them to the space. |
| 3 |
Give the space a name, then tap Create Space. |
| 1 |
In the app header, click . |
| 2 |
Enter the names or emails of anyone you want to add, and give the space a name. |
| 3 |
Click Create. |

 , and choose
  , and select
