- Home
- /
- Article

Webex App | GitHub Cloud bot
 In this article
 Feedback?
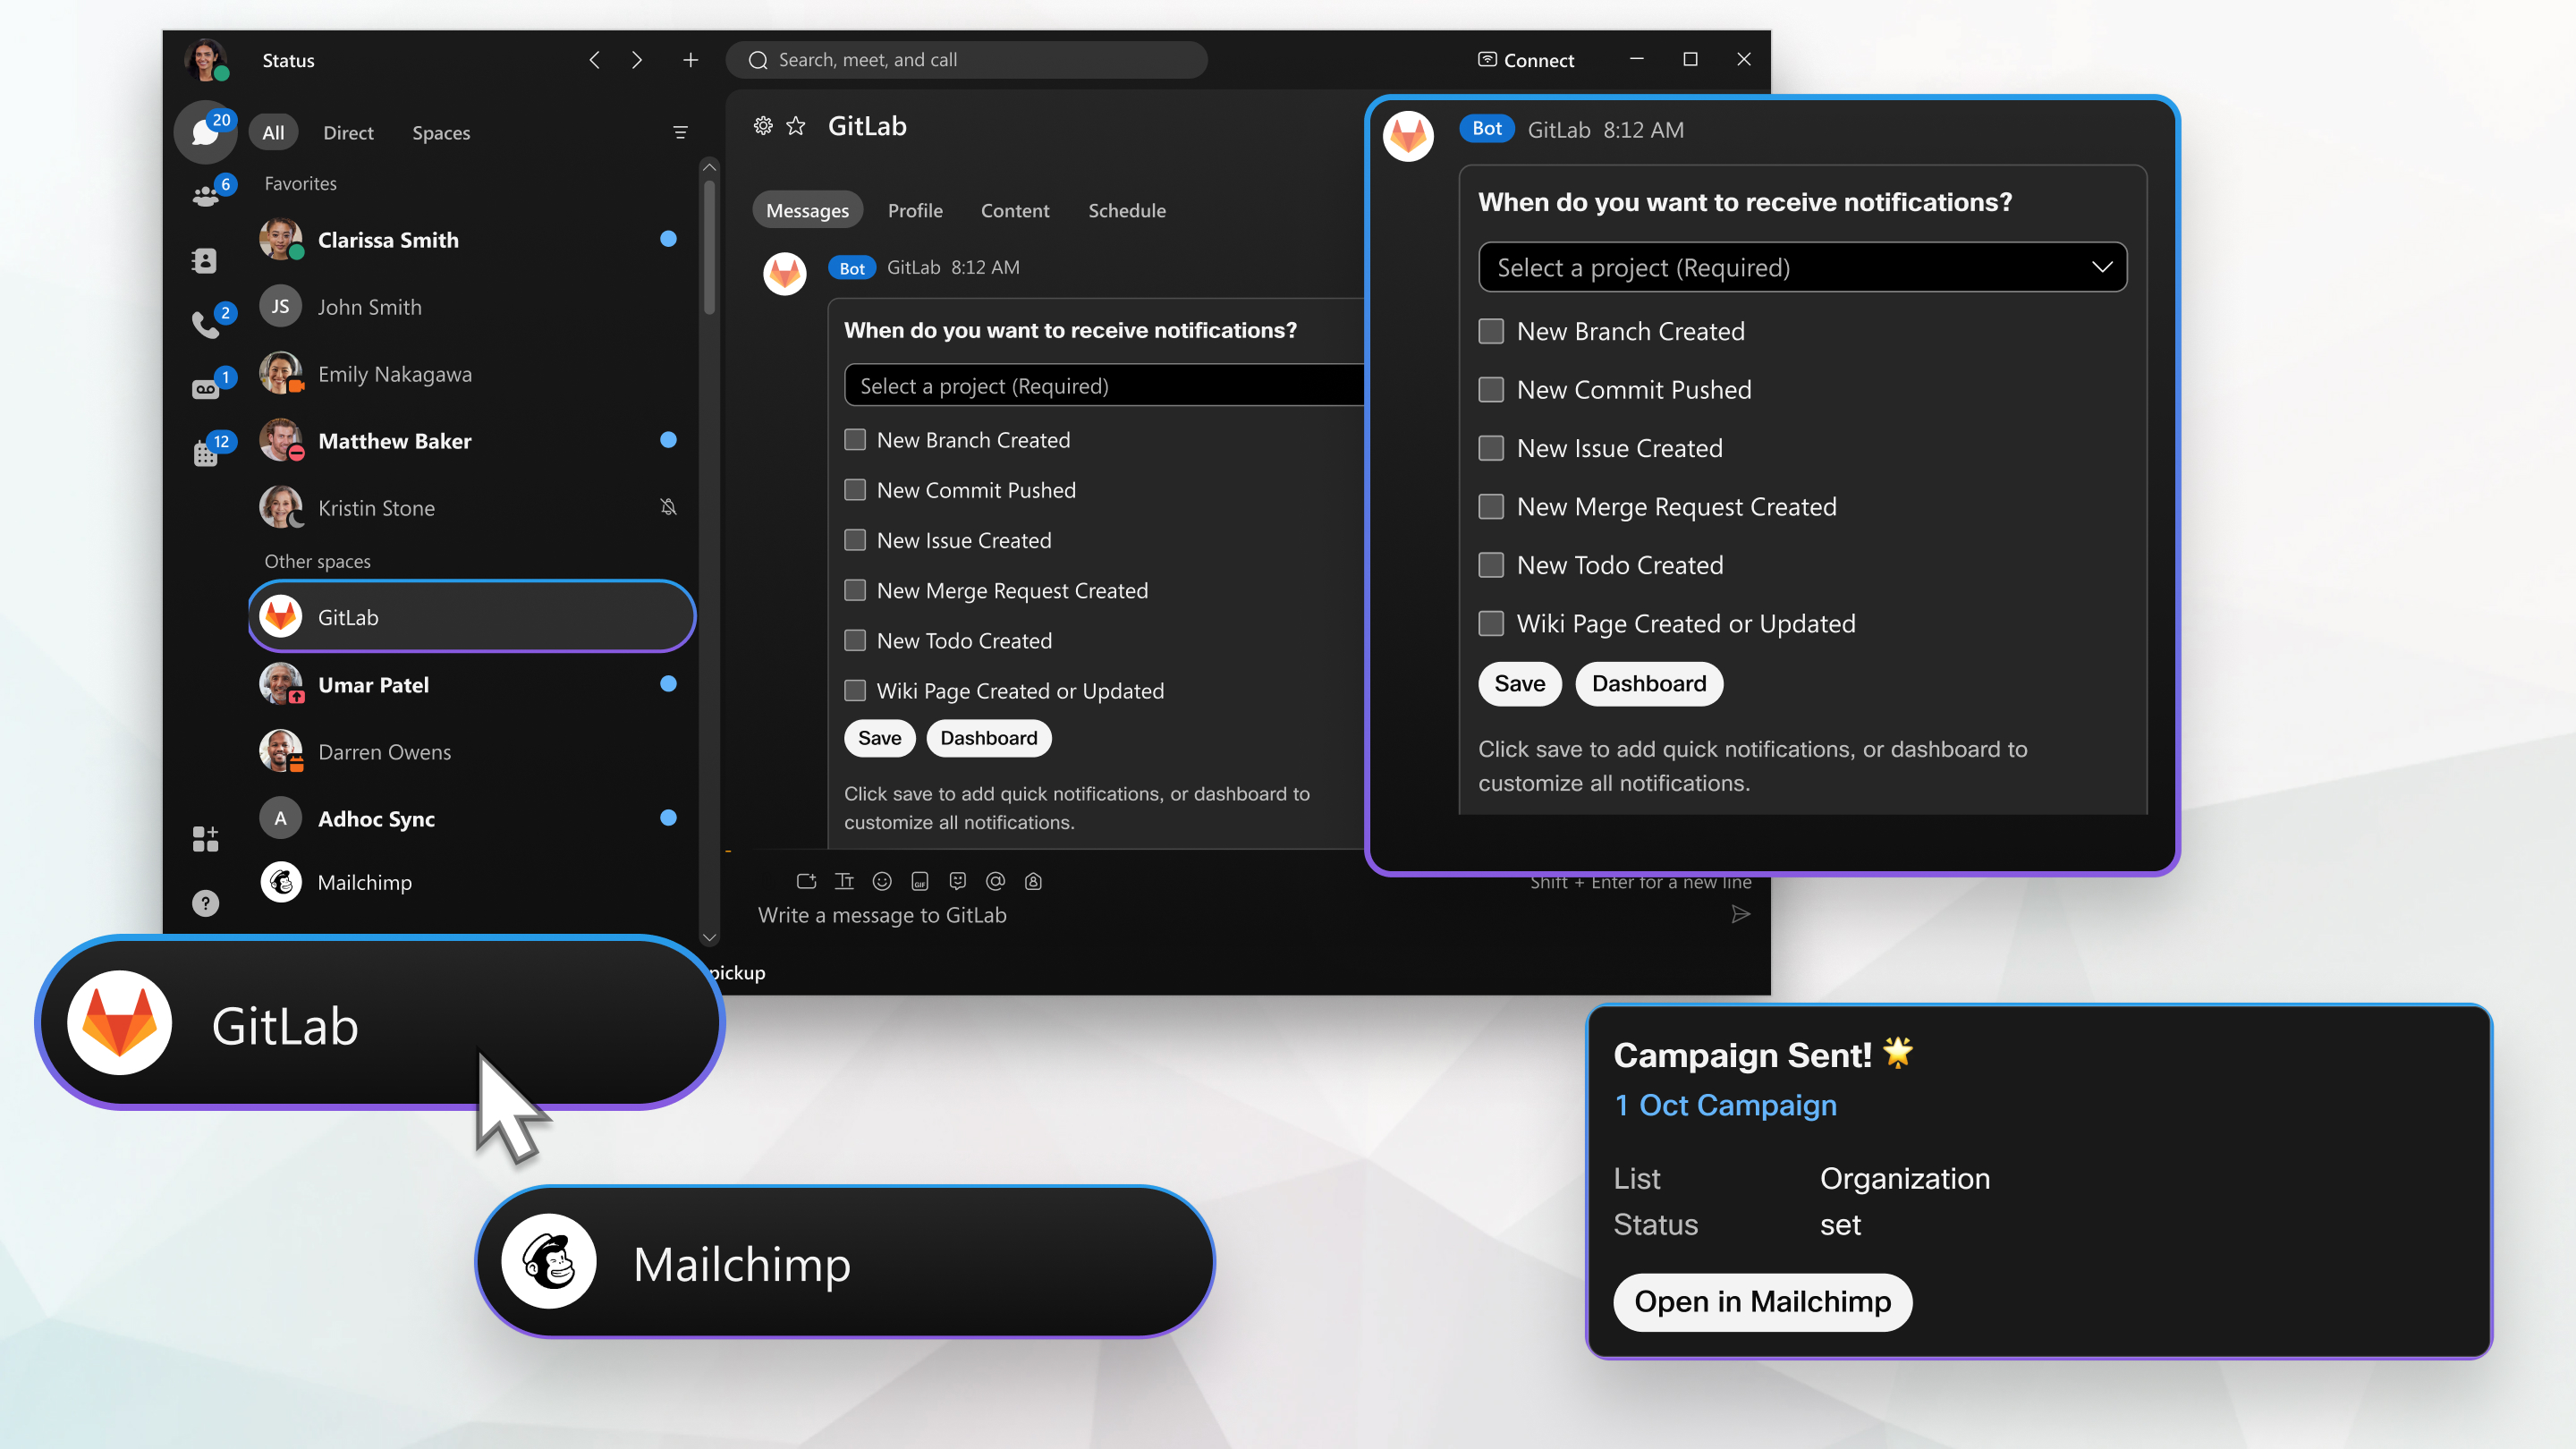
The GitHub Cloud bot streamlines the development process by providing customizable notifications directly within the Webex app. This integration enhances visibility across the entire development cycle, allowing teams to stay updated on important events and actions in GitHub without leaving their communication platform. Whether it's adding the bot to a space, managing notifications, or creating and updating issues, the GitHub Cloud bot offers a seamless and efficient way to keep track of your development activities.

Add the GitHub Cloud bot to a Webex app space
To add the GitHub Cloud bot to a Webex app space:
- Go to Messaging and choose a space to which you’d like to add the GitHub
Cloud bot.
You can also create a new space with just the GitHub Cloud bot.
- Choose People, select Add People, and then enter the GitHub bot
email address:
GitHub02@webex.bot - The bot responds with a card in the space to continue. If you’re in a direct
space, send a
Himessage to the bot. - Select Link GitHub Account and log in with your GitHub credentials.
- When your GitHub account is linked, in the space with the bot, send the message
help.
To list Github bot commands, send the message help in a direct space
or @github help in a group space.
You can create new notifications or manage existing notifications for actions in GitHub for which you’ll receive notifications in the Webex app.
To manage GitHub notifications:
- In a direct space with the GitHub bot, send the message,
manage.You can also enter the message,
@GitHub manage, to manage notifications when interacting in a group space. - Enter a name for your notification, choose your authorization, configure the notification message, and then select Save.
Notification types
The following notification event types are available:
- Workflow Job
- Discussion Comment
- Discussion
- Collaborator Added
- Issue Comment Deleted
- New Branch or Tag Created
- Release Published
- Commit Pushed
- Issue Comment Updated
- Branch or Tag Deleted
- Repository Forked
- Commit Status Updated
- Repository Starred
- Commit Comment Added
- Pull Request Comment Added
- Wiki Page Added or Edited
- Collaborator Removed
- New Deployment Created
- Deployment Status Updated
- Team Repository Added
- Workflow Run
- New Issue Create
- Issue Updated
- Issue Comment Added
- Pull request opened
Notifications for event types can be set from the management portal as described above.
The following sections cover managing Github issues.
Create a GitHub issue
To create an issue in GitHub directly from your space:
- In the space with the GitHub bot, send the message,
help. - Select Create Issue.
- You can also send the message,
@github create, to create an issue.
You’ll get multiple cards one after another asking you to choose an organization and repository before you can fill in the form to create an issue.
Update a GitHub issue
To update a GitHub issue:
- In the space with the GitHub bot, send the message,
help. - Select Edit Issue.
You can also enter
@github
          update
in a group space to update an issue. - Select the owner or organization and then choose the repository.
- Select the issue from the list of issues and select Continue.
- Fill in the form to update the issue accordingly:
Retrieve details about a GitHub issue
To retrieve and review details about a GitHub issue:
- In the space with the GitHub bot, send the message,
help. - Select View Issues. >
You can also enter
@github
          view
in a group space to get details about an issue. - Select the owner or organization and then select the repositories from the card provided by the bot.
- Choose an issue and select Continue to get the issue details:


