- Home
- /
- Article

Thanks for your feedback.

Webex | Record a meeting or webinar on your computer
 In this article
 Feedback?
Record meetings or webinars on your computer for people who can't attend or for those who want to refer back to what was discussed.
Before a meeting can be recorded, summarized, or transcribed, everyone participating needs to give their consent. This way, you’re fully informed and in control of your personal data.
For more information, see Explicit consent in meetings.
As the host, you can record meetings on your computer if your site administrator has allowed local recording for your site.
Your recordings include the participant audio, video, and anything shared during the meeting.
Recording format
Recordings save to your computer in the MP4 format.
Recordings don't include the panels, such as the chat panel and participants panel, transcripts, or any files that you share using Share File. You can't choose a recording layout.
Recording location
On the Webex Suite meeting platform, when you record a meeting on your computer, you can choose where to save the file, or it saves to the default file location, your Downloads folder.
-
For Windows: Recordings save to the Documents
 folder in My Computer by default.
 Always save recordings to a local folder on your computer. Don't save recordings to a network file location since you can't play back recordings from a network file location.
-
For Mac: Recordings save to the Home folder by default, which you can access with Finder.
Allow anyone with the presenter role to record (Webex Training)
If your site administrator allows recording in the WRF format (Windows only) for Training, you can let a participant record the training session by making them the presenter. Once you make a participant the presenter, the Recorder icon appears in their session controls. As the host, you can't start a new recording on your computer until you make yourself the presenter again. You can still record in the cloud. If you already started recording on your computer and then make someone else the presenter, the new presenter can start a recording without stopping yours.
Record your meeting
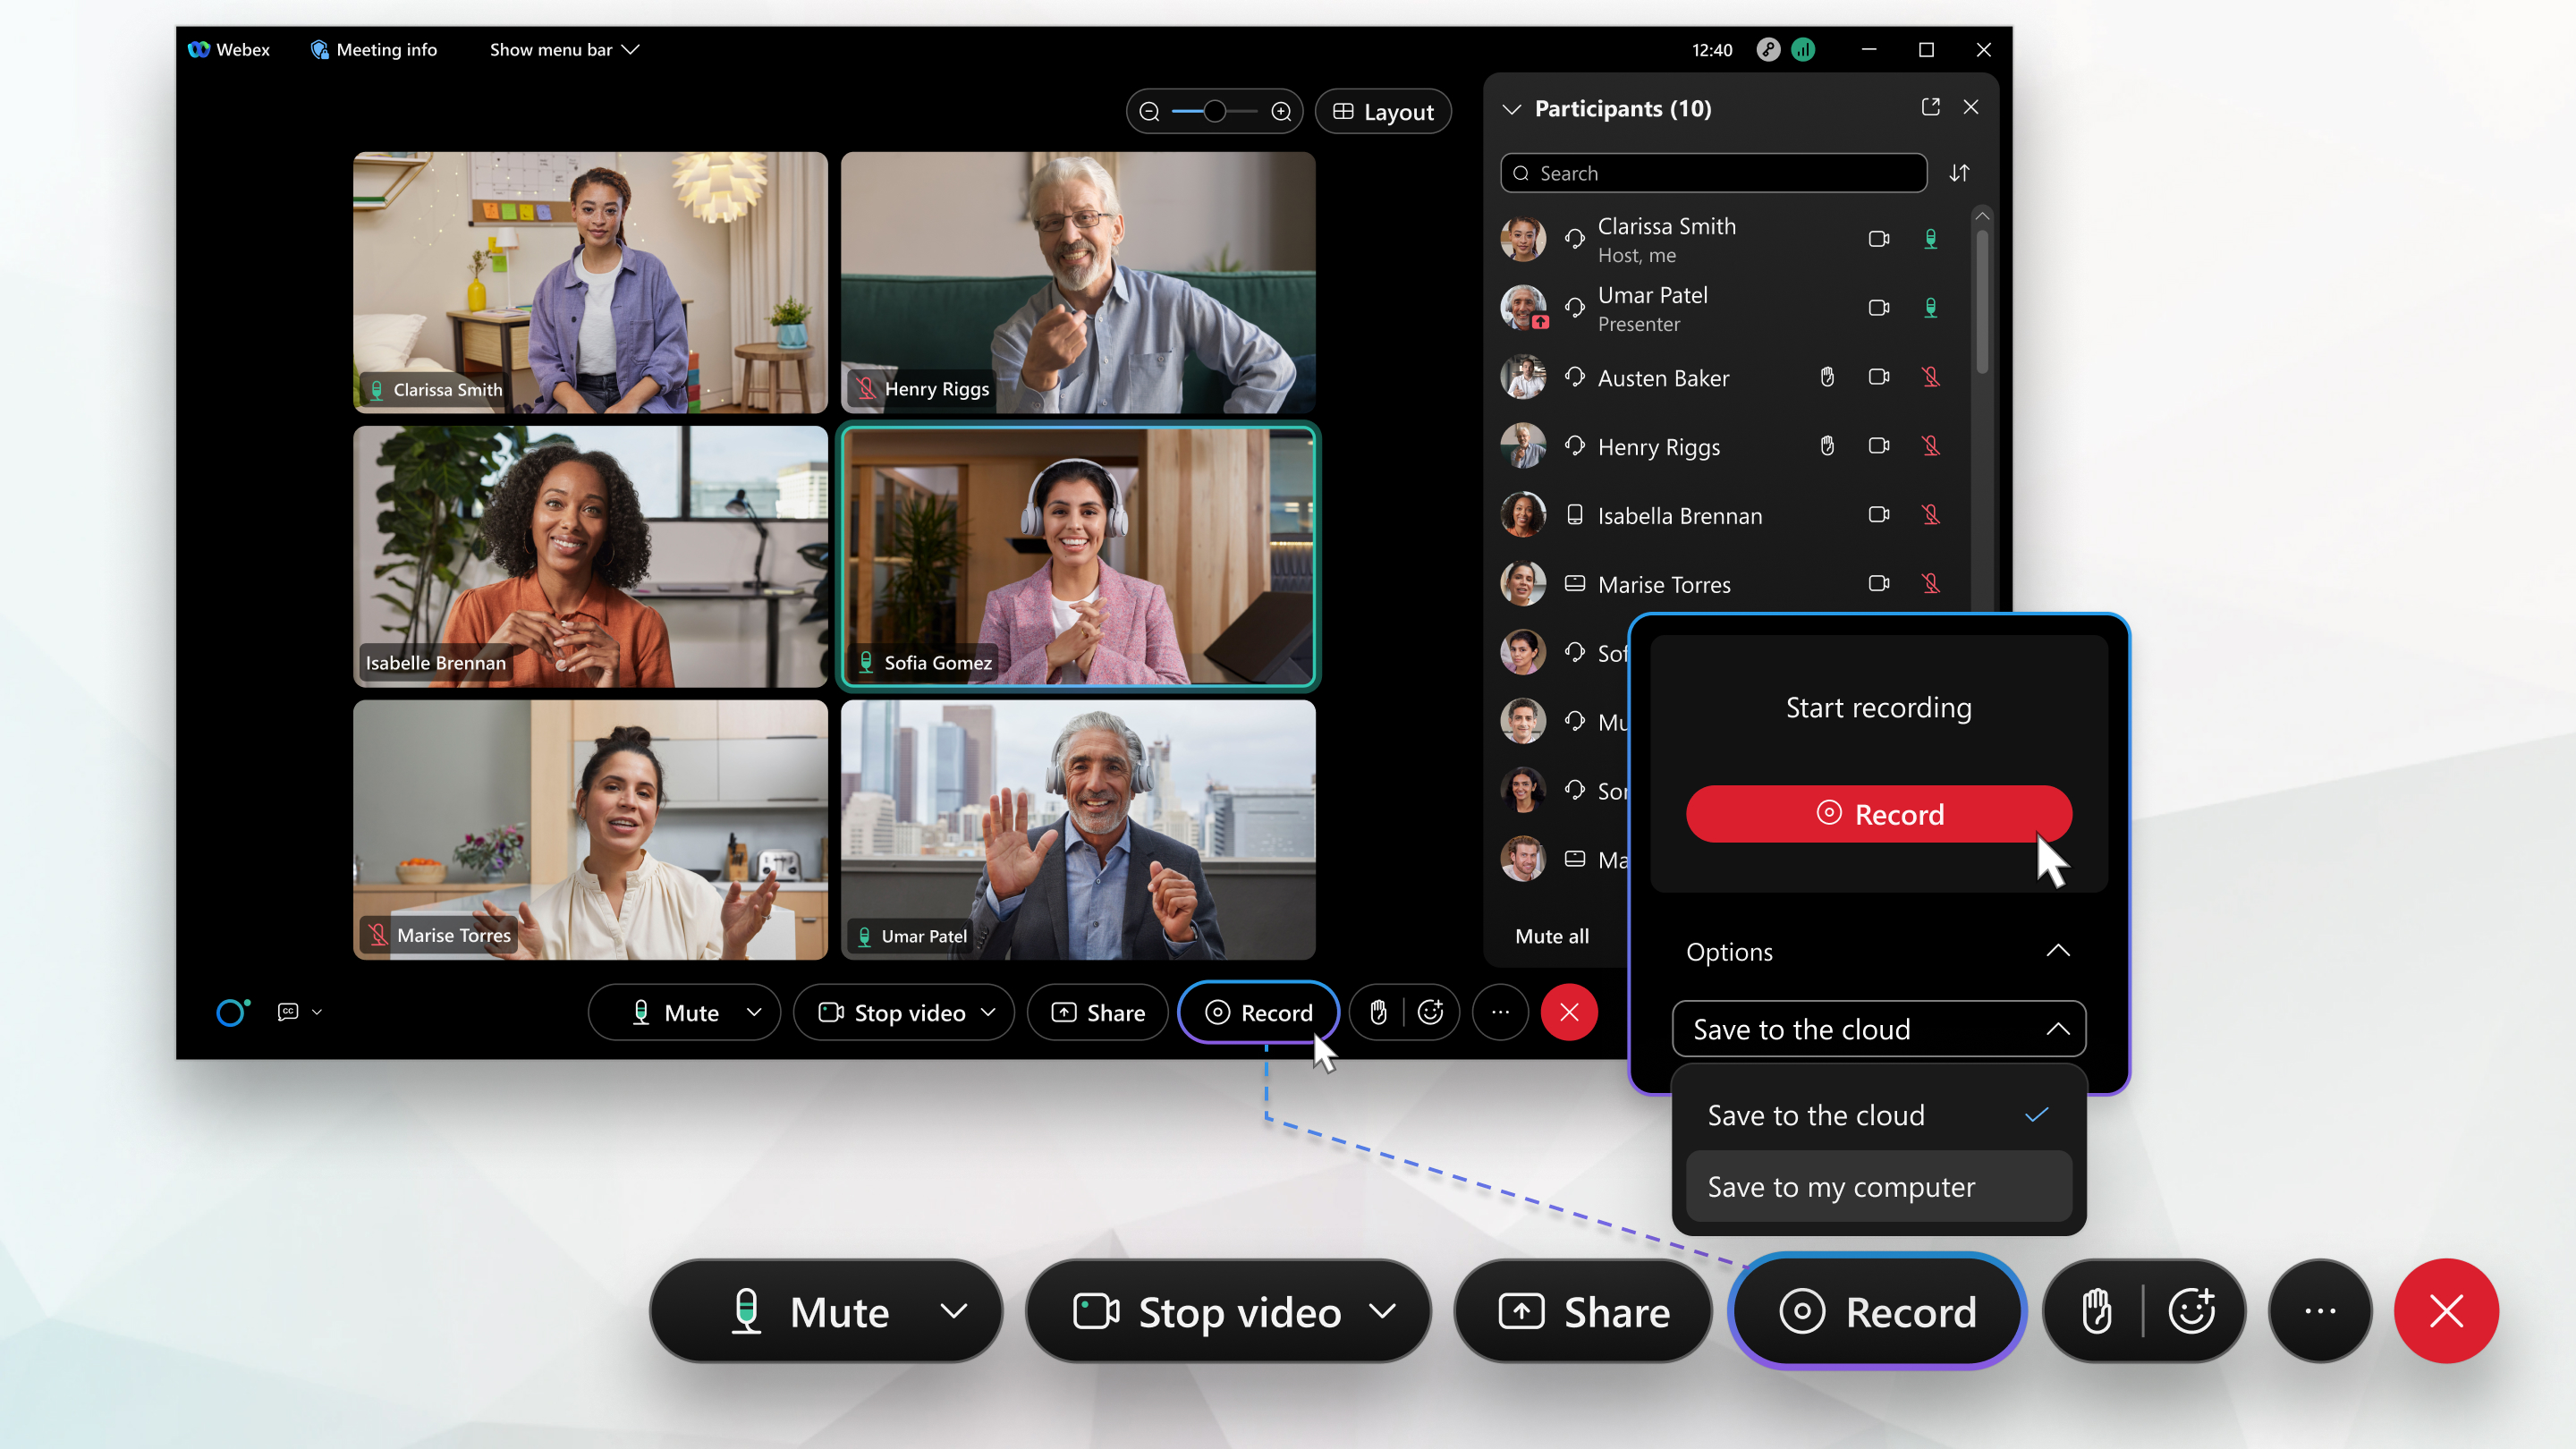
To include audio in your recording, you must select Computer audio as the audio option. If you connected to audio using a different option, a warning appears, but you can still record without sound.
| 1 |
Click Record Don't see the computer option? The option may be disabled. Contact your Webex site administrator. If you subscribe to Webex from your Service Provider, please direct questions about this feature to your Provider’s customer support team. |
| 2 |
Click Record. |
| 3 |
(Optional) Click Record, and then choose Pause and Resume to maintain a single recording. For meetings or events that last many hours, it's a good idea to make multiple recordings for more manageable file size and easier viewing. |
| 4 |
Click Stop to end your current recording. When the meeting or event ends, your recording saves to your
computer.
|
 and select the option for your computer.


