- Home
- /
- Article

Thanks for your feedback.


 In this article
 Feedback?
Use the configure layouts feature to view a phone’s default layout or customize the programmable line keys (PLK) on the phone and on any attached Key Expansion Modules (KEM).
Overview of default and custom layout modes
Cisco IP phones offer both default and customizable layout modes for various functionalities like line appearances, speed dials, and feature access.
Default layouts are pre-configured, while custom layouts allow administrators to configure the phone's interface to specific needs, such as assigning lines, speed dials, and features to physical or virtual keys.
Prerequisites
-
Supported on Cisco Video Phone 8875 and Cisco 6800, 7800, 8800, and 9800 Series phones.
-
Supported on Cisco Key Expansion Modules (KEM) for Cisco Desk Phones 9851, 9861, and 9871, Cisco 6800 and 8800 Series phones.
Configurations
-
Use the Configure Lines feature to configure the Primary and shared lines for the user’s phone.
-
Add the monitored lines, call park extensions, and/or speed dials to the user's or workspace's Monitoring list.
Configure a layout for a user's phone
Prerequisites for both the default and custom layout modes
-
Supported on Cisco 6800, 7800, 8800, 8875, and 9800 Series phones.
-
Supported on Cisco Key Expansion Modules (KEM) for Cisco MPP 6800 and 8800 Series phones.
-
Primary and shared lines for the user’s phone are configured using the Configure Lines feature.
-
Monitoring users and/or call park extensions are added to the user’s Monitoring list.
Known issues and workarounds
-
In custom layout mode, changing existing monitor or speed dial assignments to open or changing the layout mode back to default may not remove the current monitor or speed dial values on the phone. This results in a mismatch between the layout displayed in Control Hub and what is showing on the phone. In some cases, the old monitor entries on the phone may cause a conflict on the phone resulting in a blank line key with a blinking amber LED. To resolve the issue, use one of the workarounds listed below.
-
Admin clearing the stale monitor or speed dial line keys
From the configure layout screen, stale monitor or speed dial line keys can remotely be cleared by temporarily changing the line key entries to the primary line option, saving the entries and then applying changes. Once the phone is updated, you can set the desired line keys to use the open option to clear the keys.
-
Phone user manually clearing stale monitor or speed dial line keys
This workaround should be done by the phone provisioning admin. Stale Monitor or Speed Dial entries can be cleared on the phone through a long button press of the line key and then select the None option from the menu.
-
This workaround is not applicable to remove call park extension.
-
This workaround applies to Cisco 8845 and 8865 devices.
-
-
- Monitoring list that includes call park extensions
If a user’s monitoring list includes call park extensions, it is recommended that the call park extensions be positioned at the end of the monitoring list and the layouts should only contain enough monitoring positions to accommodate the user portion of the monitoring list.
For example, if a user’s configured monitoring list contains four user entries and four call park locations, the administrator should create a layout with only four monitoring positions and at least four open keys. This allows the user monitoring entries to fill the layout monitoring line keys and the call park locations to fill the open line keys.
- When in Add KEM mode, switch between the 14 and 18 button KEM styles will not preserve the configuration.
Preview layout mode
Use the preview mode to see how the layout appears when you apply changes to the device. The preview helps verify the layout based on the line keys, speed dials, and shortcuts you populate. Preview mode is available for phones with and without physical line keys.
For the Cisco Video Phone 8875, the preview uses the following tabs to simulate the touchscreen interface:
- Main screen - View the order of the first four line key assignments.
- All - View all of the configured line keys, speed dials, and shortcuts.
- Lines - View the configured lines.
- Speed dials - View the configured speed dials.
- Shortcuts - View the configured shortcuts.
If you don't perform any action in the configure layouts screen, the phone automatically uses the default layout that uses the following logic:
-
The first-line key position (upper left PLK) is always the primary owner of the phone.
-
The remaining PLKs populate in the following order starting from the second PLK (from Left side down and then right side top to bottom):
-
Any additional primary and shared lines that are specified in the configure lines section are applied.
-
Any monitoring list entries (top-down) are applied to any remaining empty PLKs.
-
If a KEM(s) is attached to the device, additional monitoring entries overflow to the first available KEM key starting on the top-left to the KEM bottom-right, and from KEM page 1 to page 2, and so on.
-
-
When in the default layout, the preview layout is the only available view.
-
Currently, primary and shared lines aren't available in KEM keys.
-
Any keys not populated automatically by the layout are considered open PLK and KEM keys.
Preview layout mode
Use the preview mode to see how the layout appears when you apply changes to the device. The preview helps verify the layout based on the line keys, speed dials, and shortcuts you populate. Preview mode is available for phones with and without physical line keys.
-
For layouts with open PLKs, manually provisioned speed dials from the phone don't appear in preview.
-
Refer the PLK explanation to find out why a particular PLK is assigned an unexpected value.
For the Cisco Video Phone 8875, the preview uses the following tabs to simulate the touchscreen interface:
- Main screen - View the order of the first four line key assignments.
- All - View all of the configured line keys, speed dials, and shortcuts.
- Lines - View the configured lines.
- Speed dials - View the configured speed dials.
- Shortcuts - View the configured shortcuts.
Custom layout
Use the custom layout to change the PLK layout in your device. As an administrator, you can define the following changes to the PLK layout using the drop-down list for each PLK.
Functional options
-
Choose the required option from the drop-down lists and set PLK values as needed.
-
Swap PLK positions by dragging from one position to another.
-
Use the Add KEM option (if the MPP model supports KEM) and configure monitoring and speed dial entries.
-
You can save or cancel editing of the Layout.
-
Use the Apply Changes option from the device edit, Actions menu to push the new layout to the device.
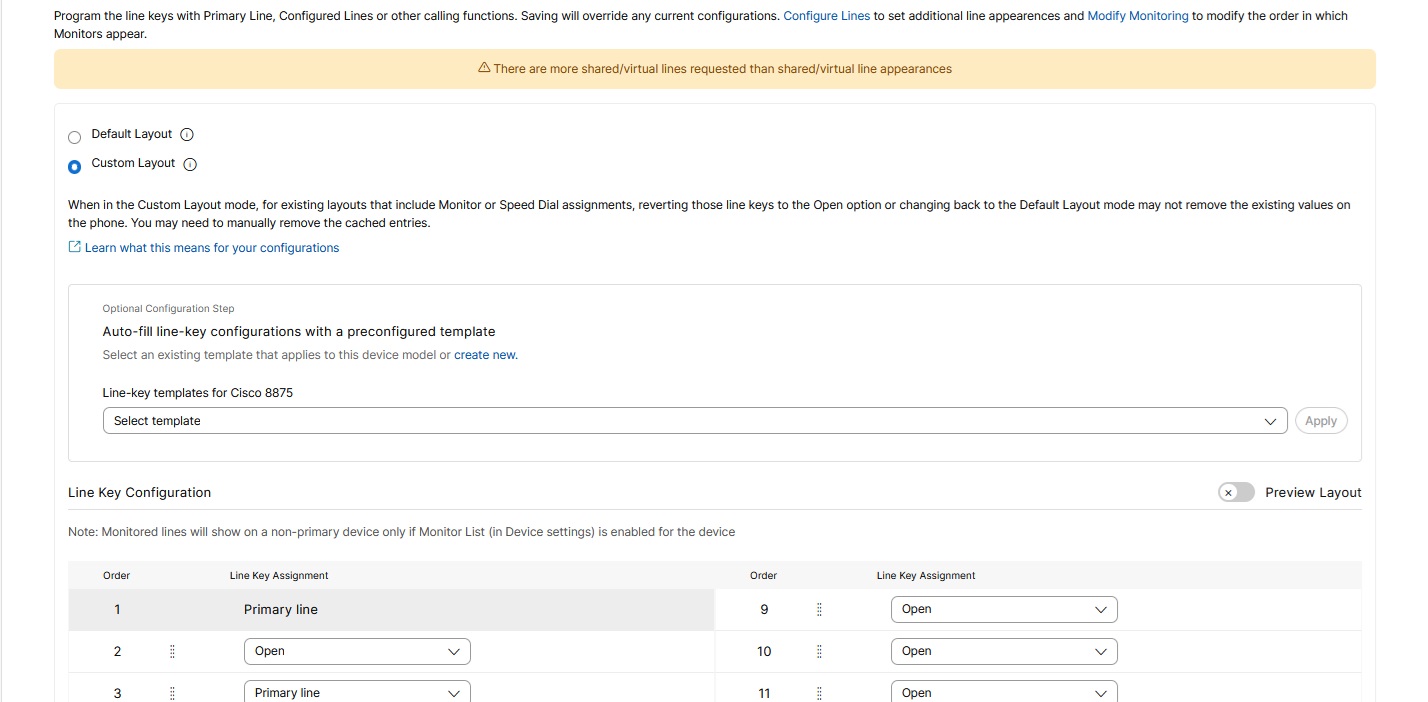
Line-Key Layout Template
The line-key layout template allows you to configure the phone's main screen. This template does not include Key Expansion Module (KEM) configurations or multi-page layout settings.
Auto-fill Line-Key Configurations
Use a pre-configured template to automatically populate line-key settings. You can select an existing template compatible with your device model or create a new one.
PLK configurable options
-
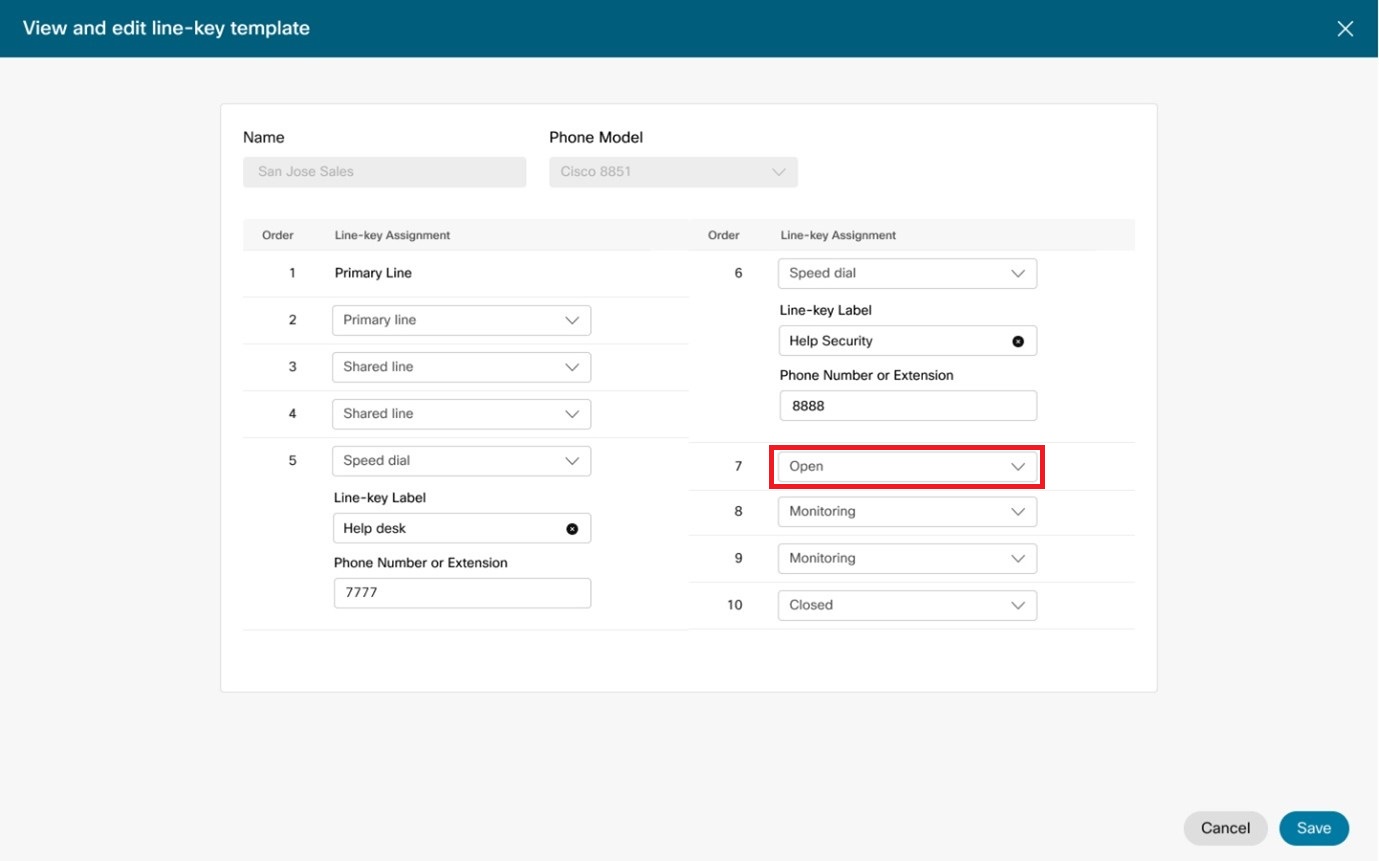
Open – No value specified.
-
Primary line is the default option for all PLKs other than the first-line appearance (dedicated primary line).
-
Overflow from the monitoring list fills up the open PLK positions.
-
You can manually provision a speed dial on open PLKs in the phone.
-
-
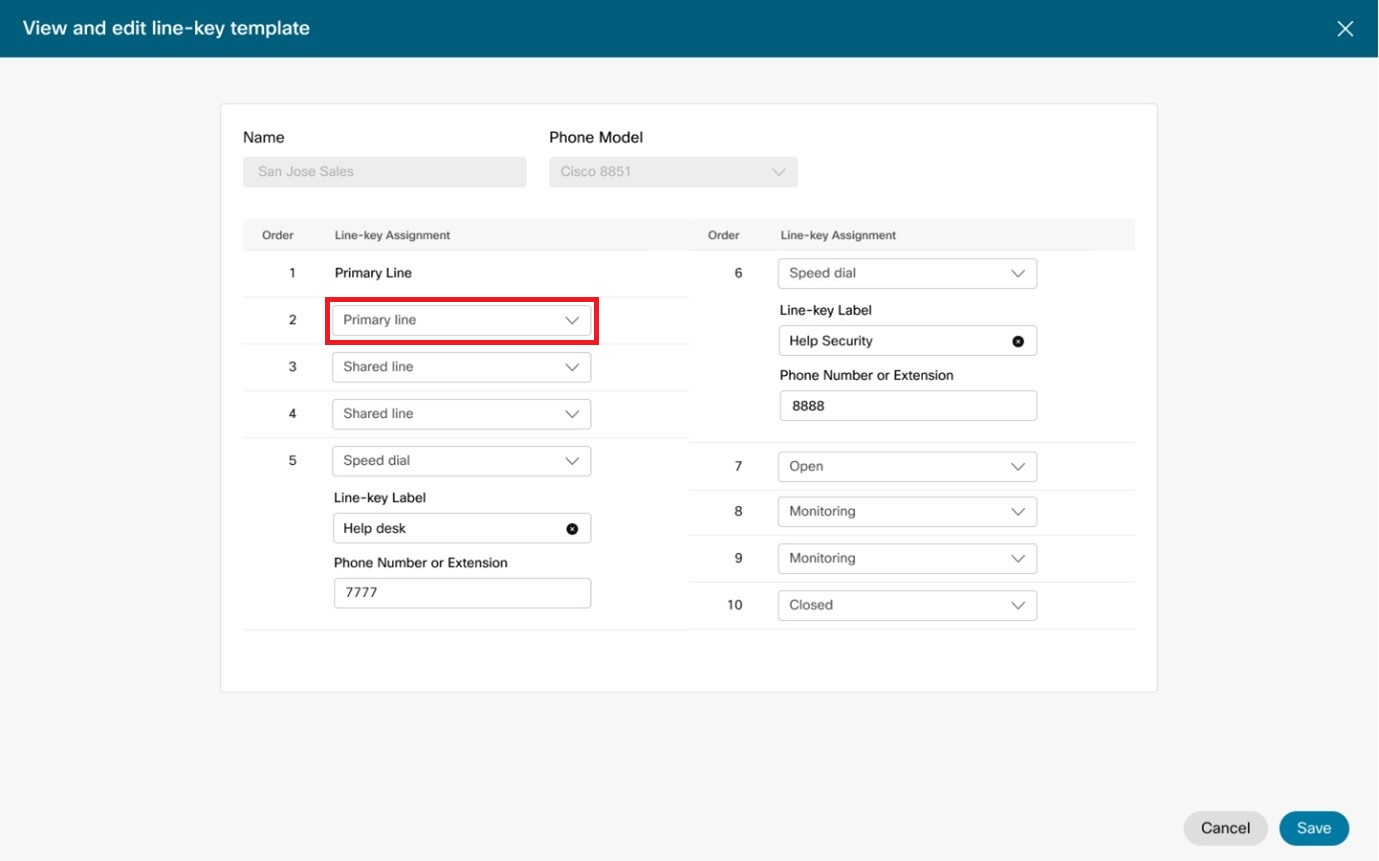
Primary line – Set the PLK as a primary line.
-
You can't change the default value for the first PLK as it is the primary line.
-
You can't drag the primary line appearance in the first PLK to any other position.
-
Setting a prime line clears all extended line key functions like monitoring or speed dial values that may exist in a PLK from a previous configuration.
-
-
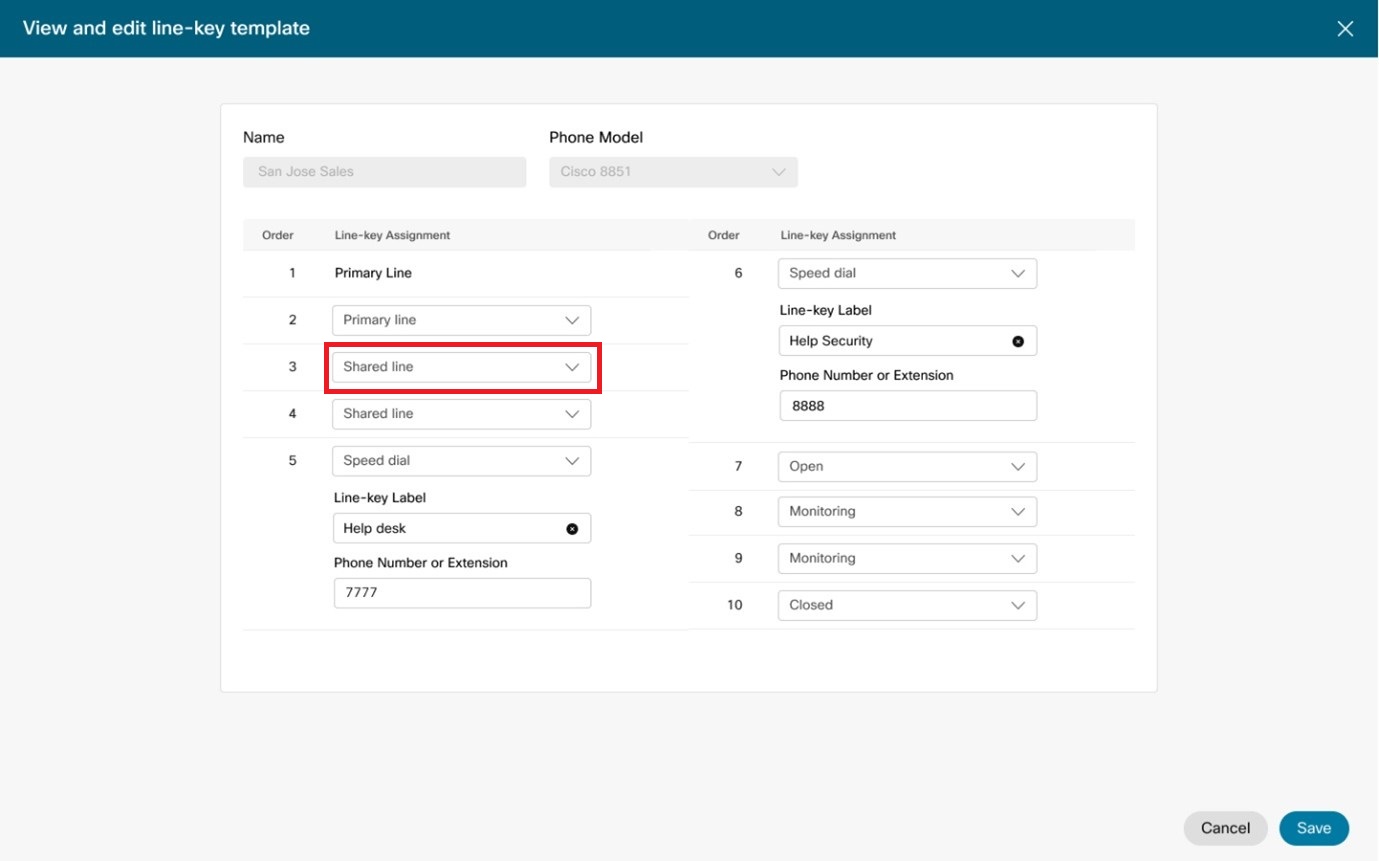
Shared line – Designate a PLK as a shared line.
-
Shared Line Appearance (SLA) positions populate from the values set in configure lines.
-
SLAs populate PLK positions to the layout from top-left to bottom-right.
-
A warning displays if the number of SLA in the configure lines list exceeds the available shared line positions in the layout.
-
-
Speed dial – Designate a PLK as a speed dial. Speed dial entries require a name and destination extension, telephone number or SIP URI ( example@webex.com.
All SIP URI destinations aren't routable.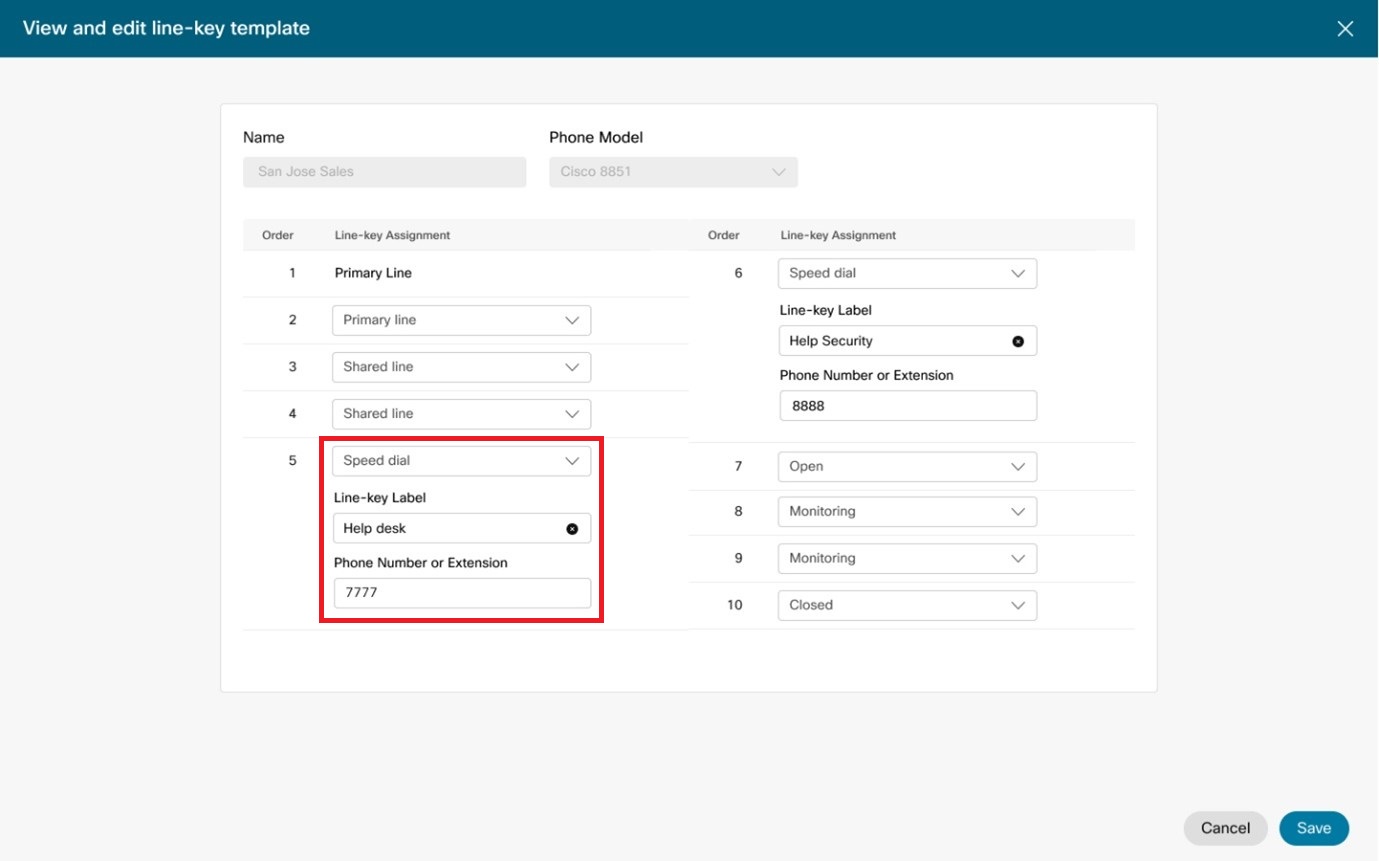
-
Speed dials defined in layouts aren't customizable on the device.
-
Speed dials can be defined as PLKs on phones or on KEMs.
-
-
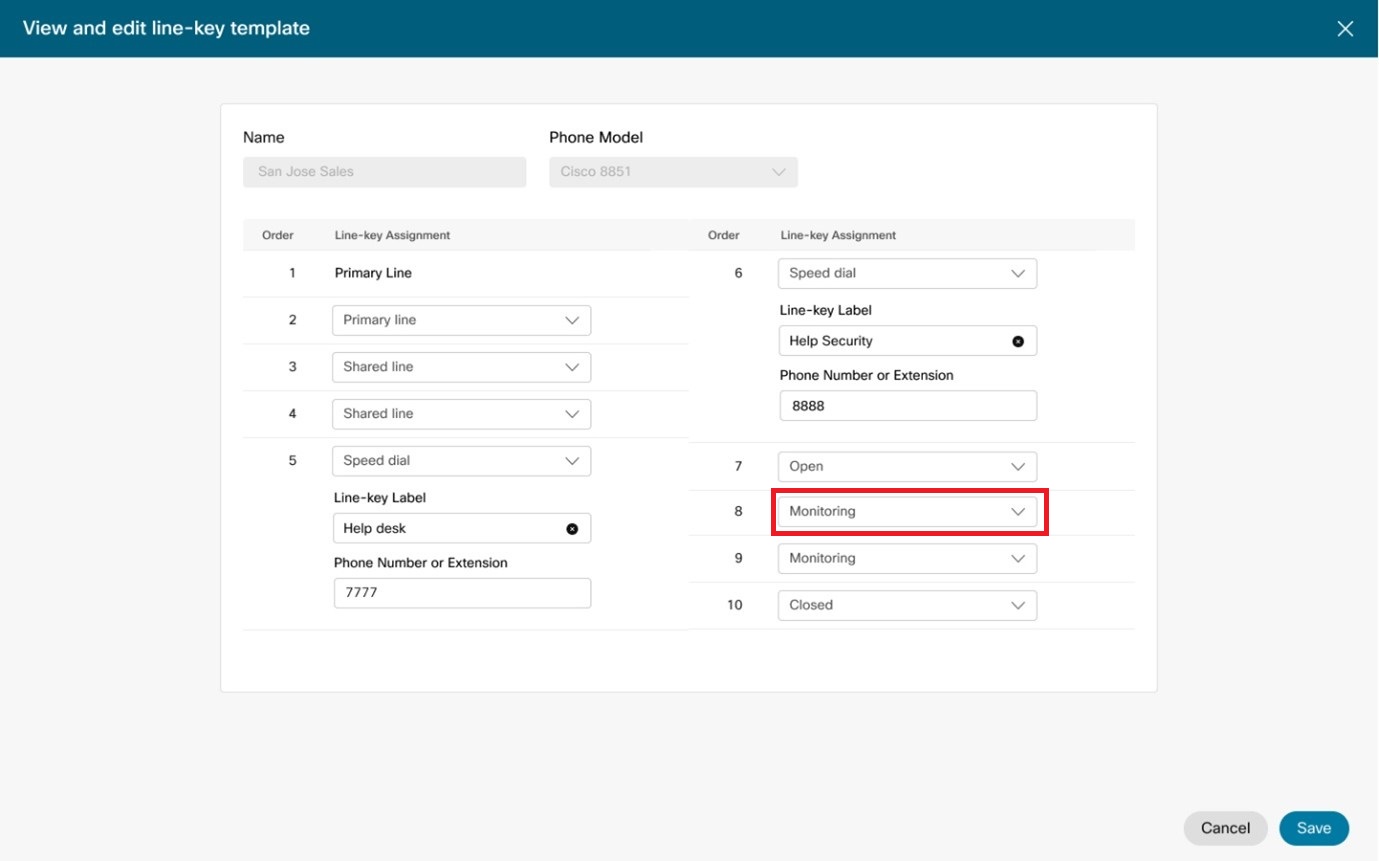
Monitoring – Designate a PLK as a monitoring line.
-
Monitoring (BLF) positions populate from the values set in the monitoring list.
-
Monitoring entries populate the defined monitoring PLKs first followed by open PLKs.
-
A warning displays if the number of monitoring entries in your monitoring list exceeds the available monitoring positions in the layout.
-
Configure lines for a Key Expansion Module (KEM)
You can use the custom layout to configure lines on a KEM. You can assign primary lines, shared lines, monitored lines, and speed dials.
The 18 key KEM configuration doesn't support primary and shared lines. Therefore, these lines aren’t available for use within the KEM device.
Before you begin
-
Supported on Cisco Key Expansion Modules (KEM) for Cisco Desk Phone 9851, 9861, 9871, and Cisco 6800 and 8800 Series phones.
-
Depending on the KEM model, each KEM has 28, 36, or 40 programmable keys. If you have more than one KEM, keys are listed on consecutive pages.
-
The maximum combined capacity for unique primary, shared, and virtual lines on phones with KEMs is 16 lines across both the phone and KEM. KEM keys configured as monitored lines do not count toward this 16-line limit. You can assign multiple appearances of the same unique line across the phone and KEM; these do not reduce the total unique line capacity.
-
A user’s or workspace's configured lines and monitored list overflow to the provisioned KEMs.
| 1 |
Sign in to Control Hub. |
| 2 |
Go to . |
| 3 |
Select a device to modify. |
| 4 |
Under Device Management, click Configure Layout. |
| 5 |
Click Custom Layout. |
| 6 |
Click Configure KEM Keys. Monitored lines configure all open lines in this sequence:
|
| 7 |
Assign primary lines, shared lines, monitored lines, or speed dials to the line key assignments. Monitored lines configure all open lines in this sequence:
|
| 8 |
(Optional) You can remove the existing KEM key configurations by clicking Reset KEM Keys. |
| 9 |
Click Save. |
Validate configurations using the Preview layout
Use the preview mode to see how the layout appears when you apply changes to the device. The preview helps verify the layout based on the line keys, speed dials, and shortcuts you populate. Preview mode is available for phones with and without physical line keys.
For the Cisco Video Phone 8875 and Cisco Desk Phone 9871, the preview uses the following tabs to simulate the touchscreen interface:
- Main screen—View the order of the first four line key assignments.
- All—View all the configured line keys, speed dials, and shortcuts.
- Lines—View the configured lines.
- Speed dials—View the configured speed dials.
- Shortcuts—View the configured Call Park Extensions.
If the device is configured for default layout, the phone automatically uses the following logic:
-
The first-line key position (upper left PLK) is always the primary owner of the phone.
-
The remaining PLKs populate in the following order starting from the second PLK (from Left side down and then right side top to bottom):
-
Any additional primary and shared lines that are specified in the configure lines section are applied.
-
Any monitoring list entries (top-down) are applied to the remaining Open PLKs.
-
If a KEMs is attached to the device, additional monitoring entries overflow to the first available KEM key starting on the top-left to the KEM bottom-right, and from KEM page 1 to page 2, and so on.
-
-
When in the default layout, the preview layout is the only available view.
-
Any keys not populated automatically by the layout are considered open PLK and KEM keys.
Known issues and workarounds
In custom layout mode, changing existing monitor or speed dial assignments to open or changing the layout mode back to default may not remove the current monitor or speed dial values on the phone. This results in a mismatch between the layout displayed in the Control Hub and what is showing on the phone. Sometimes, the old monitor entries on the phone may cause a conflict on the phone resulting in a blank line key with a blinking amber LED. To resolve the issue, use one of these workarounds:
-
Admin clearing the stale monitor or speed dial line keys
From the Configure layout screen, clear the stale monitor or speed dial line keys remotely by temporarily changing the line key entries to the primary line option. Then save the entries and apply the changes. On updating the phone, set the desired line keys to use the open option to clear the keys.
-
Phone user manually clearing stale monitor or speed dial line keys
The phone provisioning administrator must do this workaround. Clear the Stale Monitor or Speed Dial entries on the phone through a long button press of the line key and then select the None option from the menu.
This workaround isn’t applicable to remove call park extension.


