Thanks for your feedback.
User Sign-In and Authentication Flow for Webex App
 Feedback?
User Interactions
Sign In
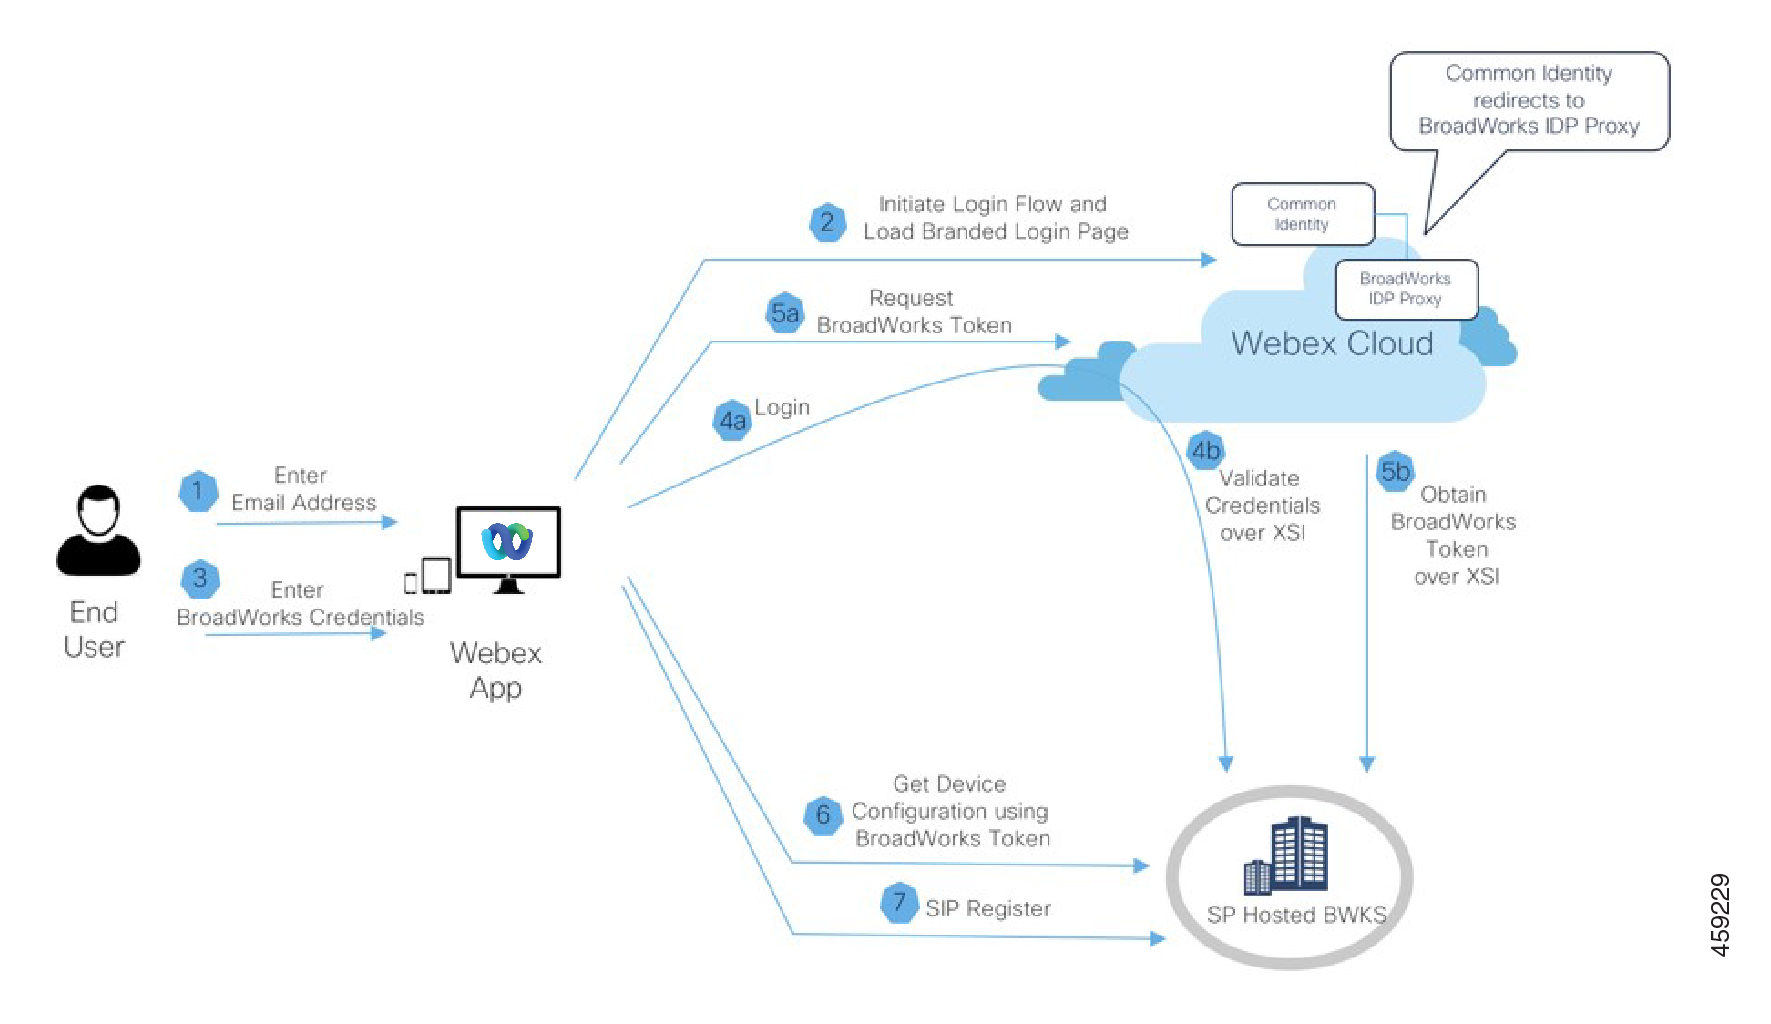
-
The Webex app launches a browser to Cisco Common Identity (CI) to allow users to enter their email address.
-
CI discovers that the associated customer org has the BroadWorks IDP Proxy (IDP) configured as their SAML IDP. CI redirects to the IDP which presents the user with a sign-in page. (The Service Provider can brand this sign-in page.)
-
The user enters their BroadWorks credentials.
-
Broadworks authenticates the user through the IDP. On success, the IDP redirects the browser back to CI with a SAML Success to complete the authentication flow (not shown in diagram).
-
On successful authentication, the Webex app obtains access tokens from CI (not shown in diagram). The client uses them to request a BroadWorks long-lived Jason Web Token (JWT).
-
The Webex app discovers its calling configuration from BroadWorks and other services from Webex.
-
The Webex app registers with BroadWorks.
Sign In from a User Perspective
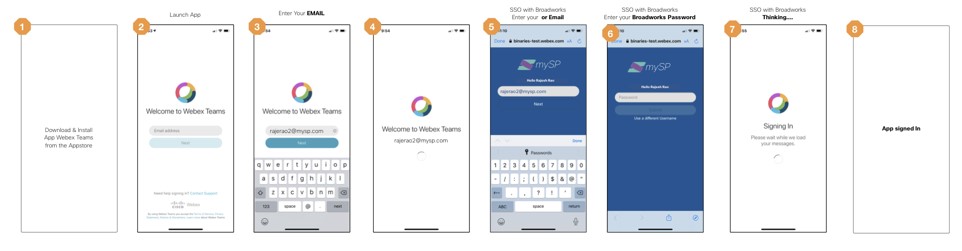
This diagram is the typical sign-in flow, as seen by the end user or subscriber:
-
You download and install the Webex app.
-
You may have received the link from your service provider, or you can find the download on Webex downloads page.
-
You enter your email address at the Webex sign-in screen. Click Next.
-
Typically, you’re redirected to a Service Provider branded page.
-
That page may welcome you by your email address.
If there’s no email address, or if the email address is wrong, enter your BroadWorks user name instead.
-
Enter your BroadWorks password.
-
If you signed in successfully, Webex opens.
Call Flow—Corporate Directory
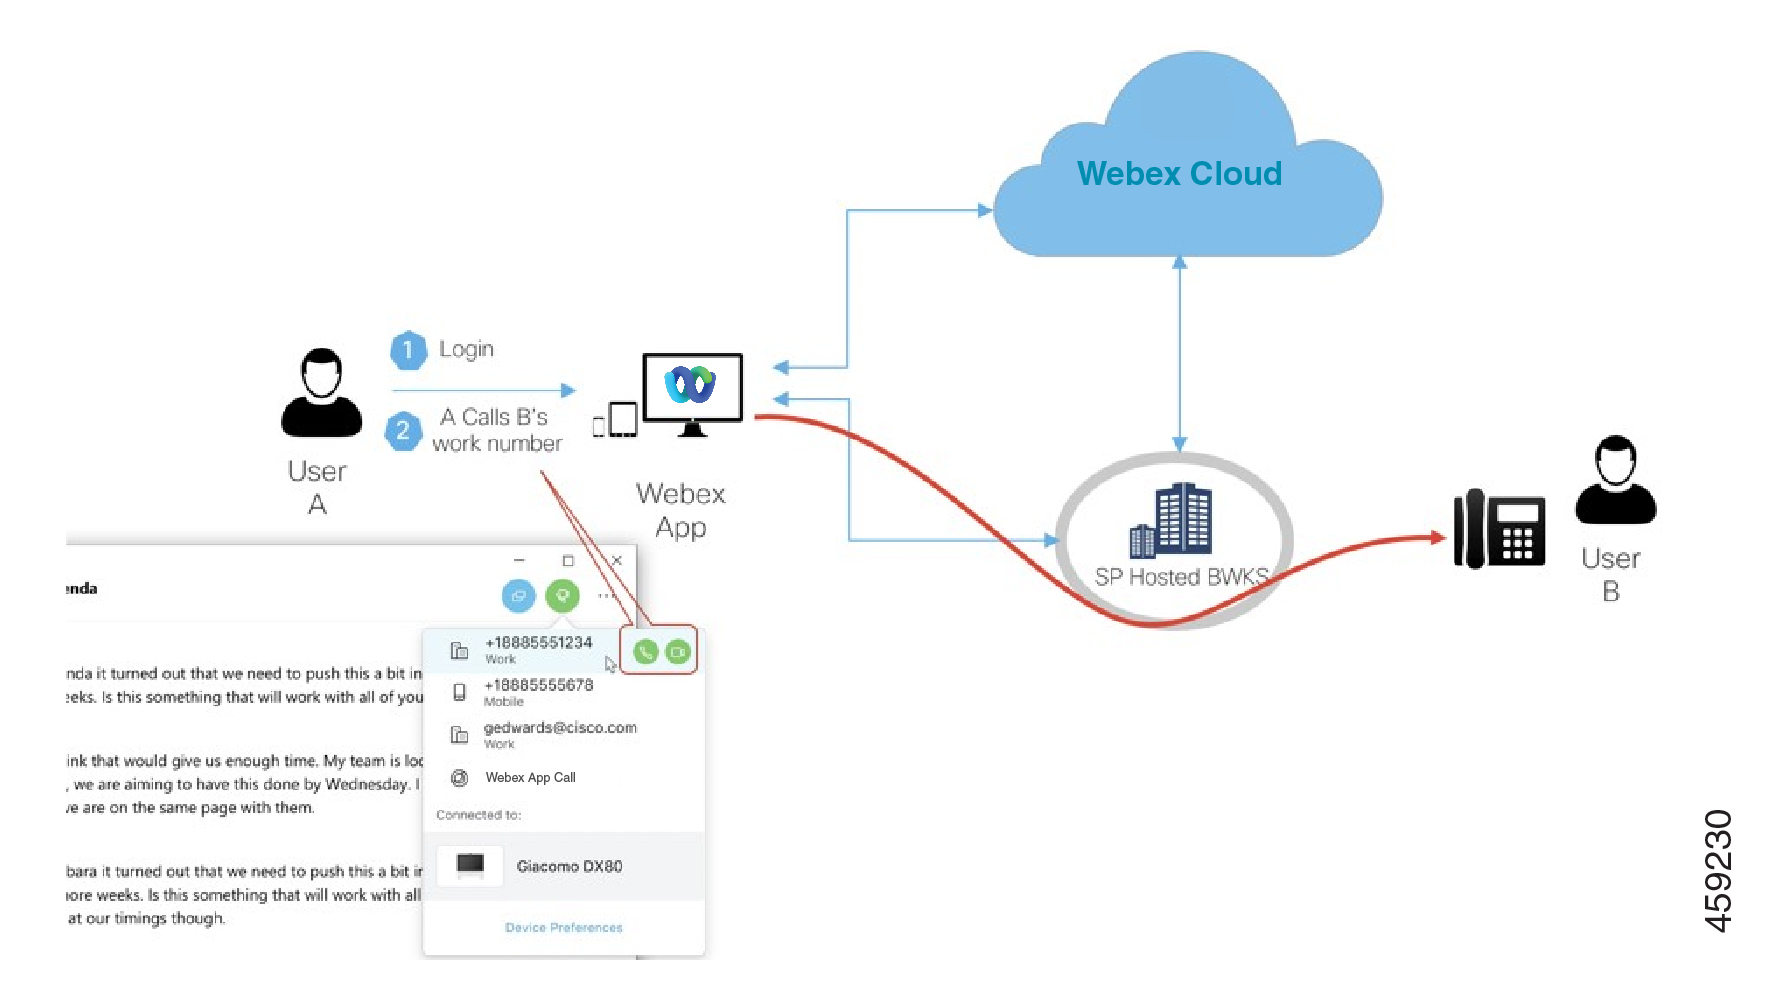
Call Flow—PSTN Number
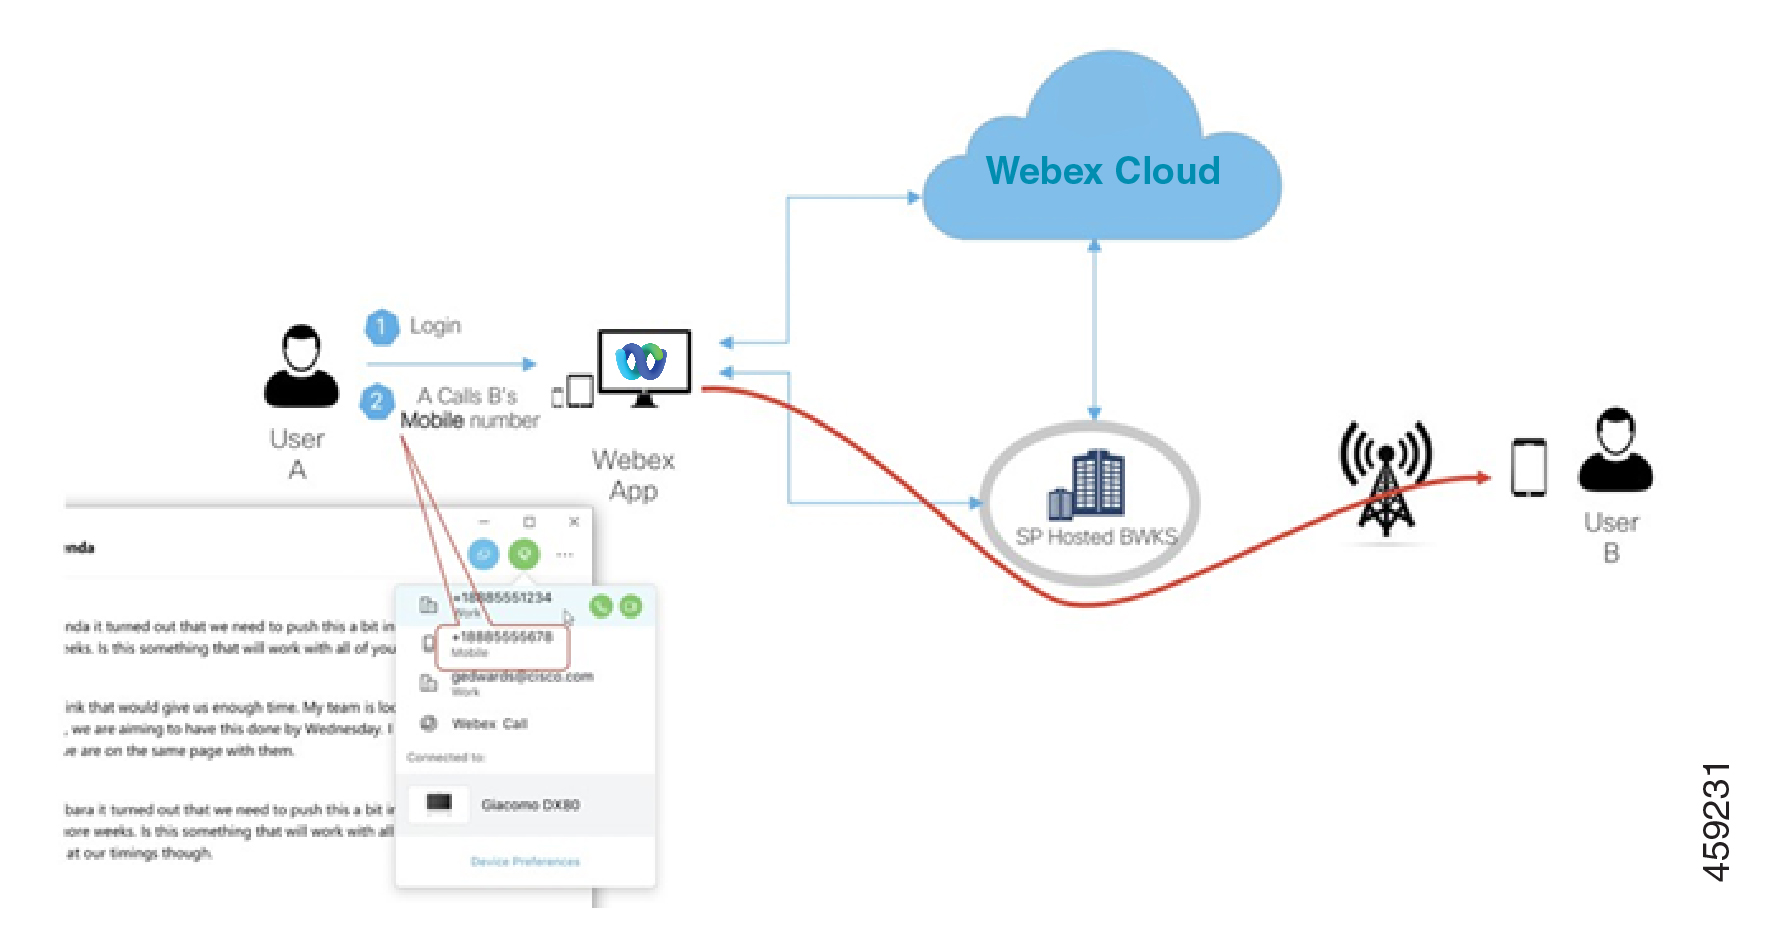
Presentation and Sharing
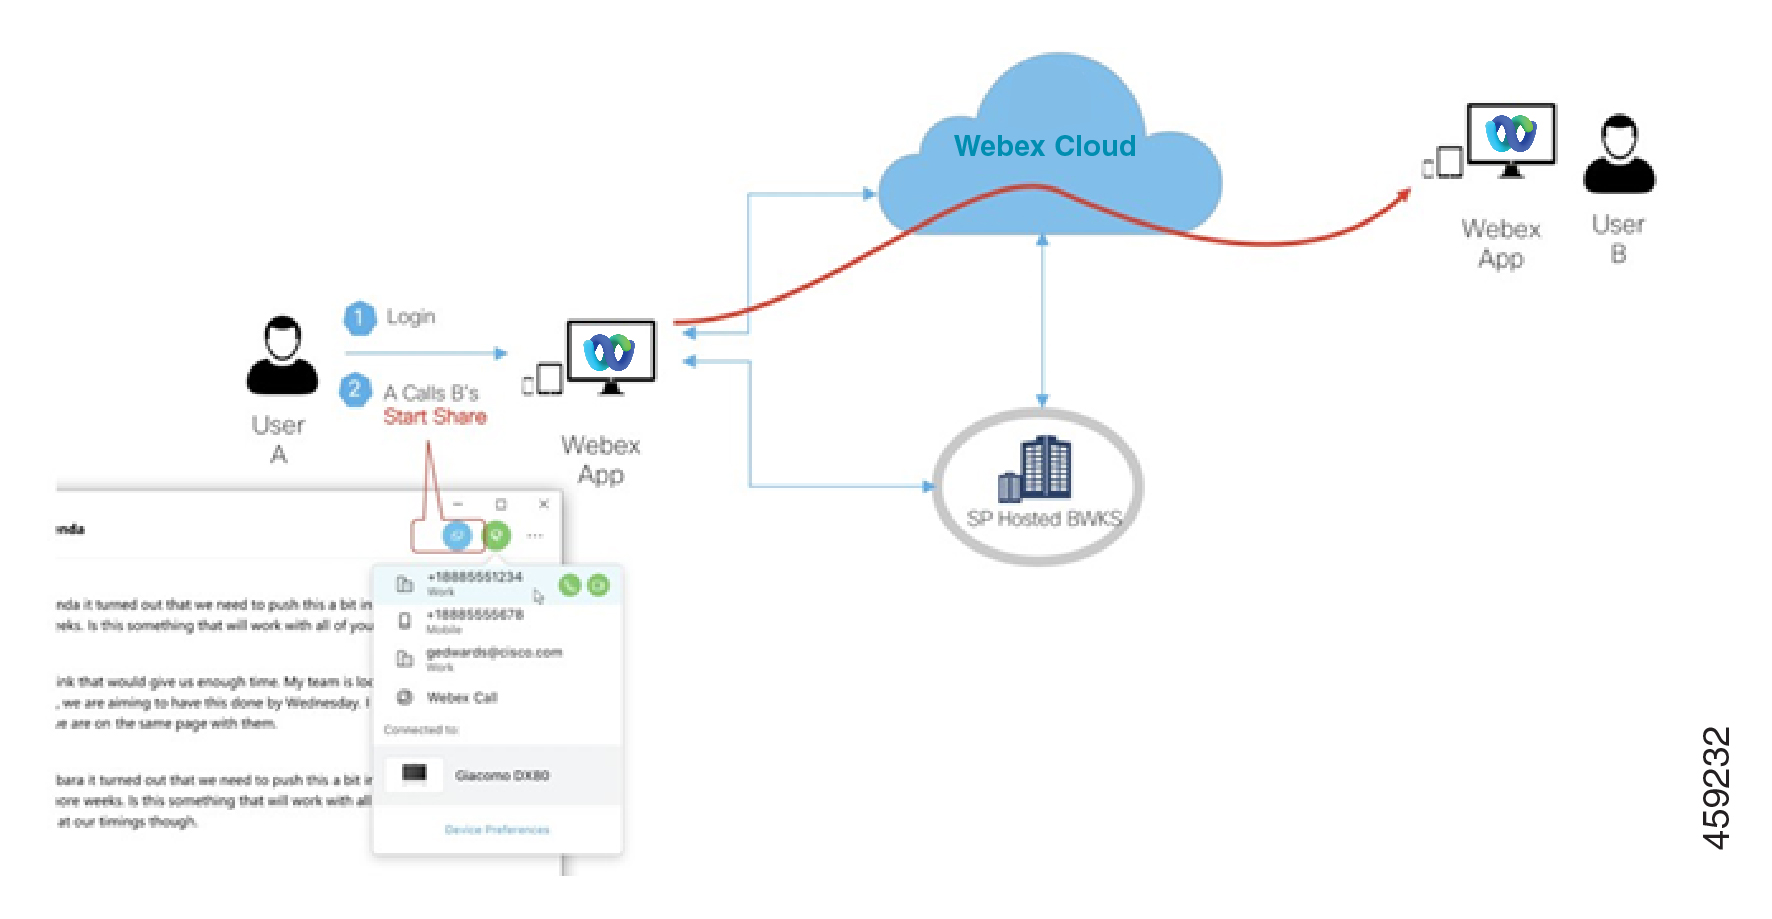
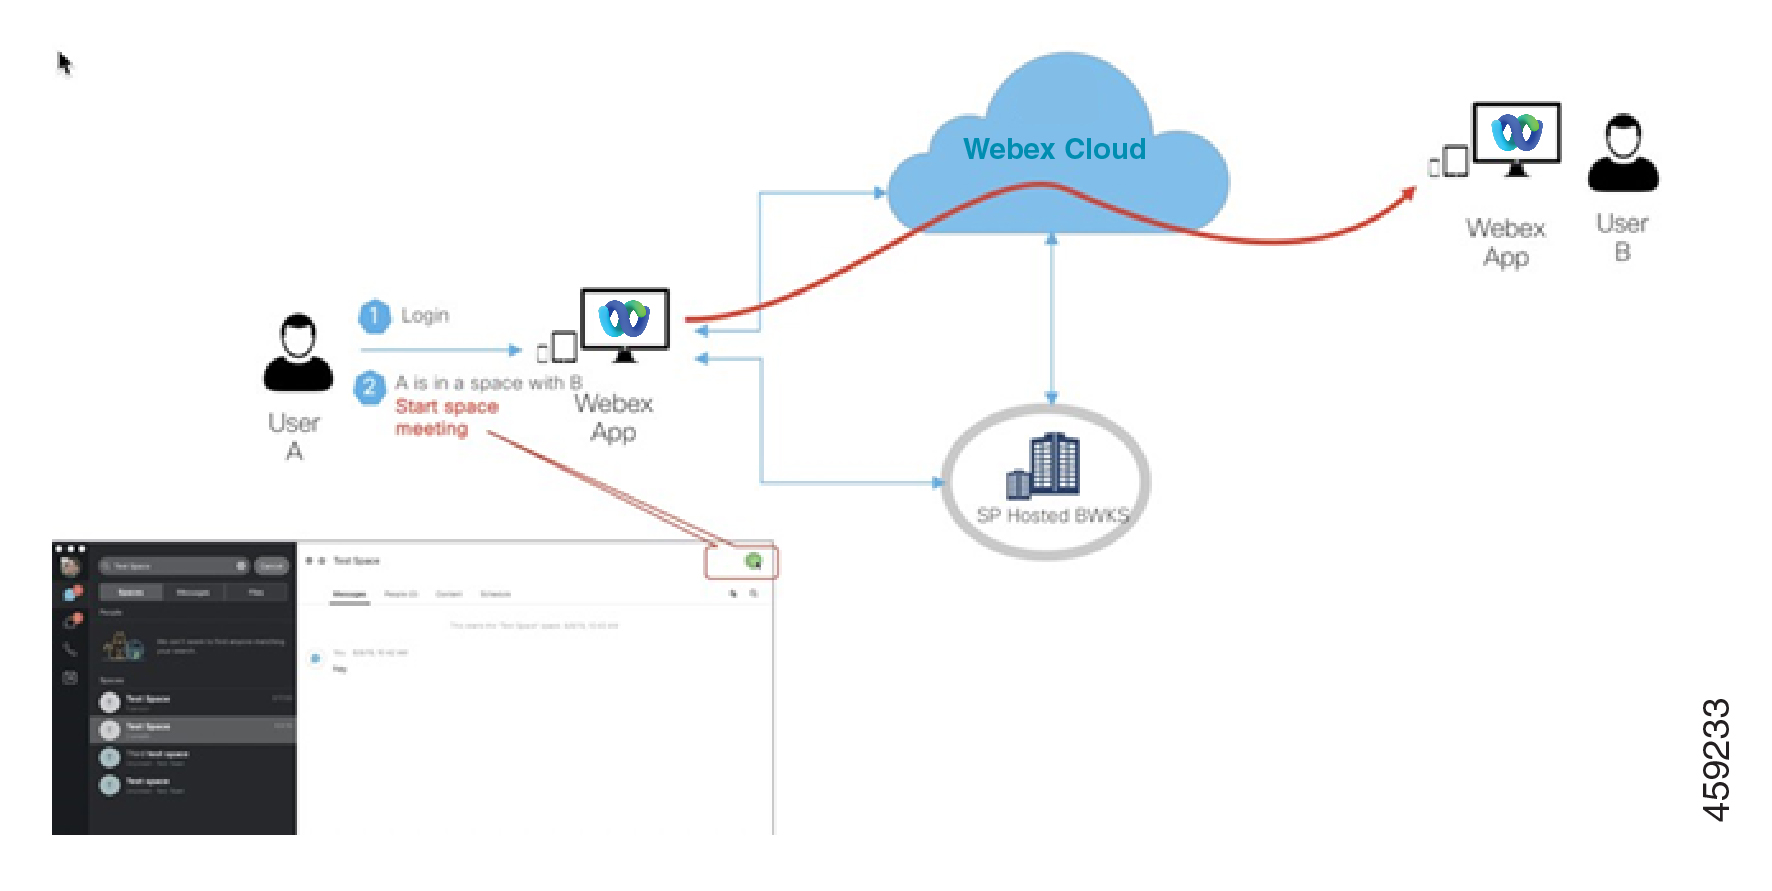
Start a Space Meeting