- Home
- /
- Article

Thanks for your feedback.

Provision Webex Go
 In this article
 Feedback?
Webex Go turns a user's own mobile device into a Webex Calling device. Enable Webex Go by adding and assigning a phone number to a user.
You provision Webex Go by adding a phone number to a location as a mobile number type, and then assign the number to a user to activate the service.
Make sure you meet all prerequisites before provisioning Webex Go. For details, see Prerequisites for Webex Go.
Users must purchase a Webex Calling–enabled phone number and a mobile subscription from a certified mobile provider. Certified providers are listed on the Connection Type page in Control Hub.
To enable Webex Go for a user in Control Hub, follow these steps:
- Identify the Webex Go providers supported for your organization.
- Add a mobile number from a supported provider to the appropriate location.
- Assign the mobile number to the user.
For additional details on Webex Go, see What is Webex Go.
Determine the provider
You can find the supported Webex Go providers at: https://admin.webex.com/calling/pstn/providers.
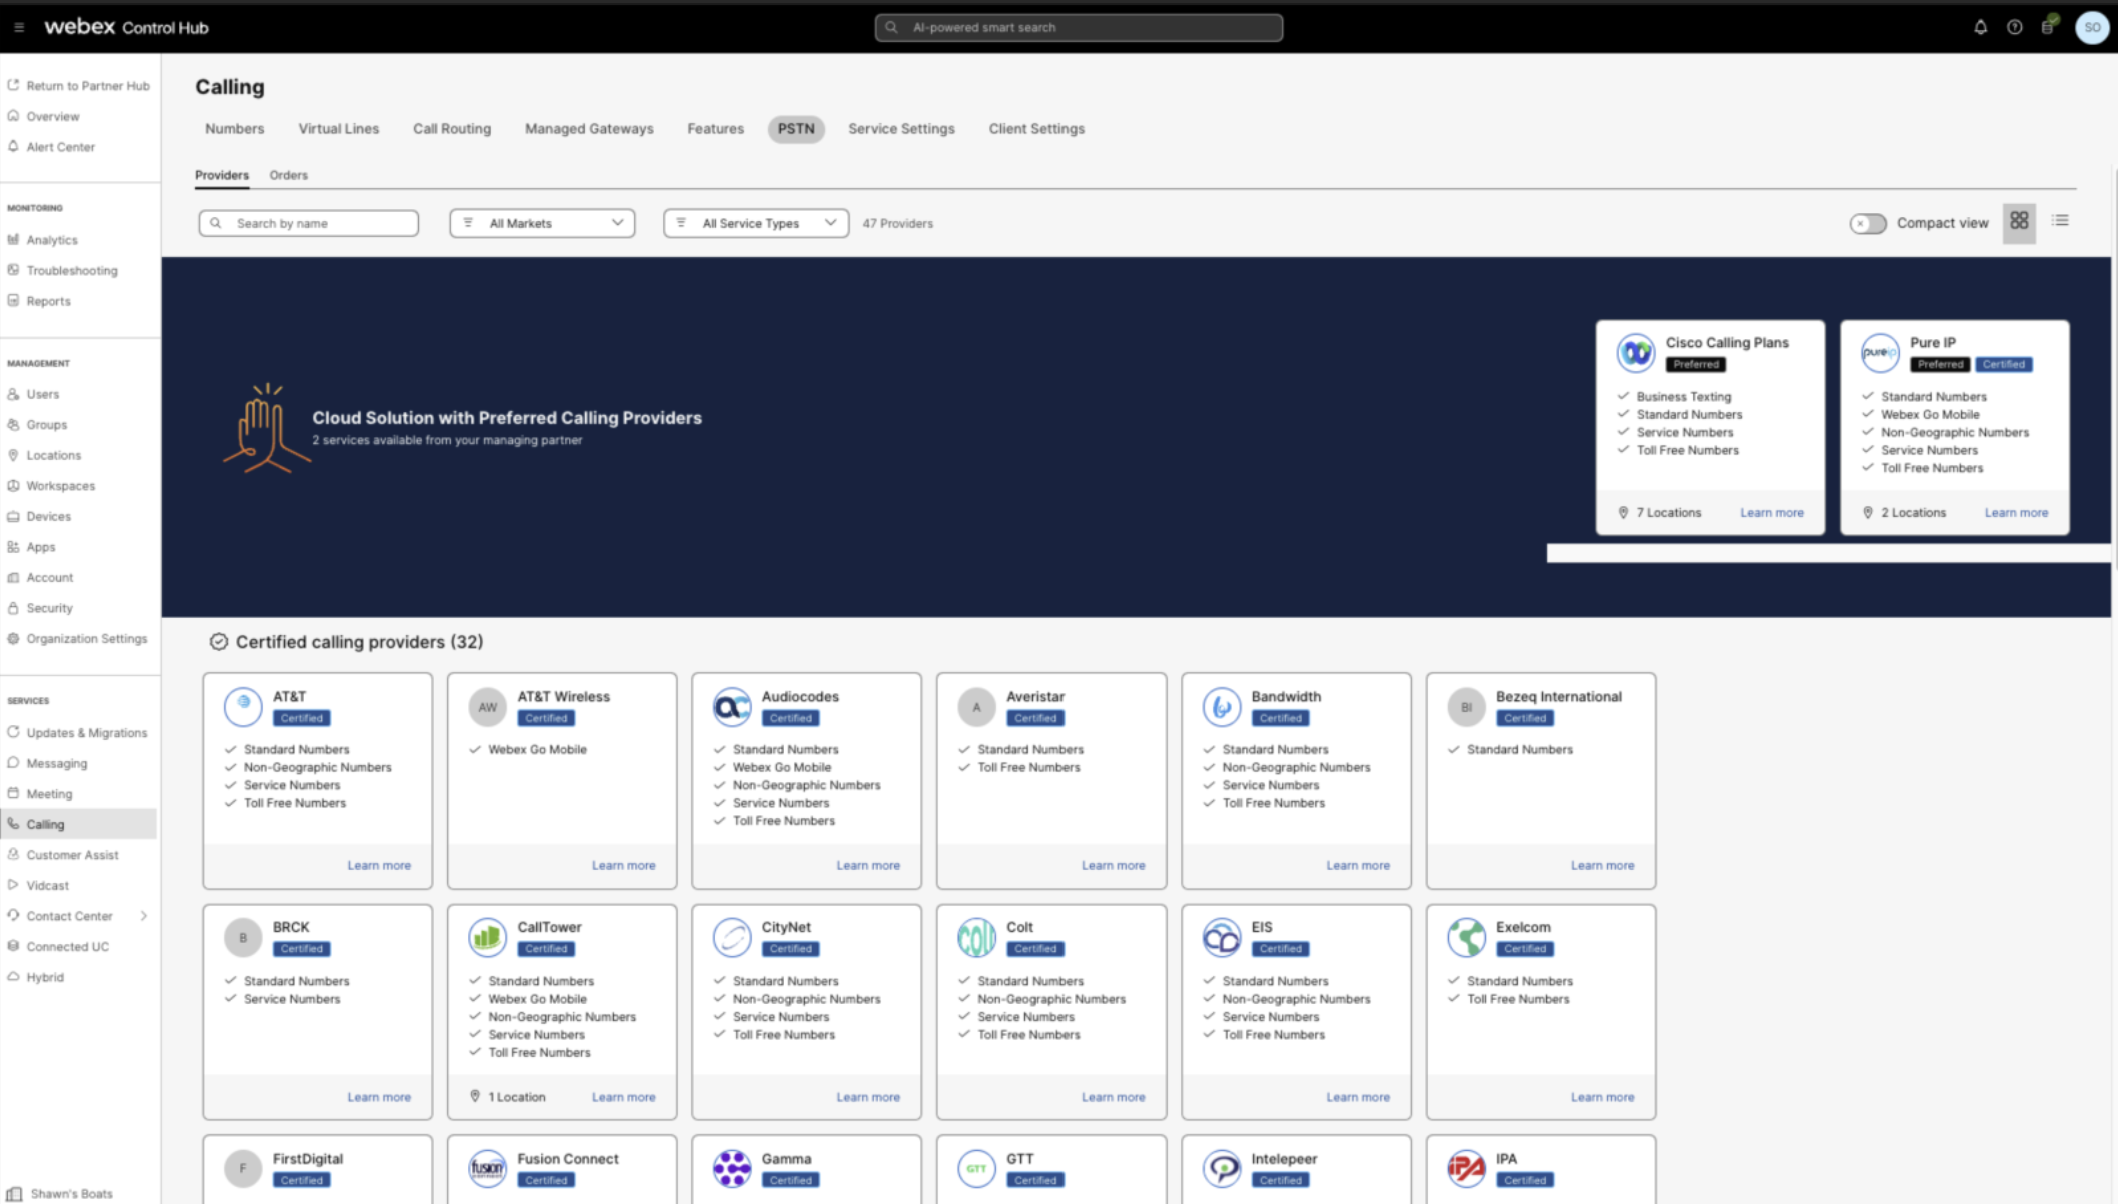
The provider screen displays various provider cards with their supported service types. The Providers section includes :
- Preferred Calling Providers
- Certified Calling Providers
- Calling Providers
The card view displays the list of PSTN providers available to the Webex Calling customers before configuring the PSTN location. The PSTN view displays both providers and orders.
You can apply the search filter to narrow down the content by service type and market. Use the toggle option to switch the view from Compact to Table. In Compact view, the card resizes to show provider details without the service information.
Click Learn More on the card to view the provider details. Use the search field to select the PSTN service provider based on Cisco’s business relationship preference, such as Certified Provider and Calling Provider.
The provider details include the following:
- Provider summary
- List of locations configured with this provider
- List of markets where the provider is available for the supported services
If the customer has PSTN locations where Calling services aren’t set up, the Select this provider action bar is displayed. Select this option to configure the services for the PSTN location.
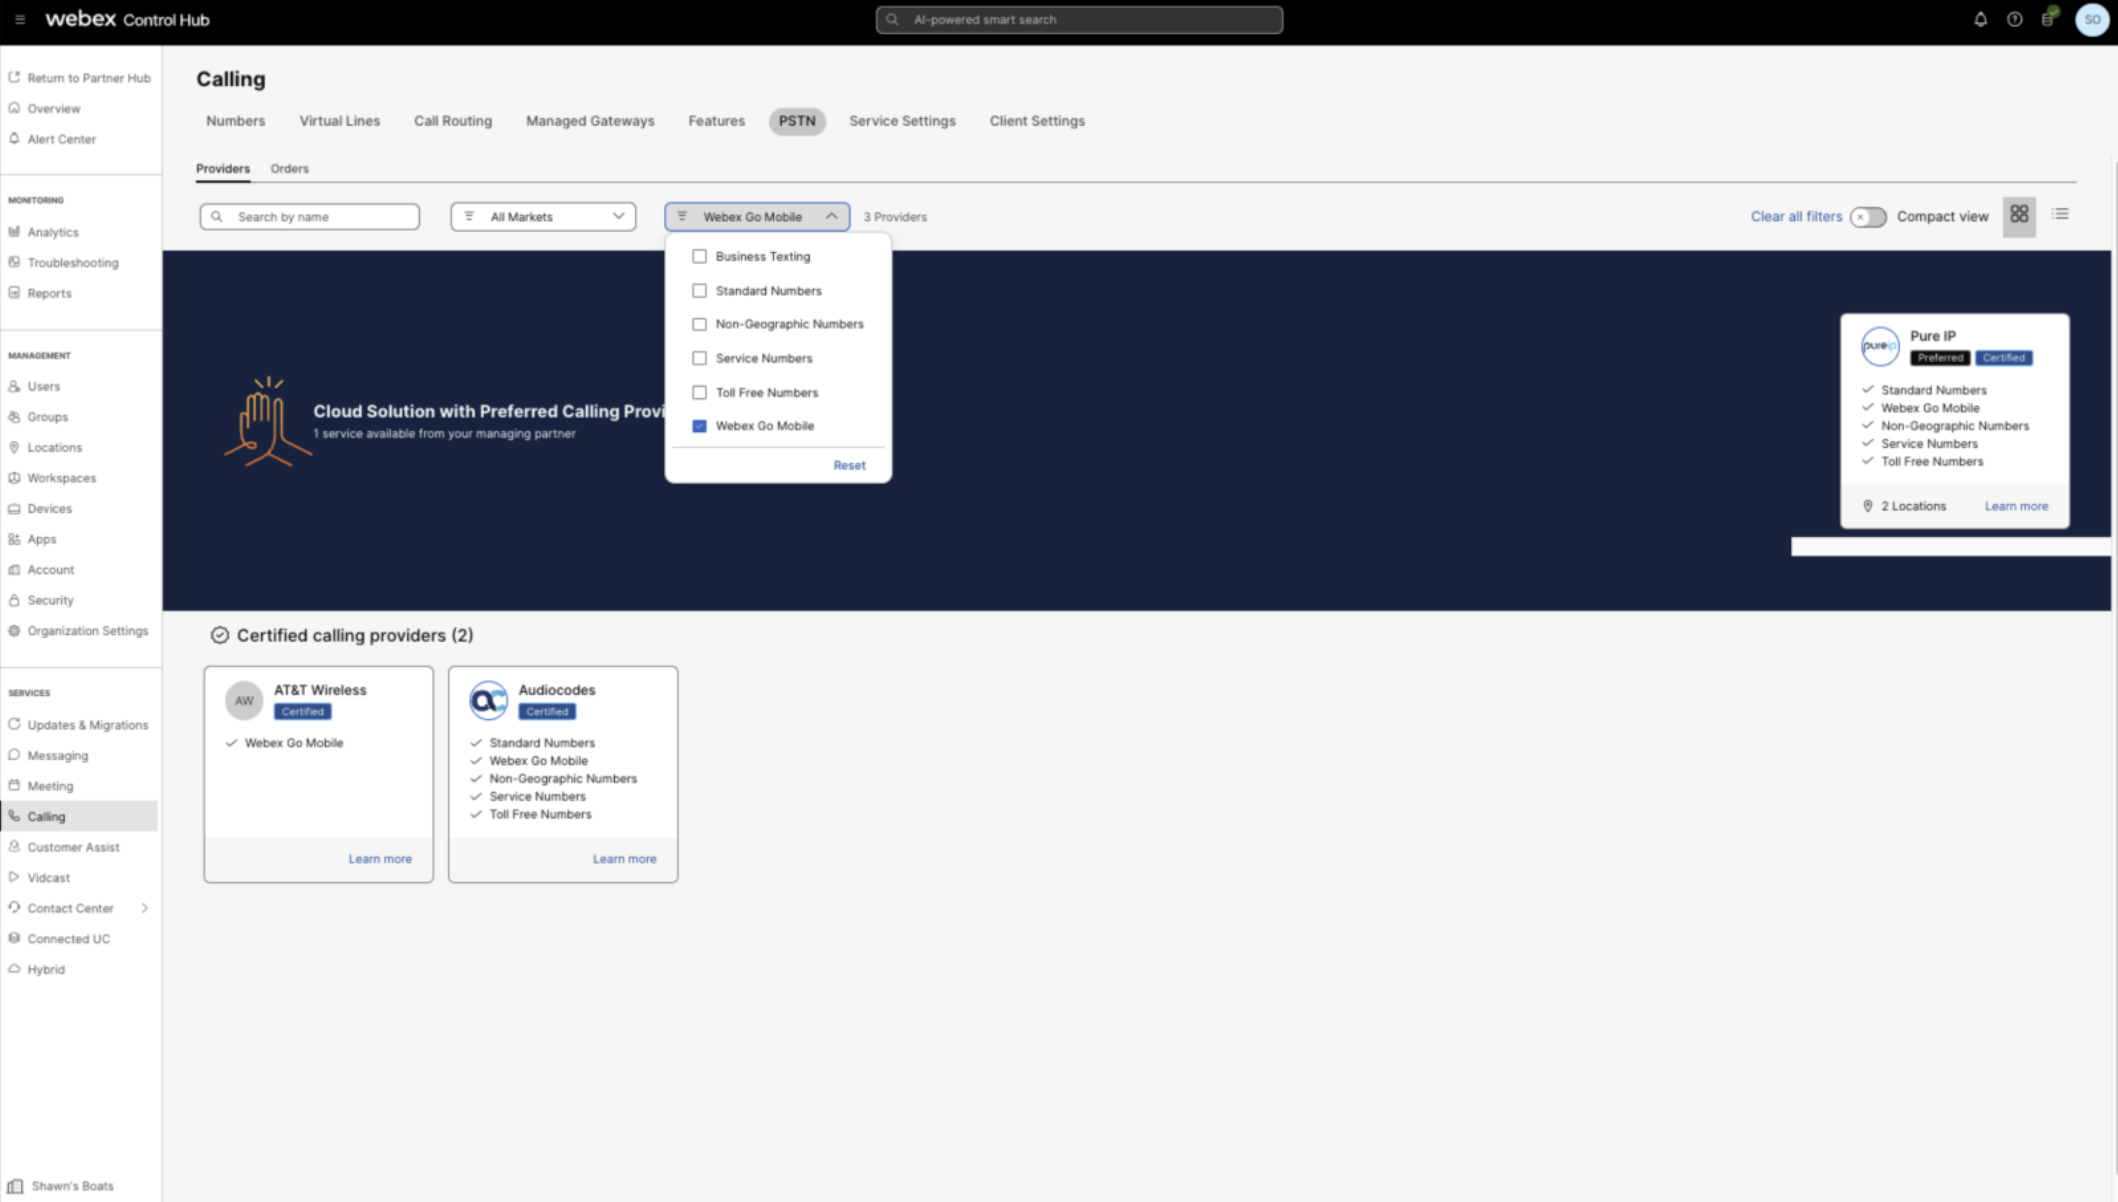
To view the providers, filter the list by the service type, as shown below:
Filter the list by the Webex Go service type to view the Webex Go providers, as shown below:
Add mobile numbers
Steps to add Webex Go mobile operator numbers in the Control Hub.
| 1 |
From the customer view in https://admin.webex.com, go to Services, and choose . |
| 2 |
Click .
|
| 3 |
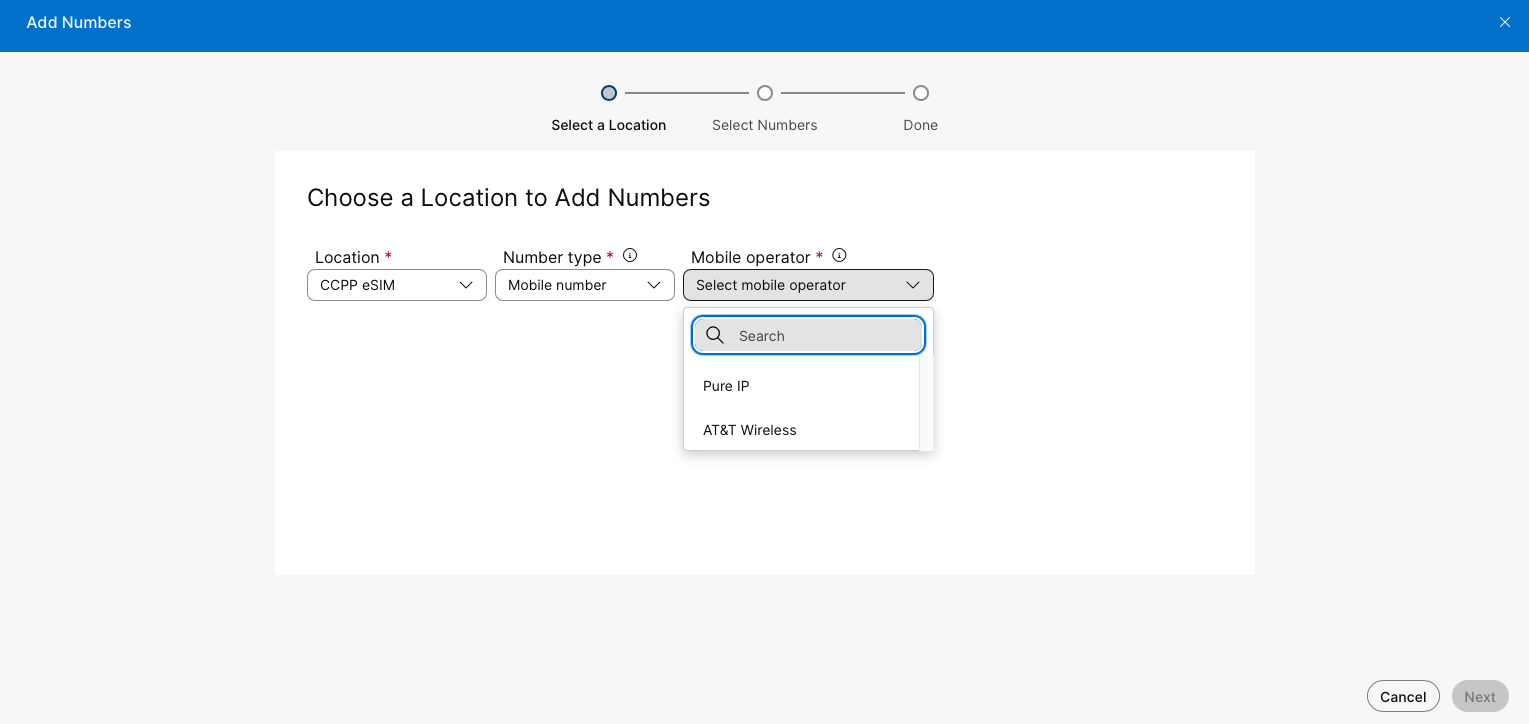
Choose a location from the Location drop-down menu.
To ensure proper assignment, add the mobile number to the correct location of the intended Webex Calling subscriber. |
| 4 |
Select Mobile number for the Number type. For more information, see Manage phone numbers in Control Hub.
|
| 5 |
Choose a mobile operator from the Mobile operator drop-down menu.
If you select AT&T, see Webex Go with AT&T. |
| 6 |
Click Next. |
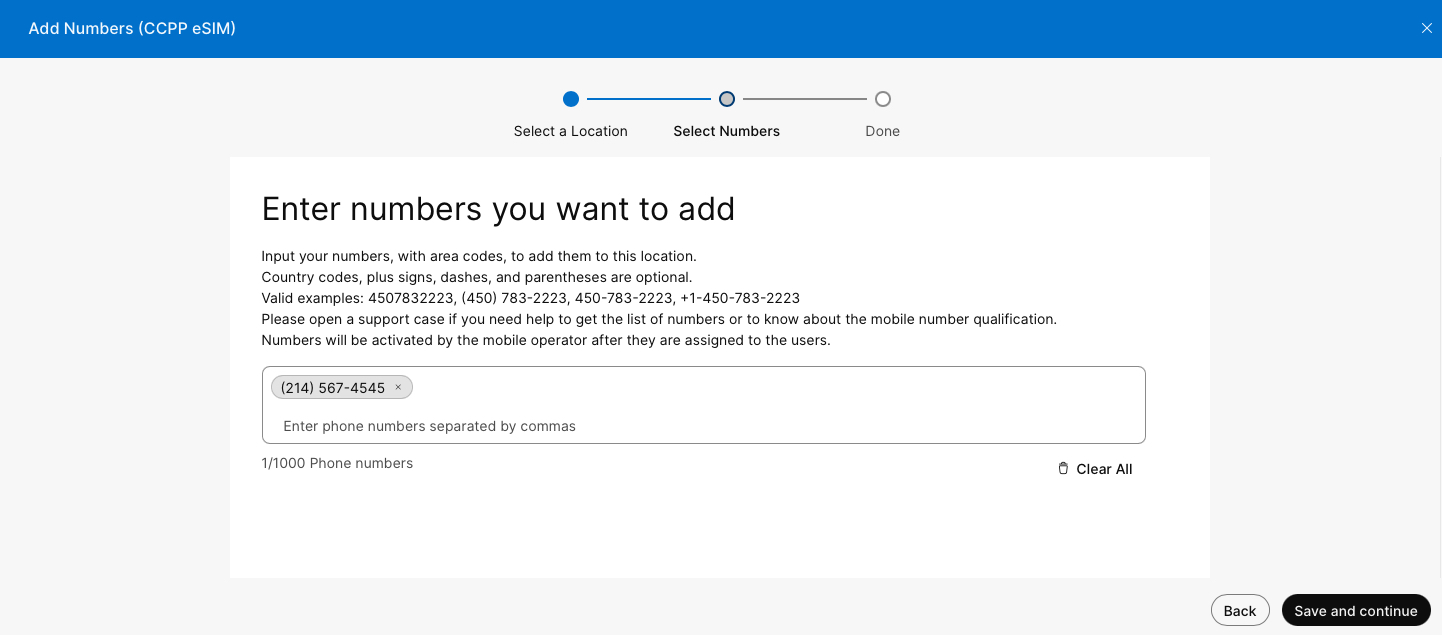
| 7 |
Enter the mobile numbers, separated by a commas.
|
| 8 |
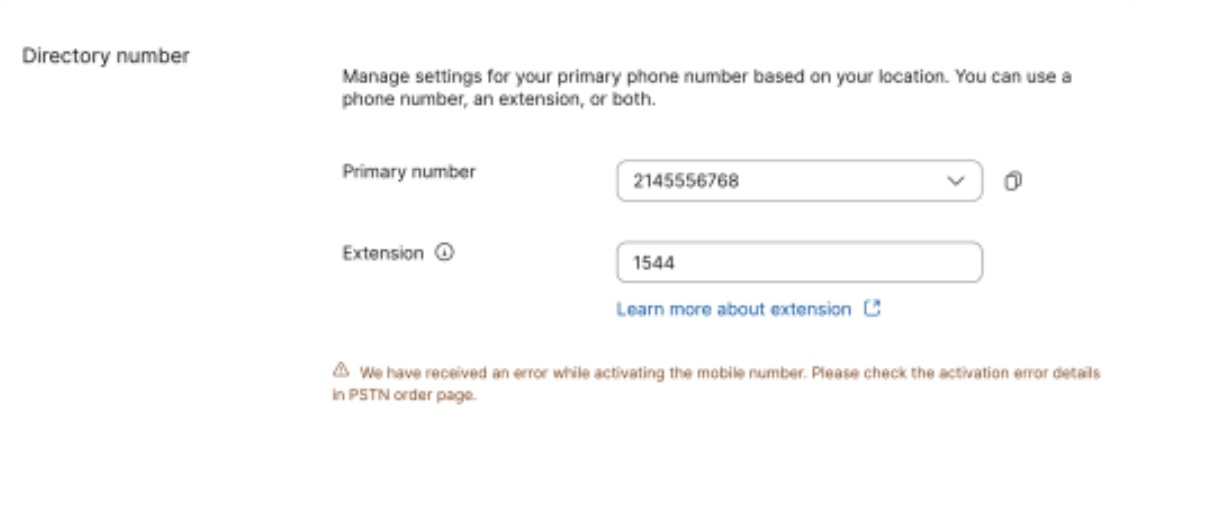
Click Save and continue. After successfully provisioning the numbers, you will see them in the numbers list. A badge next to the number indicates that it's a Webex mobile number.
The mobile numbers appear in an inactive state and activate automatically after you assign them to a user. |

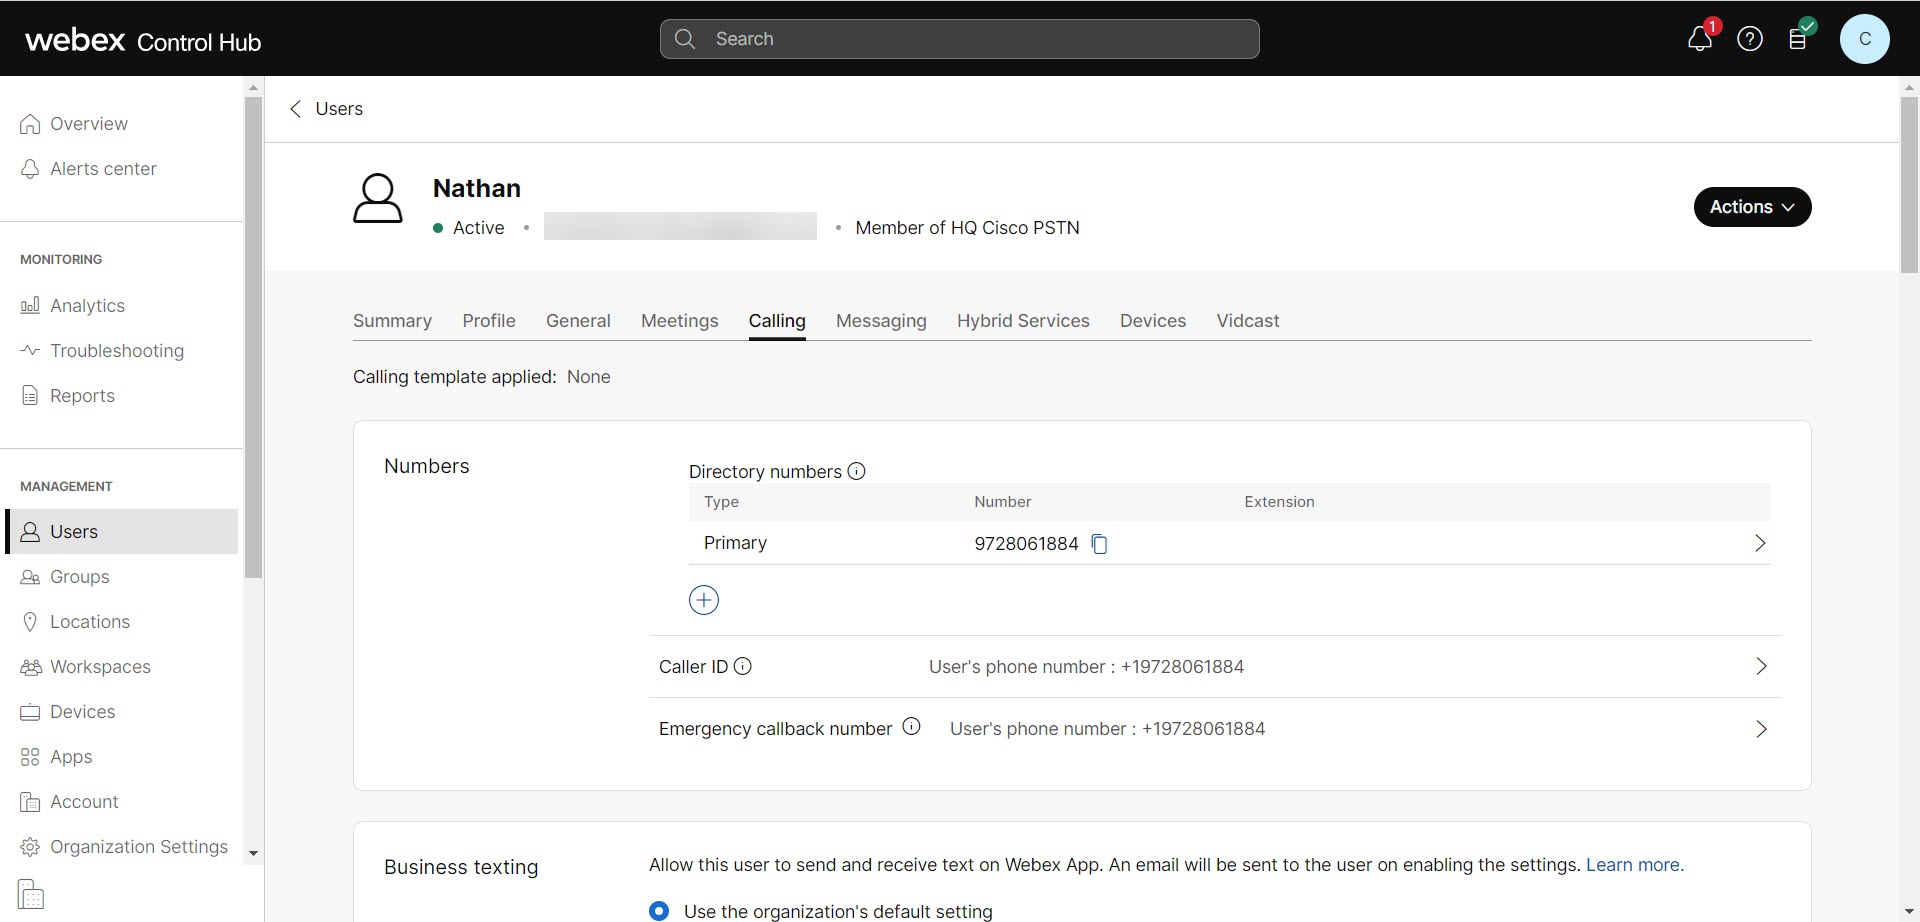
Assign the mobile number to a user
Once you add Webex Go mobile operator numbers to the number management inventory in Control Hub, assign them to users.
Steps to assign a Webex Go mobile number to a user
| 1 |
From the customer view in https://admin.webex.com, go to Users. |
| 2 |
Select the user you want to assign the mobile number to. |
| 3 |
Select Calling. |
| 4 |
Click Add Number under Directory Numbers. If a primary number is already assigned, click Primary to replace it with the Webex mobile number.
|
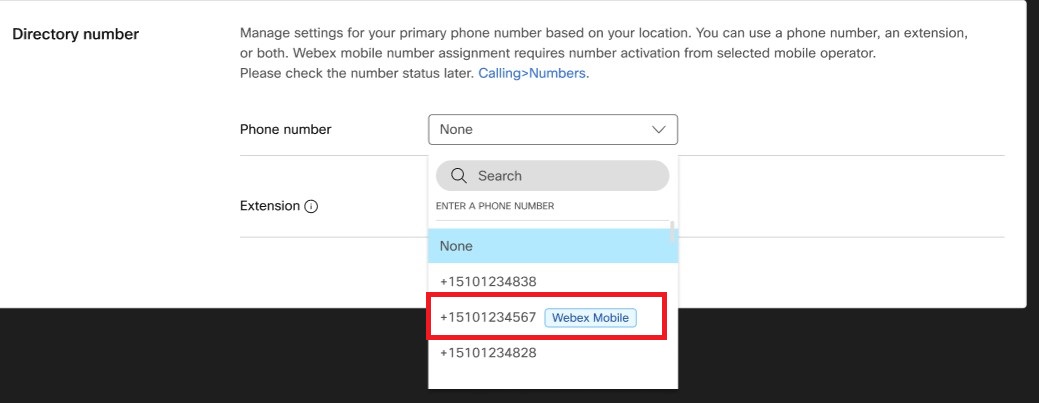
| 5 |
Use the drop-down list next to Phone number to select the mobile number to assign. The drop-down list includes all available numbers. Webex Mobile tags help filter the list to identify which mobile numbers are available for user assignment.
|
| 6 |
Click Save.
Webex Go automatically assigns the mobile device to the user and displays it on the user's
Devices tab.
|
Provision Webex Go alternate identity
In some cases, the mobile number assigned to a device may not match the user's preferred Webex Calling identity. For example, a user may want to keep a published business number but cannot or does not want to port it to a Webex-certified provider. To support this scenario, assign an alternate identity to the Webex Go user.
Users in Webex Calling can have multiple numbers. Administrators can assign the existing published business number (from the example above) as a secondary number. When someone calls that number, all of the user’s devices ring, including the Webex Godevice. Webex Calling supports this simultaneous ringing across assigned devices. For instructions on assigning numbers to users, see Assign phone number to a user and workspace.
You can use the External Calling Line Identity policy to present any of the user’s numbers as the CLID for calls. In the example above, the published business number assigned as a secondary number can be configured in the policy.
Use the Webex Calling External Calling Line Identity policy to present any of the user’s numbers as the CLID for outgoing calls. For example, you can configure a published business number that is assigned as a secondary number as the number used in the External CLID policy. For instructions, see Specify caller ID options for users and workspaces.
The user's location PSTN provider routes the call to its destination. Both the mobile operator and the PSTN provider may record usage or apply metering.


