
- Home
- /
- Article

Hoteling in Control Hub
 In this article
As an administrator, you can enable hoteling for users so that their phone profile (phone number, features, and calling plan) is temporarily loaded onto a shared (host) phone. Hoteling is useful if you have flexible workspaces (no assigned seating), employees who travel a lot, or a call center environment.
You can designate specific phones (hosts) that users (guests) can temporarily sign in to and use as their own phone.
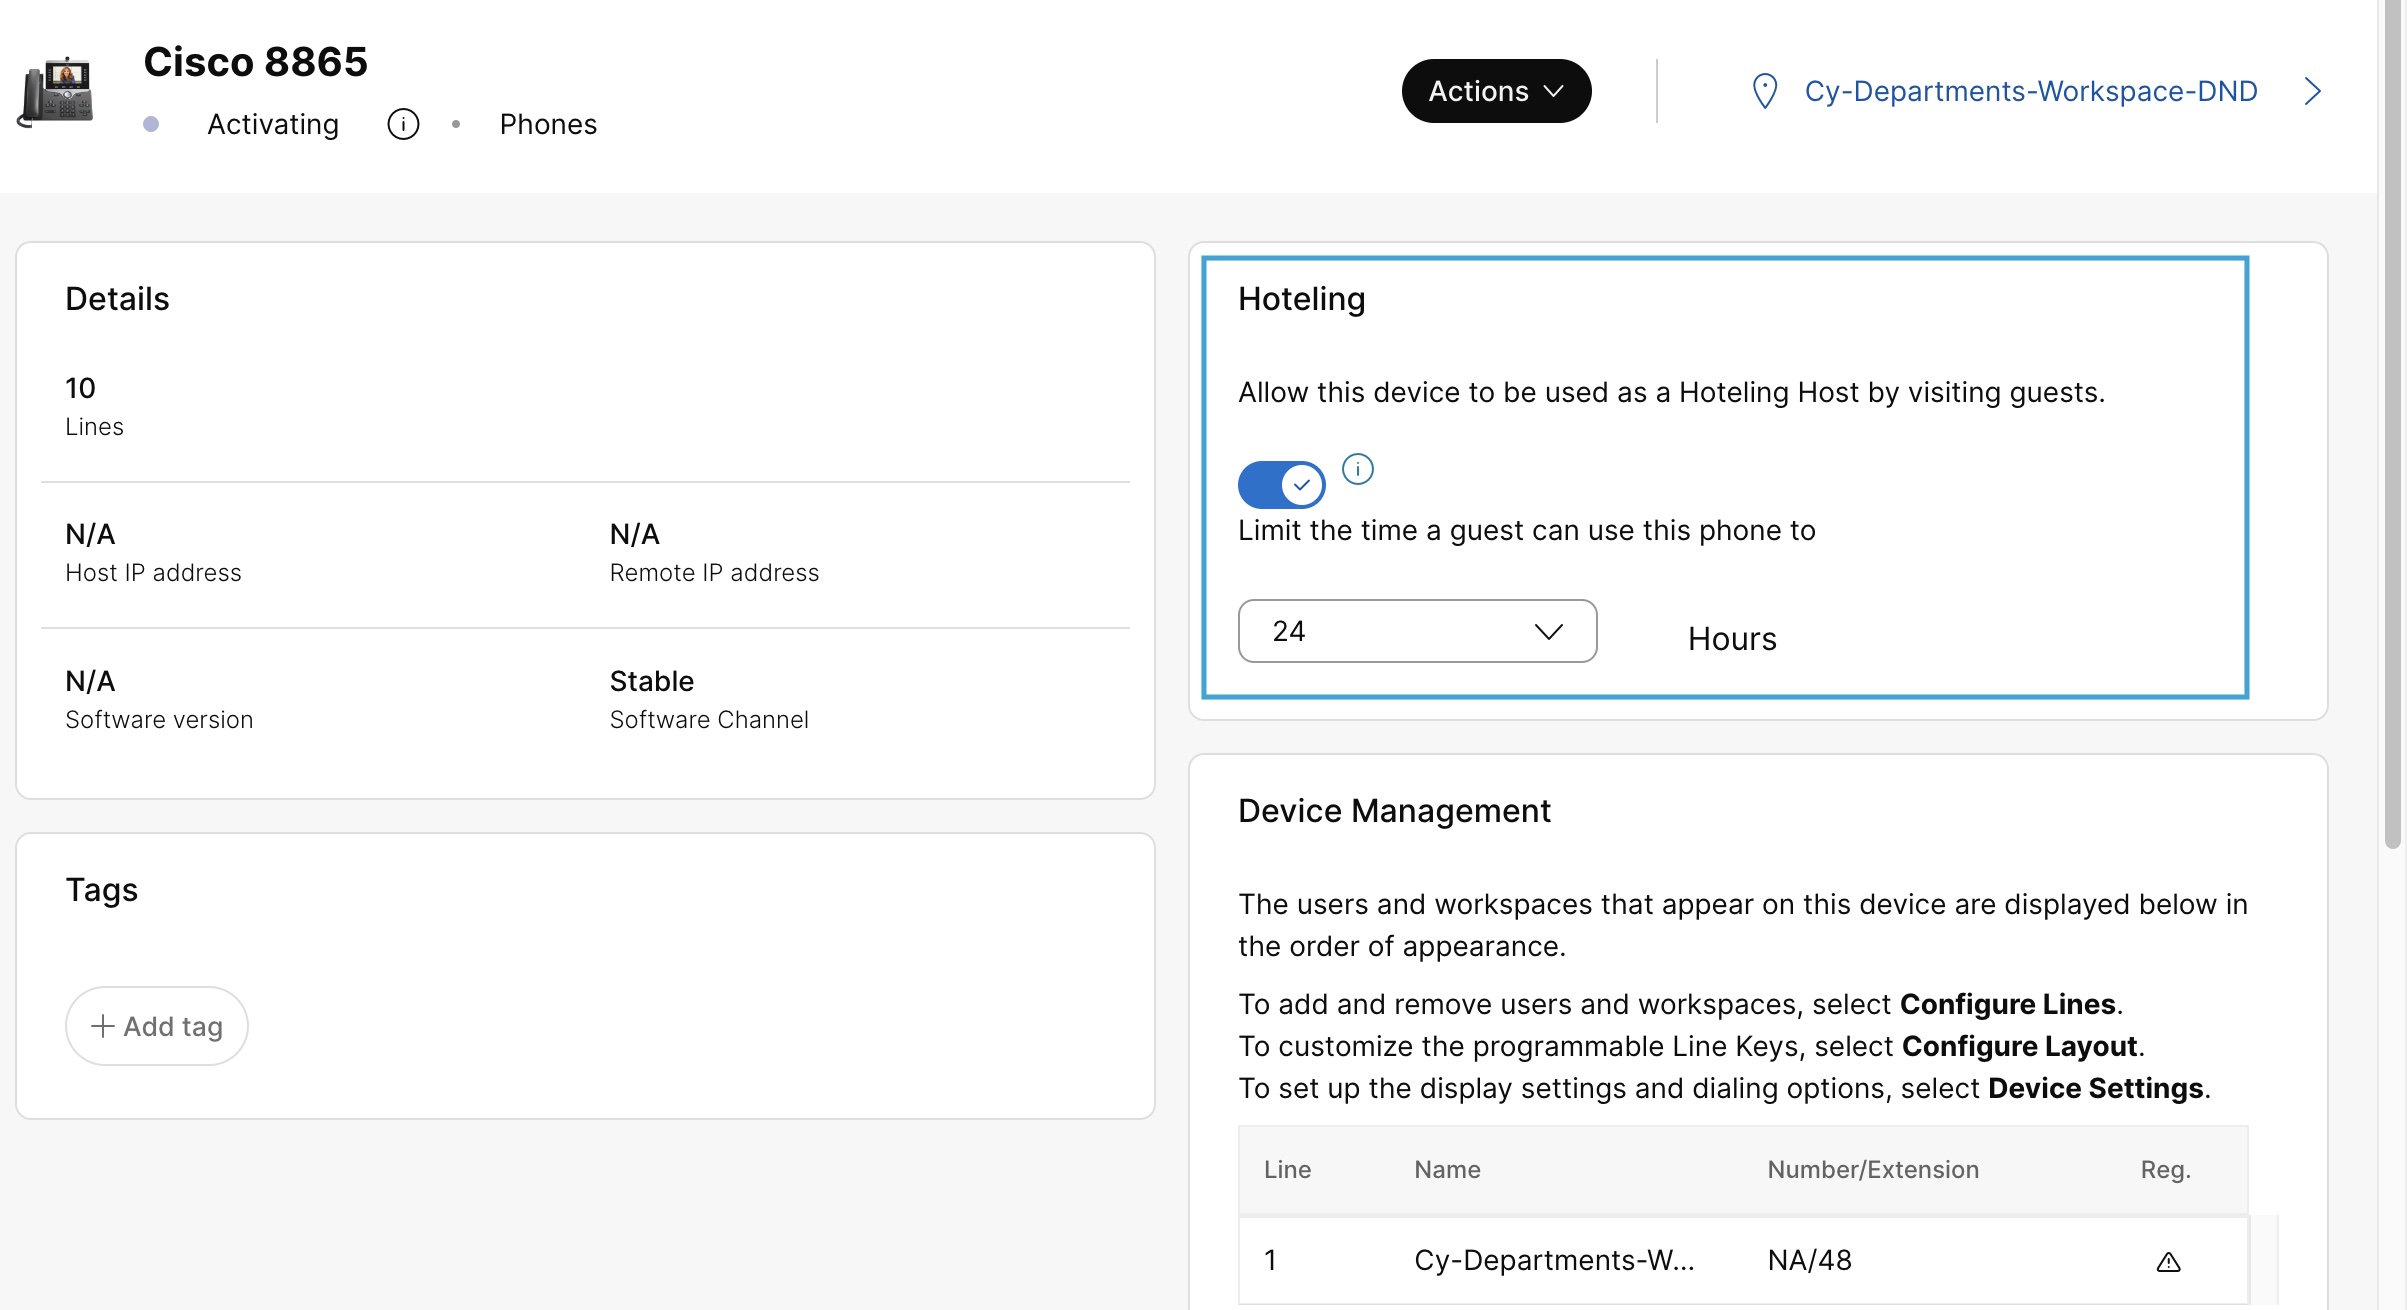
Allow a workspace device to be used as a hoteling host
| 1 |
From the customer view in https://admin.webex.com, go to Management and select Workspaces. |
| 2 |
Select a workspace to modify. |
| 3 |
Under Devices, select the device. |
| 4 |
Under Hoteling, select the toggle to enable. |
| 5 |
Choose the number of hours the device can be used by visiting guests from the drop-down. |
| 6 |
Once configured, choose Reboot from the Actions drop-down list. This will apply the softkey configuration after the phone reboots.
You can perform the same configuration by navigation to where you get the list of both workspace and user devices. |
Allow a user device to be used as hoteling host
Before you begin
| 1 |
From the customer view in https://admin.webex.com, go to Management and select Users. |
| 2 |
Select a user and click the Devices tab. |
| 3 |
Under Devices, select the device. |
| 4 |
Under Hoteling, select the toggle to enable. |
| 5 |
Choose the number of hours the device can be used by visiting guests from the drop-down. |
| 6 |
Once configured, choose Reboot from the Actions drop-down list. This will apply the softkey configuration after the phone reboots. |
Turn on hoteling for a user
| 1 |
From the customer view in https://admin.webex.com, go to Management and select Users. |
| 2 |
Select a user and click the Calling tab. |
| 3 |
Go to the Between-user Permissions section, and select Hoteling and turn on the toggle. |
| 4 |
Enter the name or number of the hoteling host in the Hoteling Location search field and choose the hoteling host that you want to assign to the user. Only one hoteling host can be selected. If you choose another hoteling host, the first one gets deleted. If you're a location administrator, you can assign only the hoteling host pertaining to your assigned locations. |
| 5 |
To limit the time a user can be associated to the hoteling host, choose the number of hours that the user can use the hoteling host from the Limit Association Period drop-down. The user will be logged out automatically after the chosen time. An error message is displayed in the screen if the limit association period specified for the user exceeds the limit association period of the chosen hoteling host. For example, if the hoteling host has a limit association period of 12 hours and the user's limit association period is 24 hours, an error message is displayed. In such cases, you need to extend the limit association period of the hoteling host if more time is needed for the user. |
| 6 |
Click Save. A user can also search, and locate the hoteling host they want to use from the User Hub. For more information, see Access your calling profile from anywhere. |


