
Thanks for your feedback.
Stream Your Webex meetings, webinars, or events on Twitter
 Feedback?
Before you begin
Applies to:
-
All active Meetings versions with the Meet, Business, and Enterprise plans
-
All Events (classic) and Webinars versions
Sharing a whiteboard and sharing a file using Share File, including sharing a video file, aren’t supported while live streaming.
You must have a Twitter account and a Periscope account. Your Twitter account must be connected to your Periscope account.
Make sure that you have signed in to Periscope Producer and become familiar with the process of live streaming well before you intend to live stream your meeting or event.
| 1 |
Sign in to Periscope with your Twitter account. |
| 2 |
Click your profile icon in the upper right of the screen and select Producer. 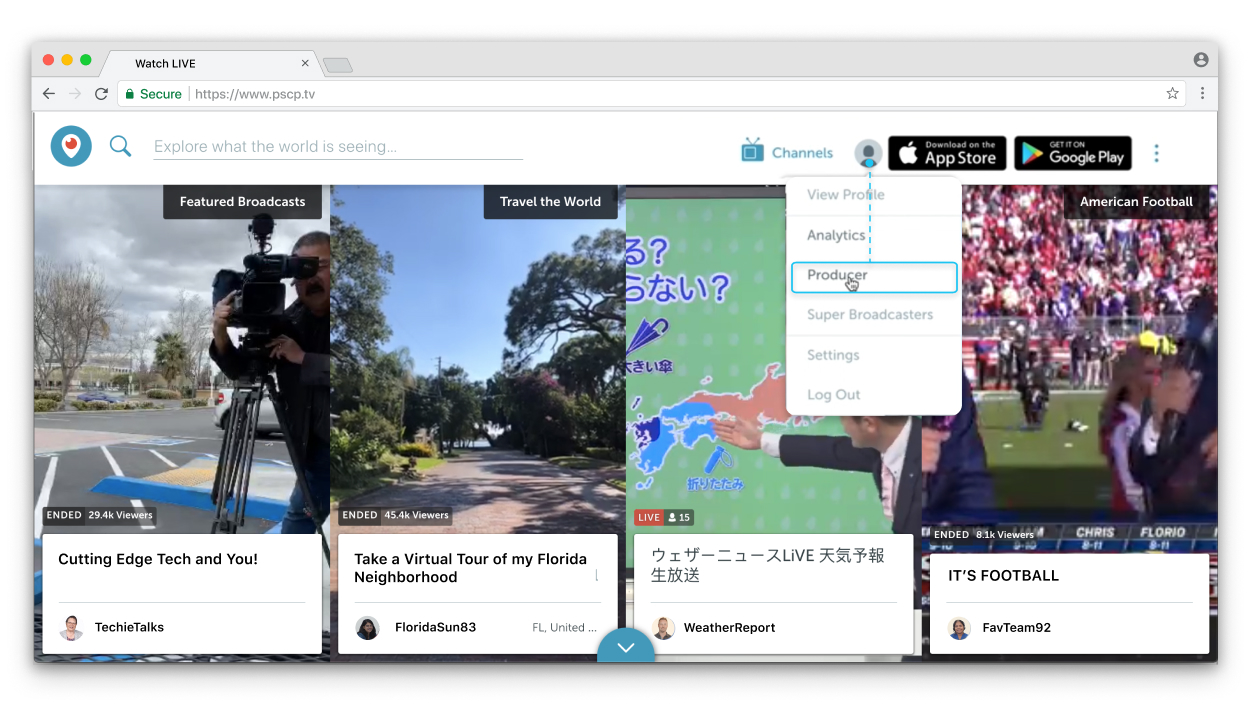 |
| 3 |
Click Create New Source. You see the Server URL and Stream Name/Stream Key. You'll need to copy and paste these in Step 6.  |
| 4 |
Sign in to your Webex site, start your meeting or event, go to More options  Live streaming isn't available during a practice session in an event. |
| 5 |
(Optional) Click Change streaming layouts to set the video layout of your stream. For more information about selecting your streaming video layout, see Live stream your Webex meetings, webinars, or events. 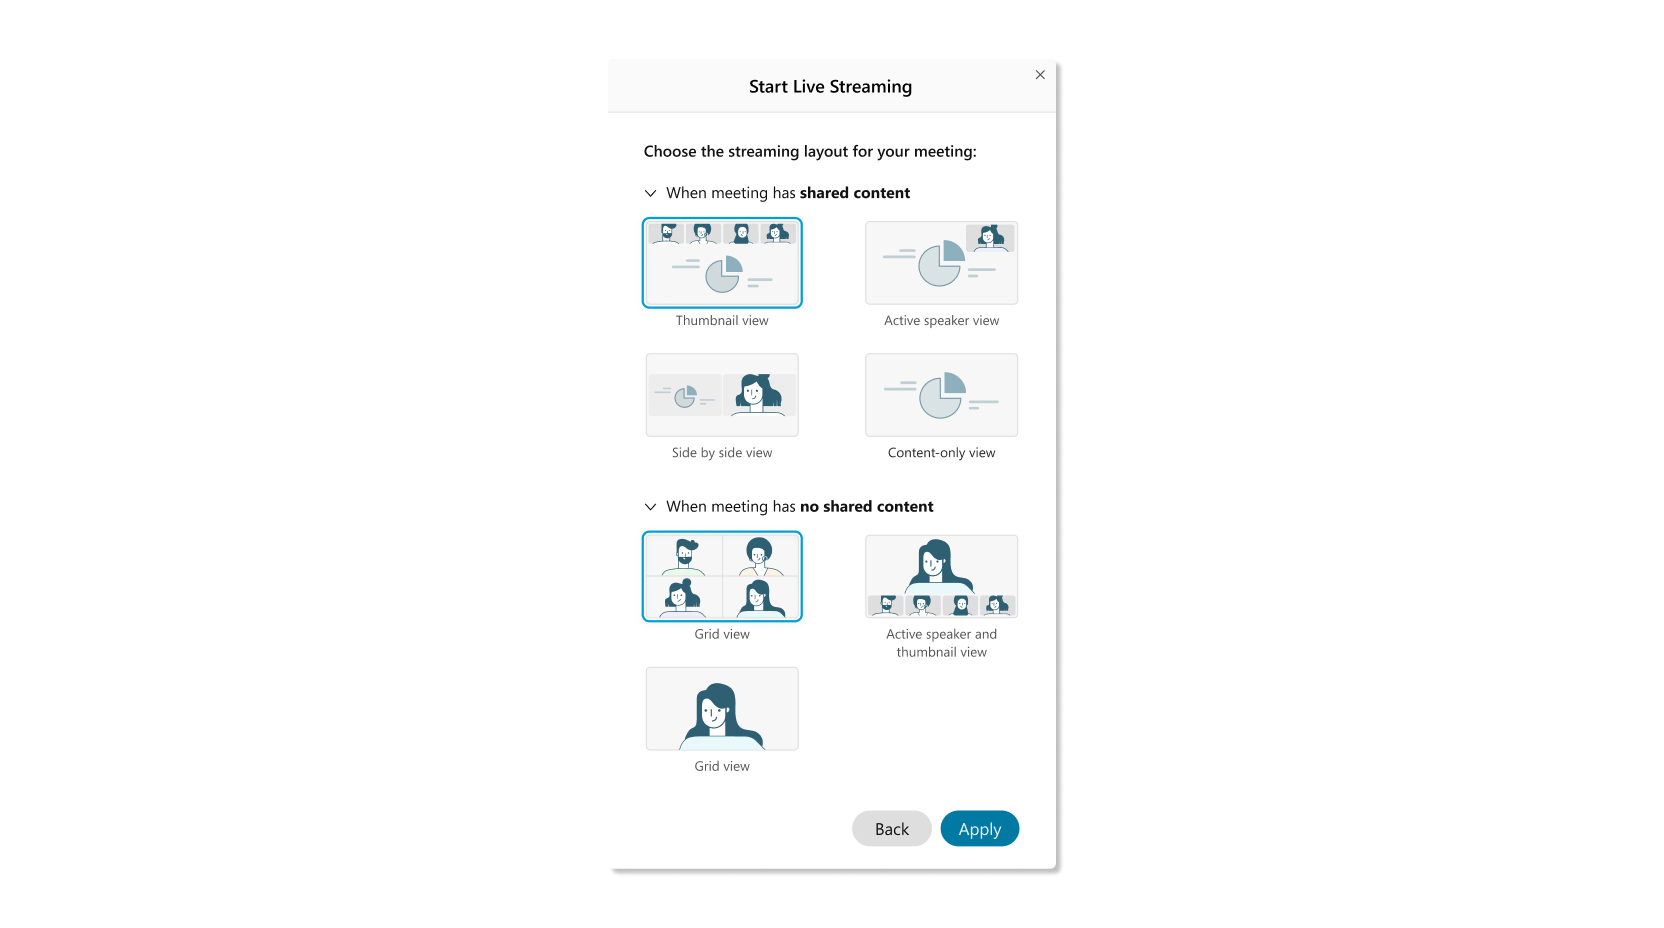 |
| 6 |
Select Other streaming services. 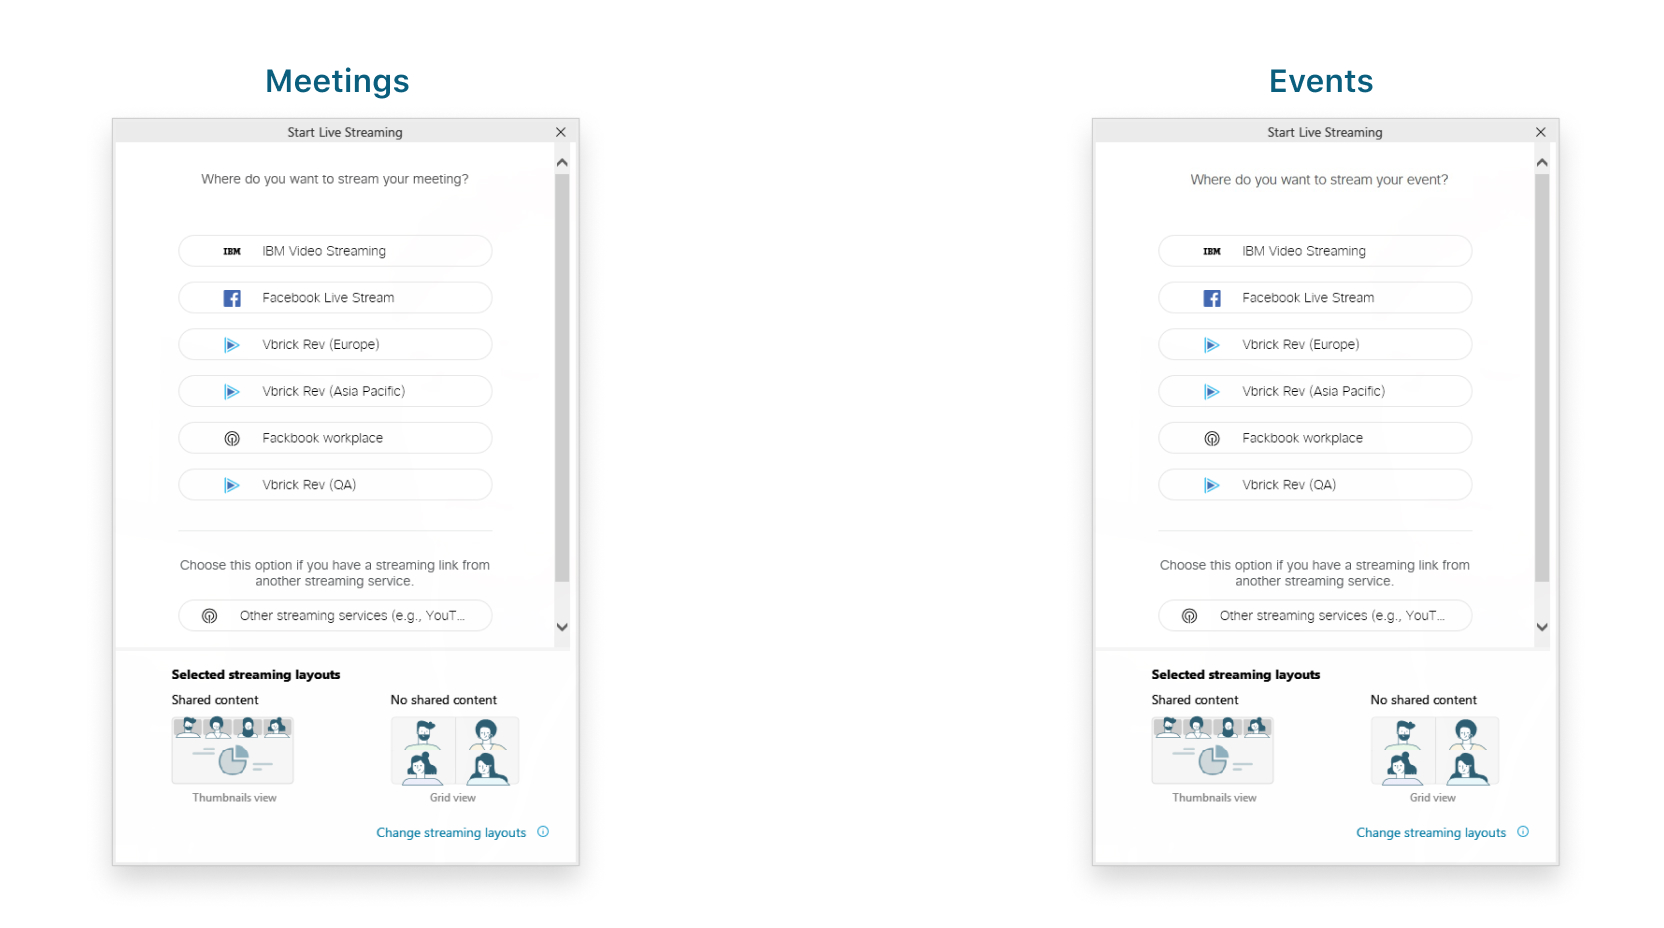 |
| 7 |
Enter the following:
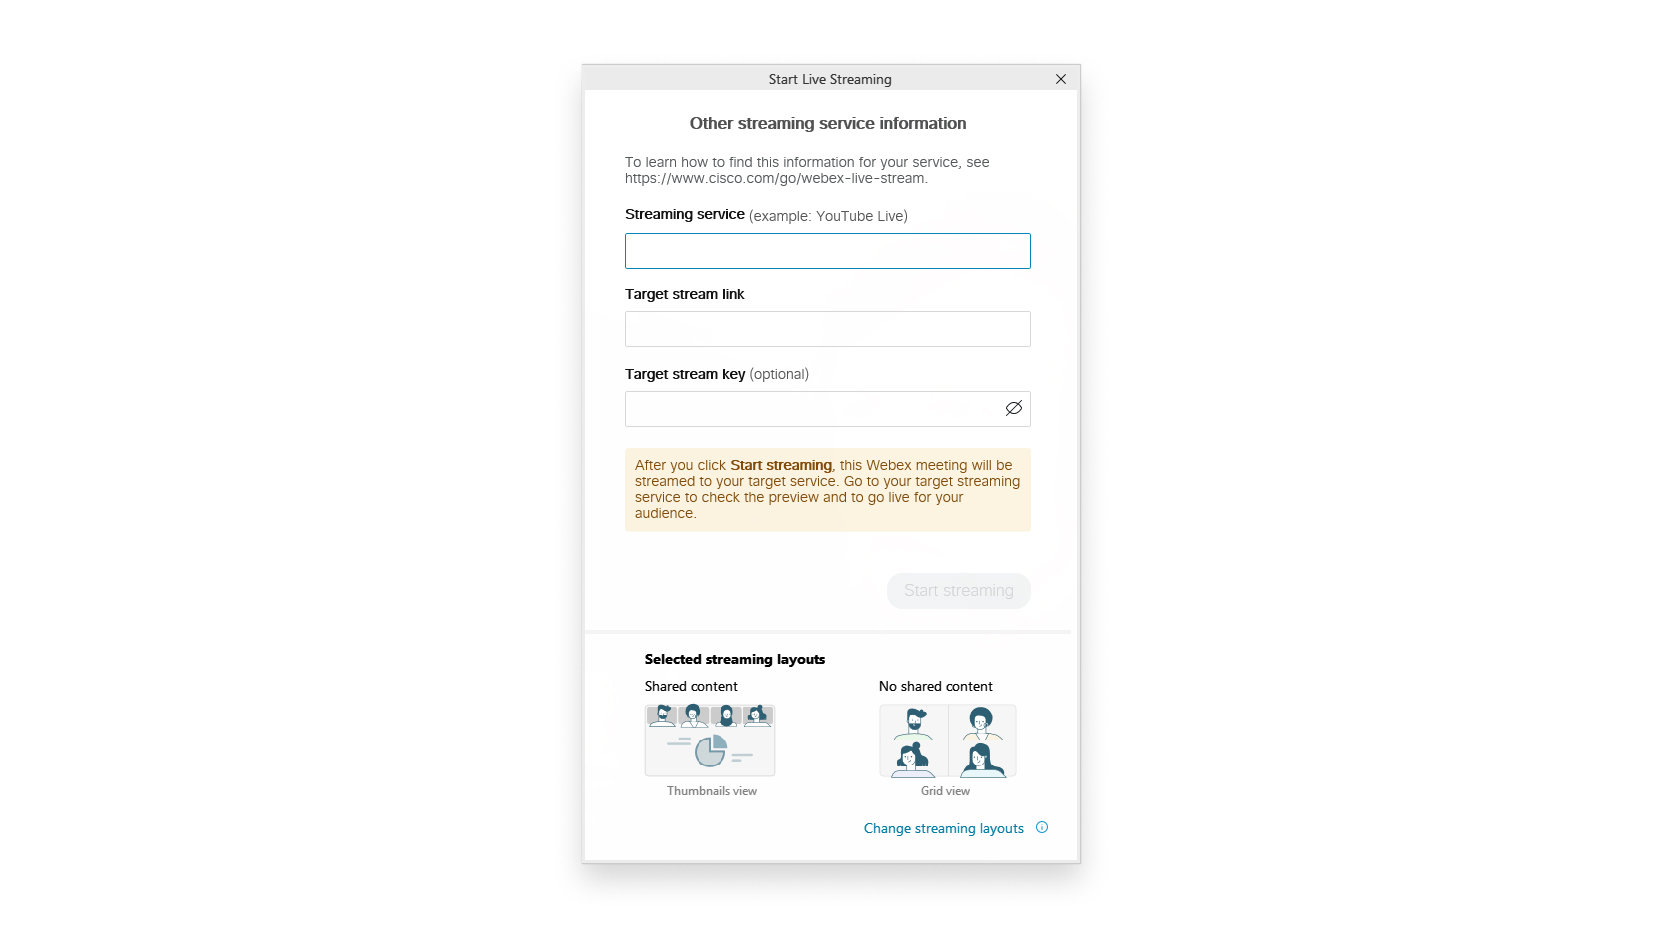 |
| 8 |
Click Start streaming. To confirm that you're streaming from Meetings, Webinars or Events (classic), check for the Live |
| 9 |
When you're ready to start streaming live on Twitter, go back to Producer, and wait until you see a preview of a live stream of your meeting, webinar, or event. 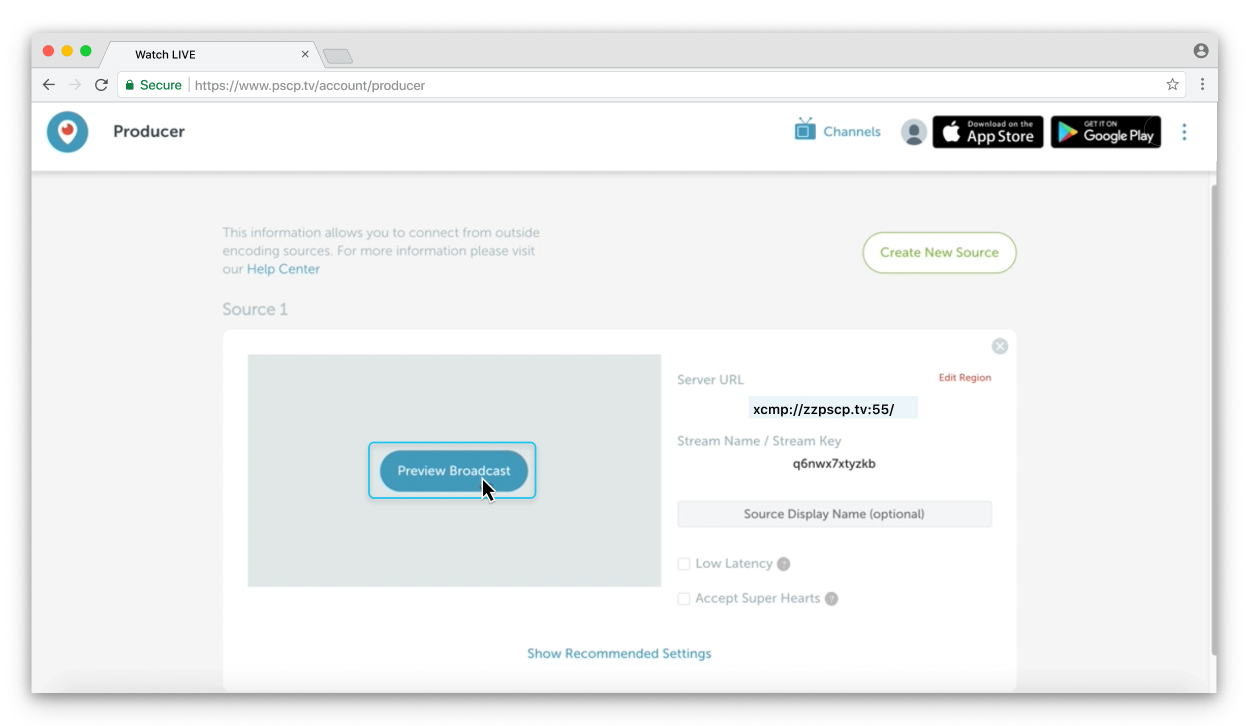 |
| 10 |
When you see a preview of the live stream, click Go LIVE. 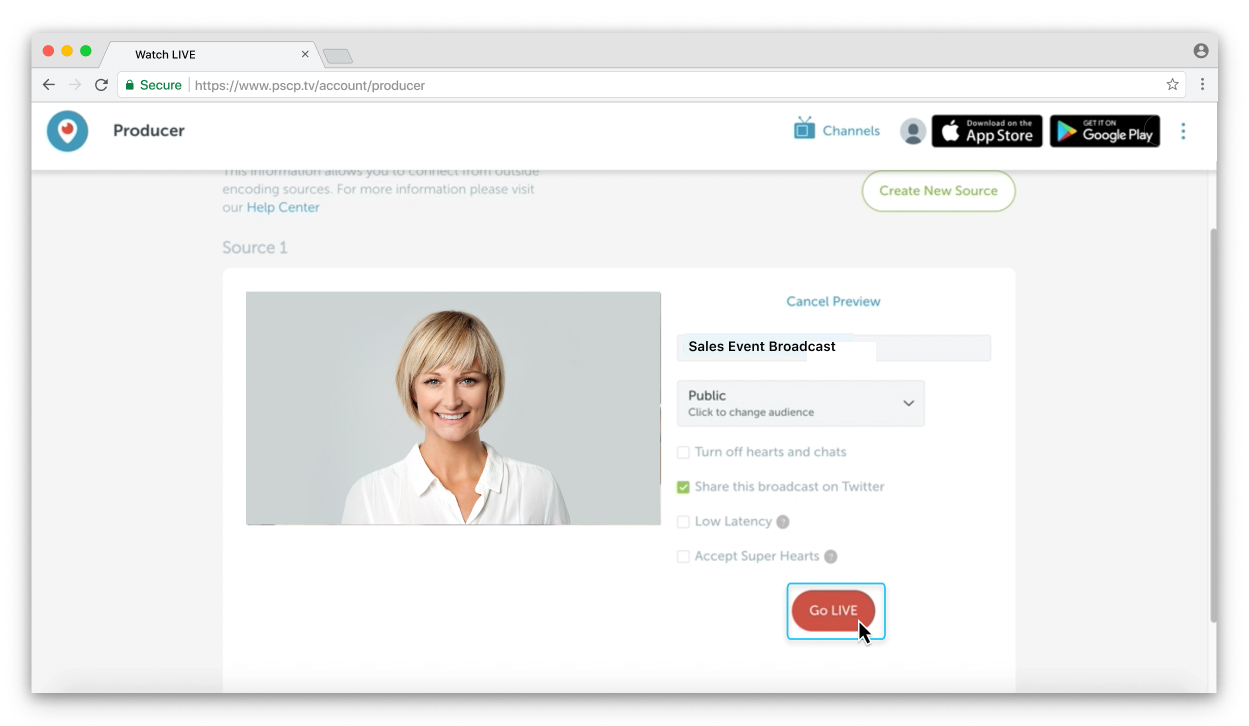 The live stream appears in a Tweet in your followers' timeline. Click |
 indicator in your meeting, webinar, or event.
 under the tweet to share the live video with other people.
What to do next
Go back to Producer and select Stop Broadcast.
Go back to your meeting or event, select More Options
 , and then select Stop streaming.


