- Home
- /
- Article

Thanks for your feedback.

Webex App | Add-In for Microsoft Office 365
 In this article
 Feedback?
You can use the Webex App add-in to access your Webex App spaces directly from Microsoft Excel, Word or PowerPoint. You can reference messages from Webex App or send a message to someone.
Install Cisco Webex App Add-In
What You Need
-
System requirements:
-
Mac—MacOS 10.10 or later
-
Windows PCs—Windows 10 or later
-
-
Webex App account—For more information, see https://www.webex.com/products/teams/index.html.
-
Microsoft Office 365 subscription
-
Supported Microsoft versions:
-
Microsoft Excel, Word, or PowerPoint desktop version 16.0.11629 or later
-
Microsoft Excel, Word or PowerPoint Online
-
For more information on Webex App Add-In, see Webex in the Microsoft AppSource.
You can install the Webex App add-in once using either Microsoft Excel, Word or PowerPoint and then the add-in is available on the other Microsoft Office applications. The following steps apply to Microsoft Word and can also be applied to Microsoft Excel or PowerPoint.
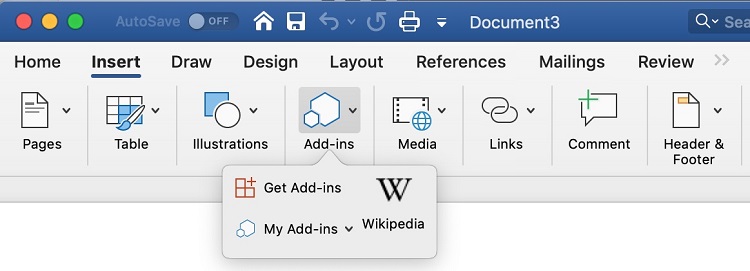
| 1 |
Open a Microsoft Word document, click Insert, click the arrow beside Add-ins and then choose Get Add-ins.
|
| 2 |
Choose the Store tab, enter Webex App and click Search. If you don't see Webex App listed in the search results, contact your IT administrator for access. |
| 3 |
Click Get it now for Webex App and follow the instructions to install the Add-in. |
| 4 |
In Microsoft Word, click Home and then click Webex App
|
| 5 |
Sign in with your Webex App credentials. 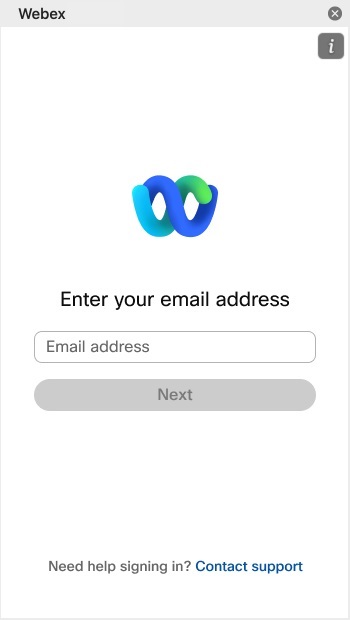
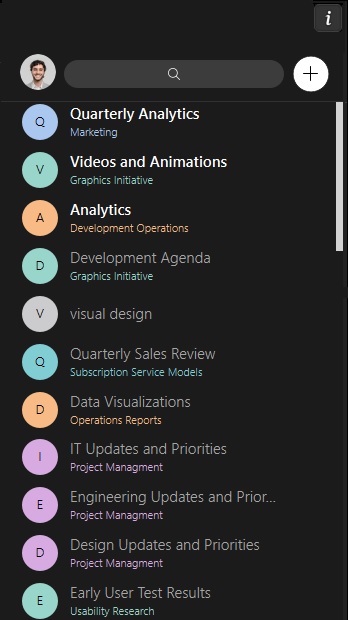
Webex App shows the spaces that you're a member of.
You can do the following with Webex App:
|

 , enter a name and then add people to the space.
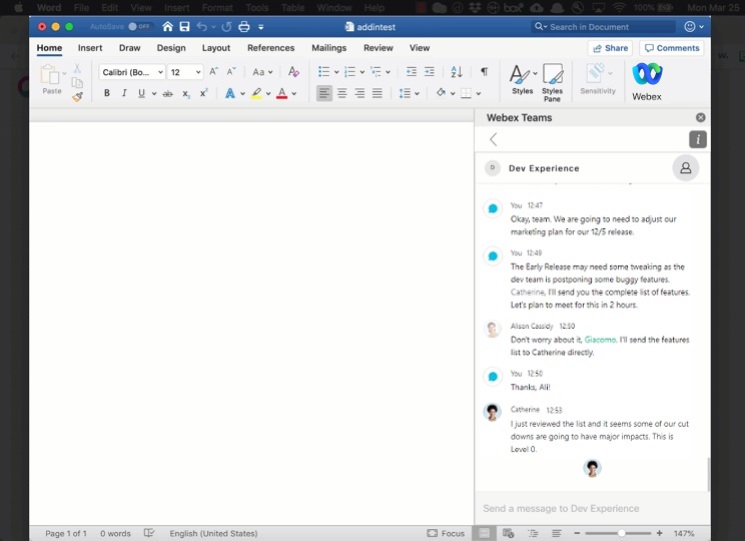
Tips About Using Webex App Add-In for Microsoft Office 365
-
You can only see messages for spaces where you are a participant.
-
You can run the add-in only for the supported Microsoft Office 365 applications - Microsoft Excel, Word and PowerPoint.
-
The add-in works best on the latest version of Microsoft Office 365. You can check for updates, click .
-
You can add people one at a time to spaces, make sure to click Enter after adding their email address. After they are added, you can see their profile pictures.
-
Your administrator or IT department can silently and centrally deploy the add-in to your Microsoft Office 365 organization. For more information, see Determine if Centralized Deployment of add-ins works for your organization.


