
Thanks for your feedback.
Schedule and join meetings with Webex for Google Workspace
 Feedback?
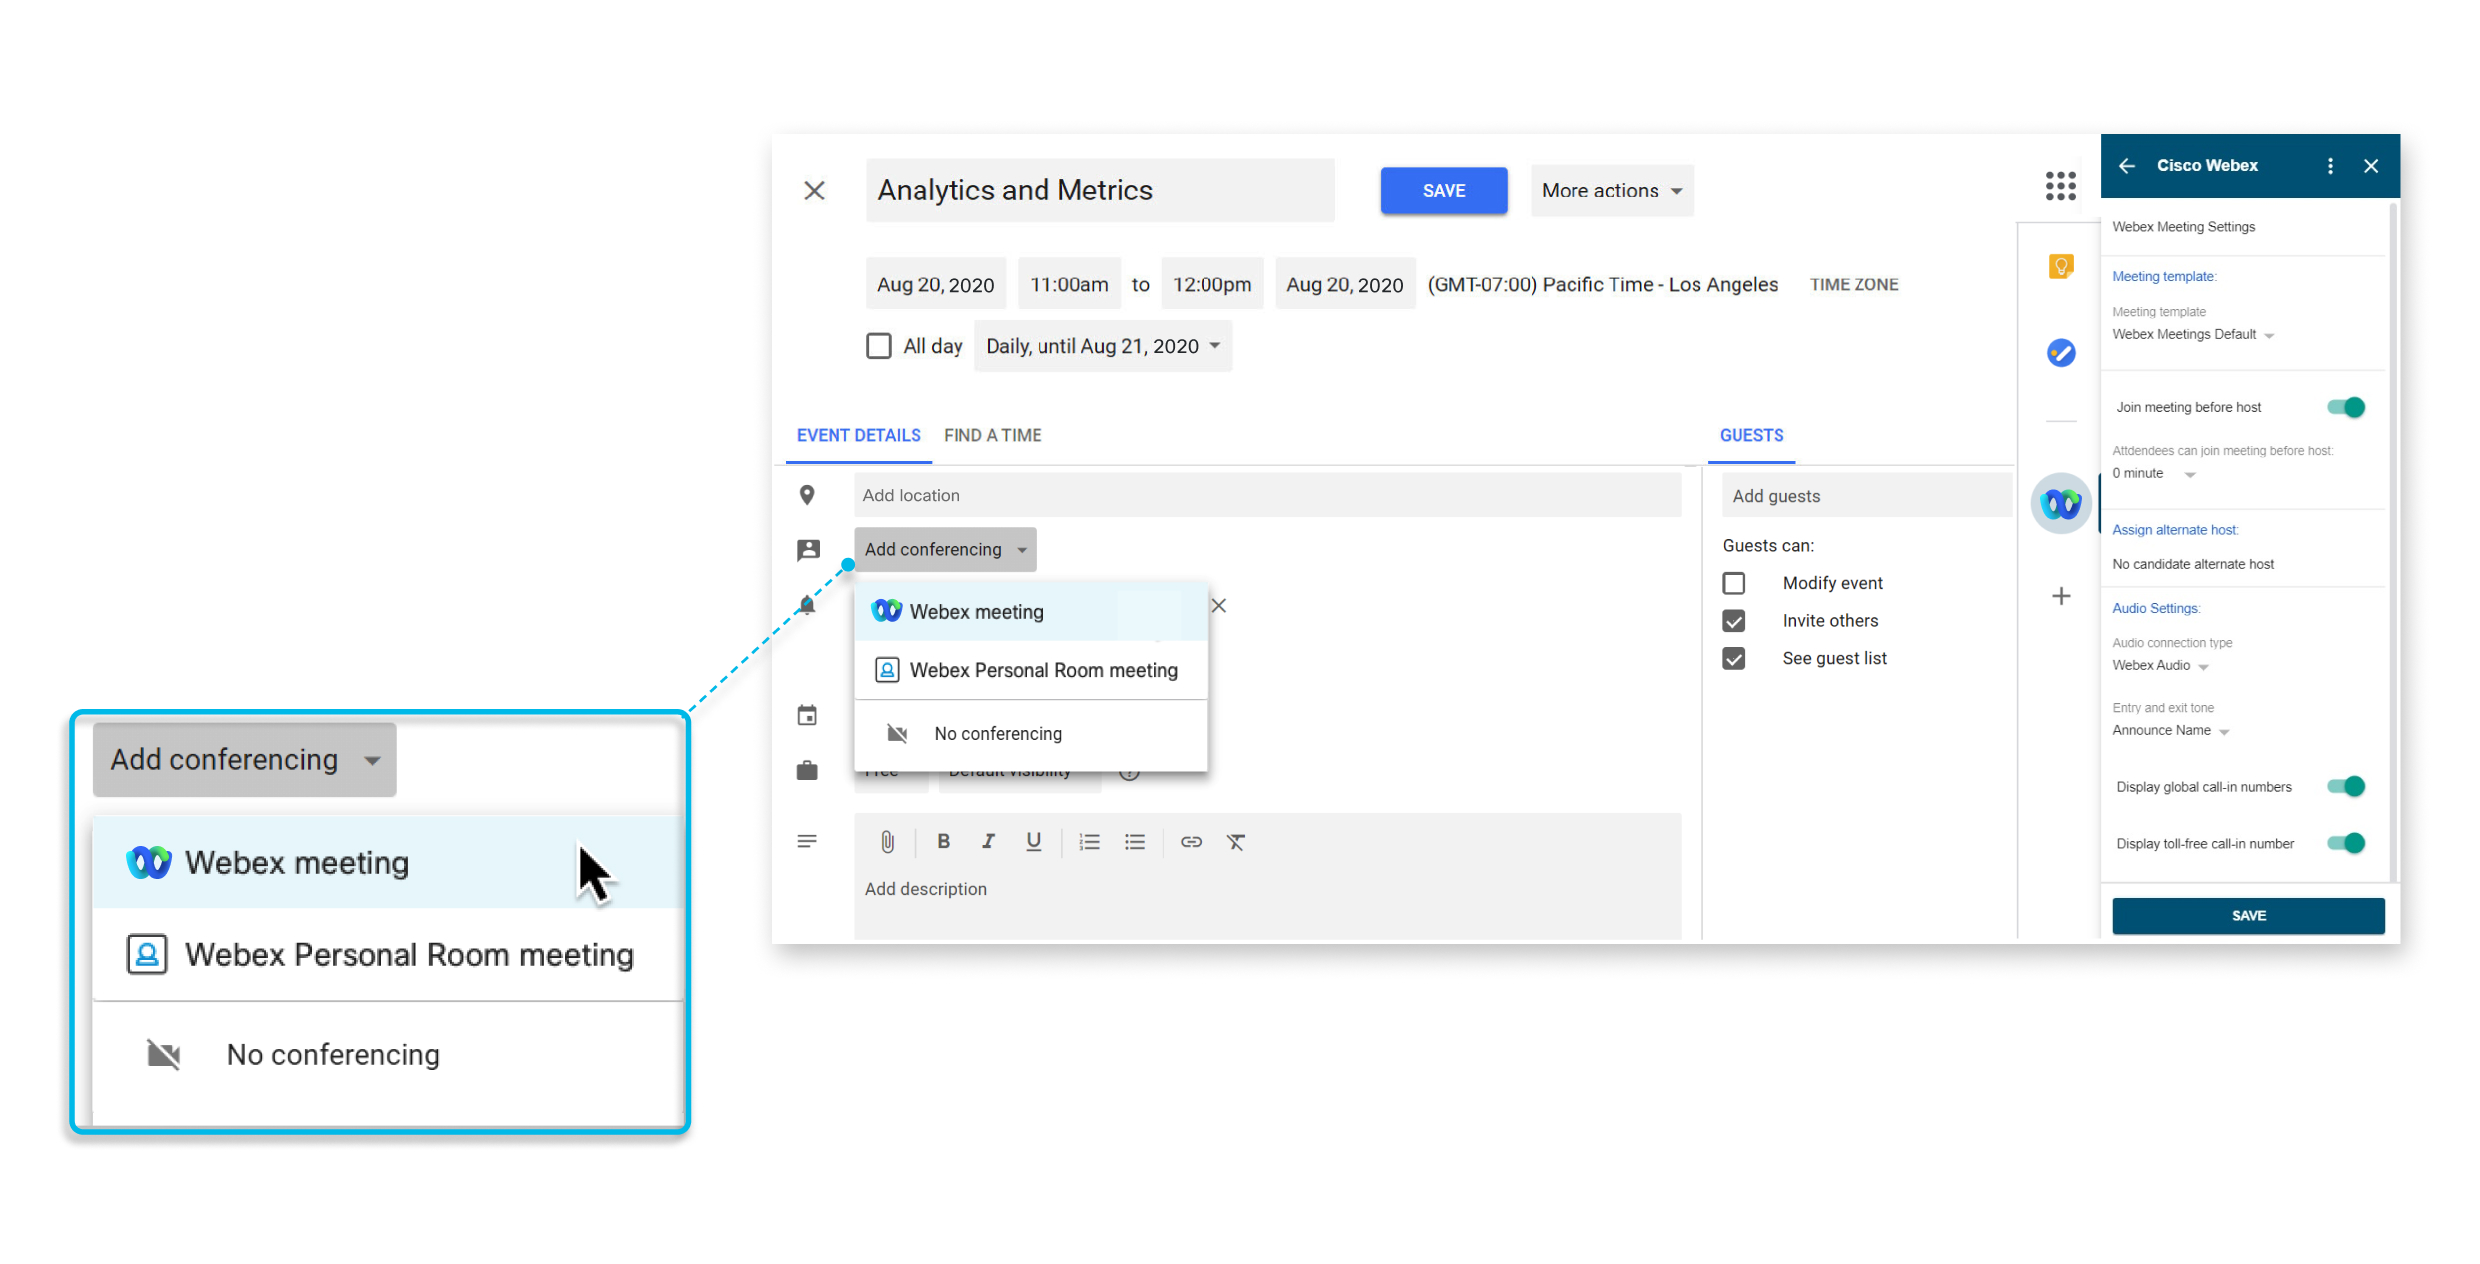
This feature is available for Webex Meetings.
If you already installed the Webex app, you'll be upgraded to a new version automatically. We recommend that IT administrators go to the Google Admin console and grant new scopes to provide organization-wide permission, otherwise users will be asked to authorize new permissions when they try to schedule Webex meetings. To grant new scopes, sign in to the Google Admin console and go to and click Revoke data access and then click Grant data access.
If your administrator hasn’t installed the Webex app for G Suite users but has added it to the approved list of apps, you can go to Google Workspace Marketplace and install the app yourself.
If restrictions are applied to Marketplace apps, your Google administrator can add the Webex app to the approved list of apps or can select Allow users to install any application from Google Workspace Marketplace in Marketplace settings > Manage Access to apps.
Administrators can install the app for the whole domain through the Google Admin console. Go to support.google.com and search for Install Marketplace apps.
|
Go to the Webex app for Google Workspace, and then click Install. Only users with Google Workspace accounts can view this page in Google Workspace Marketplace. After you've installed the app, follow the instructions in Set Your Webex Site in Google Calendar. |
If you no longer want to schedule Webex meetings and Webex Personal Room meetings directly from Google Calendar or Gmail, you can remove the Webex integration for Google Workspace.
Administrators can uninstall the app from the whole domain through the Google Admin console. Go to support.google.com and search for Delete a Marketplace app from Google Workspace.
| 1 |
In Google Calendar, select Settings menu > Settings. |
| 2 |
In the Add-ons section, next to Cisco Webex, select . |
Google Calendar
Before you can schedule a Webex meeting or Webex Personal Room meeting, you must specify the Webex site to use with your account.
| 1 |
In Google Calendar, select Create event. |
| 2 |
Under Event Details, select the Add conferencing drop-down list, and then select Webex meeting. If you don't see these options in the Add conferencing drop-down list, your administrator hasn’t installed the Webex for Google Calendar app. You may be able to install the app yourself. For more information, see Add the Webex App from Google Workspace Marketplace. |
| 3 |
Under Add location, you'll see either Authorize or Login required:
|
| 4 |
To authorize, choose the Google Workspace account that you want to use with Webex for Google Calendar. 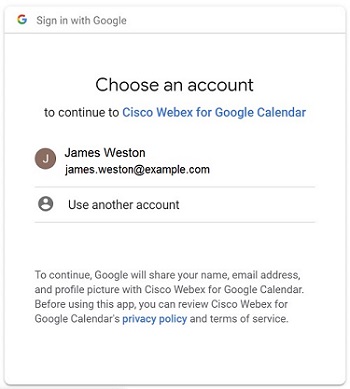 Select Allow. 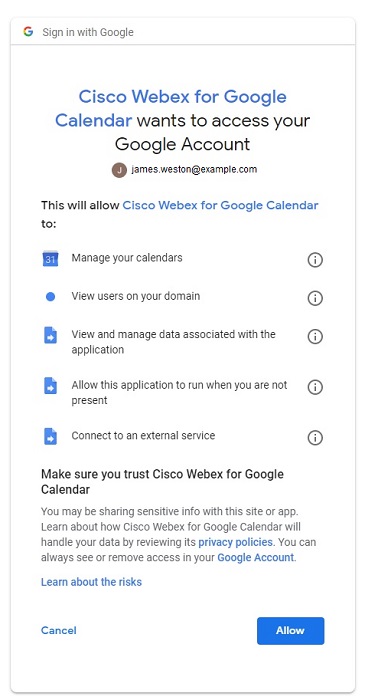 |
| 5 |
Enter the Webex site that you want to use to schedule meetings and select Next. 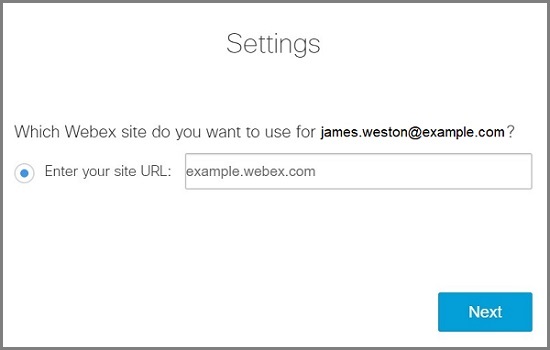 If you didn't log in earlier, you'll be prompted to log in now. Select Log In. Conferencing details are added to the meeting. |
| 6 |
If you want to continue to schedule a meeting, see Schedule a Meeting, otherwise select Cancel event creation. |
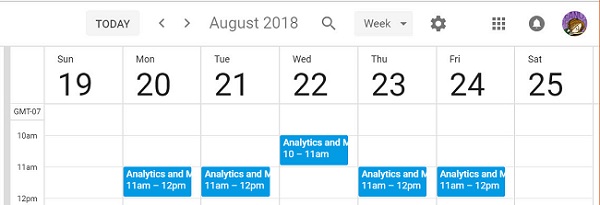
After you set your Webex site, you can schedule a Webex meeting or a Webex Personal Room meeting from your Google Calendar.
The Webex meeting or Personal Room meeting details fill in based on the meeting template that you
set as your default. Make sure you set your default template to the meeting type you want in
the Cisco Webex side panel before you schedule.
When you're creating an event, can go to Cisco Webex in the side panel to change meeting settings, such as the alternate host or cohost
and audio type. In Calendar, you can change your Webex site and meeting template from Cisco Webex in the side panel.
| 1 |
In Google Calendar, select Create event or select an existing event. |
| 2 |
Under Event Details, select the Add conferencing drop-down list, and then select Webex meeting or Webex Personal Room meeting. |
| 3 |
Add the meeting title, date, and time. |
| 4 |
If you want the meeting to repeat, select Does not repeat and choose how often you want the meeting to repeat, and when you want the repeating meeting to end. |
| 5 |
Add guests. |
| 6 |
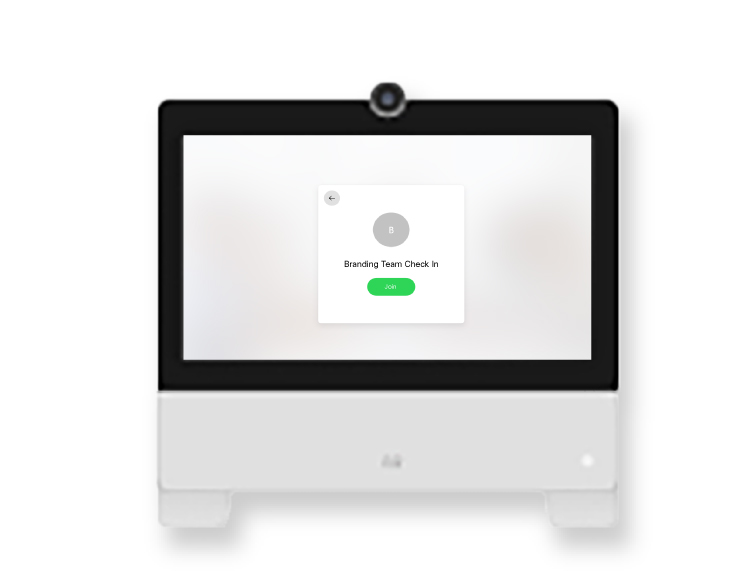
To make it easier for people to join a meeting from a Webex room or desk device, select Rooms, and then select the room devices that you want to add. You can choose from suggested rooms or search for a new one. This makes a Join button appear on the device before the meeting starts. Your administrator must set up your account with the Webex Hybrid Calendar Service so you can schedule room devices this way. |
| 7 |
(Optional) Edit the meeting options. In the side panel, select Cisco Webex |
| 8 |
Select Save, and then Send. |
If your meeting repeats and you must change the date or time of one of the meetings, locate and select that instance of the meeting, select Edit event, make your changes, select , and select OK.
If your meeting repeats and you want to delete an occurrence of the meeting because you're on vacation or it's a public holiday, locate and select that instance of the meeting, select , and select OK.
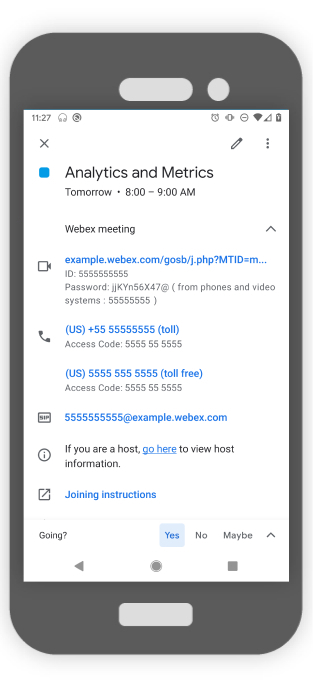
It's convenient to start or join a meeting that's been scheduled using Google Calendar.
|
Do one of the following:
|
You can delegate someone else to schedule meetings for you in Google Calendar. Having a delegate is useful in situations where you're unable to reach a computer or if you have another person manage your calendar.
The delegate must have a host account in Webex Meetings.
| 1 |
Sign in to your Webex site, select Classic View, and select My Webex. |
| 2 |
Select . |
| 3 |
In the Scheduling permission box, enter the email address of one or more hosts you want to allow to schedule meetings on your behalf. |
| 4 |
Select Save at the bottom of the Preferences page. |
| 5 |
In Google Calendar, under My calendars, point to the calendar that you want to create a delegate for and select . |
| 6 |
Under Share with specific people, select Add People. |
| 7 |
Enter the email address of one or more hosts you want to delegate your calendar to. |
| 8 |
Select the Permissions box, select the privilege level, and select Send. |
If there's more than one Webex site that you use for meetings, you can specify which site you prefer to use when you schedule meetings in Google Calendar.
| 1 |
In Google Calendar, select Cisco Webex
|
| 2 |
Select Change Webex Site. |
| 3 |
Enter the Webex site that you want to use to schedule meetings and select Next. 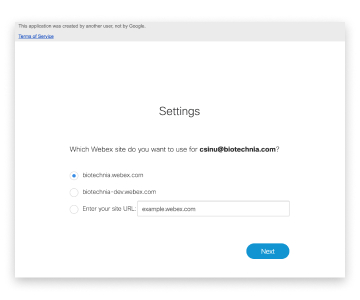 |
| 4 |
Close the browser window. |
What to do next
Gmail
After you've set your Webex site, you can schedule a Webex meeting from an email in Gmail. You can schedule a meeting with the email recipients to discuss the content of an email.
| 1 |
In Gmail, select an email and select Cisco Webex
|
| 2 |
Select Schedule a meeting. 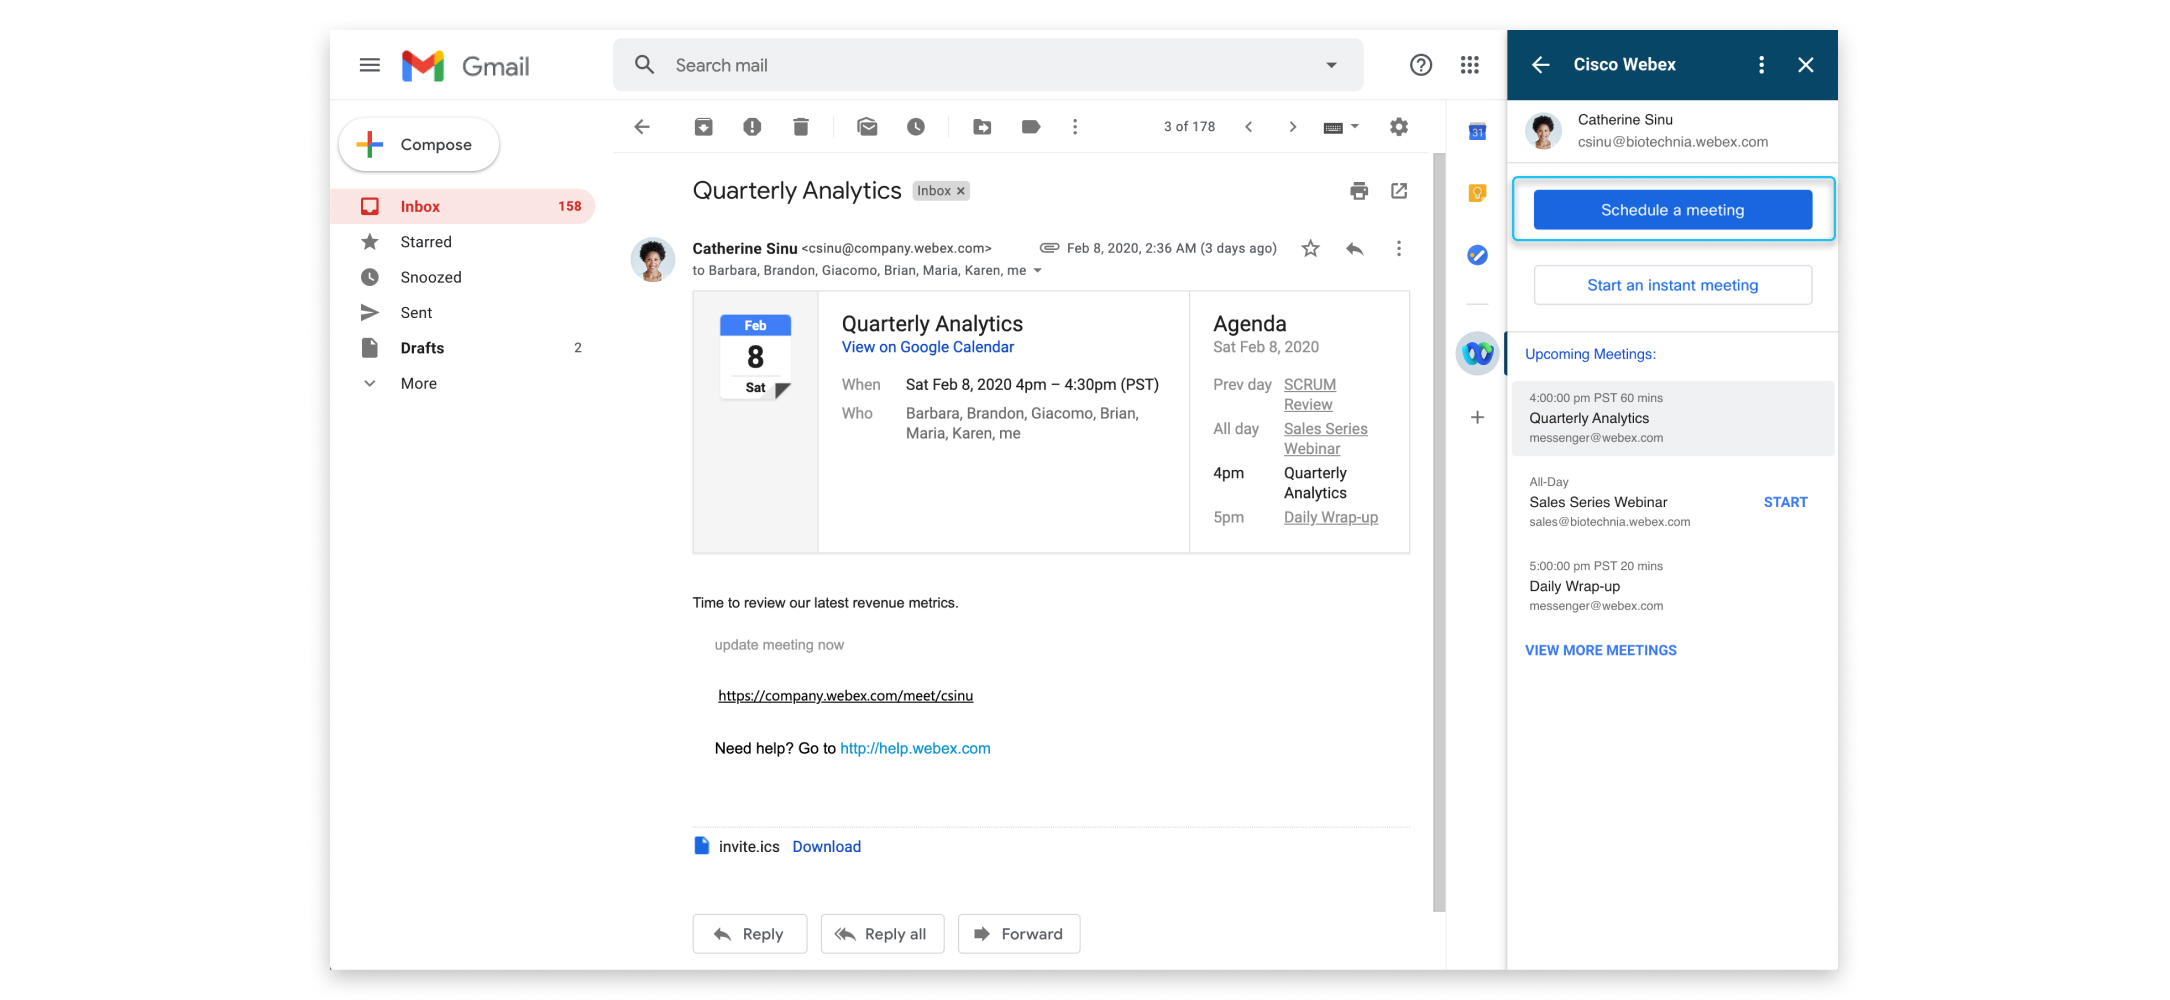
|
| 3 |
Change the meeting topic and select the time zone, date, and time. |
| 4 |
Invite participants. By default, the email addresses in the "To" and "From" fields in the email are invited to the meeting. To invite other participants, select |
| 5 |
Select Create Meeting. The meeting details show. If you want to start the meeting right away, select Start Meeting. |
 under
under After you've set your Webex site, you can schedule a Webex meeting from an email in Gmail. You can meet instantly with the email recipients to discuss the content of an email.
| 1 |
In Gmail, select an email and select Cisco Webex
|
| 2 |
Select Start an instant meeting. 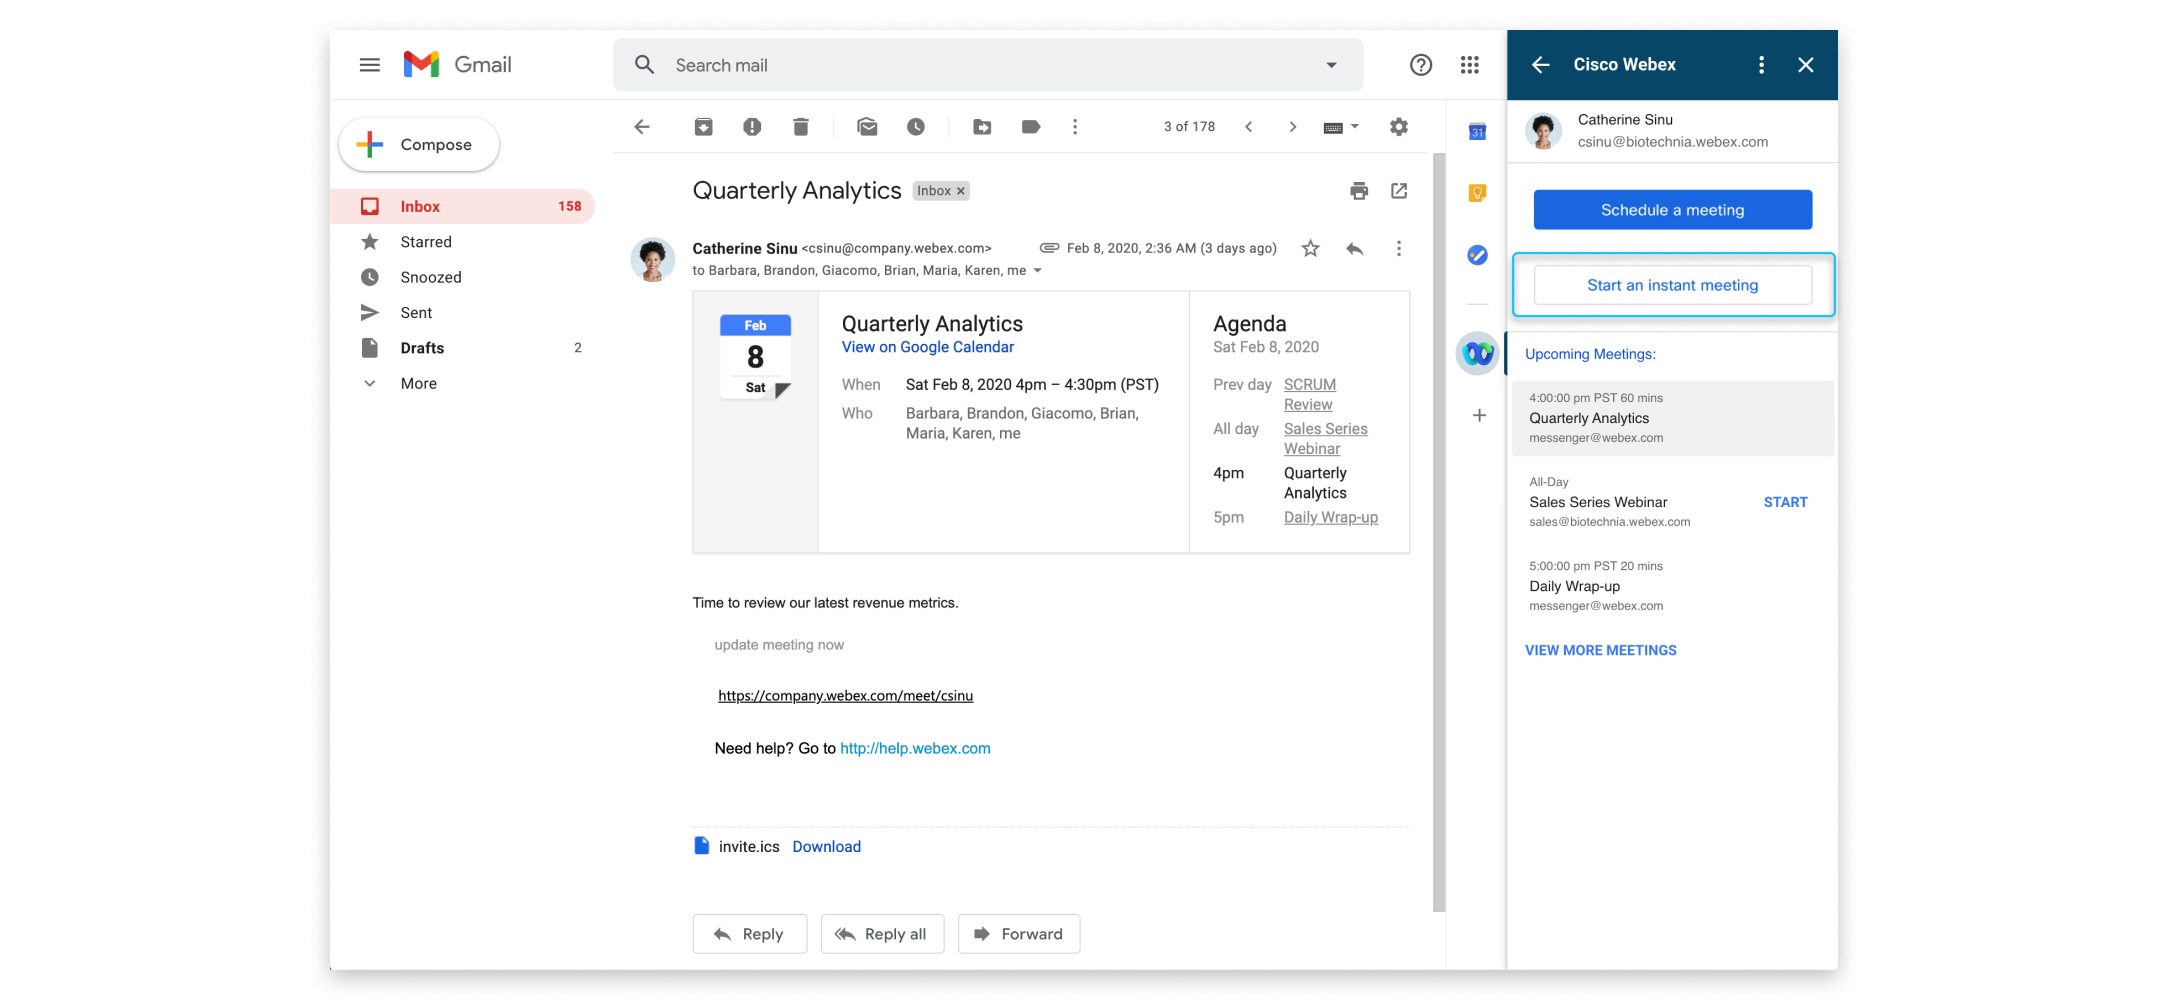
|
| 3 |
Select the meeting topic to change it. 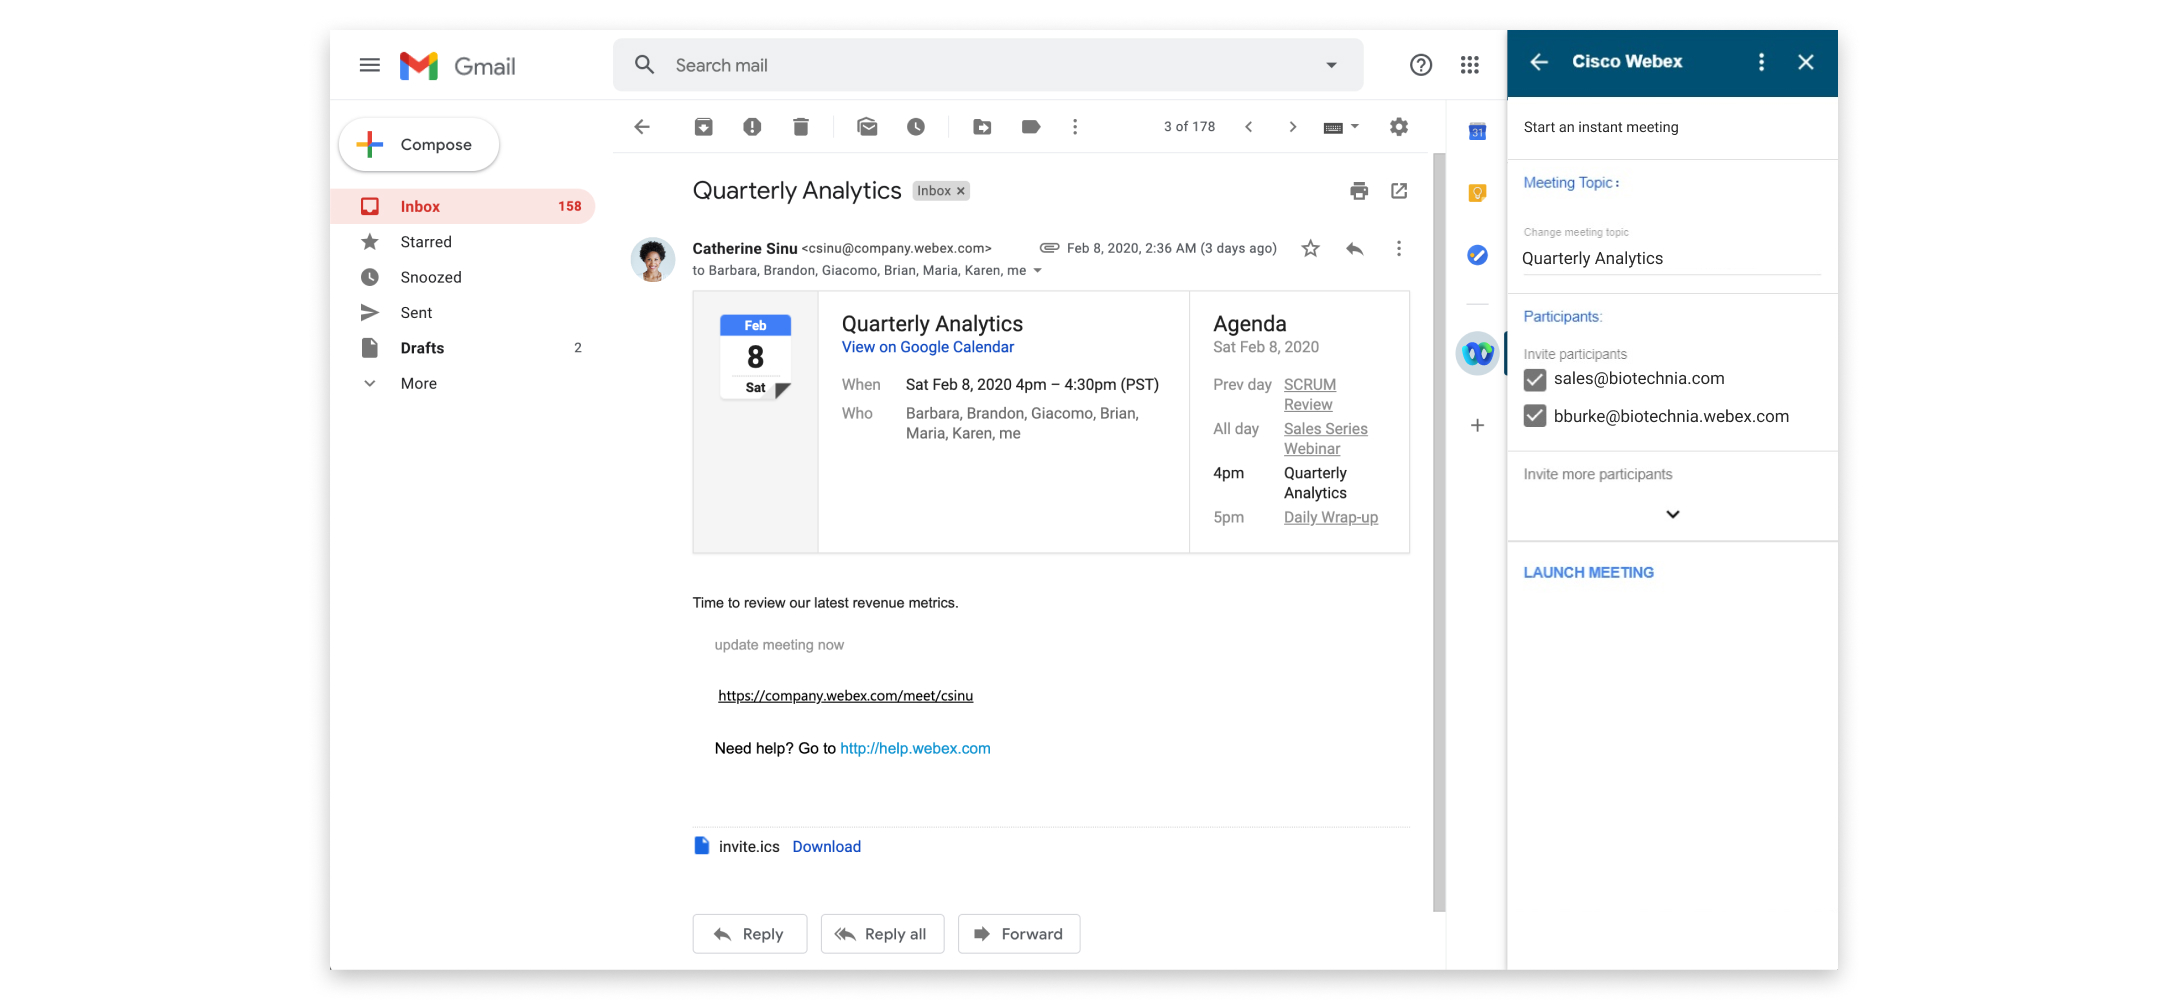
|
| 4 |
Invite participants. By default, the email addresses in the "To" and "From" fields in the email are invited to the meeting. To invite other participants, select |
| 5 |
Select Start Meeting. |
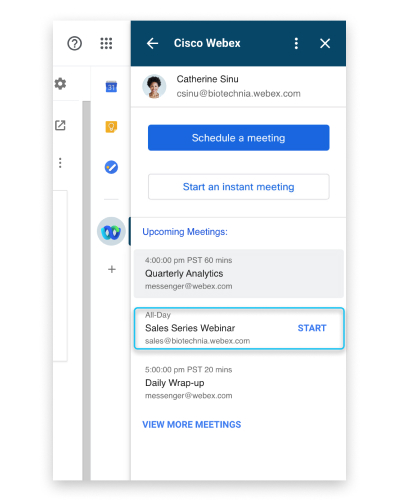
It's convenient to start or join a meeting that's been scheduled using Gmail.
|
Do one of the following to start or join a meeting:
|
If there's more than one Webex site that you use for meetings, you can specify which site you prefer to use when you schedule meetings in Gmail.
| 1 |
In Gmail, select Cisco Webex
|
| 2 |
Select More actions
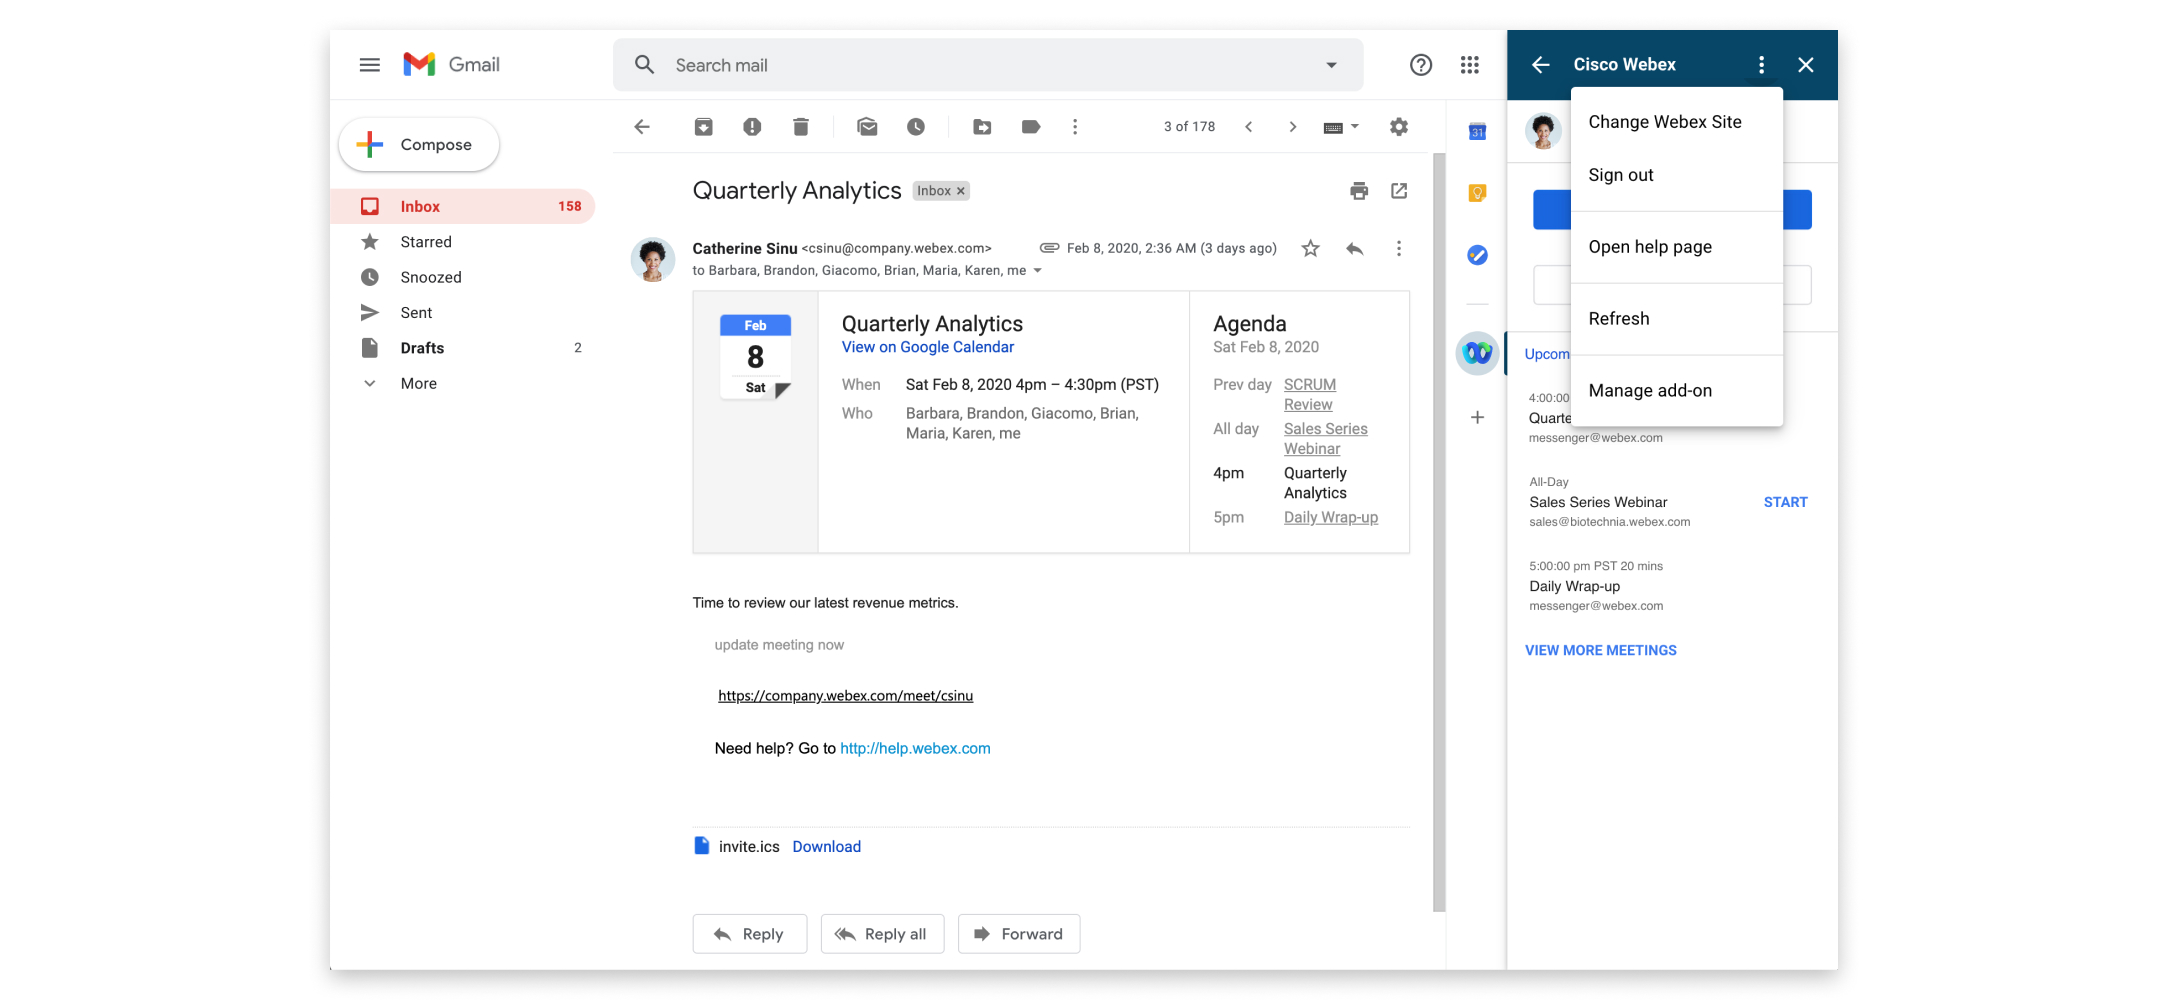 |
| 3 |
Enter the Webex site that you want to use to schedule meetings and select Next. |
| 4 |
Close the browser window. |
 and
and 


