- Home
- /
- Article

Assign services to managed gateways
 In this article
 Feedback?
Know how to assign a Webex Calling service to a managed gateway for enabling new functionality or for enhanced management.
Use one of these services to manage the gateway:
-
Local Gateway—Enables a router (Cisco or third party) to integrate your existing on-premises deployment with Webex Calling.
-
Survivability Gateway—Enables a Cisco router to provide call survivability features for sites in the event of service interruption.
To assign Survivability Gateway services, provide Host Name used in the trustpoint certificate and IP Address to which endpoints register.
Assign Local Gateway as a service
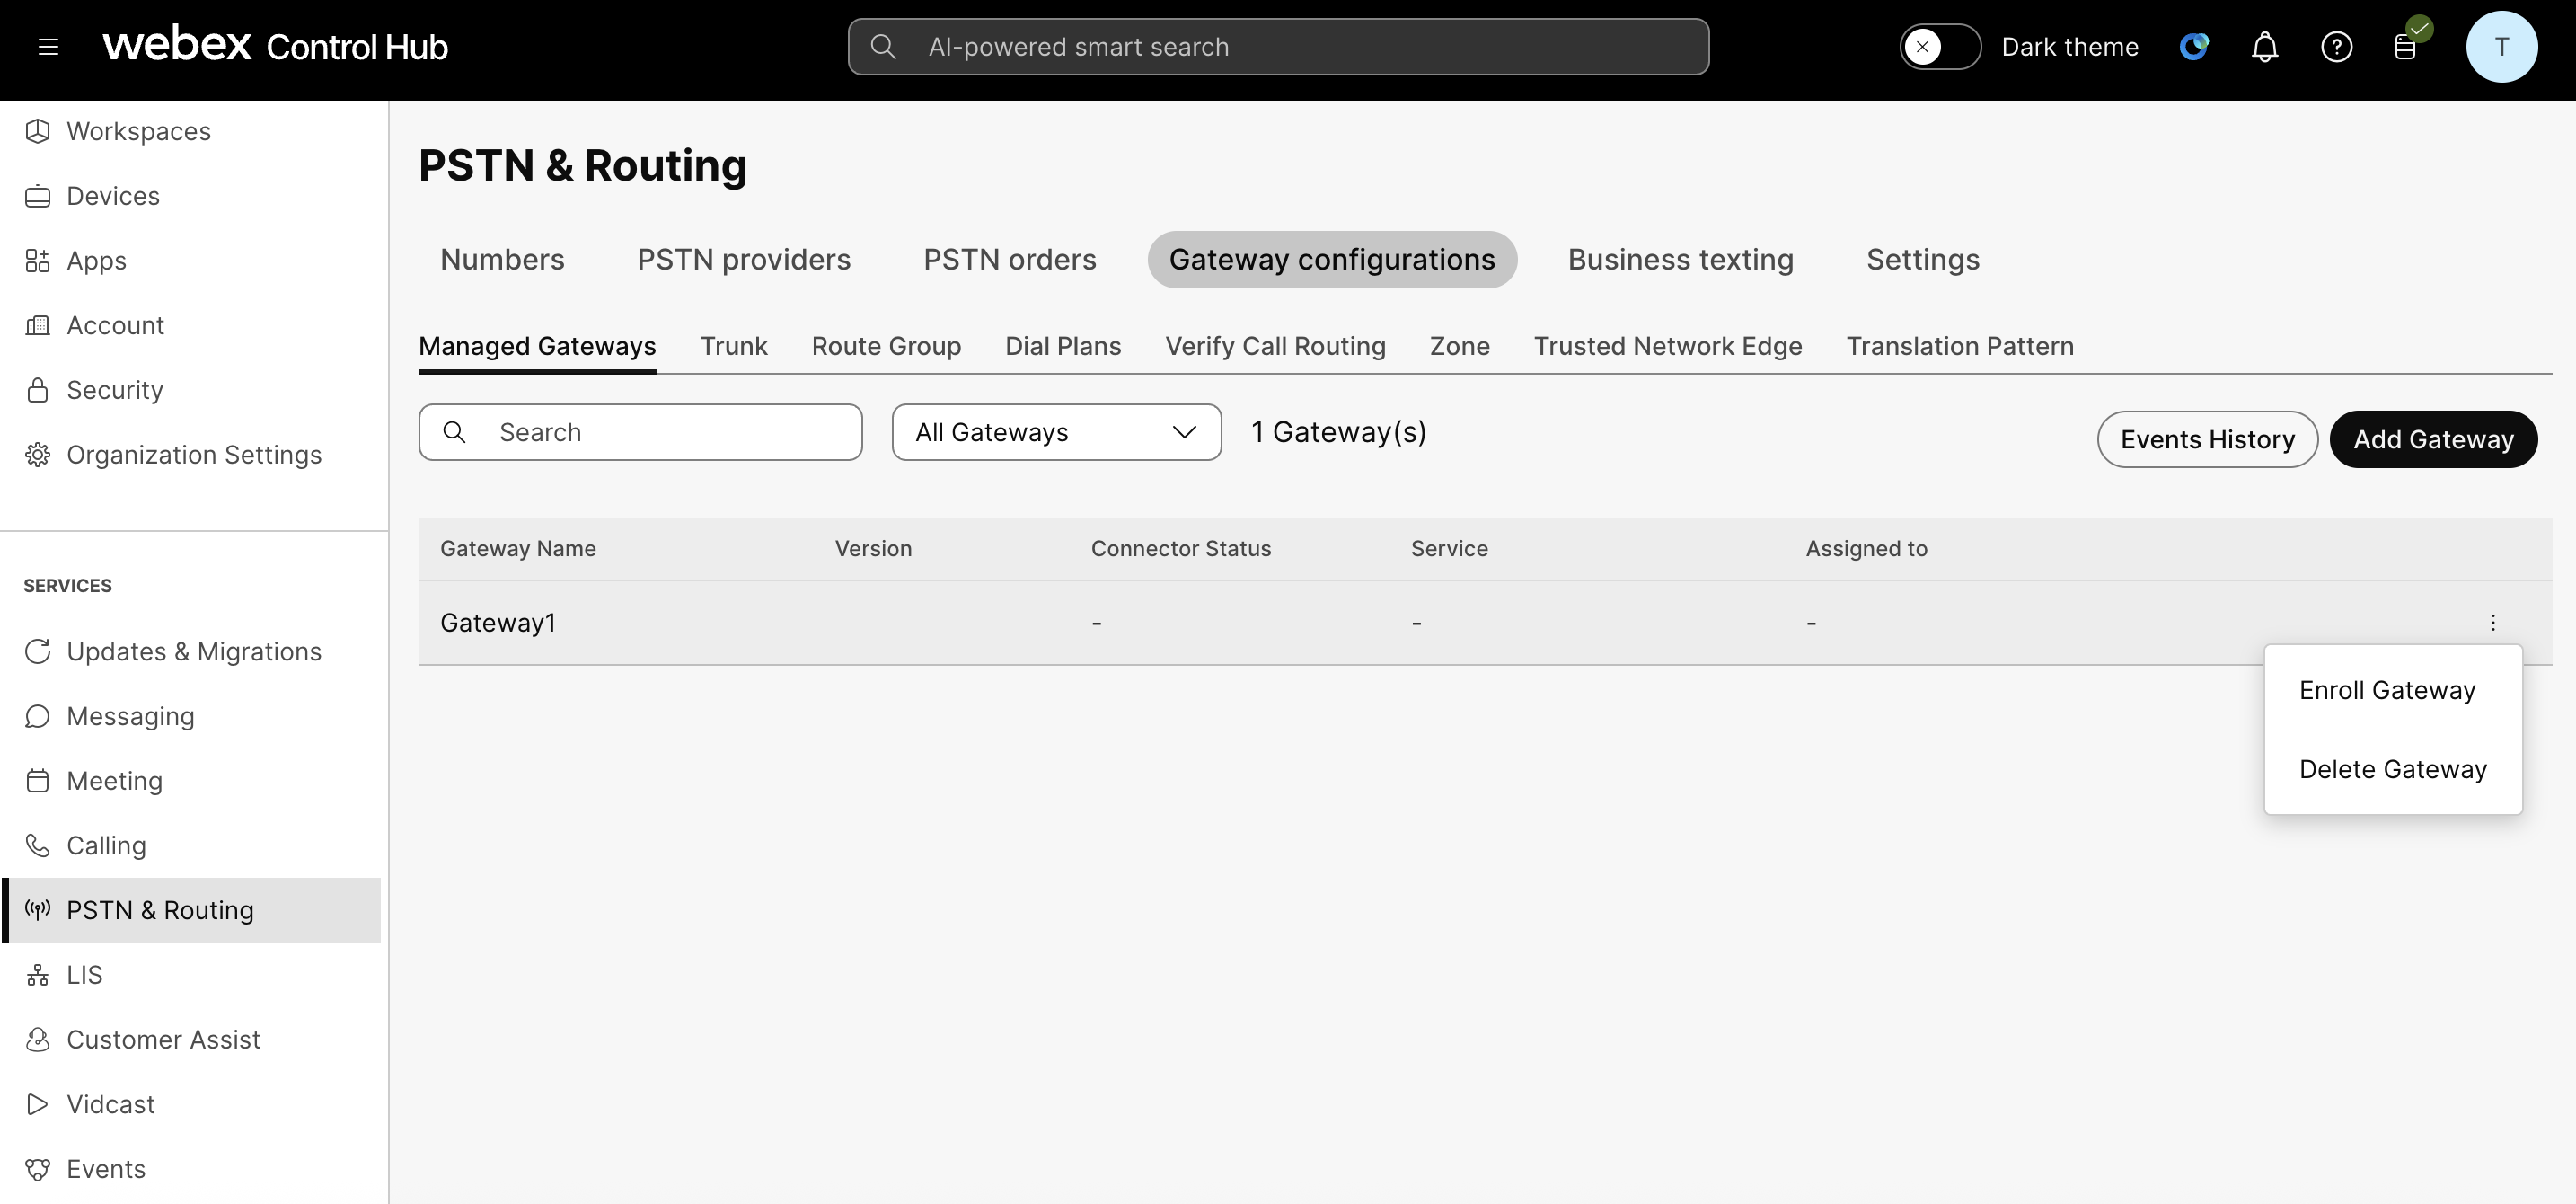
To add the local gateway service to your managed gateway:
| 1 |
Sign in to Control Hub |
| 2 |
Go to . |
| 3 |
Select the gateway, click |
| 4 |
In the popup window, select Local Gateway from the drop-down list. |
| 5 |
Select the trunk to assign to the gateway from the drop-down list. Only trunks that aren’t assigned to any gateway and currently available are shown. Once assigned, the device in the managed gateway list displays the service. 
|
Assign Survivability Gateway as a service
To add the site survivability service to your managed gateway:
| 1 |
Sign in to Control Hub. |
| 2 |
Go to . |
| 3 |
In the popup window, select Survivability Gateway from the drop-down list. |
| 4 |
Select the location at which this gateway is installed. Provide Host Name used in the trustpoint certificate and IP Address to which endpoints register. |
| 5 |
Click Assign. Once assigned, the device in the managed gateway list displays the service. |
Unassign the services of a managed gateway
To unassign the services of a managed gateway:
| 1 |
Sign in to Control Hub. |
| 2 |
Go to . |
| 3 |
Read the warning and click Confirm. |
Where to go next
Validate Cisco Local Gateway Configuration through Control Hub—For Local Gateways, go here to validate your configuration.
Site Survivability for Webex Calling—For Survivability Gateways, go here to configure the gateway with the site survivability feature.

 and select
