If you signed up for an account on webex.com and ready to access more Webex features, upgrade to a subscription that suits your needs.

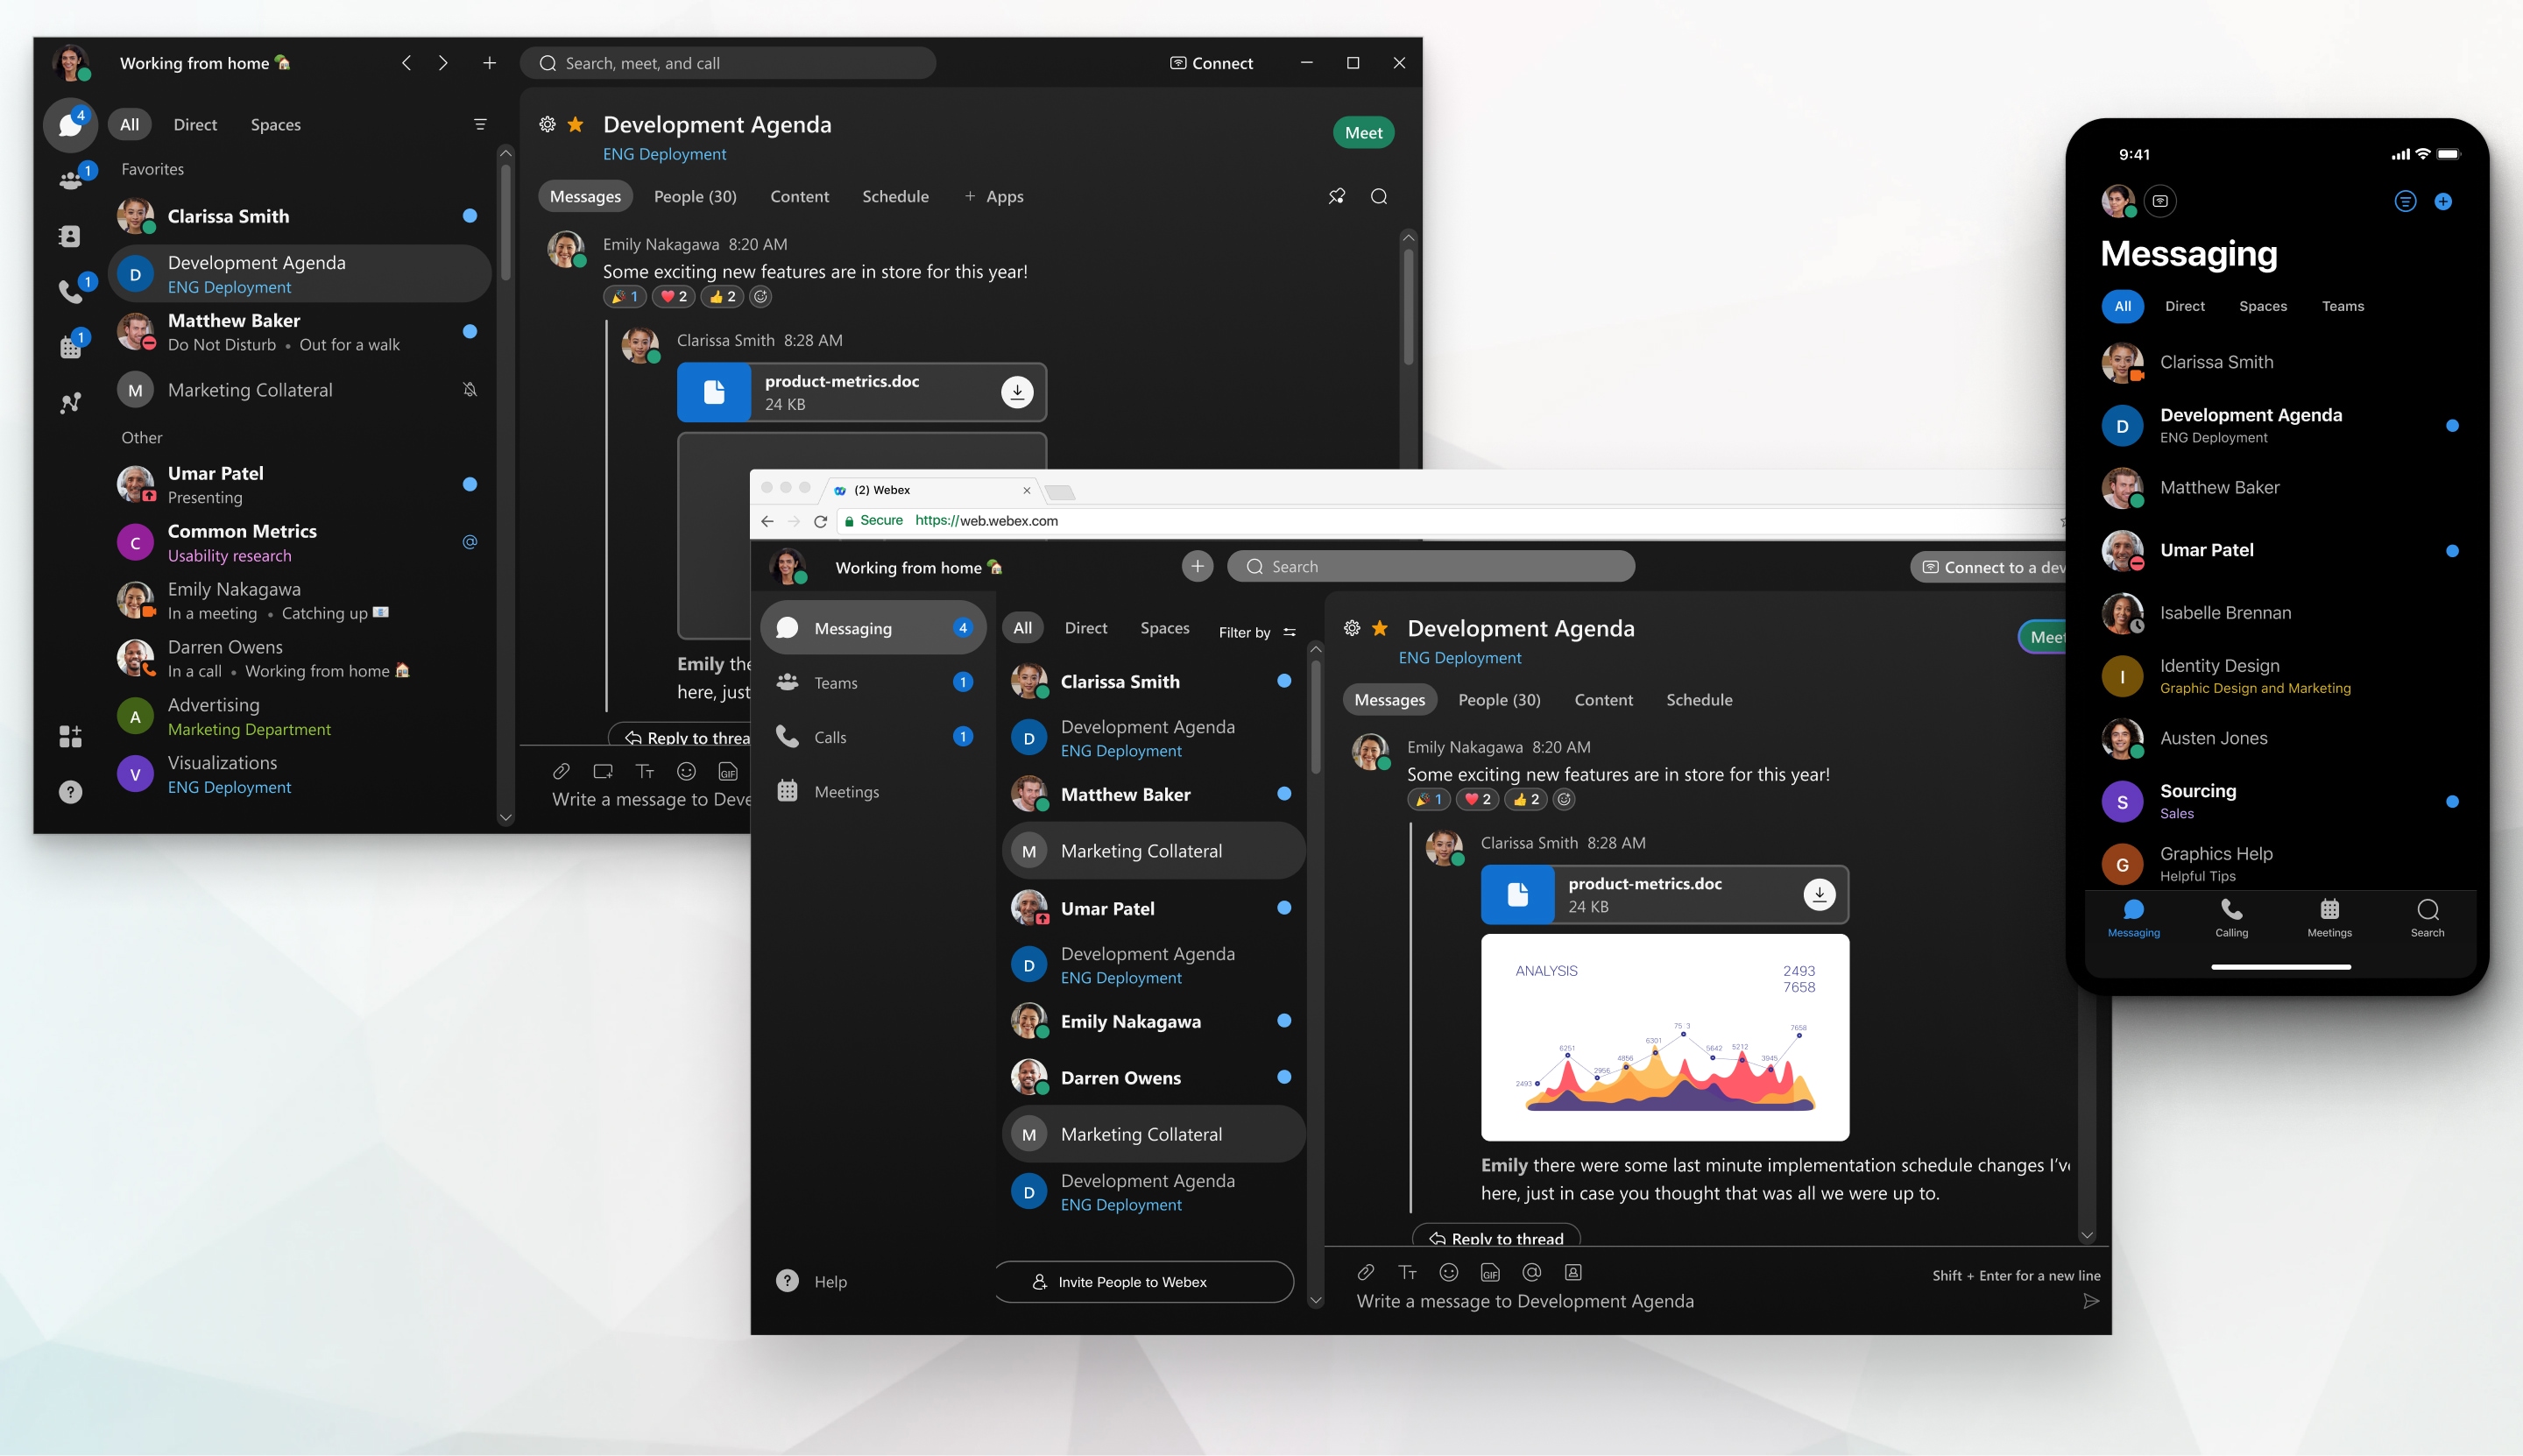
Explore the app's interface and learn how we talk about it.
Available plans and features
Please refer to the Compare plan features table at the bottom of the Webex Pricing page for an updated list of features available in each plan.
Tax-exempt organizations must contact sales to purchase a Webex paid plan.
What to expect when you upgrade
After you purchase a paid plan, your Webex site gets provisioned with your new features and existing meetings, site customizations, reports, recordings, and other migrated content. Your Webex site URL uses the email address that you used to sign up for your account. However, you can change it to one that suits you better.
New phone numbers are ready once you complete your purchase. If you are transferring phone numbers, the porting process takes at least 21 days to complete after you submit the request.
Choose a plan
When you're ready to switch to a paid account, complete the following steps.
| 1 | |||
| 2 |
In the upper right corner of the home page, click Upgrade Webex. |
||
| 3 |
On the Plans & Pricing page, choose your new plan and click Buy Now. |
||
| 4 |
In your cart, choose an annual or monthly autorenewal schedule.
|
||
| 5 |
Add licenses for each user that plans to make calls, or cohost, schedule, and start meetings. Guests and attendees don't need a license or a Webex account to join meetings. If you don't know how many licenses you need yet, you can add more later. |
||
| 6 |
Choose the Call Me add-on to give attendees the option to get called into meetings and avoid potential dial-in toll charges.
|
||
| 7 |
Click Proceed to checkout. |
||
| 8 |
In the account details, enter the email address that you used with your free account and click Continue to search for your existing account. |
||
| 9 |
On the success page, click Sign in to go back to your order. |
||
| 10 |
Enter your billing and service address, call plan preferences, and payment info. |
||
| 11 |
Agree to Cisco's Terms of Use, Privacy Policy, and Emergency Calling Policy, then click Place Order. Your site is being set up appears in a banner on your Webex site until provisioning is complete.
|


