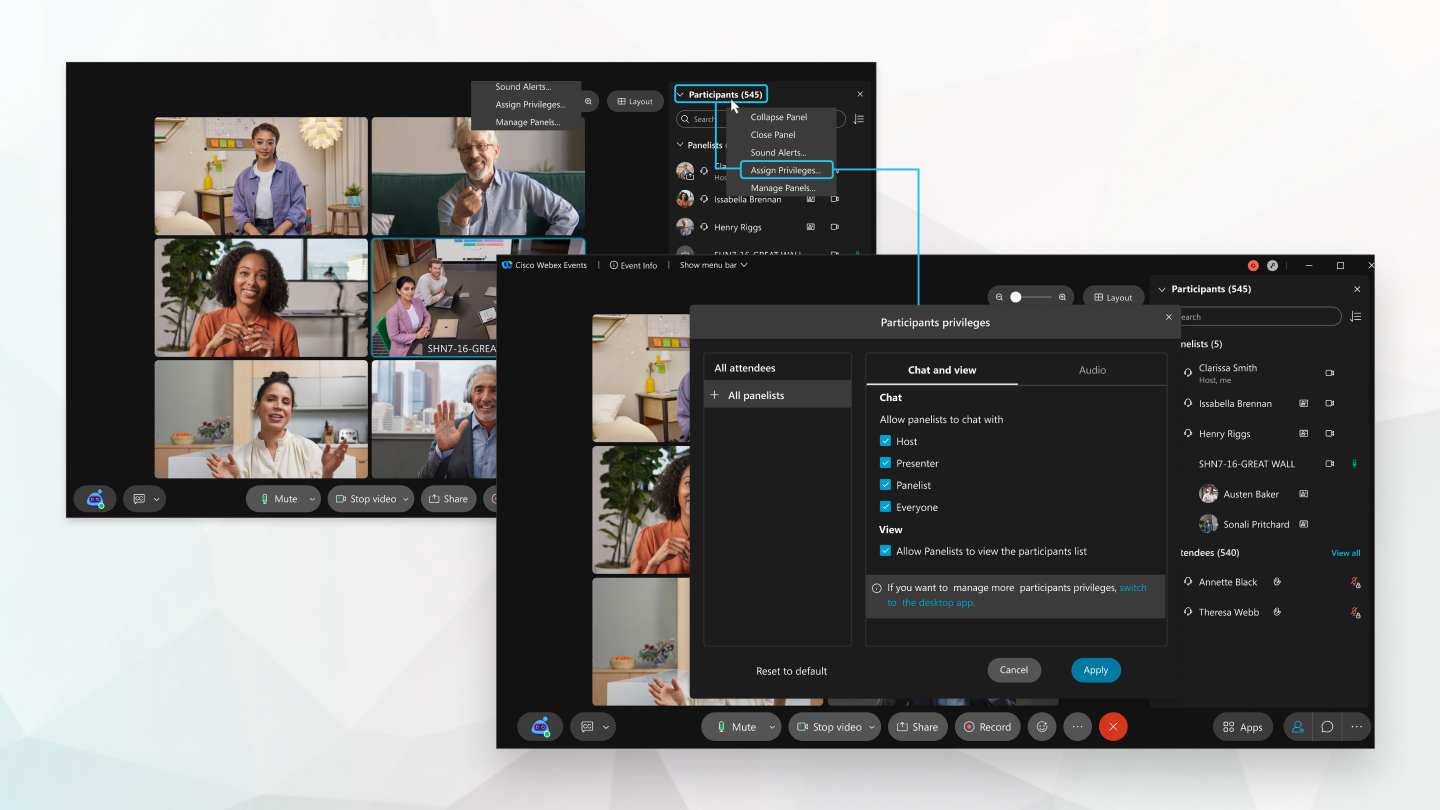
Assign privileges in Webex Webinars
 Feedback?
| 1 |
Start your webinar, click More options
If your webinars aren't running on our Webex Suite meeting platform, right-click Participants, select Assign Privileges. You can choose All Attendees, Panelists, or click + to select individual attendees or panelists. |
| 2 |
Check the appropriate check boxes to allow attendees and panelists to chat with the host, presenter, panelists, or everyone. If your webinars aren't running on our Webex Suite meeting platform, you can also specify whether the panelists can see the list of participants by checking or unchecking the check box next to Allow panelists to view the participants list. |
| 3 |
Click Apply. |
| 1 |
Start your webinar, then right-click Participants and select Assign Privileges.
|
| 2 |
Select All Attendees, Panelists, or click + to select individual attendees or panelists. |
| 3 |
Check the appropriate check boxes to allow attendees or panelists to chat with the host, presenter, panelists, or everyone. You can also specify whether you want webinar panelists to see the list of
participants by checking or unchecking the check box next to Allow
panelists to view the participants list.
|
| 4 |
Click Apply. |

 , choose
