- Home
- /
- Article

Add customized branding on Board, Desk, and Room Series devices
 In this article
 Feedback?
You can customize the screen of your device and touch controller with your logo and brand image without compromising the user experience.
Branding in half-wake state
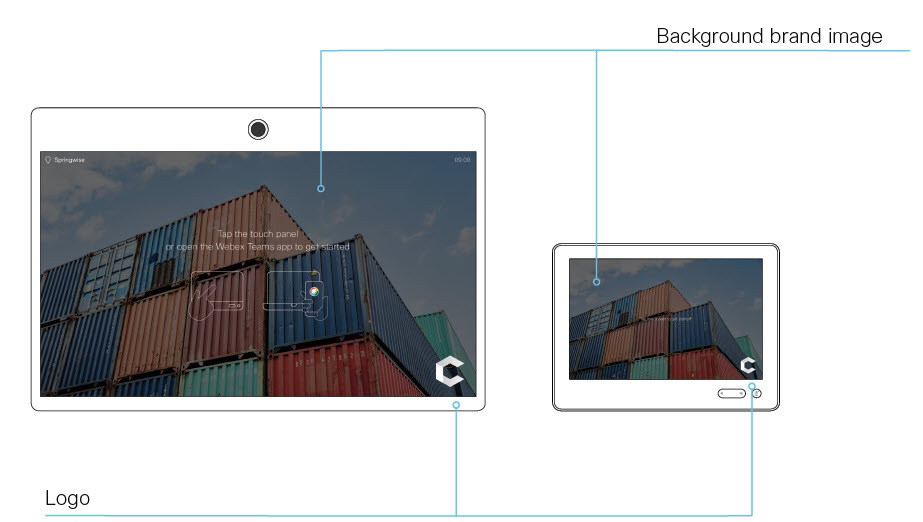
For the half-wake state, you can add a custom background image and a logo.

When the device wakes up, the background image is shown in full color. After a few seconds, the image is automatically dimmed with a transparent black overlay. You can use an image in PNG or JPEG format. The recommended size is 1920x1080 pixels.
We recommend using a white logo in PNG-format on transparent background to make it more visible on the dark background brand image. Minimum size is 272x272 pixels. The logo is scaled automatically so that it fits the slot.
Branding in awake state
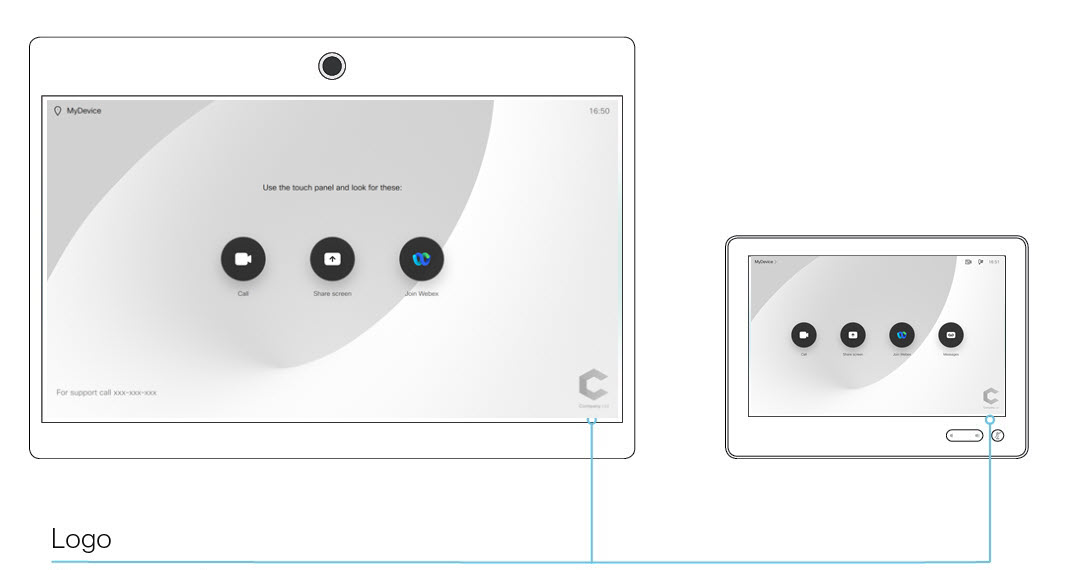
For the awake state, you can add a logo on the screen and the Touch controller.

We recommend that you use a dark or black logo in PNG-format on transparent background. The device adds a light overlay with 40% opacity so that the logo and the other user interface elements blend together. Minimum size is 272x272 pixels. The logo is scaled automatically so that it fits the slot.
-
The standard text about how to use the device can’t be customized.
-
Applying custom branding or Cisco default visuals on organizational level overrides branding on individual devices.
-
To enable organization wide branding for devices linked with Webex Edge for Devices, go to and toggle on Allow Control Hub to manage configurations.
Custom branding is not supported on the following devices:
-
Cisco IP Phones
-
Analogue Telephone Adapters
All devices in your organization
| 1 |
From the customer view in Control Hub, go to Devices and click Settings. Scroll to Branding. |
| 2 |
Select Upload your company's brand visuals for all devices and add your brand images for the following:
Click Save to apply the changes. For additional information on how the images are displayed, click on See examples. |
Individual devices
If you apply branding on organizational level, branding on individual devices is overridden.
| 1 |
From the customer view in Control Hub, go to Devices and select your device. Go to Support and click Local Device Controls. If you have an admin or integrator user setup, you can sign into the devices local web interface on your browser from http(s)://<endpoint ip or hostname>. |
| 2 |
From the advanced settings page, go to Setup and Personalization, and open the Branding tab. From this page, you can add your own branding elements, a background brand image and a logo, to the room or desk device. |
Set Cisco default branding on all devices in your organization
| 1 |
From the customer view in Control Hub, go to Devices and click Settings. Scroll to Branding. |
| 2 |
Select Use the Cisco default visuals on all devices to set the default branding to all devices in your organization. |


