
Tack för din feedback.
Rumsliga möten på Room Bar Pro och Board Pro G2
 Har du feedback?
När spatial video är aktiverad på en Cisco Room Bar Pro eller Board Pro G2 skickas stereoskopisk video med två kameralinser. Denna realistiska 3D-vy av mötesutrymmet ger verklighetstrogna videor till Webex-mötesdeltagare med Apple Vision Pro.
Aktivera spatial video
För en optimal upplevelse med spatial video på Room Bar Pro, se till att din enhet är monterad cirka 0,5 m ovanför bordet.
Spatial video är tillgänglig som standard på Room Bar Pro och på Board Pro G2.
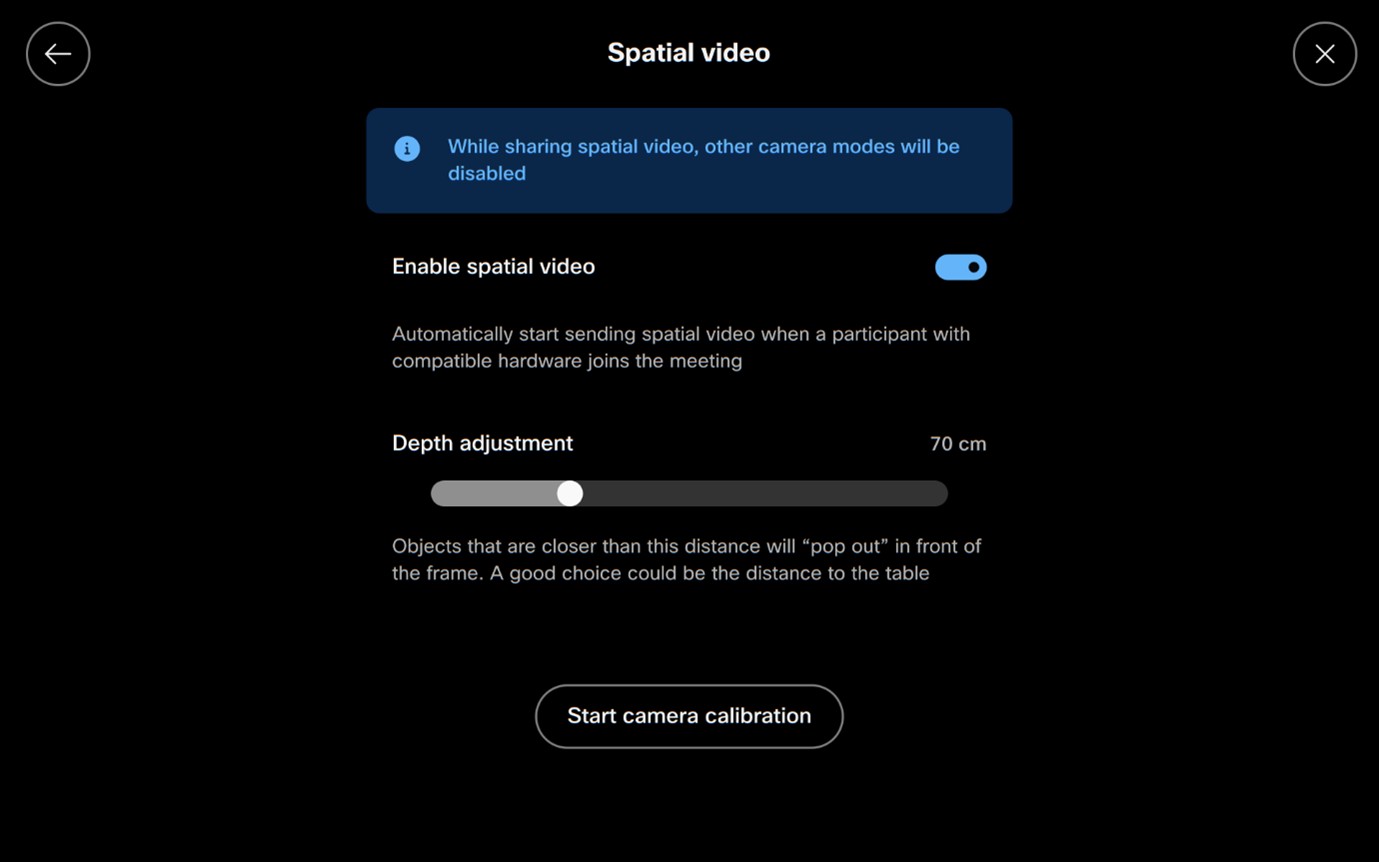
För att använda spatial video, aktivera den först:
- Öppna kontrollpanelen på pekkontrollen eller Board och tryck på Enhetsinställningar.
- Scrolla till och välj Kamera. Välj sedan Rumslig video.
- Slå på Aktivera spatial video.
När den är aktiverad skickar Room Bar Pro eller Board Pro G2 spatial video när en Apple Vision Pro ansluter till ett möte.
Kalibrera kamerorna (valfritt)
Om det här är första gången du har aktiverat spatial video på din enhet bör du utföra en kamerakalibrering. Att kalibrera kamerorna är inte obligatoriskt, men rekommenderas starkt.
Om du behöver kalibrera kamerorna på en Board Pro, anslut först en pekkontroll till Board.
Du måste stå nära enheten som håller i pekkontrollen och flytta den framför kamerorna för att kalibrera den:
- På inställningsskärmen Spatial video trycker du på knappen Starta kamerakalibrering .
- Pekkontrollen påminner dig om att stå nära kamerorna. Tryck på Fortsätt.
- Ett mönster visas på pekkontrollen. Följ instruktionerna på skärmen för att kalibrera.
Krav
Användning av spatial video kräver minst 6 Mbit/s konfigurerad upplänksbandbredd. Om den konfigurerade upplänksbandbredden understiger detta krav kommer spatial video att inaktiveras med ett diagnostiskt meddelande som förklarar orsaken.
Kända begränsningar
När spatial video är aktiverad på en Room Bar Pro eller Board Pro G2, fungerar enheten normalt om det inte finns några Apple Vision Pros i samtalet. Men när en Vison Pro-användare ansluter sig till ett Webex-samtal skickar Cisco-enheten både en 3D- och en 2D-videoström för att säkerställa en enhetlig upplevelse för alla deltagare. Deltagare som inte använder Vison Pro kommer att få 2D-video av samma vy, men andra kamerafunktioner som komposition och grupperingar kommer att inaktiveras när spatial video skickas.


