
Thanks for your feedback.
Webex App | Add a Mural workspace to a space
 Feedback?
Mural Workspaces
When you add a Mural workspace in Webex App, the tools and features are the same as you find in the browser version. For more information on Mural tools or to sign up for a Mural account, see https://www.mural.com.
Add a Mural Workspace to a Space
| 1 |
Go to Messaging
|
| 2 |
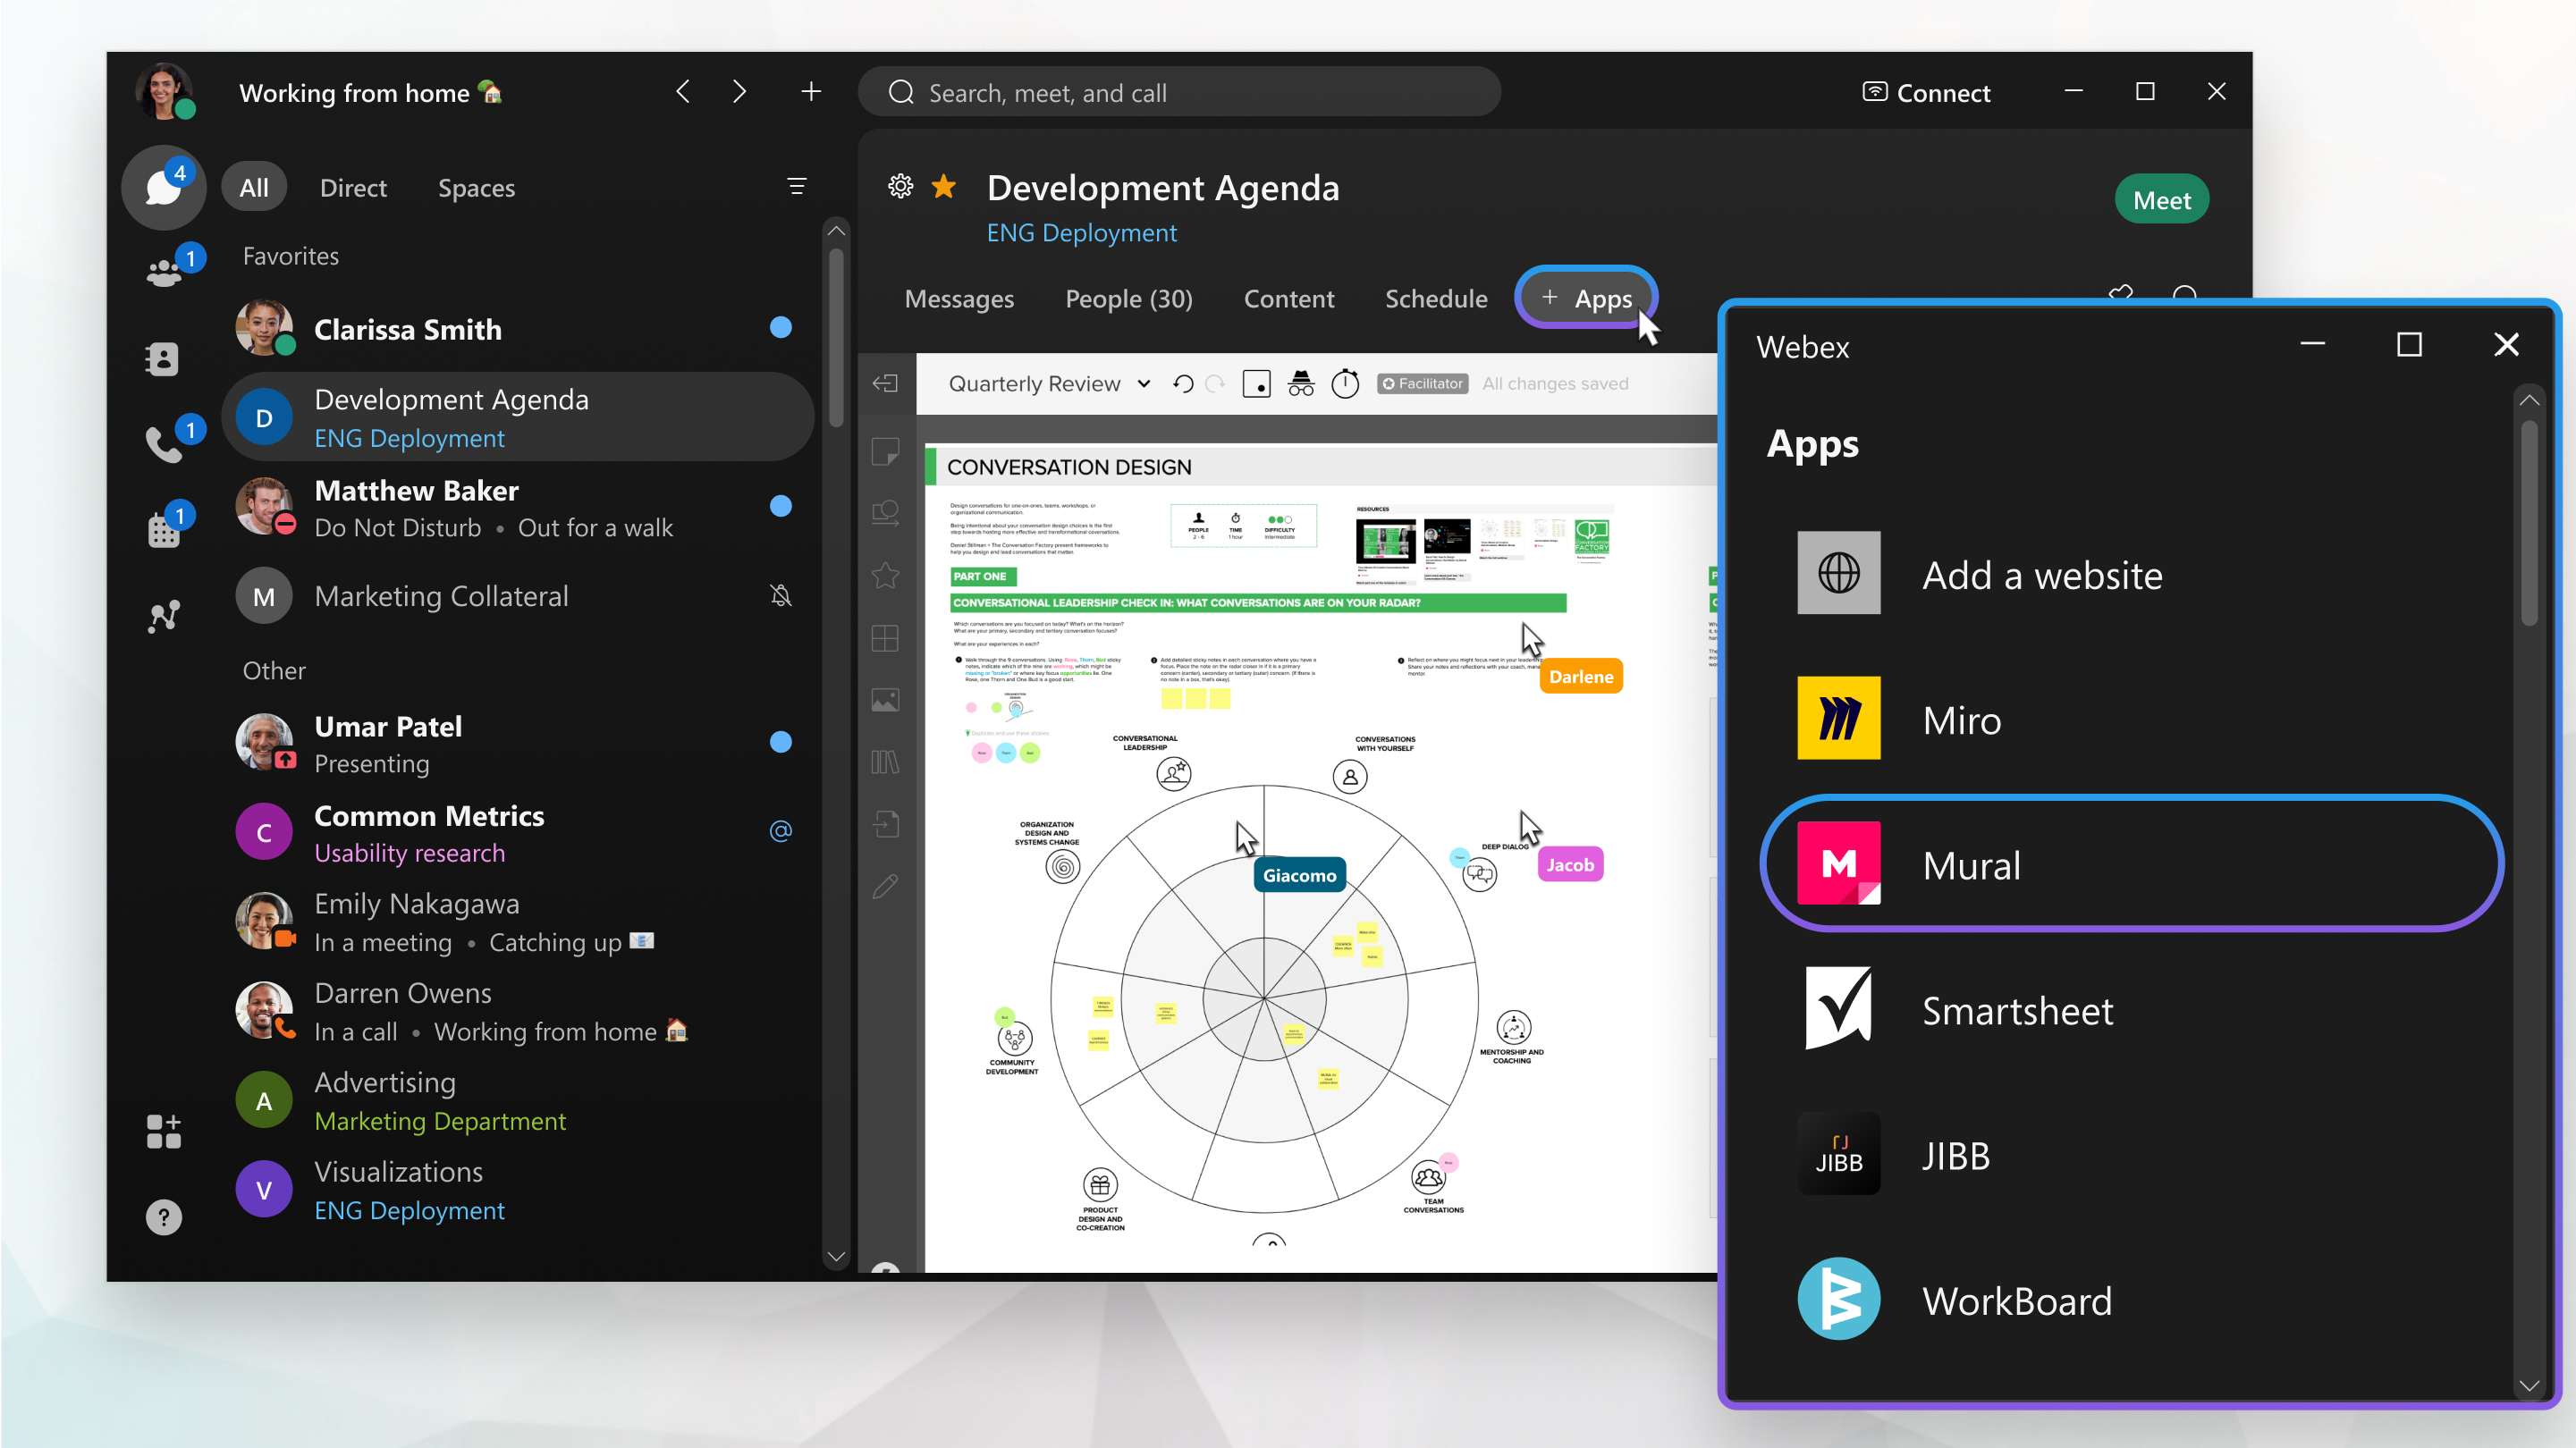
At the top of the space, click the +Apps tab. In moderated spaces, only moderators have the +Apps tab available. If you can't add an app, try asking a space moderator for help. |
| 3 |
In the Add an App window, click Mural, and then Continue. |
| 4 |
Sign in to Mural using your credentials or create an account. |
| 5 |
To open an existing mural:
|
| 6 |
To create a new mural workspace:
|
 and choose a one-to-one or group space.
Mural Workspace Tab Actions
You can right-click on a mural tab in a space to select different menu options.
|
Right-click the mural tab and select from the following:
|
 Expand—Opens the board in an expandable window in Webex App. Drag the edges with your mouse to make the window bigger or smaller on your screen.
 Edit—Edit the
  View Information—Displays information about the Mural workspace, such as the URL, who added it to the space, who last edited, and at what time it was last edited.
 Remove—Removes the Mural workspace tab from the space.


