Webex App | Get phone calls at any number
 Feedback?
Single number reach setup is different depending on the phone service you have. If you're not sure, there's an easy way to tell.
If you don't see the Single Number Reach setting, you might need to turn it on first in the Self Care portal. You might be familiar with using the Self Care portal to set up options for your phone. Webex App uses those settings and lets you conveniently add to them from the app.
| 1 |
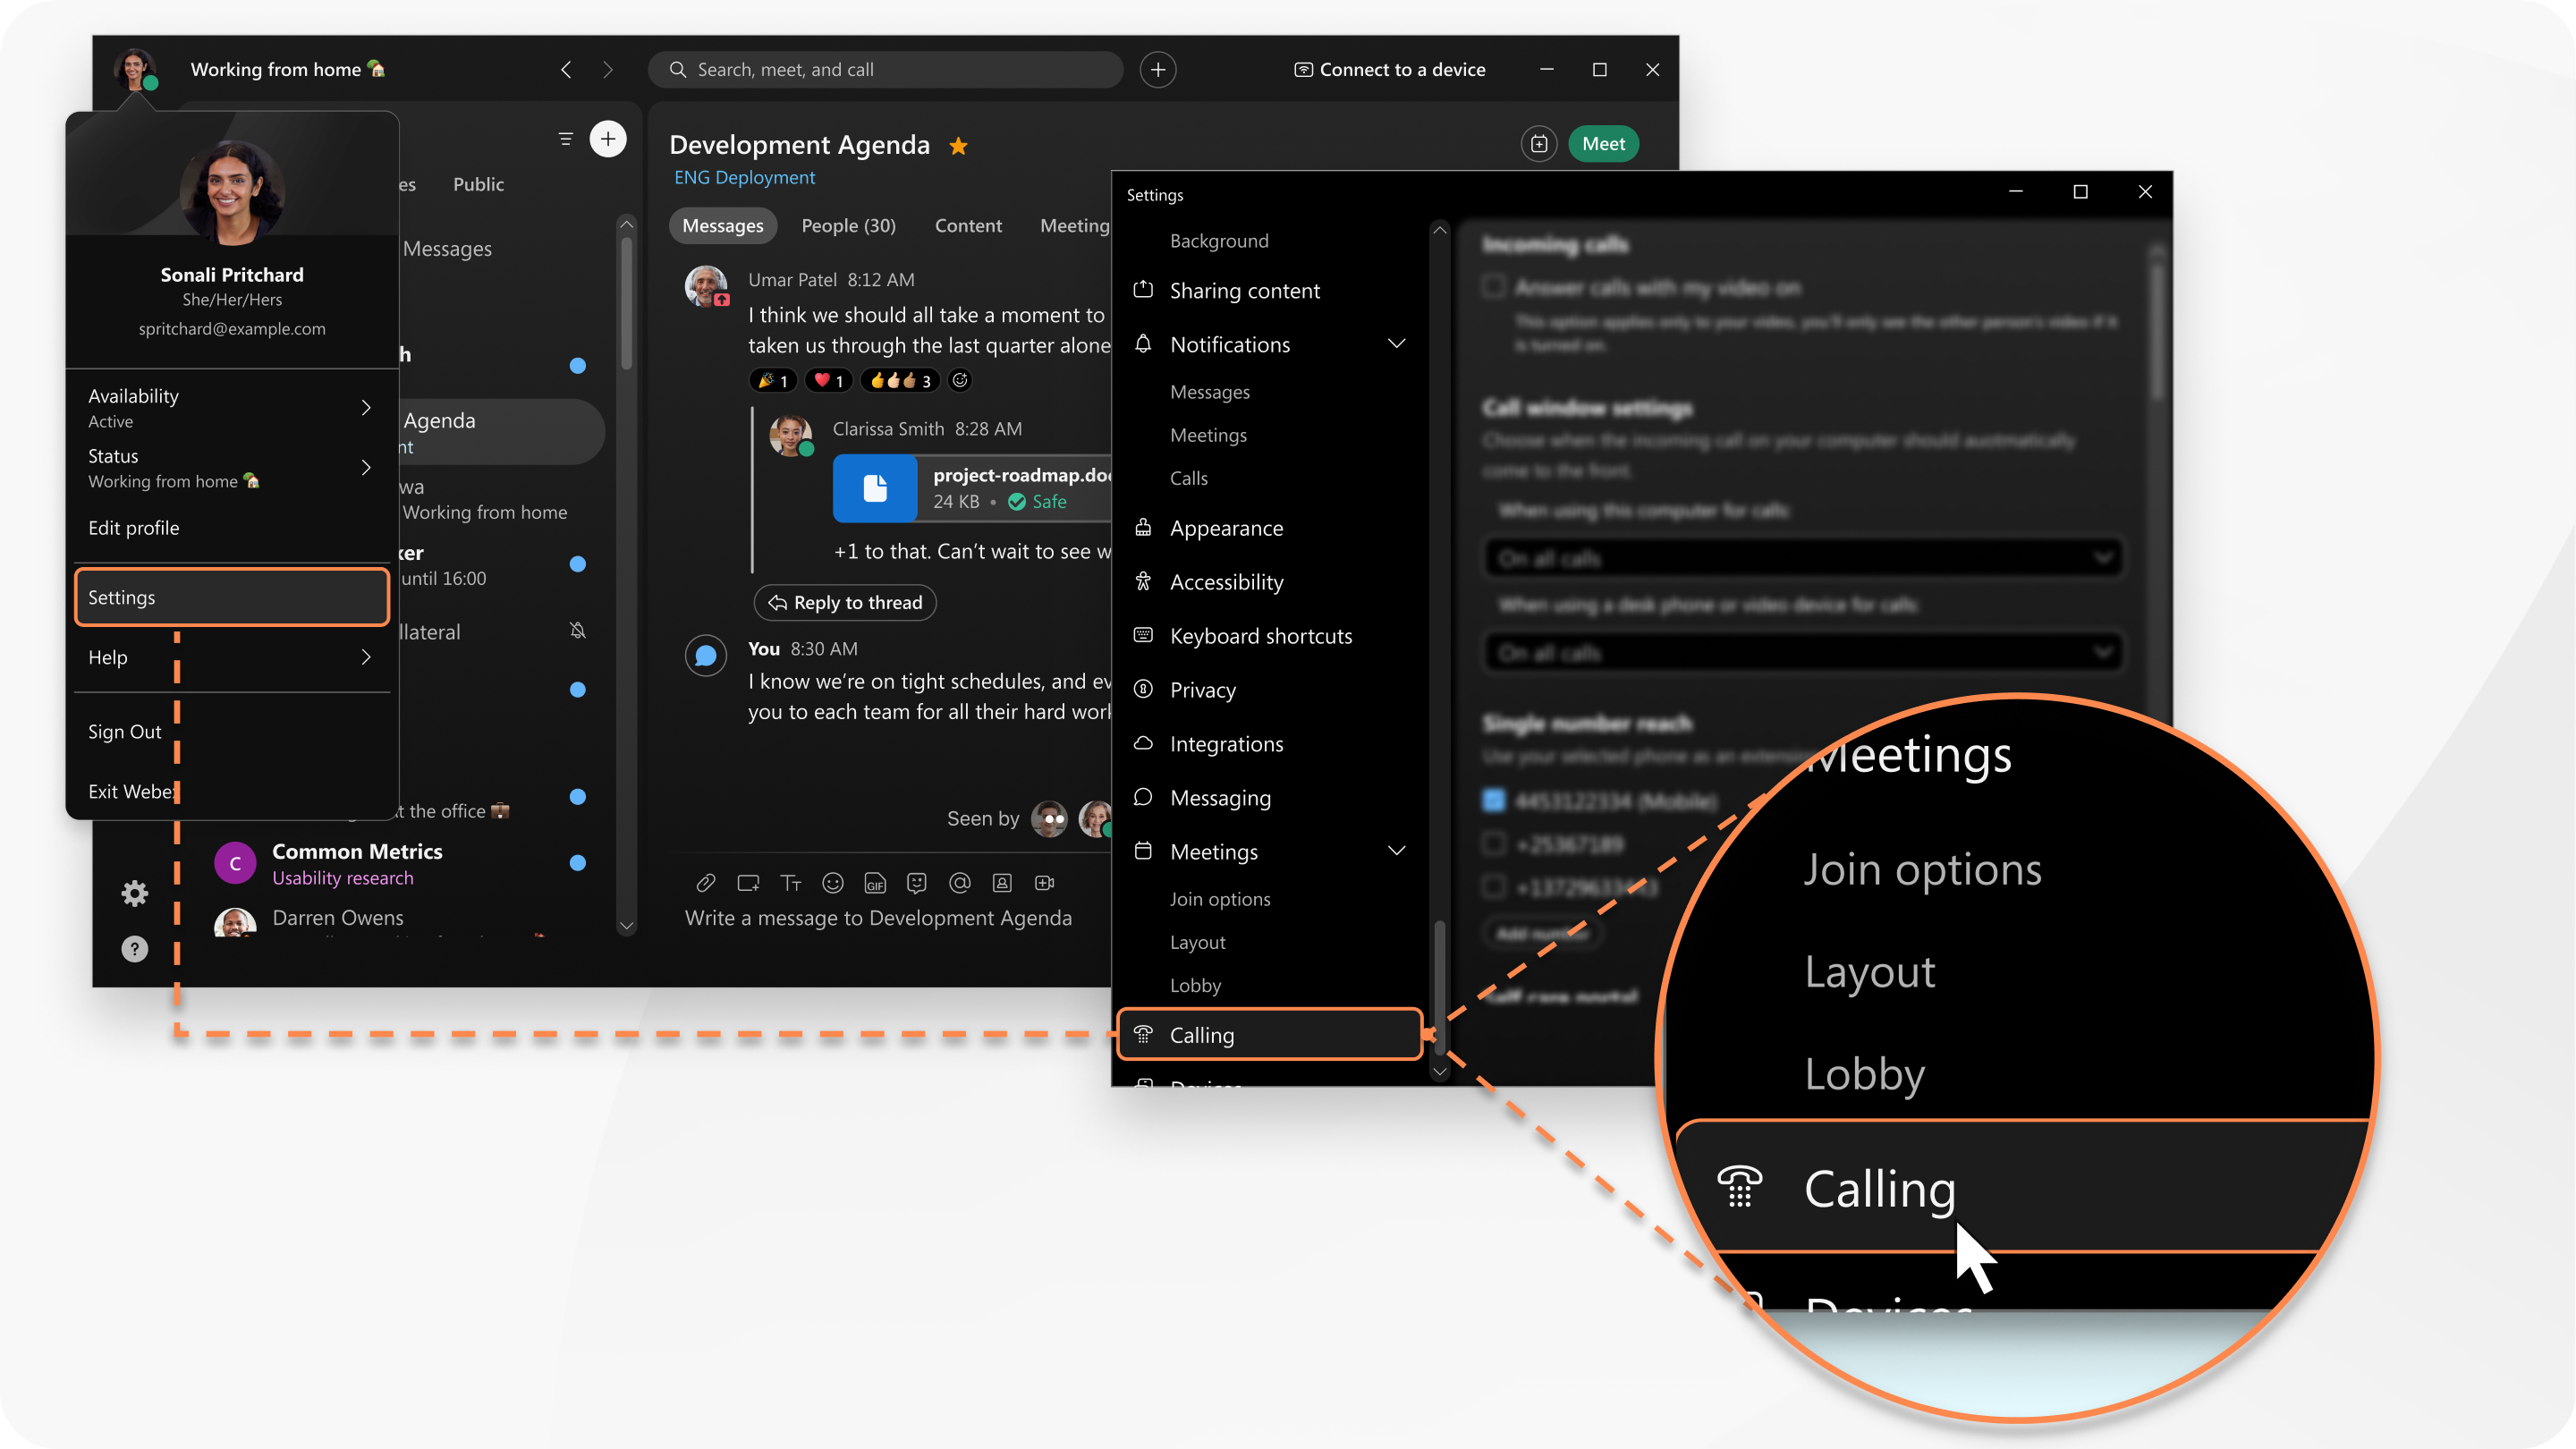
Go to your profile picture, select Settings (Windows) or Preferences (Mac), select Calling, and then click Advanced Call Settings to open the portal in a web browser. |
| 2 |
Select My Phones and follow the instructions to add another phone number that you want to ring when you receive work calls. After you've turned on single number reach and don't have call forwarding turned on, you'll see |
| 3 |
After you've added phone numbers, you can manage your Single Number Reach settings from Webex App. Go to your Call settings
|
| 1 |
Go to your profile picture, select Settings (Windows) or Preferences (Mac), and then click Calling. |
| 2 |
Go to the Single Number Reach heading and select + Add a number. |
| 3 |
Add a number (without the country code) and description and then select Save. If you include your country code, calls may not work. So, be sure to just include your area code and number. |
| 4 |
Go to your Call settings
|
|
Tap your profile picture, go to , and then turn on Single Number Reach beside the numbers of your choice. You can add more numbers from your desktop app. These are the same numbers you can use for Call Back, a feature only available to you if you're set up with Webex Calling or Calling hosted by a Service Provider. |

 in the footer of your app now instead of
  . When you hover over the icon, you'll see
