
Thanks for your feedback.
Administer Cisco Room Bar Pro BYOD
 Feedback?
The Cisco Room Bar Pro BYOD is a flexible room device that allows you to equip small meeting spaces, huddle and focus rooms with a device that works with any meeting platform. It provides a great video and audio experience in meetings with a high-quality camera, speakers, and microphones that include AI noise removal.
Room Bar Pro BYOD is a Room Bar Pro without a Room Navigator and it functions as an advanced webcam. You can connect a Room Bar Pro BYOD to a screen with an HDMI cable and plug in a computer with a USB-C cable to join any meeting. By connecting a computer with a USB-C cable, you can use the device's camera, speaker system, and microphones. The meeting is joined and controlled from the computer. Also, a screen can be attached to display content from the computer, either for local sharing or for meetings.
See the Room Bar Pro installation guide for guidance on how to connect the required cables.
Connecting a Room Navigator at any time transforms it into a regular Room Bar Pro, allowing for standard onboarding. To revert to BYOD mode, a factory reset is required.
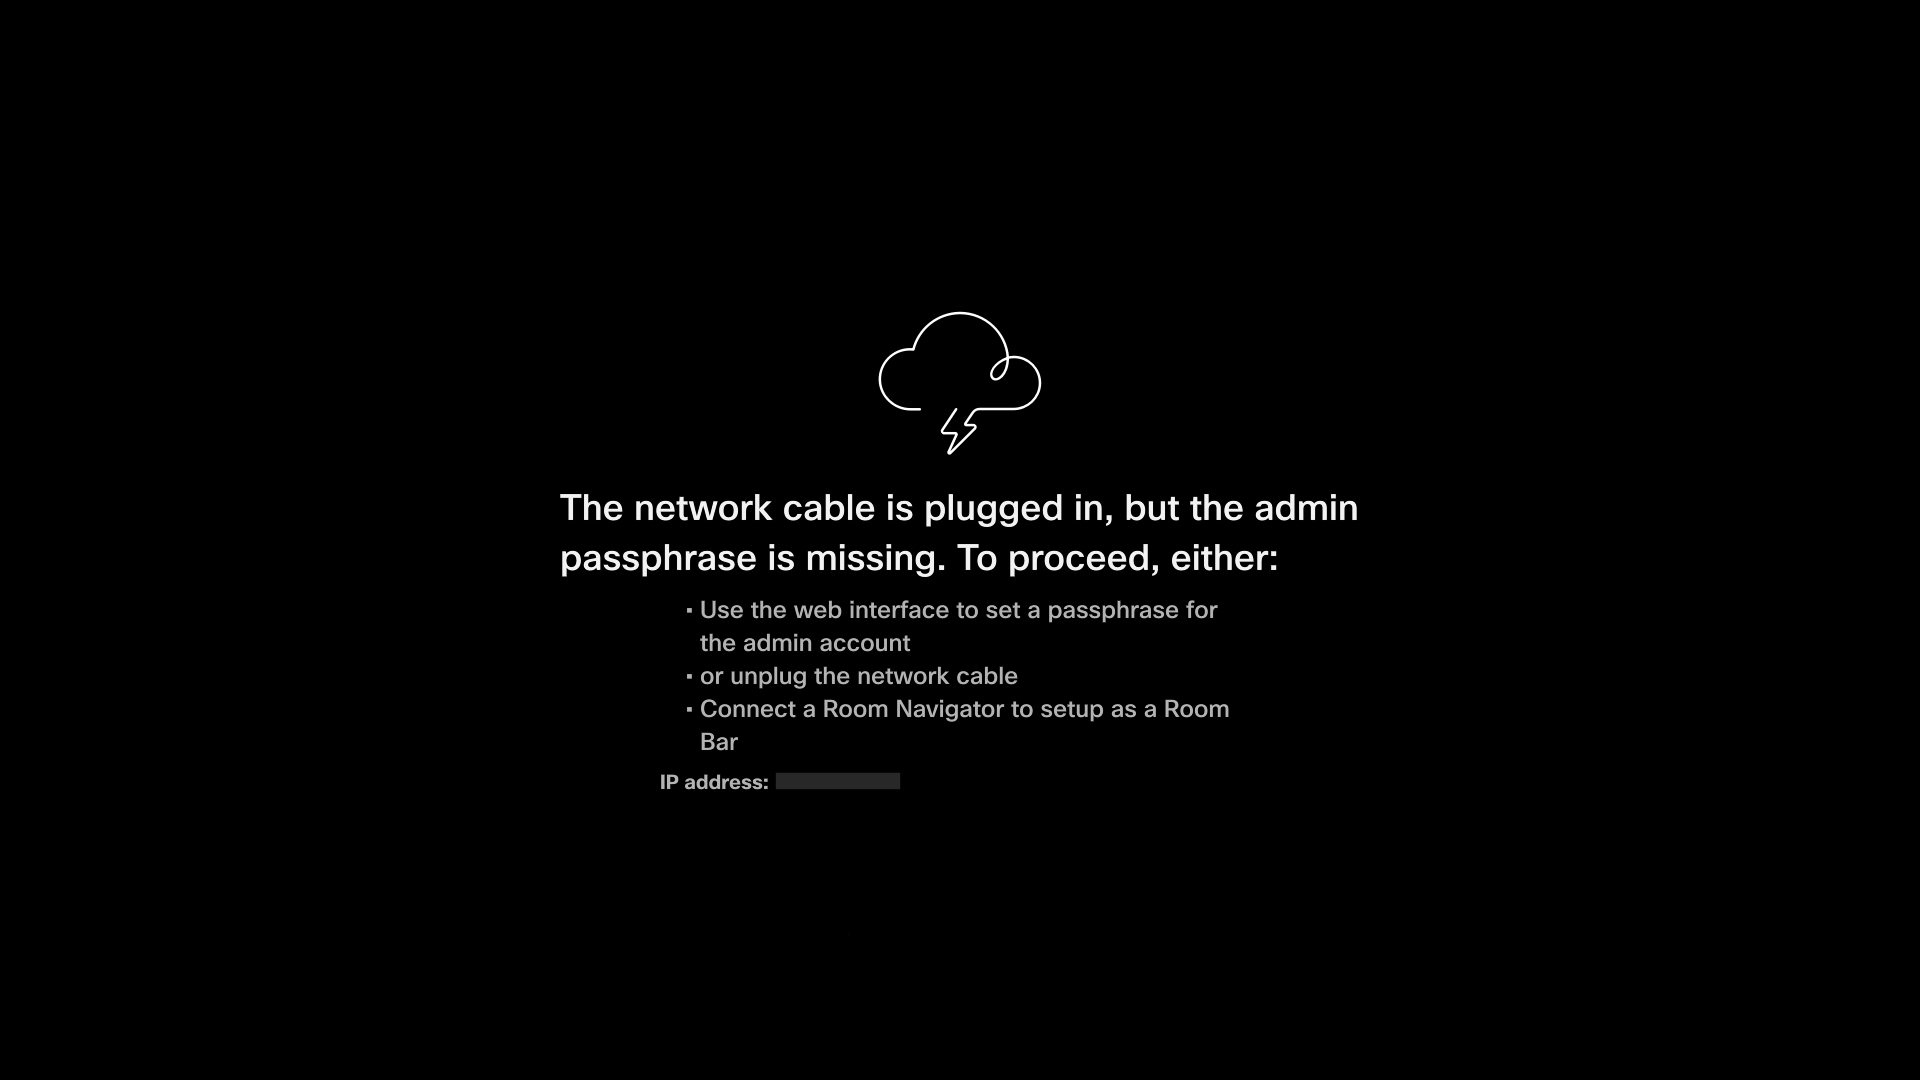
In BYOD mode, the device features a custom home screen explaining its use. It can operate as a webcam without a network connection. If connected to a network, wireless screen sharing is possible alongside USB-C connectivity. Network connection also enables device configuration from the device's web interface or command line.
Room Bar Pro BYOD functionality
USB-C connection
Upon connection, the screen is shared automatically, and the computer application has access to audio and video from the Room Bar Pro BYOD. Meetings can be joined and controlled from the computer. These features are available using USB-C:
- Access camera, speakers, microphones and show content on screen, if one is attached to the device
- AI noise cancellation and automatic group framing
Connect to network
Room Bar Pro BYOD must be connected to the network to access the device's web interface or the xAPI for additional configuration of the device.
Connecting the device to a network requires an initial Ethernet connection, from there you can set up Wi-Fi if required. When a network connection is established, you must set an admin passphrase for security purposes. To do this, use the IP address displayed on the screen, access the device's web interface, and create a passphrase.
You can configure the following from the device's web interface:
- Register the device to Webex
- Configure Miracast for wireless sharing
- Change UI language
-
Network settings
Admins must gain LAN access to the device and set up the advanced network settings through the device's web interface.
Add a Room Navigator or touch screen
You can easily upgrade your Room Bar Pro BYOD to a fully functional Room Bar Pro by acquiring a Room Navigator. Simply connect to the Room Navigator and complete the setup process. Once setup is complete, your Room Bar Pro has access to standard configurations, enhancing its functionality as a room device.
Camera adjustments
The Room Bar Pro supports mechanical camera tilting. As there is no UI for this adjustment on the device in BYOD mode, administrators can configure the tilt angle through the device's web interface. This ensures optimal framing for the room environment.
Supported peripherals
The following configurations are supported for Room Bar Pro BYOD:
-
Triple-Screen Support: You can connect up to three external screens.
All additional screens duplicate the content from the first screen.
- Microphones:
- Minijack: External microphones, such as Cisco Table Microphone.
- Ethernet: Network-connected microphones, such as Cisco Ceiling Microphone Pro.
- Speakers: External speakers that are connected through minijack are supported.
Input configuration
The Room Bar Pro BYOD manages multiple input sources to optimize your meeting experience.
- Single source recommendation: While the device can handle multiple inputs simultaneously, such as a Quad Camera and a PC, we recommend using one input source at a time for the most stable experience.
- Input behavior: When multiple devices are connected, the device automatically assigns them to available screens. If you initiate additional sources, such as Miracast, the device allocates one screen per source.
- Cameras: While additional cameras, such as the Room Vision PTZ or Quad Camera, may be selectable through xAPI or the device's web interface, the use of extra cameras is not officially supported.
Use Wi-Fi on Room Bar Pro BYOD
You can set up Wi-Fi connection from the device's web interface or using the command:
xCommand Network Wifi ConfigureYou need to connect the network cable to access all the available Wi-Fi settings.
Cisco Webex
The Room Bar Pro BYOD can only be registered as a shared device in Control Hub. When registered to Cisco Webex, these features are available:
- Centralized software configuration and management
- Peripherals visibility
- Utilization metrics
- Power management configuration
- Wirelessly connect to the Webex App to join, start, and answer calls
You need to register the device to Webex to get automatic software updates. If you are not registered the device to Webex, you need to upgrade the software from the device web interface.
Follow these links to learn more about accessing the advanced configurations of the Room Bar Pro BYOD in Control Hub, setting up features such as network settings, and room setup.
Advanced settings in Control Hub
Available features
Register Room Bar Pro BYOD to Webex
Before you start setting up your device, create a workspace and a 16-digit activation code in Control Hub. Read here how to Add shared devices and services to a workspace and Generate an activation code for a device .
When setting up the workspace, for Calling select None.
You need to register the Room Bar Pro BYOD to Webex using device's web interface. When you register your Room Bar Pro BYOD device to Webex, you can easily control it through Control Hub. To learn more about Control Hub, see Get started with Control Hub.
Software updates and initial setup
Due to the manufacturing cycle, some devices may ship with an earlier version of RoomOS that does not support deploying Room Bar Pro BYOD. If your device is not on software version RoomOS 26.5.1 or later, you may need to perform a manual software update.
Manual update requirements
If your device is running outdated software, you may need to update to RoomOS 26.5 (on-prem) using the device's web interface.
- Availability: For a limited transition period, RoomOS 26.5 will be available as an open download for all customers, regardless of service contracts or management system status (Control Hub/Cisco Unified CM).
- Download link: Cisco Software Download Center
- Note: This update is specifically recommended for customers who do not use a centralized management system and do not have an active service contract.


