- Home
- /
- Article

Thanks for your feedback.

 In this article
 Feedback?
Learn how to set up Cisco Ceiling and Table Microphone Pro devices for enhanced speaker tracking and optimal audio quality in your meeting spaces.
Benefits
Improved Speaker tracking
With additional voice tracking using external microphones, the video system can more quickly and accurately frame the speaker. This enhancement improves audio quality, especially in large rooms or spaces with reverberant acoustics. It is also crucial for cinematic meetings.
Requirements:
-
Codec EQ, Codec Pro, Codec Pro G2, Room Bar Pro, Board Pro G1 and G2
-
1 Ceiling Microphone Pro or 3 Table Microphone Pro
Improved audio quality
The system automatically selects the most suitable microphone to ensure optimal audio capture, with microphone beams dynamically adjusting to focus on the active speaker’s voice.
Requirements:
-
Room Bar Pro, Board Pro G1 or Board Pro G2
-
1 Ceiling Microphone Pro or 1 Table Microphone Pro (or more)
Calibrate external microphones
Use the microphone calibration wizard to calibrate external microphones for better speaker tracking and audio quality.
Before you begin
- Make sure the table microphones are mounted with the supplied adapters, either on the table surface or recessed into the table.
- Make sure you are the only person in the room during calibration.
| 1 |
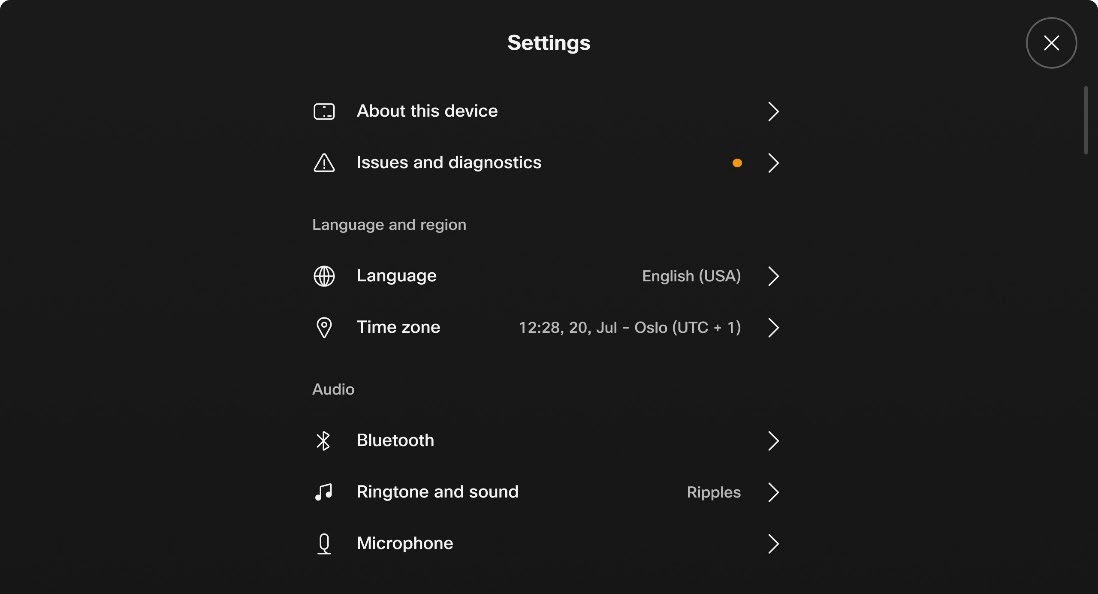
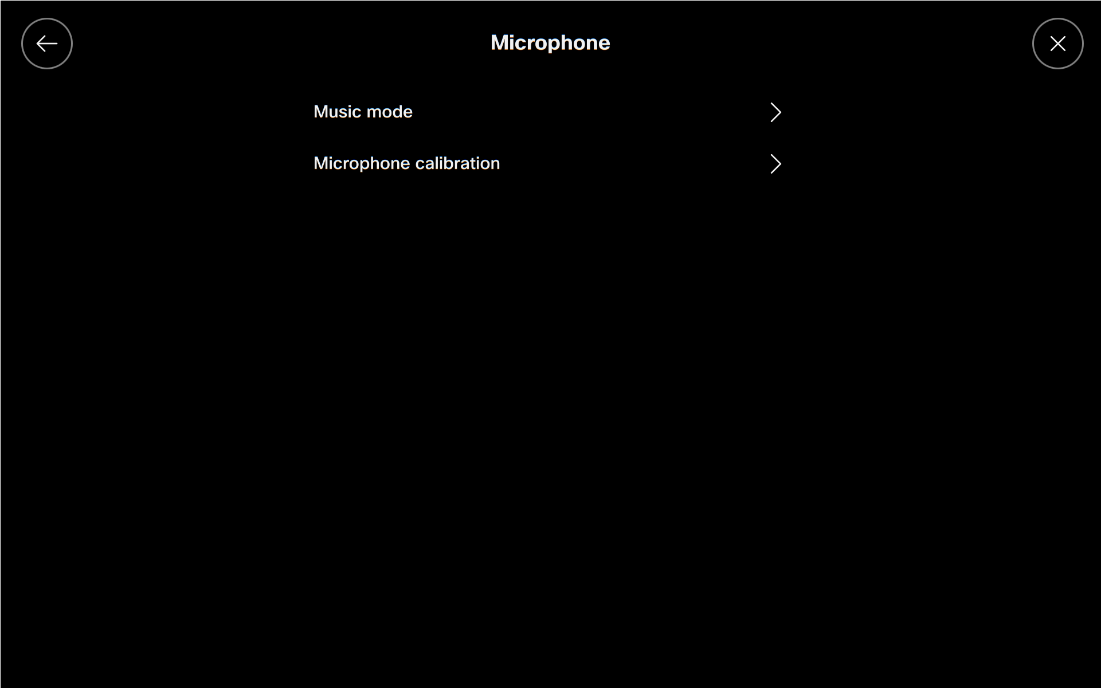
On the touch controller, choose Settings > Microphone.
|
| 2 |
Choose Microphone calibration.
|
| 3 |
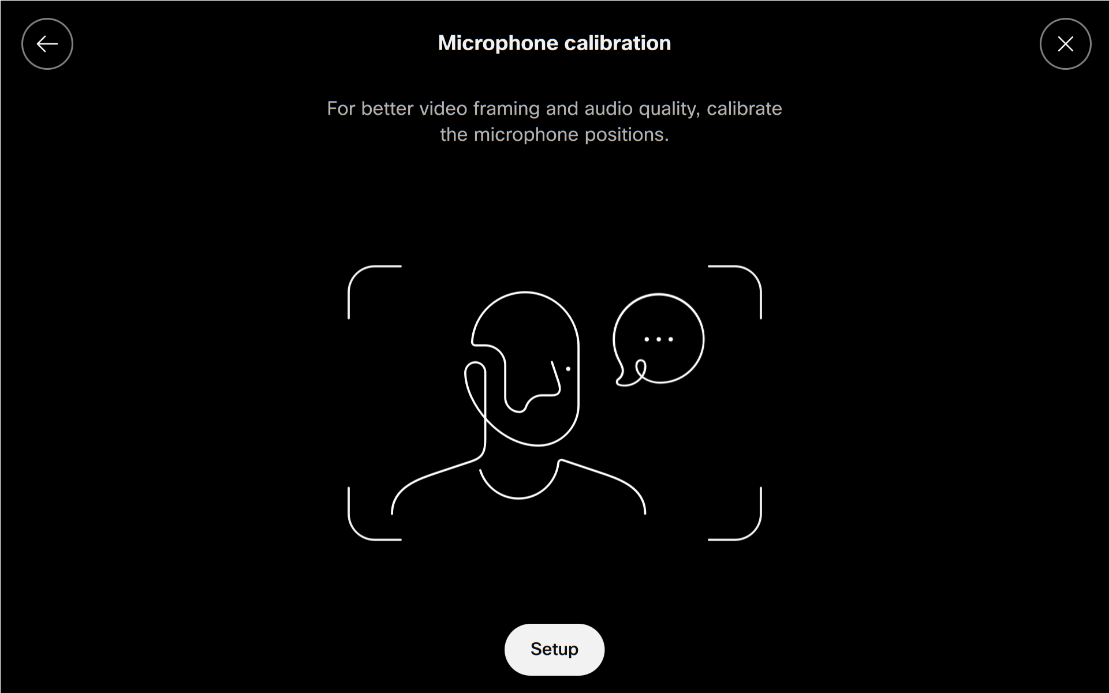
Choose Setup.
|
| 4 |
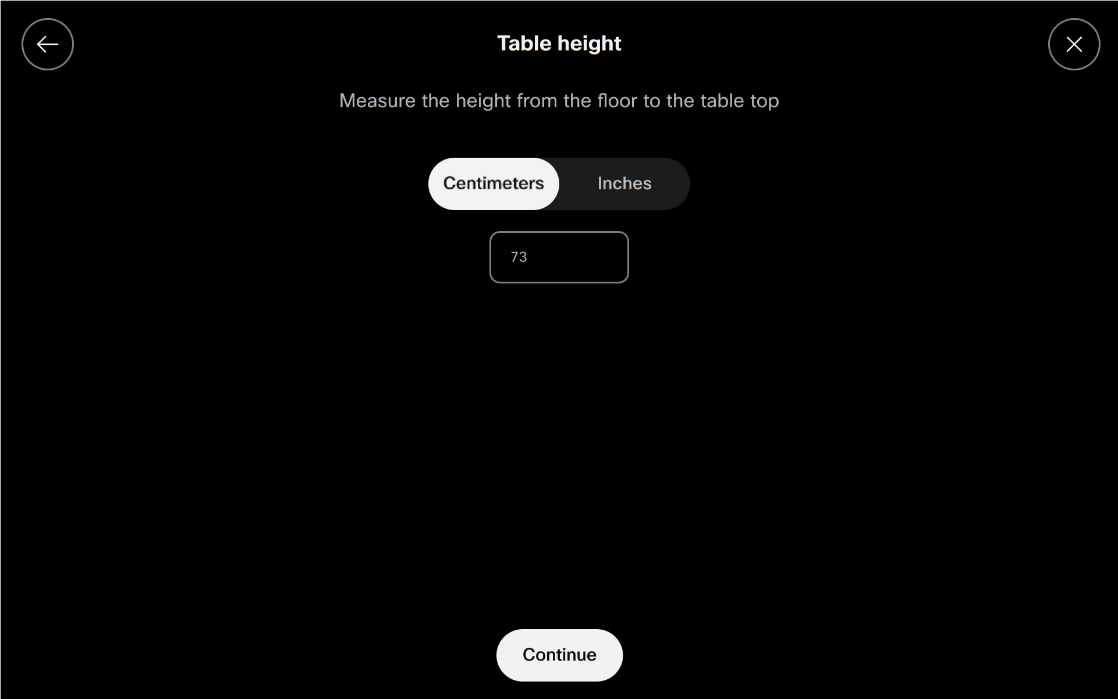
Measure the height from the floor to the table top, enter the value, and choose Continue.
|
| 5 |
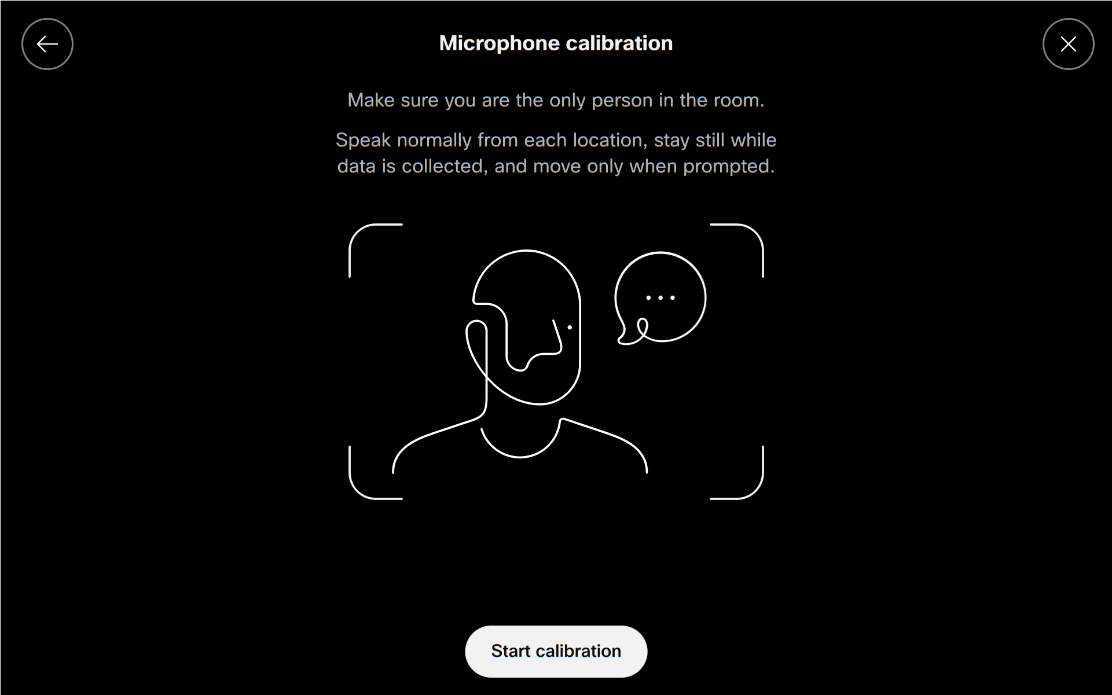
Speak normally from each microphone location and stay still while the system collects data. When prompted, choose Start calibration.
|
| 6 |
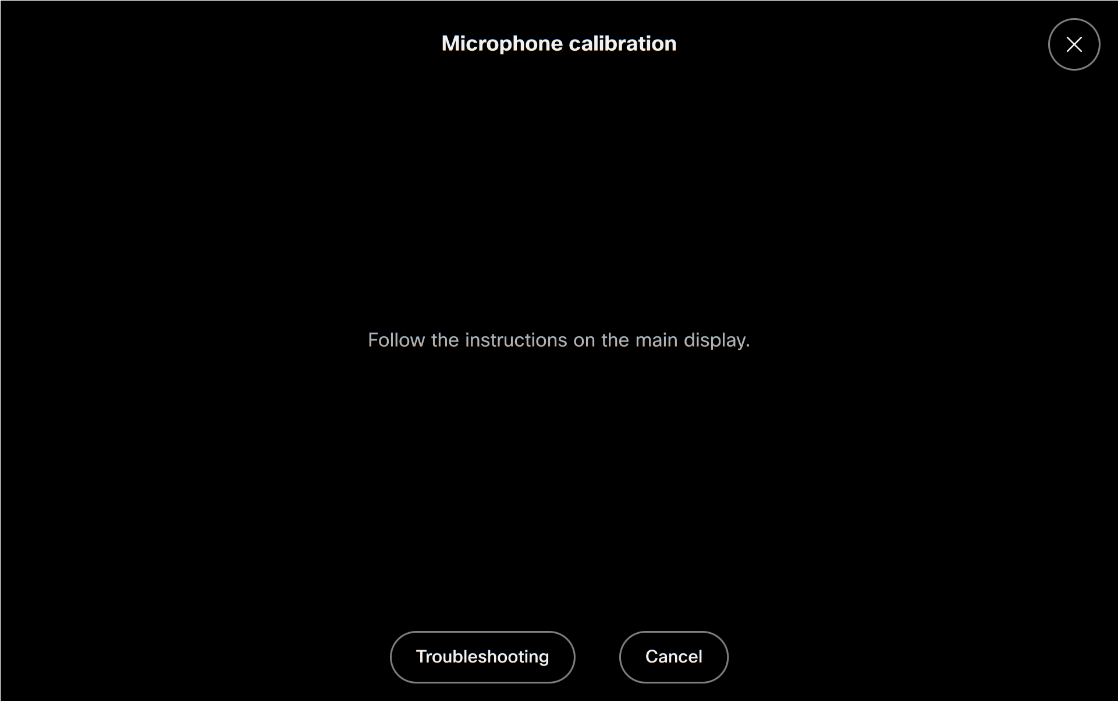
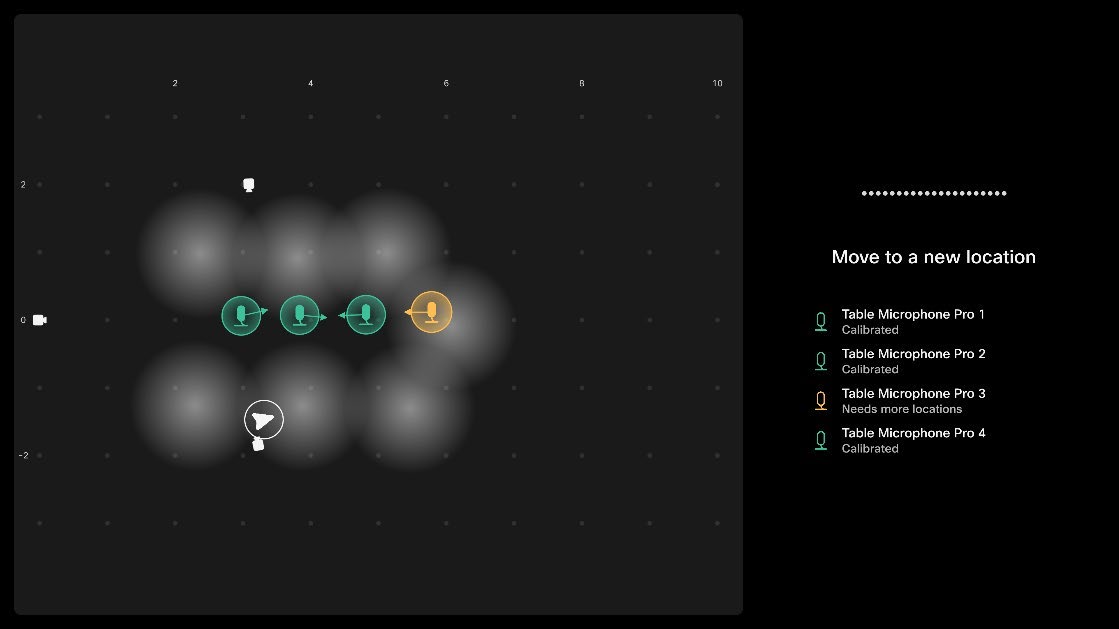
Follow the instructions on the main display.
|
| 7 |
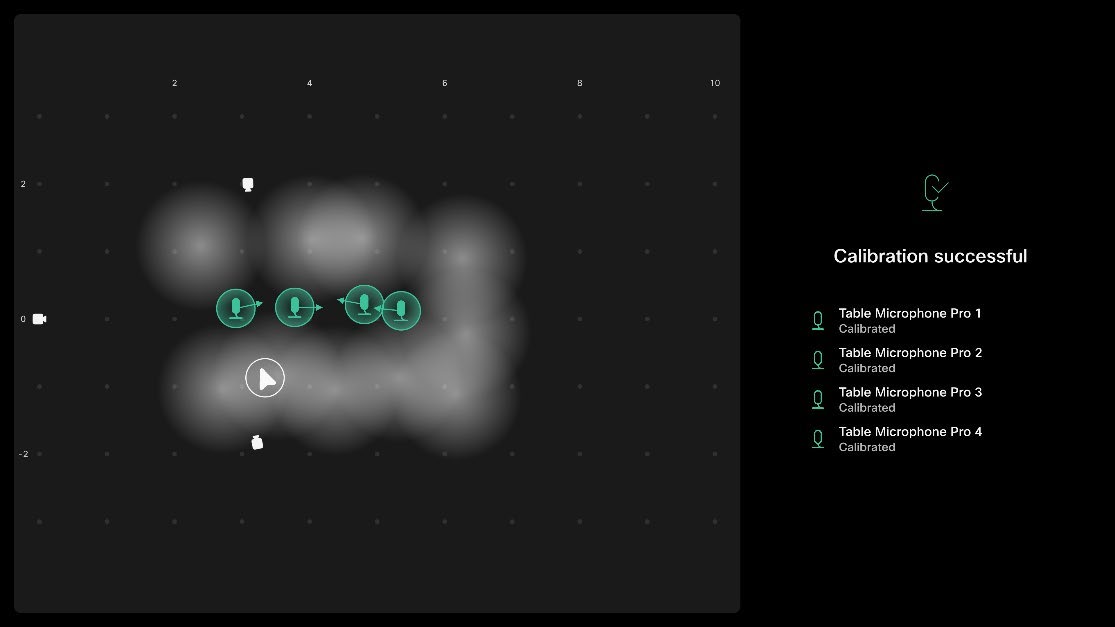
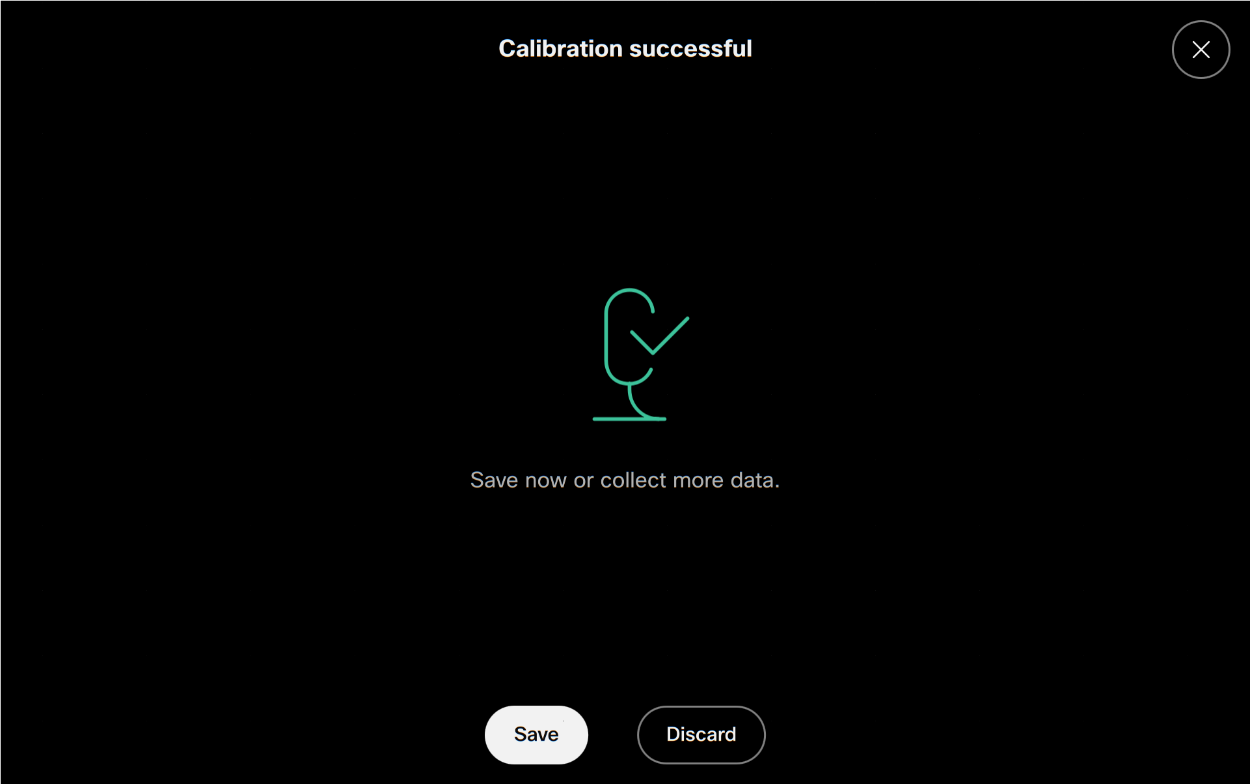
When calibration is successful, choose Save.
Setup videos
These videos apply to older software versions.
|