- Home
- /
- Article

Thanks for your feedback.

Use the whiteboard on Board and Desk Series
 In this article
 Feedback?
Use your Board or Desk Series device's whiteboard to enhance meetings and presentations with interactive visuals. Draw and write in all directions without ever running out of space - the whiteboard is your infinite canvas.
Using your fingertip or the provided stylus, create drawings, share ideas, and annotate shared content. Collaboration has never been easier: send your whiteboards by email, share them during calls so everybody can work together, or save them to Webex spaces and users.
Some of the features covered in this article are only available on Desk Pro and Board Pro, and for Room Bar, Codec EQ, and Codec Pro (when a third-party touch screen is connected).
Whiteboard basics
Tap the ![]() button on the home screen to open the whiteboard. If you've already got some whiteboards in progress, the latest one opens. If not, you'll get a new blank board. When the toolbars appear at the bottom, you're ready to go.
button on the home screen to open the whiteboard. If you've already got some whiteboards in progress, the latest one opens. If not, you'll get a new blank board. When the toolbars appear at the bottom, you're ready to go.
But first, let's look at some basic whiteboard functionality:
|
Open |
Open the list of whiteboards from your current session. Tap one to open it. |
|
New |
Tap More
|
|
Duplicate |
Tap More
Tap |
|
Delete |
To delete your current whiteboard, tap To delete another whiteboard from your current session, tap |
Exit the whiteboard by swiping up from the bottom of the screen. Then choose a different app or the home screen, or swipe up again from the minature whiteboard at the bottom.
If you are on a shared device, you should clear the whiteboards for the next user: tap Clean up on the home screen. Read more about ending your whiteboarding session here.
Whiteboards: creating content
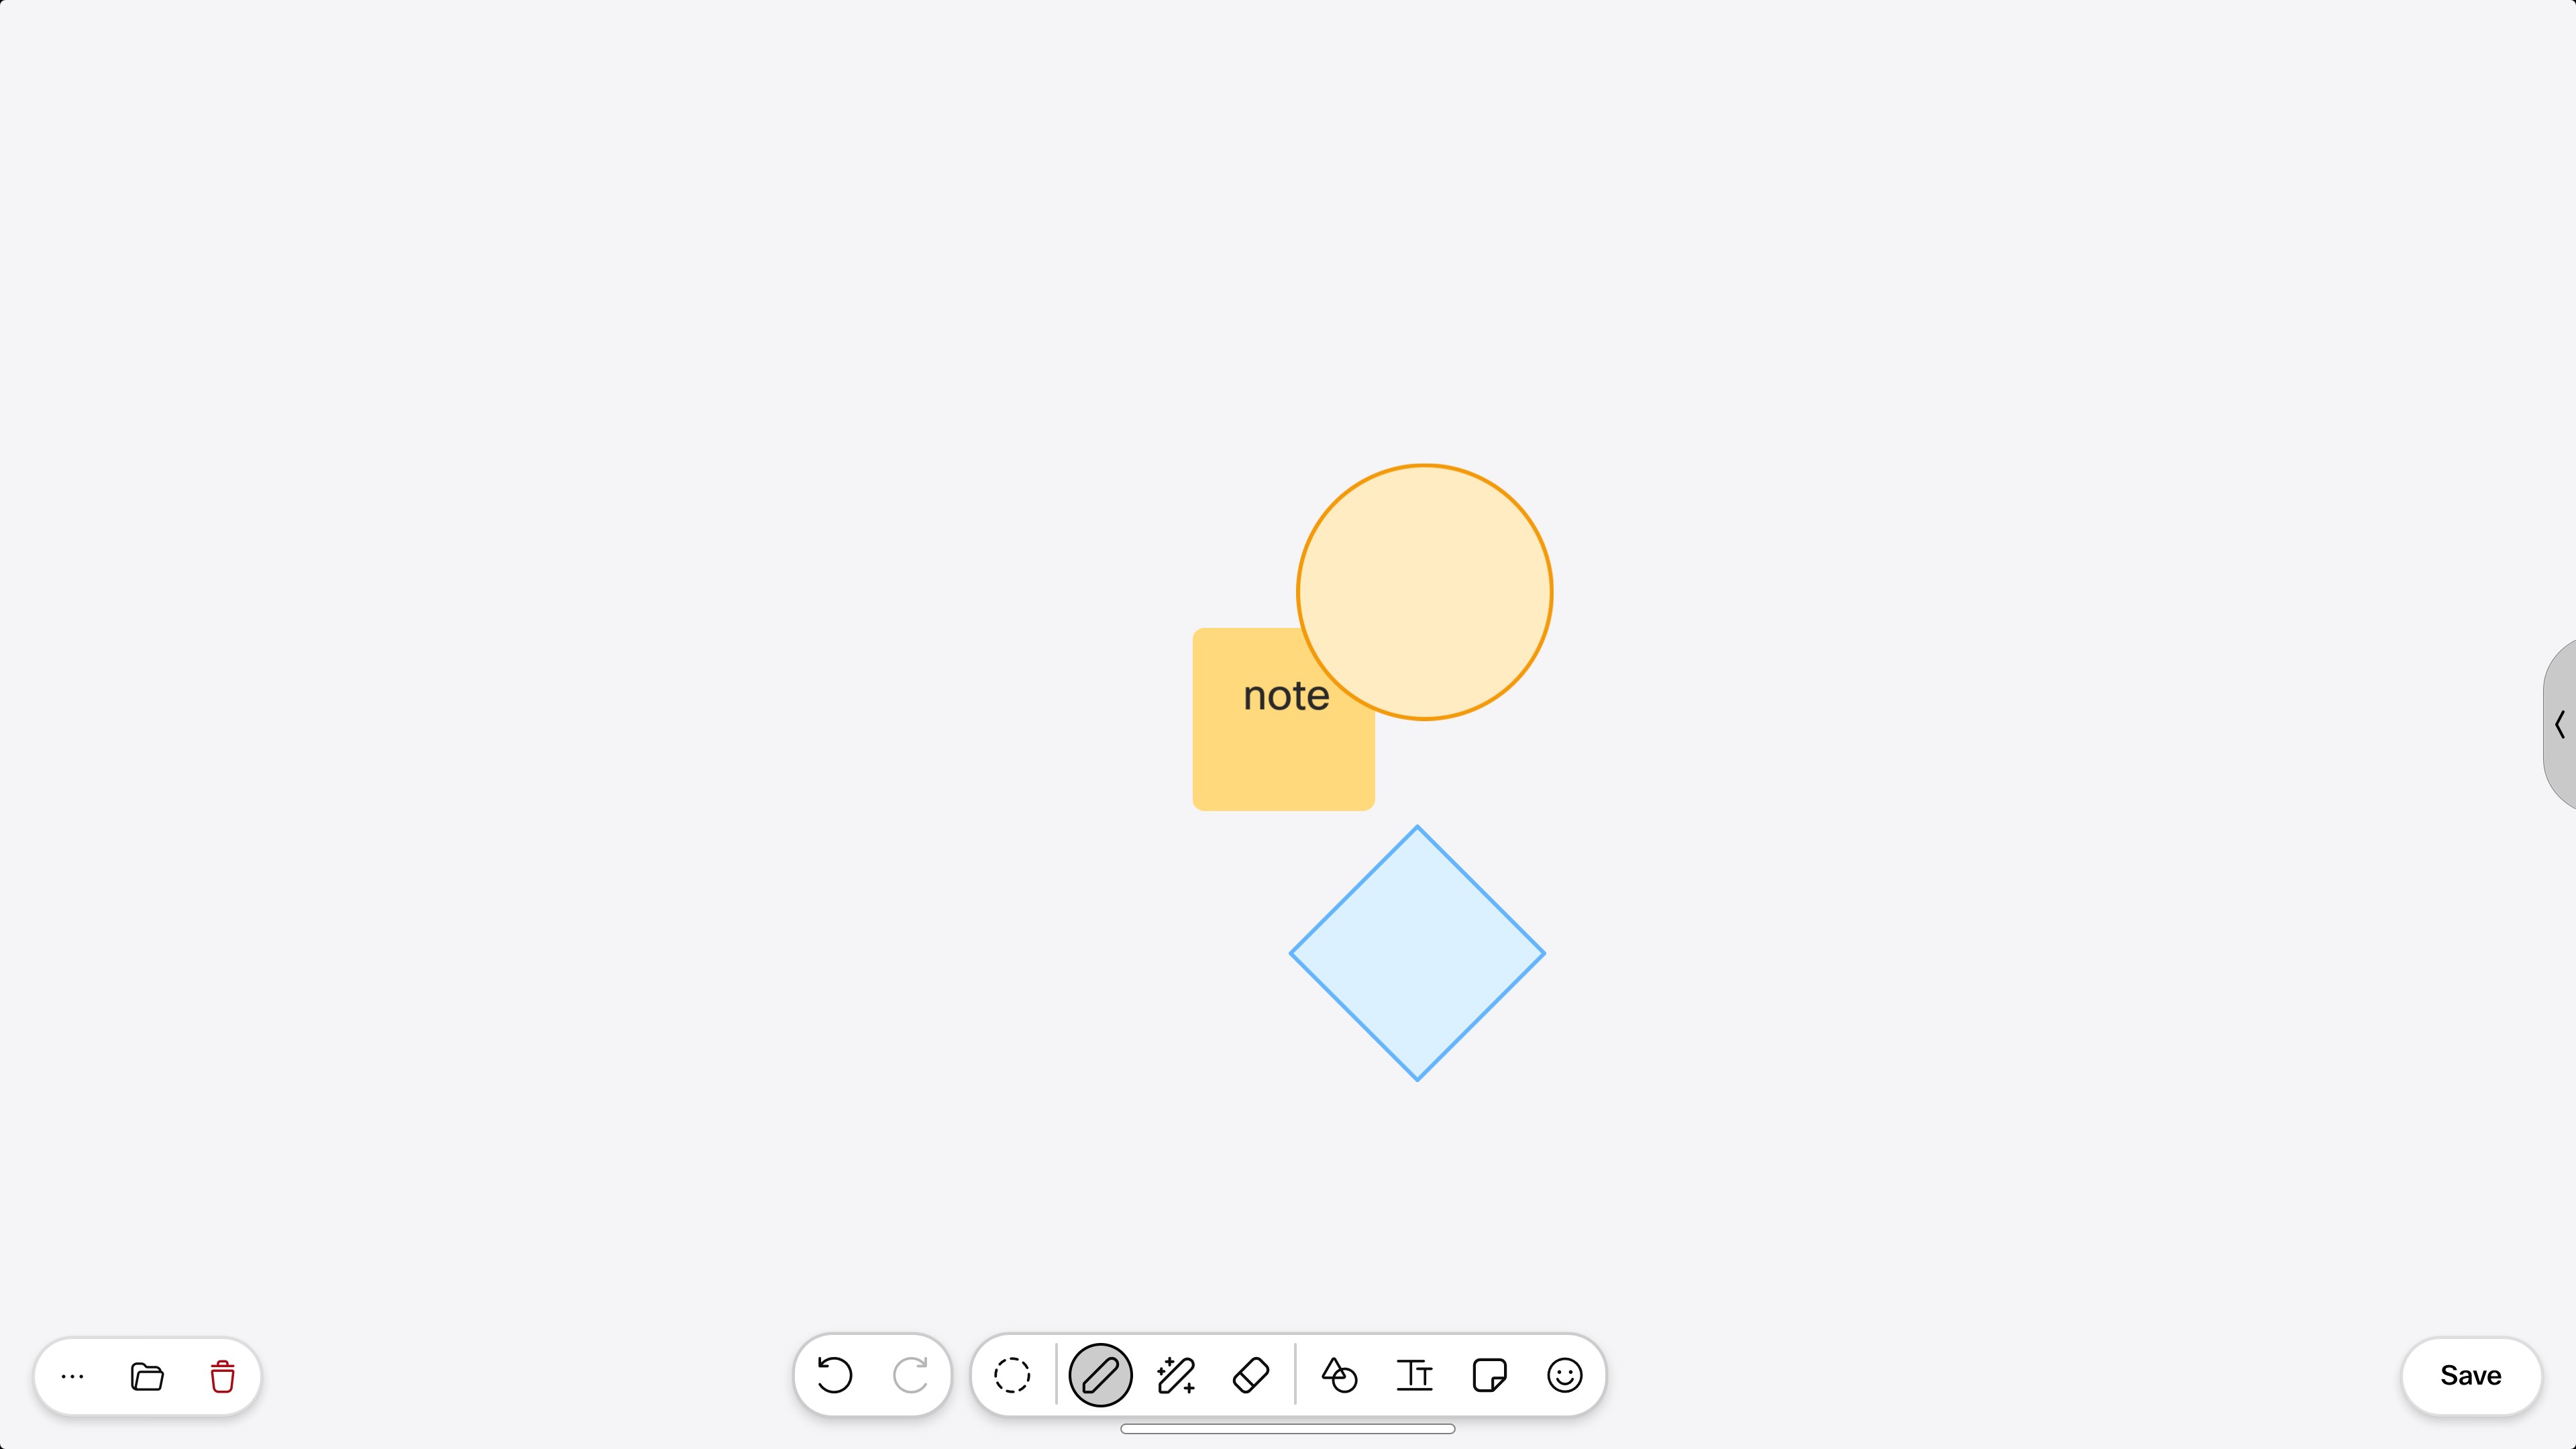
Creating content on your whiteboard is easy: just write and draw on the touchscreen with your fingertip or using the provided pen. More than one person can work on a board at the same time. Pinch and zoom in (up to 3x) on the touchscreen, just like you do on your phone. To move around the whiteboard while you're zoomed in, press with two fingers and swipe in the direction you want to move. To get an overview of the entire whiteboard, zoom out (up to 10x).
Once you've created some content on your whiteboard, you can move groups of objects around all at once. For example, you write or draw on top of a shape. When you grab and drag the shape around the whiteboard, your strokes will go with it. The same thing goes for objects on the whiteboard that overlap each other - like a couple of sticky notes. If you grab the sticky note at the back of the group and drag it, the notes on top will move with it, as long as they overlap each other by more than half.
Let's take a look at what you can create, using the toolbar buttons at the bottom of your whiteboard:
|
Undo/Redo |
Undo/redo your last action(s). |
|
Selection tool |
Tap the button and then press your finger on the whiteboard. Drag the selection frame across any objects on the whiteboard you want to select. Move the selected objects as a group, or delete them all at once. |
|
Pen |
Tap the pen and start drawing. Tapping the pen also opens a second toolbar where you can change the pen color and stroke thickness. You can also find the shape adjuster in the second toolbar. |
|
Magic pen |
The whiteboard can recognize basic shapes like squares, circles, triangles, rectangles, arrows, and curved lines as you draw them and will straighten edges and close small gaps in the outline for you. Tap the pen to get the second toolbar. There, you can tap the magic pen tool and start drawing. Or, just draw your shape and press it for a second. The whiteboard detects your shape and adjusts it for you. |
|
Eraser |
Change your fingertip (or the stylus) to an eraser and rub out mistakes. The eraser removes entire objects and complete lines - you don't have to trace an entire drawing with your finger. Select a different tool to stop erasing. |
|
Laser pointer |
Add emphasis to something important while you're talking about it. Tap the button and use your finger (or the stylus) to draw attention to content on the board by, for example, circling or underlining it. Your marks will fade away after a couple of seconds. |
|
Shapes |
Tap the button and select a ready-made shape. Tap anywhere on your whiteboard to place it. A toolbar will come along with it and you can make the shape transparent, change its color, copy, or reposition it. To resize a shape, grab one of the corners and drag it. And, you can tap twice inside of a shape to open the keyboard, start typing, and format your text. |
|
Text |
Select the tool and tap anywhere on your whiteboard to get an editable area where you can type and format text. Tap on text you've already added to edit and re-format it as you work. If you're collaborating with people on other devices, your text shows up in real time so everyone can follow as you write it. 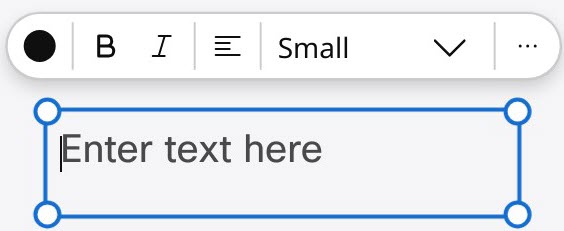
|
|
Sticky Note |
Add a sticky note to the whiteboard. Tap the button and then tap anywhere on your whiteboard to add the sticky note and get a soft keyboard. Type your text (up to 6 lines), choose a color and type. Tap anywhere outside the note to stick it, when you're finished. Tap any note already on the board to change the color, edit the text, or delete it. Press a note and drag with your finger to move it. |
|
Emoji |
Tap the button to select an emoji. Tap the whiteboard to place it. |
Active pen on Board Pro
Two people can draw or erase on a Board Pro at the same time with two active pens, or with their fingers. To use the pen like an eraser, press the lower button on the pen.
While you're drawing with the pen, you can use your finger to easily select and move things around on the board without changing to the selection tool.
Content collaboration
If your device is on RoomOS 26, when you collaborate with people on the same whiteboard from other devices or the Whiteboard app, you'll see everyone else's pen or cursor (as avatars). This feature is ON by default:
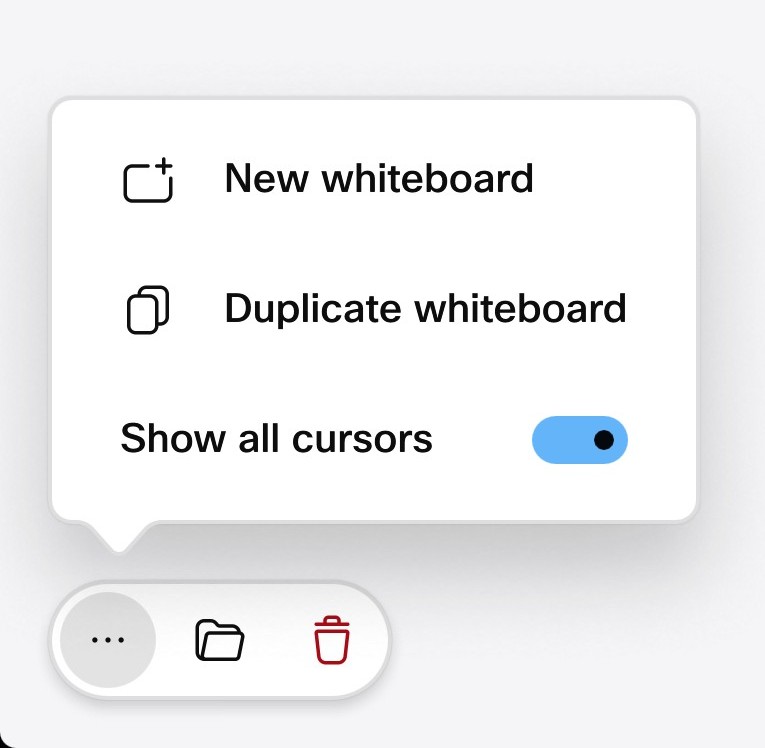
To disable the feature during your current session, tap the More button in the bottom left corner of the whiteboard. Toggle Show all cursors OFF.
Share a whiteboard in a call
You can share your whiteboard in a call, and the other participants can edit it from their device or from the Webex app. You'll see the avatar or device initials of the participant editing a shared whiteboard at any time.
Whiteboards created during a meeting are saved automatically in the Webex space you share with other participants during a Webex meeting, or joined by a paired Cisco device.
| 1 |
During a call, swipe up from the bottom of the screen and tap whiteboard |
| 2 |
The whiteboard opens and you can start drawing. |
| 3 |
Tap Share. The whiteboard is shared live. Start working on it, or tap |
| 4 |
Tap Stop sharing to stop others seeing your whiteboard. |
| 5 |
When your call is over the whiteboard is saved to your Files. On shared devices, it will be deleted during the next scheduled cleanup. |
Save a whiteboard to yourself
To save a whiteboard to yourself:
-
Tap Save on the bottom right corner of your active whiteboard.
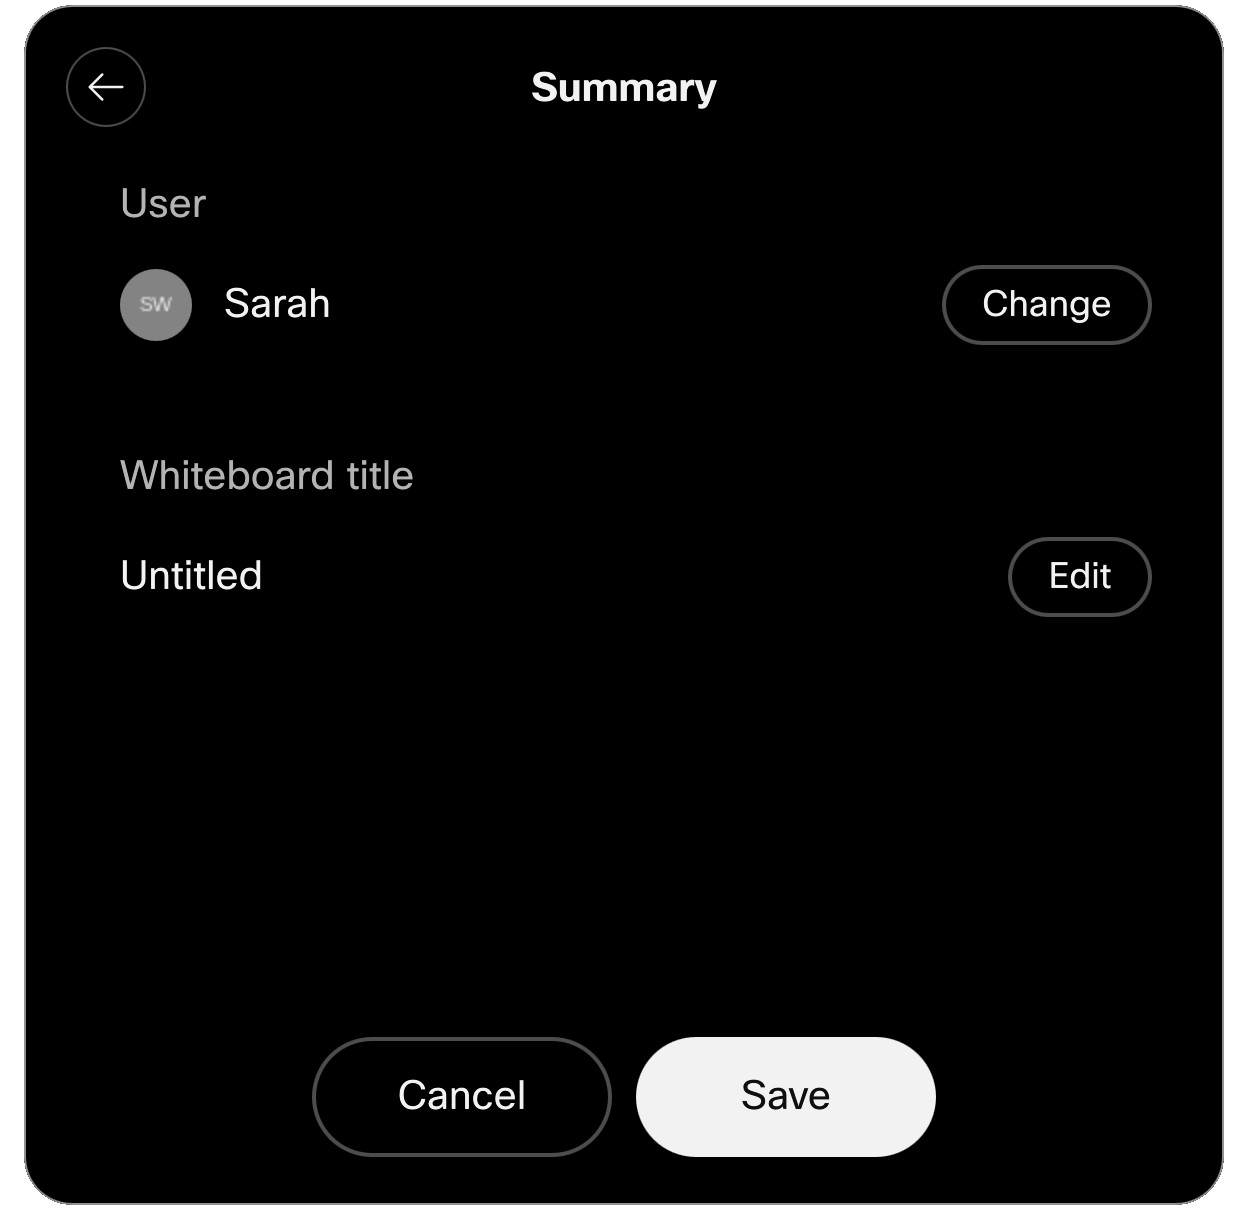
-
Start typing your name and select yourself.
-
Tap Edit in the next dialog, enter a name for the whiteboard, and tap Rename. Then Savethe whiteboard when you return to the previous dialog.

The saved whiteboard will appear in your Webex app dashboard and on whiteboard.webex.com.
Once you've saved a whiteboard, tapping the Saved button on the bottom right corner of the screen opens a dialog where you can edit the whiteboard's name, and see where it's actually saved to.
Save your whiteboard to a space
If your device is already connected to the Webex app, open a space on it. The whiteboards you create in the current session will be saved automatically to that space. See these articles for more about opening a space on Board or Desk Series.
You can also create a new Webex space to save your whiteboards to, or save them to an existing space.
To save a whiteboard to a space:
| 1 |
Tap Save on the bottom right corner of your active whiteboard. |
| 2 |
Tap Other save options. 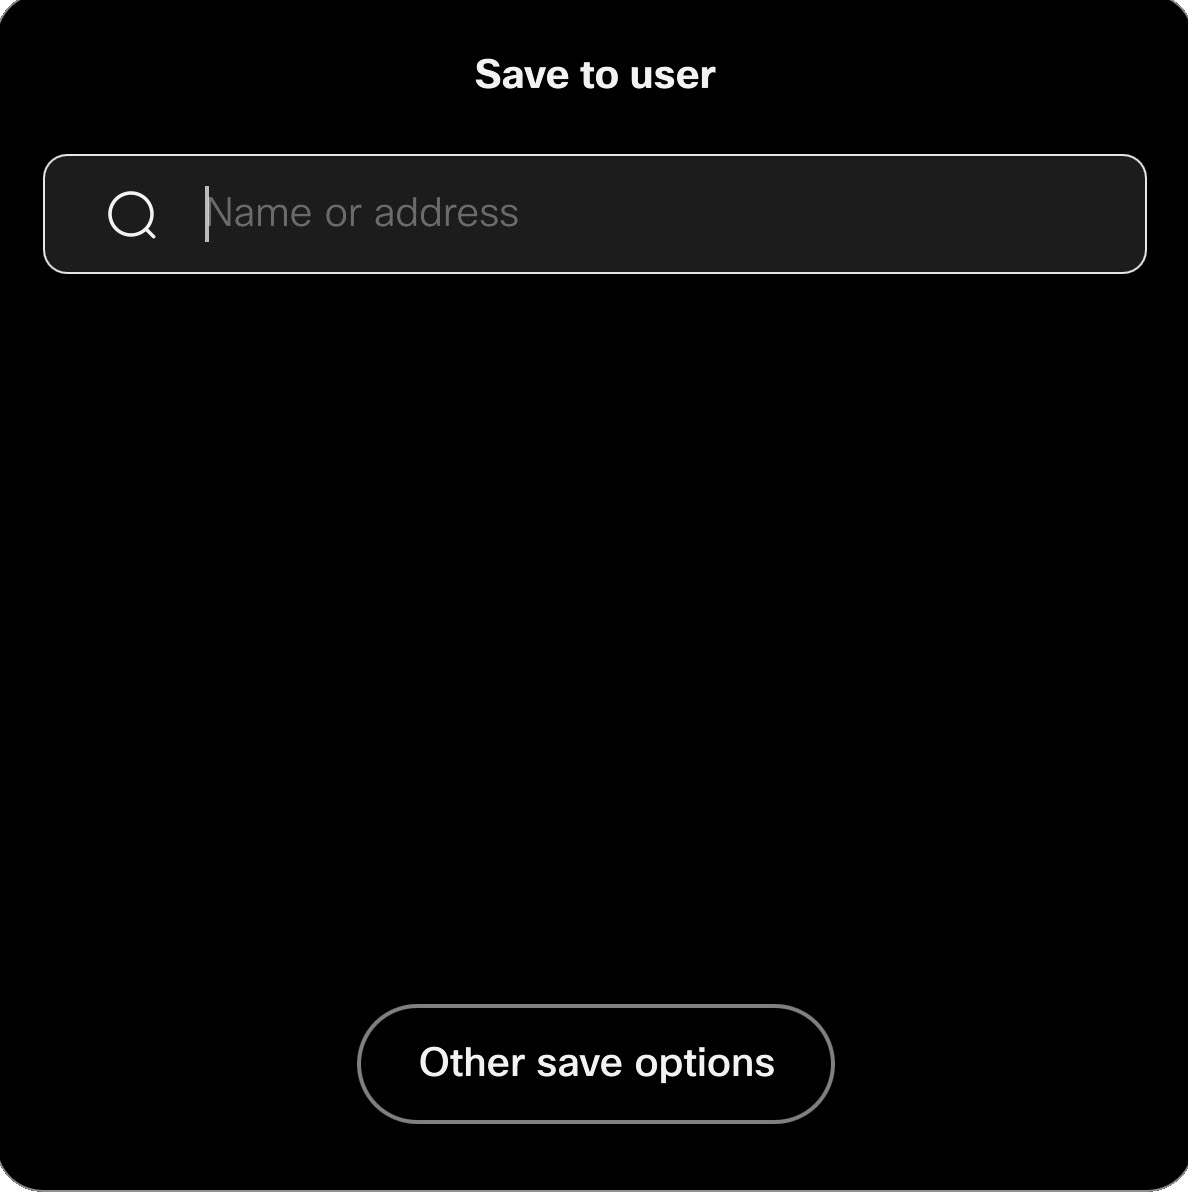
|
| 3 |
In the next dialog choose to:
If you're a guest user on a personal device, you can only save to spaces the device owner is a member of. As a guest, you can't open any whiteboards from a space where the device owner is not a member. |
| 4 |
Tap the checkmark in the corner. Your whiteboard(s) will be saved. If you created a new space, it will show in your list of spaces in the Webex app. Once you've saved a whiteboard, tapping the Saved button on the bottom right corner of the screen opens a dialog where you can edit the whiteboard's name, and see where it's actually saved to. |
Email your whiteboards
To email your whiteboard(s):
| 1 |
In your current whiteboard, tap More
|
| 2 |
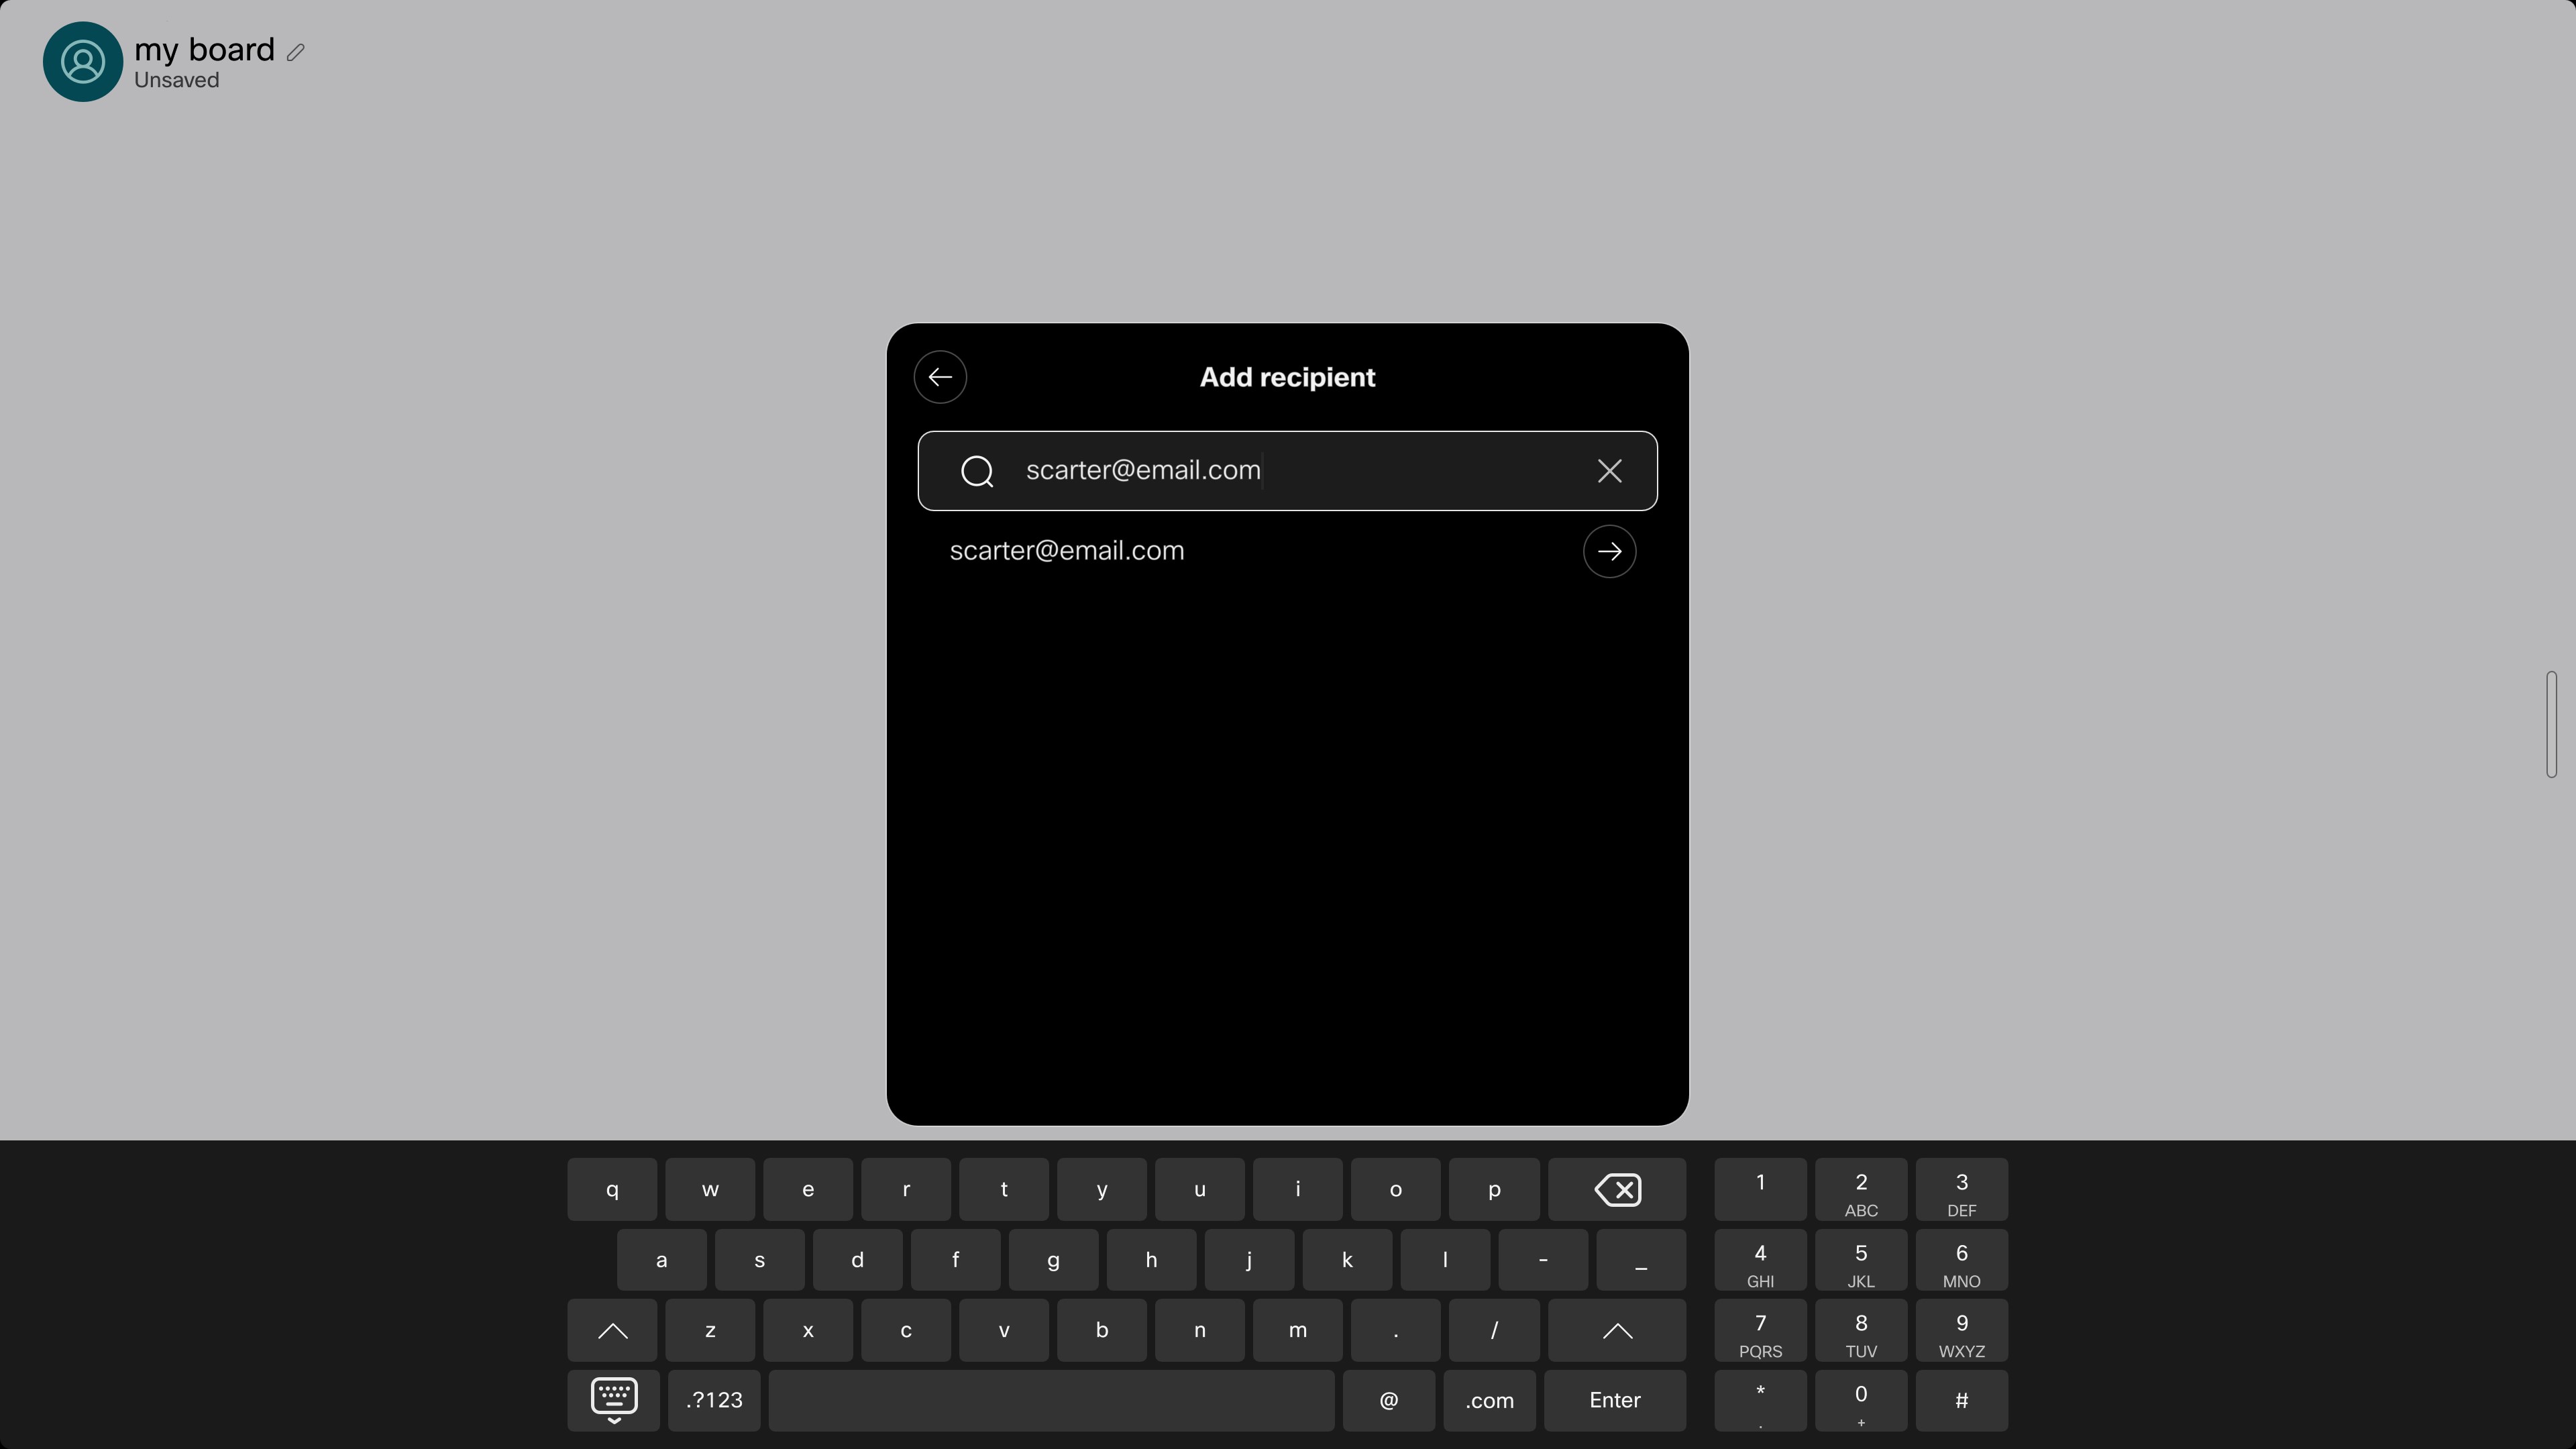
Search for or type in a recipient email address:
|
| 3 |
Edit the subject line, add more recipients if you want, and tap the arrow in the top right corner to move on: 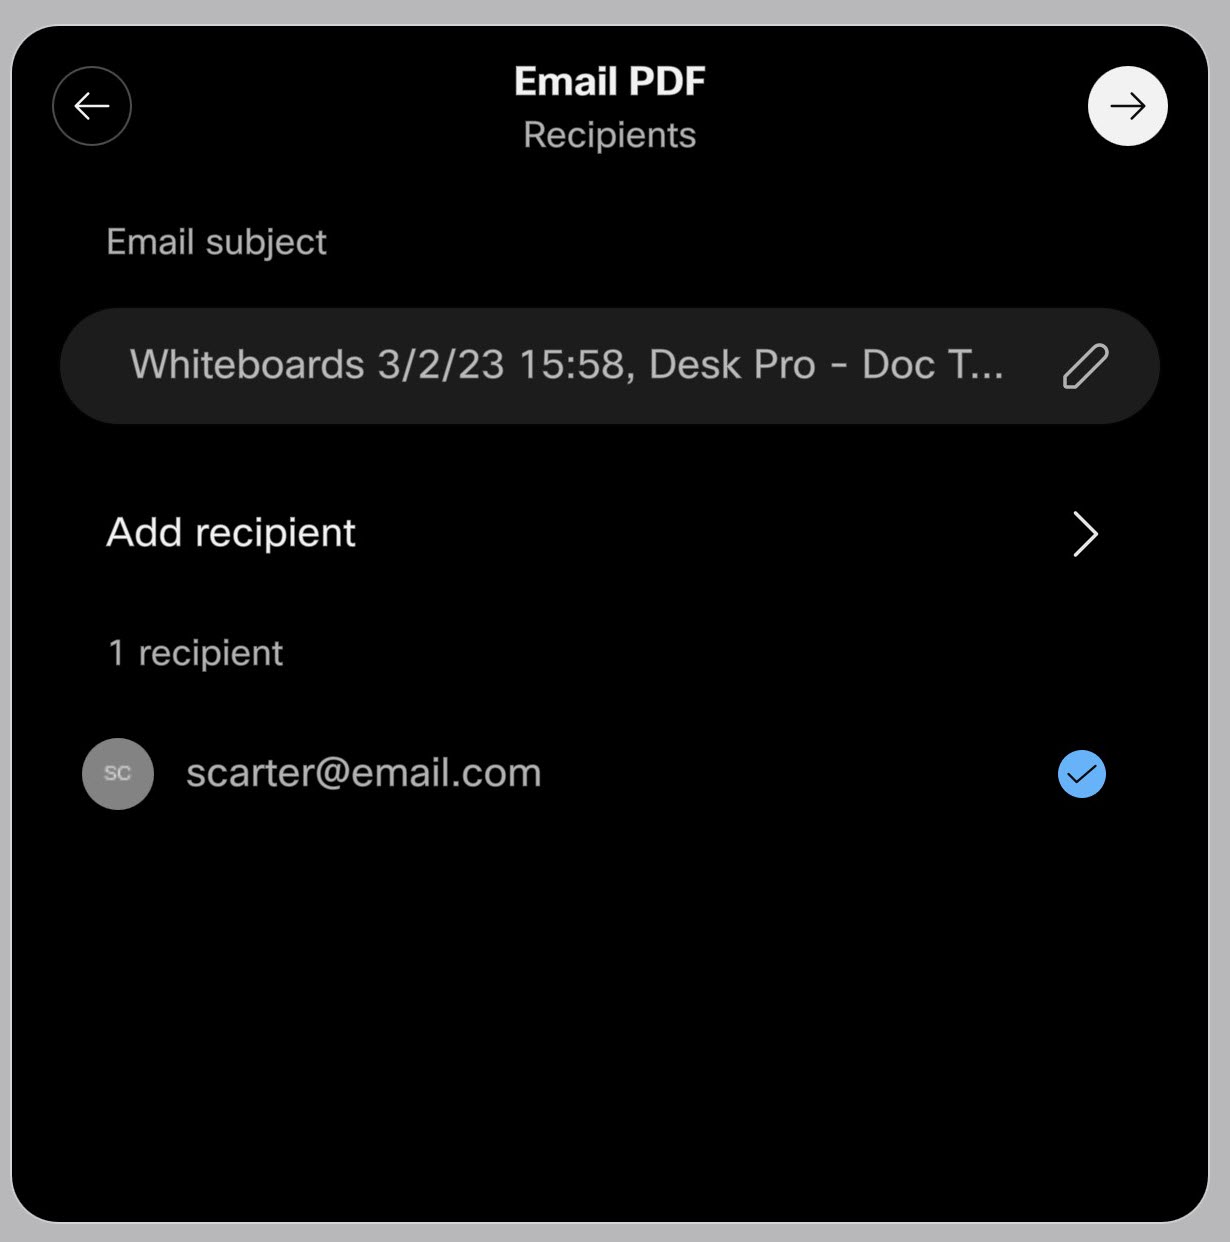
|
| 4 |
You can select more whiteboards to add to the email. Tap the arrow in the top right corner to send the email. 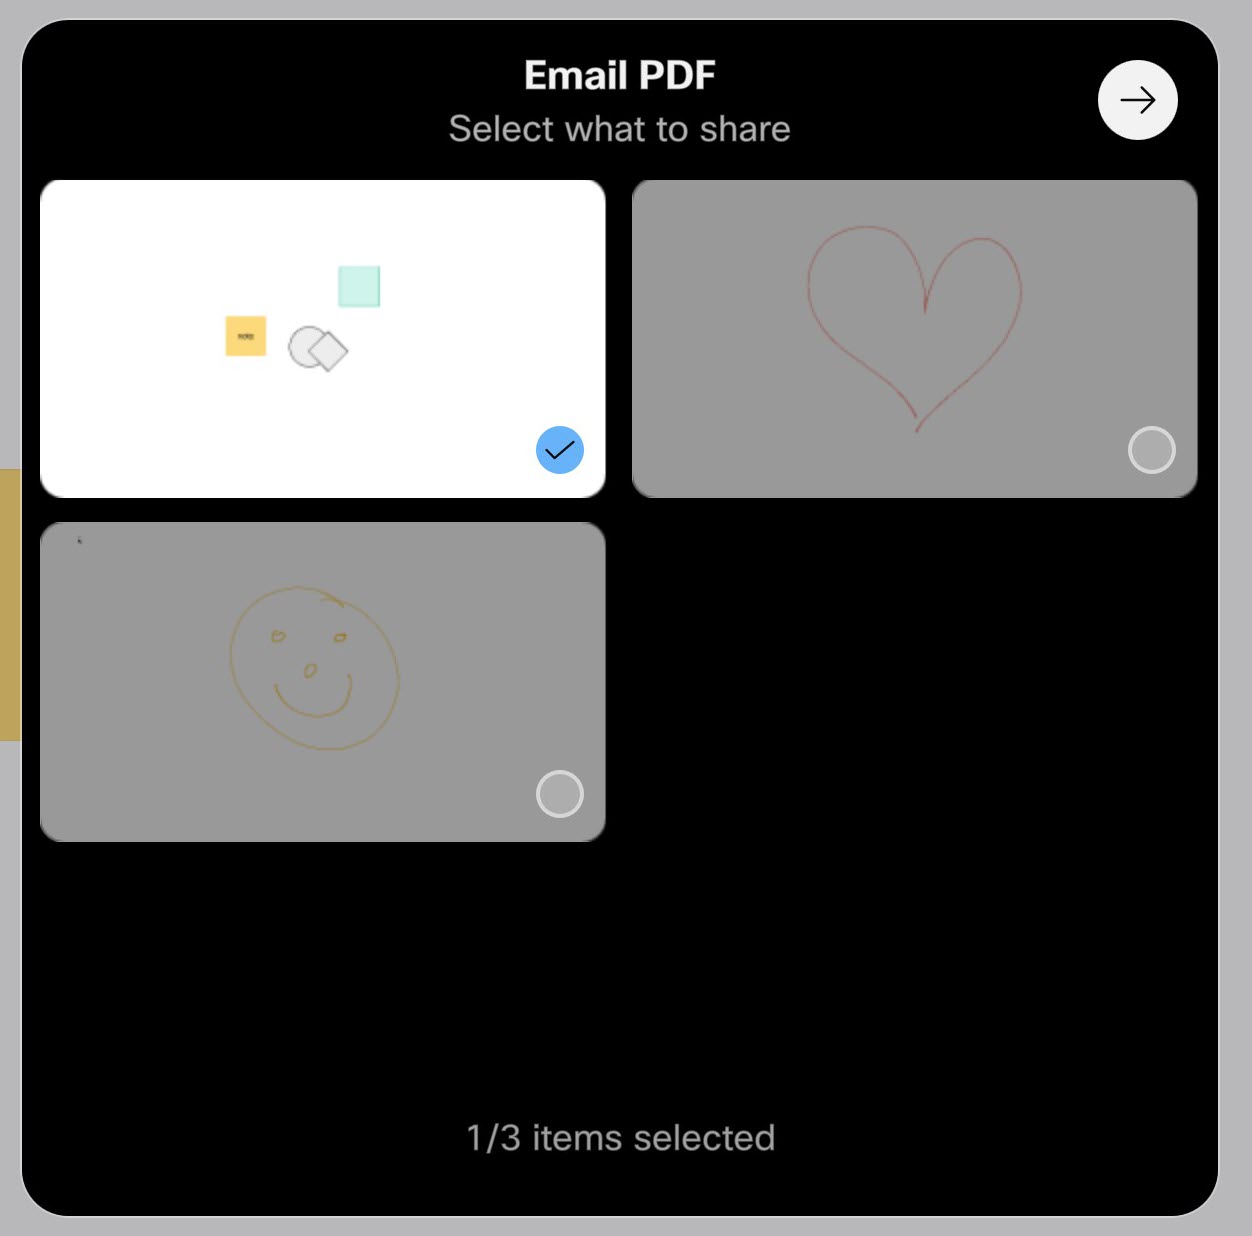
Recipients will receive an email with the whiteboard(s) in .pdf-format. |