
Thanks for your feedback.
 Feedback?
Before you start
Make sure that you have:
- A Cisco Room Navigator running the RoomOS 26.9.1 software provided by Cisco.
- Administrator access to Control Hub.
- A calendar or Cisco Spaces integration, if you want users to make reservations in advance. The integration is optional, and walk-up bookings do not require a calendar integration.
If the Room Navigator is already paired with another device or configured for another purpose, factory reset it before you onboard it as a desk booking device. For more information, see Room Navigator as a standalone device.
Set up the Room Navigator as a desk
- From Control Hub, go to Management > Workspaces, and select Add workspace.
- Enter a name for the desk, and set the workspace type to Desk.
- Configure the scheduling options, and select Hot desk sign in. Connect a calendar if required by your deployment.
- Add a Cisco collaboration device to the workspace. You can generate an activation code or claim the Room Navigator by using its MAC address.
- Start the Room Navigator first-time setup wizard.
- Select Set up as standalone, and then select Desk booking.
- Complete the setup wizard.
When setup is complete, confirm that the Room Navigator displays the desk name, availability, and sign in options.
Sign in or check in
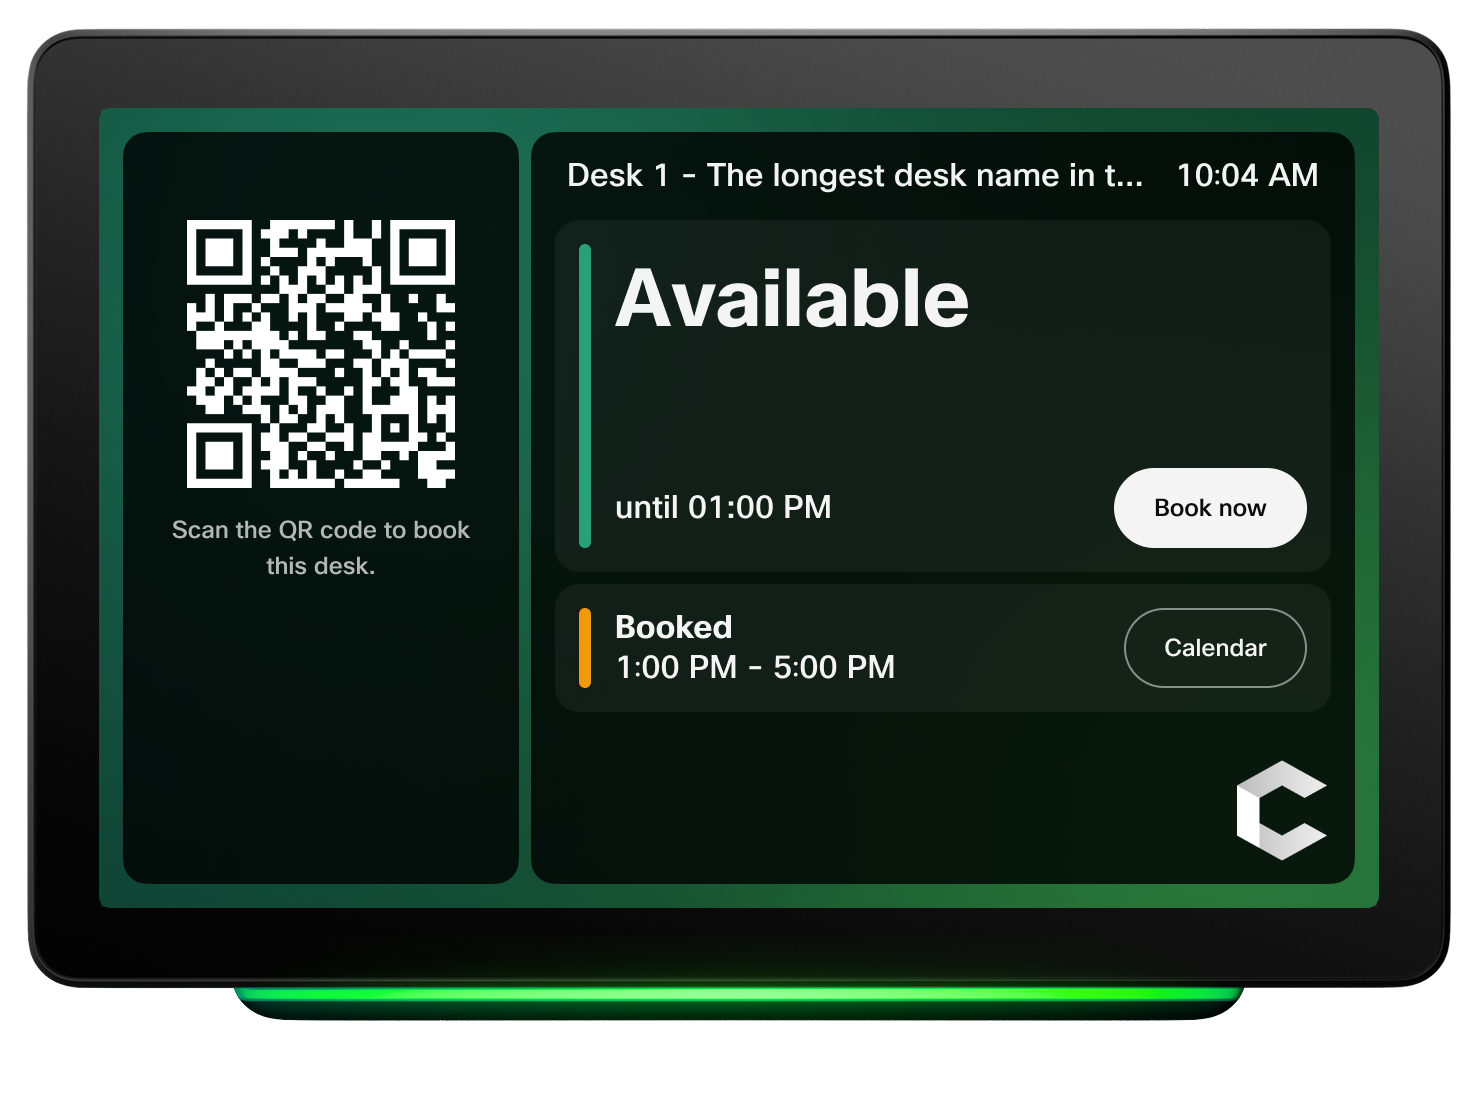
- On the Room Navigator, scan the displayed QR code or enter the manual pairing code.
- Follow the prompts to sign in or check in.
- Confirm that the Room Navigator displays your name and current booking.
The Room Navigator shows whether the desk is available, reserved, or in use. Depending on the current state, it displays the current booking or the next relevant booking.
Book an available desk
When the desk is available, select the on-screen option to book it, and follow the prompts. Confirm that the Room Navigator displays your name and booking.
Reserve a desk in advance
If a calendar integration is connected, create a desk reservation in the supported calendar client, and then check in from the Room Navigator.
If Cisco Spaces is connected, you can optionally create a reservation from the Spaces Explorer app and check in from the Room Navigator.
Update your presence
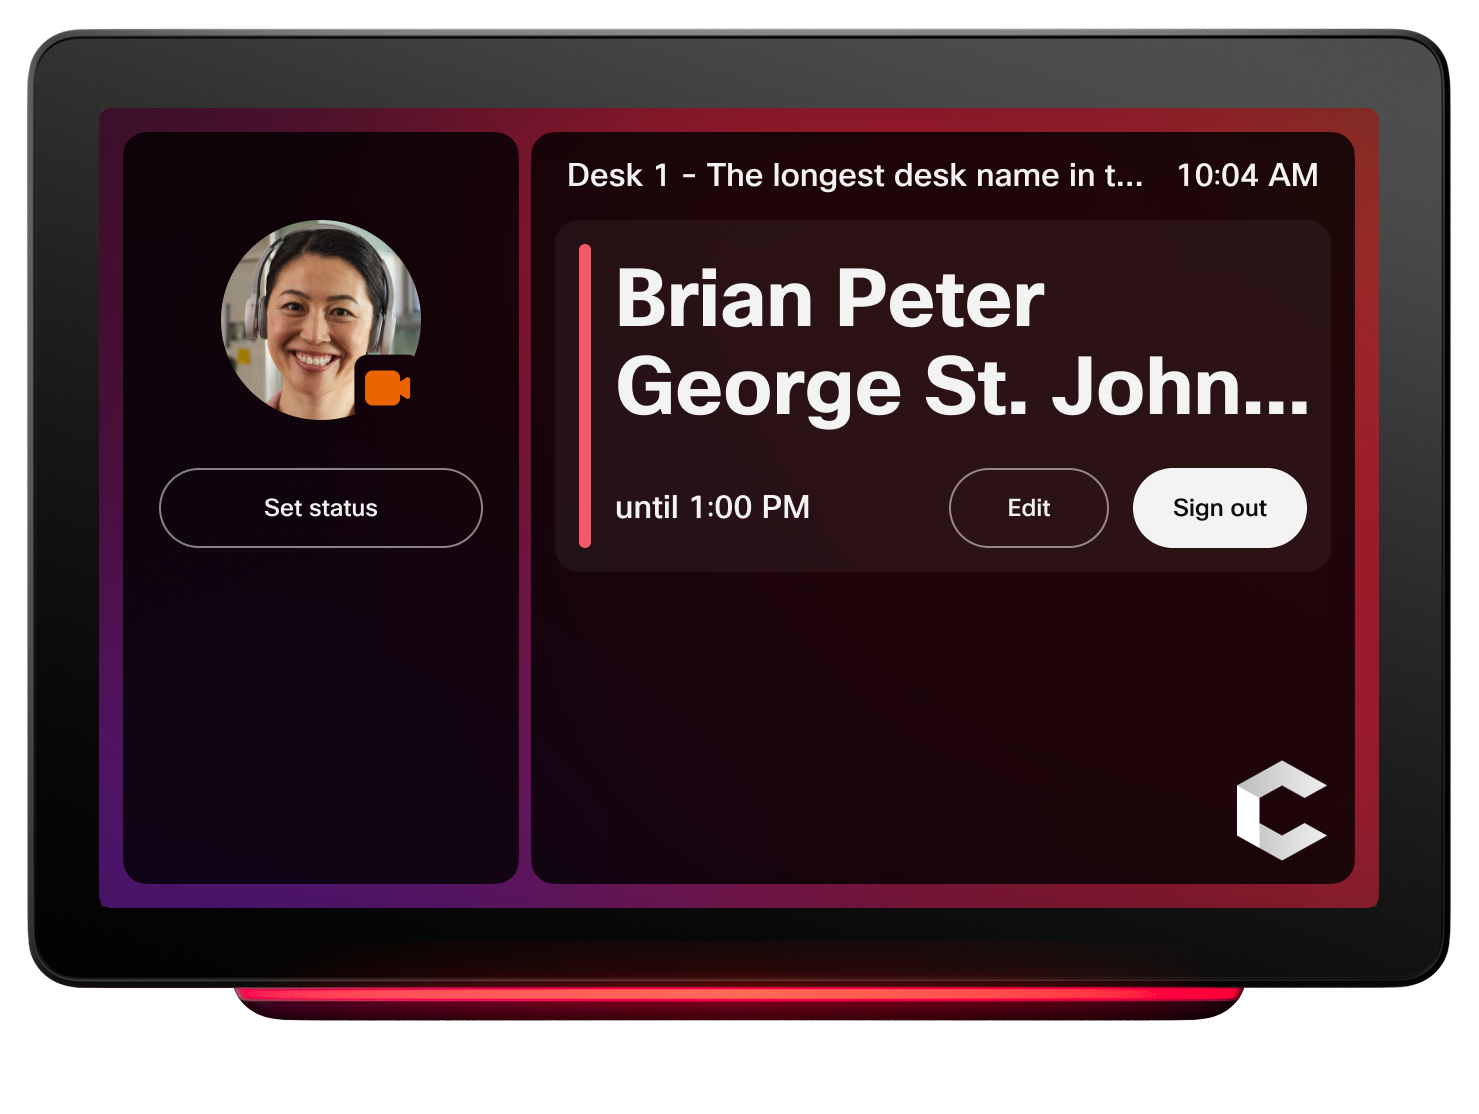
After you sign in, you can update basic Webex presence settings from the Room Navigator, including:
- Away
- Busy
- Do not disturb
The selected status is reflected in your Webex status.
Available features
The desk booking experience provides the following features:
- Desk availability, reservation, and in-use states.
- The signed-in user's name, avatar, and presence status.
- Access to the full calendar app.
- Macros, extensions, and web apps in the lower-left corner.
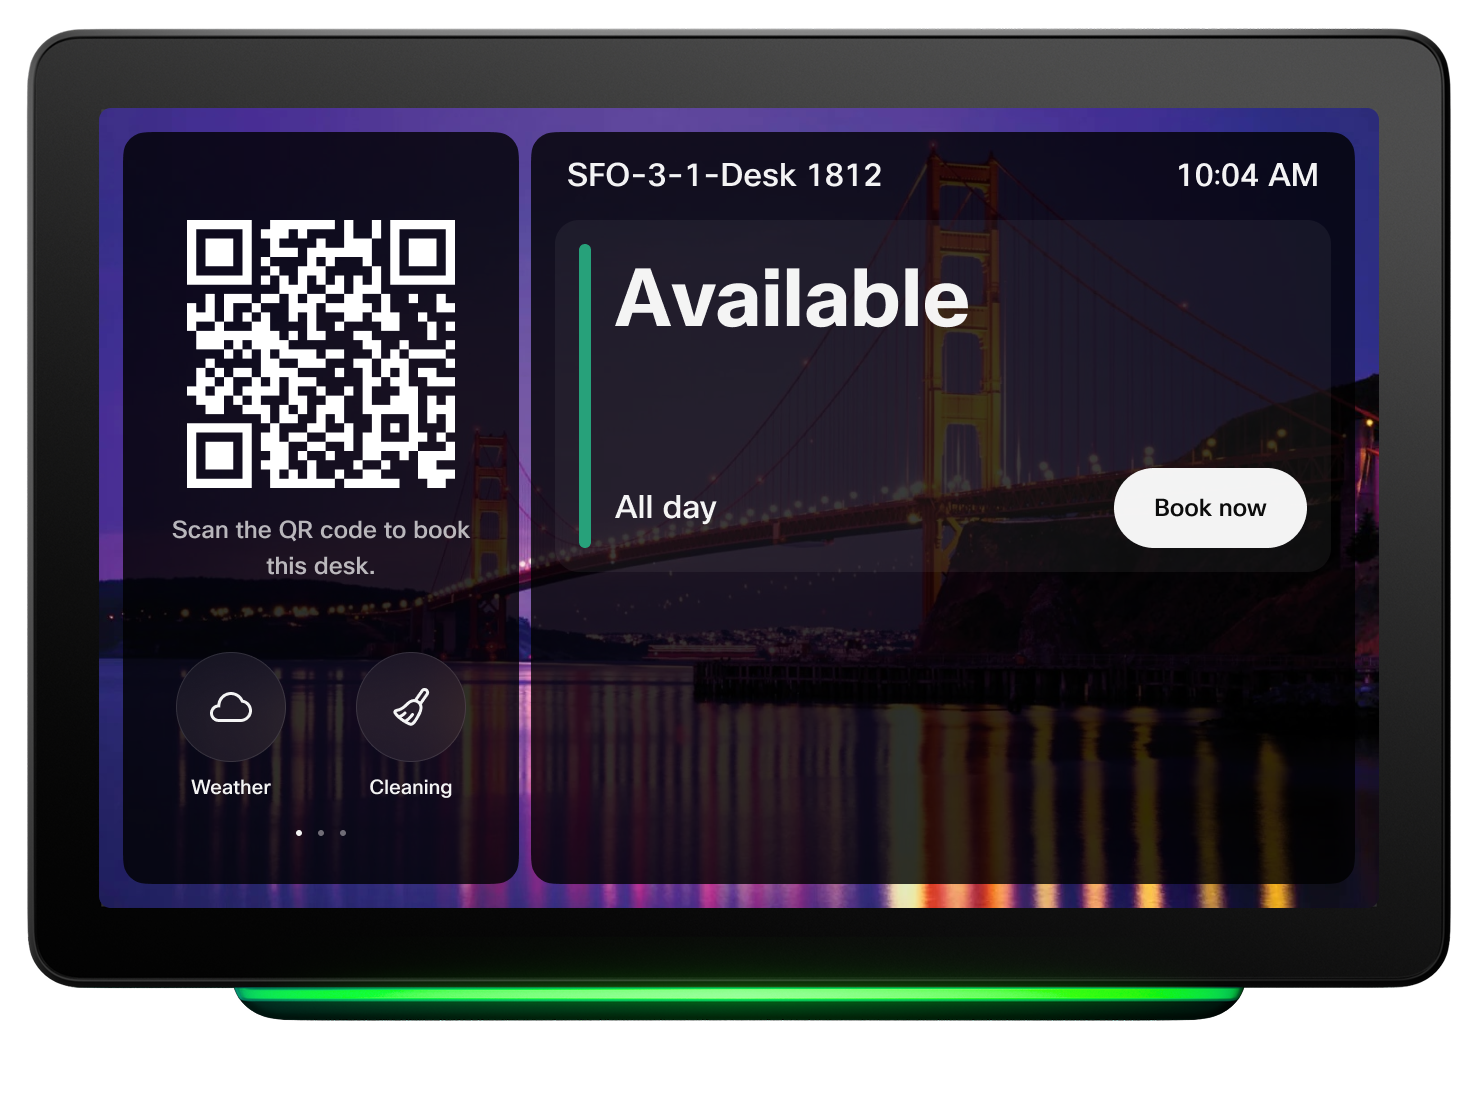
- An out-of-service state if the Room Navigator is not registered or loses its network connection.
Existing hot desking sign in, pairing, booking requirements, and booking state transitions remain unchanged.
Limitations
- Guest booking isn't supported in this release.
- Sign in and check in require authentication.
- QR code and manual pairing are currently the only sign in and check in options.


