Webex App | Schedule a meeting from a space
 Feedback?

People internal and external to the organization can schedule a meeting associated with a space if they have a Webex host license.
The number of people who can join a meeting associated with a space depends on the type of Webex plan held by the meeting host.
End-to-end encryption for Webex App meetings
Meetings associated with a space support end-to-end encryption. For more information on how to encrypt all your meetings by default, see Webex App | Set end-to-end encryption for meetings.
Choose the scheduler that you want to use to schedule meetings. You can schedule meetings from a space using Microsoft Outlook, Google Calendar, or the Webex App scheduler (if your administrator has set up your account with Cisco Webex Hybrid Calendar Service).
If your administrator hasn't set up your account with Hybrid Calendar or you're using a calendar other than Microsoft Outlook or Google Calendar, use the instructions in Other Calendars.
| 1 |
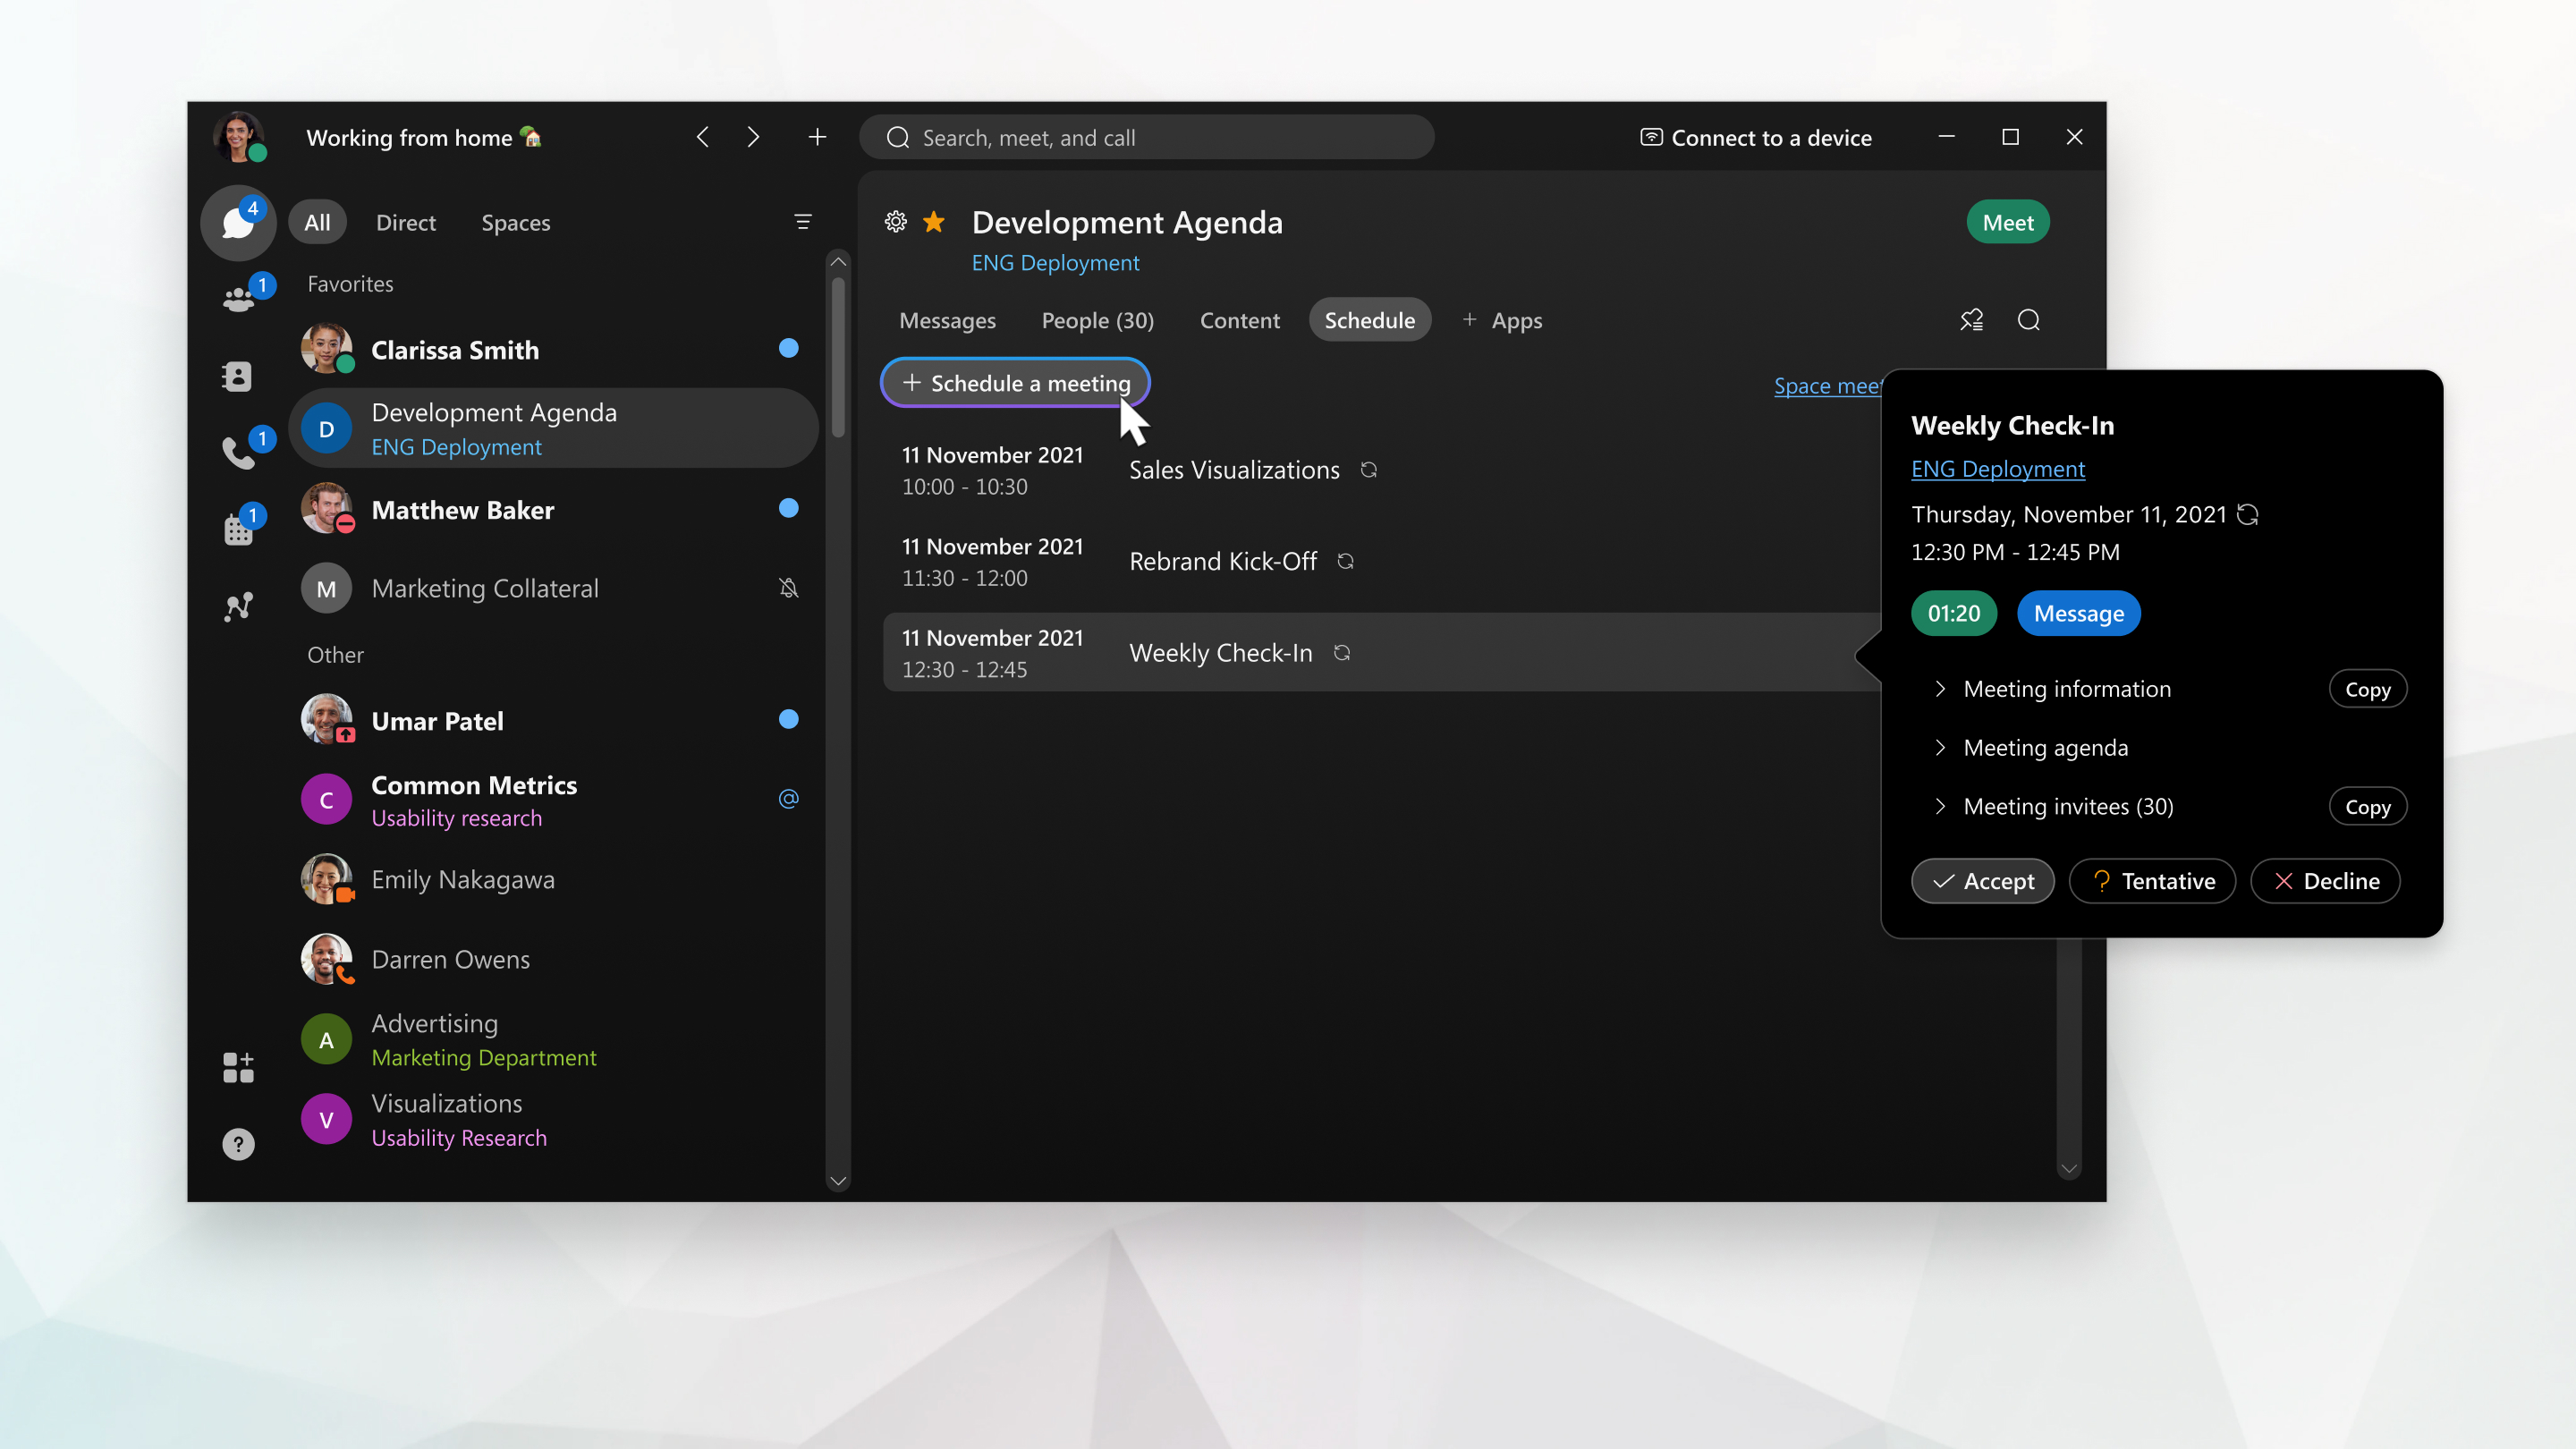
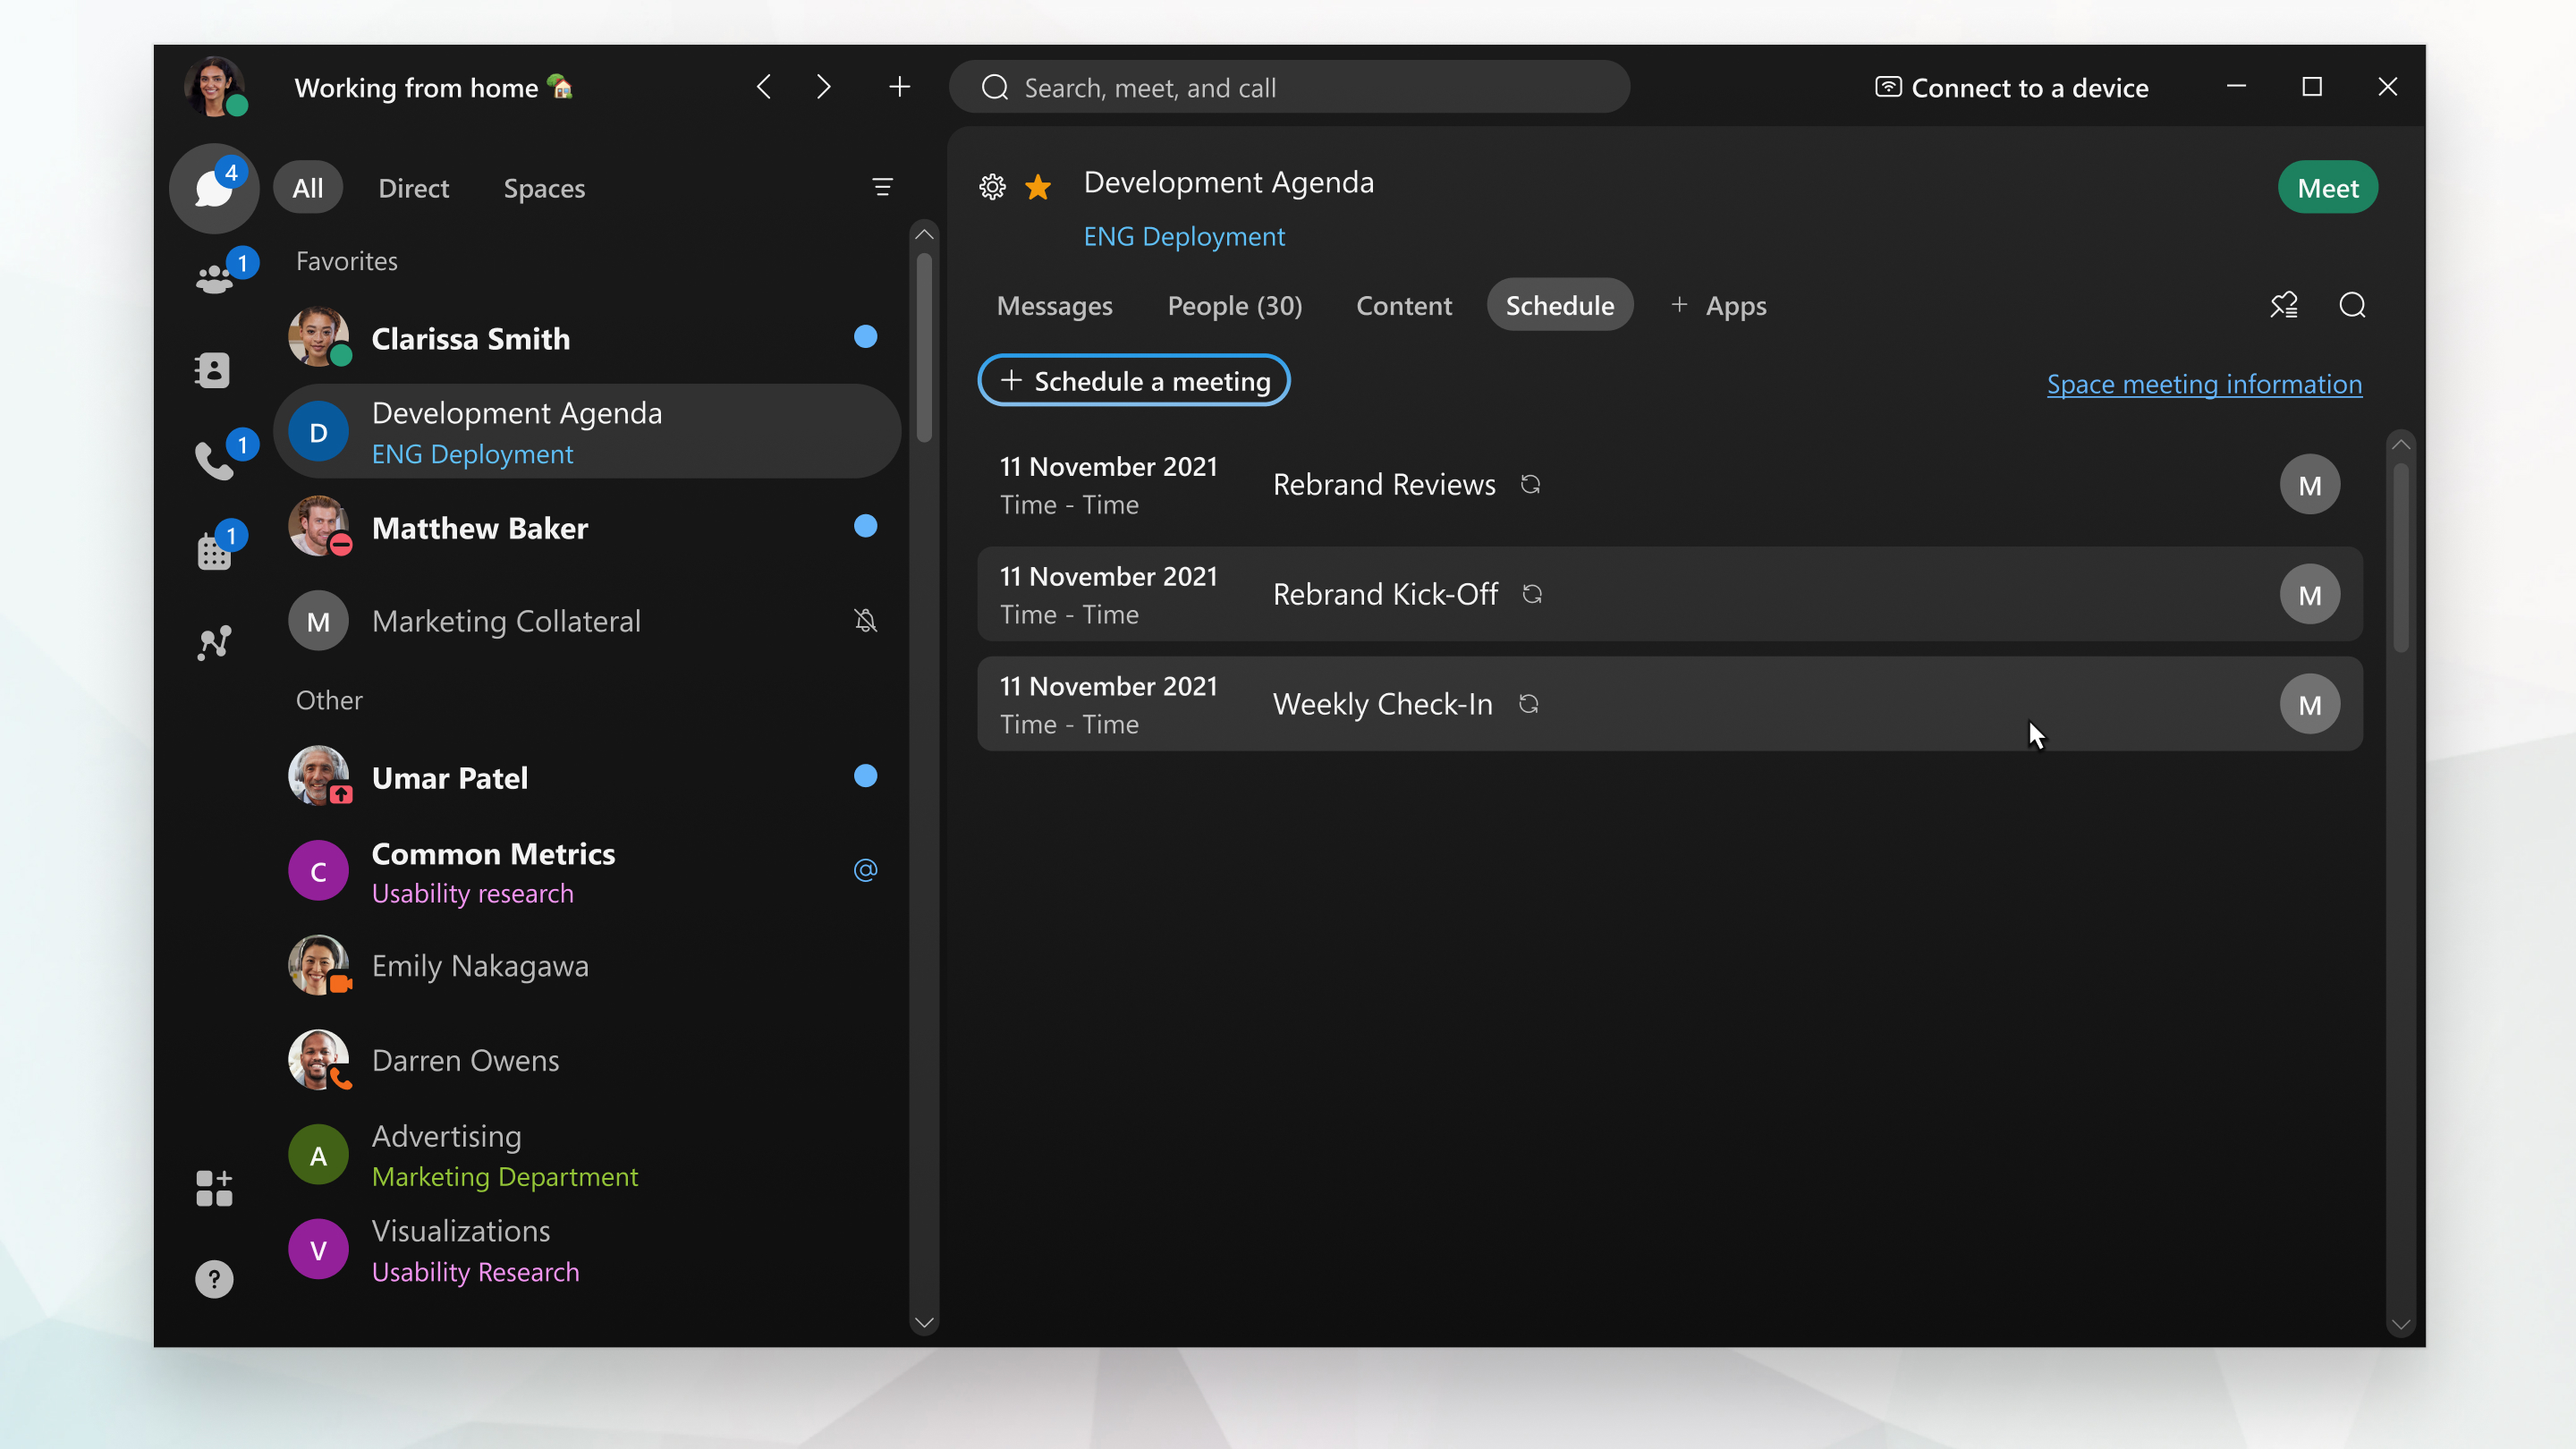
In the space, click Schedule. If your administrator has set up your account with the Hybrid Calendar, here's where you'll find all the meetings that are scheduled in the space.  |
| 2 |
Select Schedule a meeting. Webex App opens a calendar invite in Microsoft Outlook that automatically includes email addresses for everyone in the space, the space name as the subject, and "@webex:space" in the Location field. Depending on your setup, the invite may also include a link to join the meeting, Join by phone options, and a video address so people can join from any standards-based video system. |
| 3 |
Specify the date, time, and other details. |
| 4 |
Add a Cisco Webex room or desk device by selecting on Windows or Scheduling or Room Finder and then Add Room on the Mac and then add the room or desk devices you want to include. A Join button appears on the device 5 minutes before the meeting starts.
Your administrator needs to set up your account with the Hybrid Calendar so you can schedule room devices this way. If you aren't able to add a room or desk device, or if you don't see the Join before the meeting, contact your administrator. |
| 5 |
Send the meeting invite. |
| 1 |
In the space, click Schedule. If your administrator has set up your account with the Hybrid Calendar, here's where you'll find all the meetings that are scheduled in the space.  |
| 2 |
Select Schedule a meeting. If you're using Google Calendar with Microsoft Outlook, Webex App opens a calendar invite in Microsoft Outlook. Otherwise, it opens Google Calendar using your default browser. The invite has the space name as the meeting subject, "@webex:space" in the Location field, and includes email addresses for people in the space. Depending on your setup, the invite may also include the following options, so people can join from any standards-based video system:
|
| 3 |
Specify the date, time, and other details. |
| 4 |
Add a Cisco Webex room or desk device by selecting on Windows or Scheduling or Room Finder and then Add Room on the Mac and then add the room or desk devices you want to include. A Join button appears on the device 5 minutes before the meeting starts.
Your administrator needs to set up your account with the Hybrid Calendar so you can schedule room devices this way. If you aren't able to add a room or desk device, or if you don't see the Join before the meeting, contact your administrator. |
| 5 |
Send the meeting invite. |
| 1 |
In the space, click Schedule a meeting
|
| 2 |
All members of the space are automatically invited to the meeting. Add invitees by typing their name or email address. Remove invitees by hovering over their name and clicking Remove. You see icons beside each person's name:
If invitees are unavailable, change the meeting time and their availability status updates, or click Check calendar to see their availability. To make an invitee a cohost, hover over their name, click |
| 3 |
To book a meeting room, go to Rooms and enter the name or location of a meeting room. You see icons next to room names to show their availability. Click on a room name to add it to the meeting invite. Only meeting rooms listed in your organizations directory are displayed. |
| 4 |
Click Advanced Settings and choose from the available options:
|
| 5 |
Click Schedule. The meeting is added to your calendar. An email invitation is sent to everyone invited to the meeting.
|
What to do next
If you need to make changes, you can update the meeting details or cancel the meeting.
Here's where you'll find all the meetings that are scheduled in the space.
| 1 |
In the space, click Schedule. If your administrator has set up your account with the Hybrid Calendar, here's where you'll find all the meetings that are scheduled in the space.  |
| 2 |
Click Space meeting information, select Copy, and then go to your calendar and paste the meeting information into a meeting. Depending on your setup, the meeting information may include a link to join the meeting, Join by phone options, and a video address so people can join from any standards-based video system. |
| 3 |
Go back to your Webex App and the Space meeting information view. Next to People, select Copy, and then go to your calendar and paste the email addresses in the To section of the meeting. |
| 4 |
Specify the date, time, and other details, and then send the invite. |
Before you begin
| 1 |
Go to Messaging |
| 2 |
In the space, tap the activity menu
|
| 3 |
Tap Schedule to schedule your meeting. |
Before you begin
| 1 |
Go to Messaging |
| 2 |
In the space, tap the activity menu
|
| 3 |
Tap Schedule to schedule your meeting. |
| 1 |
Sign in to Webex and from your space, click Schedule
|
| 2 |
Select a Meeting type from the drop-down list, if your account has more than one associated with it. Meeting types are the default or customized sets of meeting features available for your organization. |
| 3 |
Enter a name for the meeting in Meeting topic. |
| 4 |
From Meetings classification level, select the drop-down menu to view available classification labels. These labels help ensure information is shared appropriately and aligns with your organization’s security standards. When you turn on classifications, the system automatically creates a public classification and set this as the default. You can rename the public classification, but can't delete it. As the space owner, you can upgrade the space classification to a higher priority level (for example, from public to private), but you cannot downgrade it (such as from private to public). Only a Control Hub administrator with Compliance Officer privileges can perform downgrades. Review your organization's guidelines or policies on space classification to ensure you select the appropriate label based on the space’s sensitivity and intended audience. |
| 5 |
Next to Meeting Information, select Copy, and then go to your calendar and paste the meeting information into a meeting. Depending on your setup, the meeting information may include a link to join the meeting, options for joining by phone, and a video address so people can join from any standards-based video system. |
| 6 |
Go back to the Webex app and the Space Meeting Information view. Next to People, select Copy, and then go to your calendar and paste the email addresses in the To section of the meeting. |
| 7 |
Specify the date, time, other details you need to include, and then send the invite. |


 , and then click
 next to their name, and tap
  , and choose
  .
.
