Verify an Email Domain in Cisco Webex Site Administration
 Feedback?
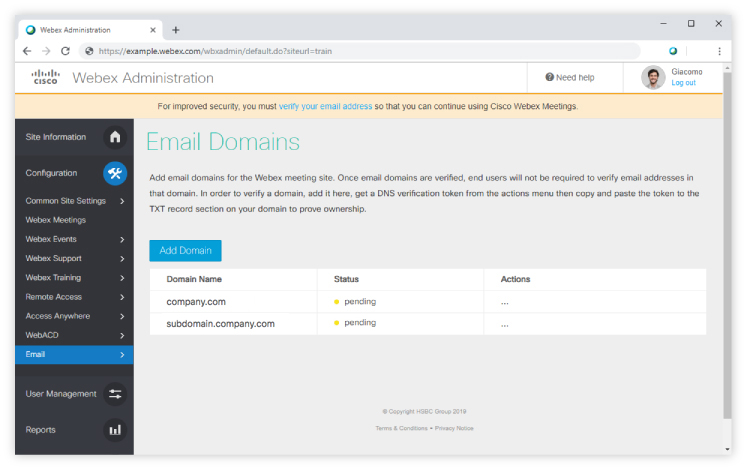
Add email domains for the Webex meeting site. Once email domains are verified, end users will not be required to verify email addresses in that domain. In order to verify a domain, add it here, get a DNS verification token from the actions menu then copy and paste the token to the TXT record section on your domain to prove ownership.
Starting with WBS39.2.5, subdomains added to site administration prior to or after the parent domain is verified will be verified automatically without needing any token. Any subdomains added before the availability of WBS39.2.5 will not automatically verify and may need to be re-added.
To verify domains, we provide a token to add to your domain host's DNS TXT record. To confirm that you own the domain, we check for this token on the DNS server.
Before you begin
-
You must own a domain to verify it.
-
You are forced to verify in a particular order to prevent administrator lockout. For example, you must add the administrator domain first, followed by all the other domains.
-
Email verification is applicable for all sites, including those set up for Single Sign-On, except sites that are managed by Control Hub.
| 1 |
Sign in to Webex Site Administration and go to . |
| 2 |
Select Add Domain , enter your domain name, and select Add .
|
| 3 |
Click more … beside your domain and choose Retrieve verification token . |
| 4 |
Copy the verification token into your DNS TXT record.
|
| 5 |
Choose one:
|
| 6 |
Click Verify next to each domain.
|


