
Thanks for your feedback.
Migrate your local gateway
 Feedback?
The improvements of this new infrastructure include:
-
Improved call-handling performance, allowing up to 250 concurrent sessions per local gateway registration.
-
Supports the use of Webex Calling Media Optimization for calls between desk phones, the Webex app, and a local gateway.
Specifications:
-
A new list of proxy addresses has been released. A proxy address is a static DNS record that is obtained from Control Hub during the onboarding process of a local gateway and then configured on a local gateway’s tenant configuration for registering the gateway.
-
Webex Calling cloud operations is requesting customers to migrate local gateways that use an older proxy address. Details are outlined in the following sections.
If any of your local gateways have an outbound proxy address that isn’t part of the new Webex Calling proxy address range listed below, manually migrate per your organization's convenience. The address listed in Control Hub is one of the new addresses below; however, your local gateway may currently be configured with an old address and requires migration.
This migration shouldn’t take more than 10-15 minutes. However, during the migration, the local gateway reregisters to the cloud which impacts the service. Therefore, we recommend that you carry out this activity during a maintenance window.
US
Canada
Europe
Japan
Australia
Singapore
New Local Gateway devices onboarded since December 2020 are automatically set up to use this infrastructure, and therefore no action may be needed. We recommend that you refer to the above list to verify if any of your local gateways need a migration and if so, perform a migration, per guidelines below.
To understand if any of your local gateways may need a migration, refer to the Get started with your local gateway migration section.
The configuration screens in Control Hub, CUBE config steps, and outbound proxy address will vary depending on your organization’s location and local gateway. The details listed in the steps shown below are examples only.
Before you begin
-
Update the Access Control List on CUBE—Webex Calling has an updated range of session border controller (SBC) IP addresses, which may have to be applied as a trusted list on all CUBEs in your organization connecting to Webex Calling. Verify the latest IP range from Webex Calling Port Reference Guide to confirm whether it's already applied and, if not, refer to the configuration steps under step 1 from Register Local Gateway to Webex Calling to perform this update. Having up to date "trusted IP addresses" on your CUBE is a mandatory requirement which, if not updated, will result in call failures.
-
Ensure your external firewall allows these IP addresses to be reached from your CUBE—If your external firewall filters the IP addresses that the CUBE can reach, you must update this also so that the Local Gateway can contact the cloud. Refer to the Port Reference Information Guide for more information.
-
Ensure that trust anchor on CUBE has been updated by following step 5 from Perform Reference Platform Configuration.
From Control Hub, you can obtain your new outbound proxy address.
| 1 |
Sign in to Control Hub. |
| 2 |
Go to . |
| 3 |
Select your PSTN connection, then click Edit under Local Gateway. |
| 4 |
Click Manage to access the local gateway configuration. |
| 5 |
Copy the outbound proxy address. If you have many local gateways in your organization, it's likely that each time you perform the above task for a different local gateway, you'll obtain different outbound proxy addresses from Control Hub. Make sure that you copy the specific outbound proxy address from Control Hub for each local gateway that you configure. Choosing a specific address is important for redundancy and load balancing traffic. 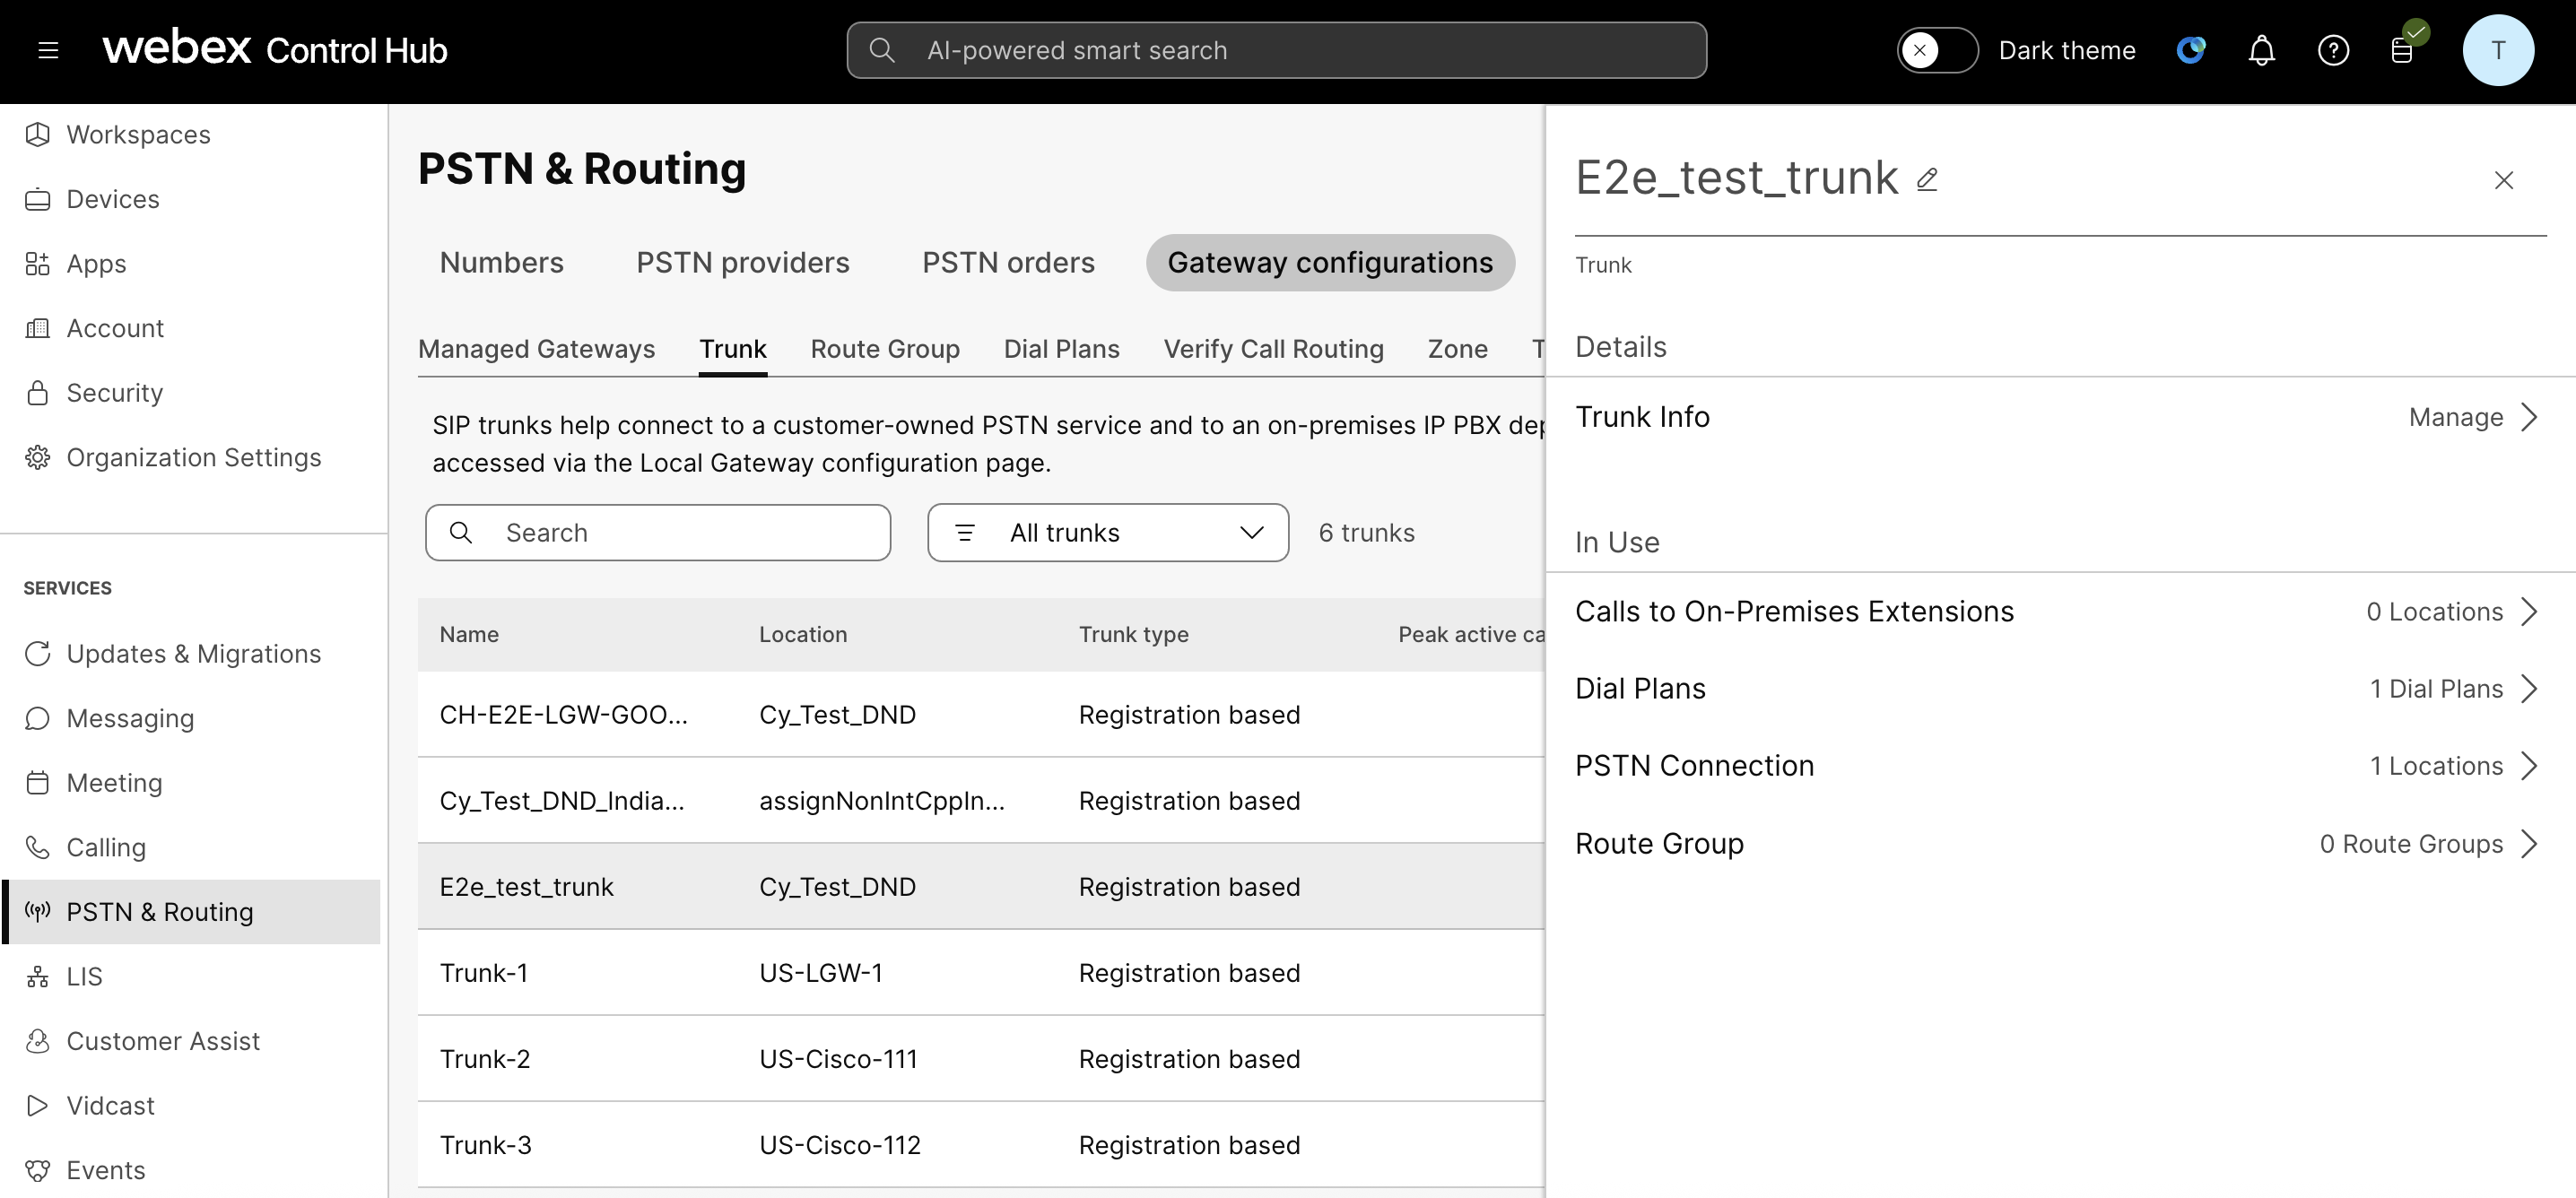
|
Updating your local gateway configuration is service impacting and may impact active calls.
In the example below, tenant 201 is the tenant which connects to Webex Calling. Enter the correct tenant for your configuration.
#show running-config | s voice class tenant 201
voice class tenant 201
  registrar dns:lgw2.killarney.cisco.com scheme sips expires 240 refresh-ratio 50 tcp tls
  credentials number TRUNK_GROUP_24740_LGU username TRUNK_GROUP_29959_LGU password 6 K]W]ZP`PSZRKWE^WXXIPG\^_adSTbLMHV realm BroadWorks
  authentication username TRUNK_GROUP_29959_LGU password 7 xxxxxxxx realm BroadWorks
  authentication username TRUNK_GROUP_29959_LGU password 6 xxxxxxxx realm lgw2.killarney.cisco.com
  sip-server dns:lgw2.killarney.cisco.com
  connection-reuse
  session transport tcp tls
  url sips
  error-passthru
  bind control source-interface GigabitEthernet1
  bind media source-interface GigabitEthernet1
  no pass-thru content custom-sdp
  sip-profiles 201
  outbound-proxy dns:lgwrestest.killarney.cisco.com
| 1 |
Remove the bolded line beginning with The Local Gateway will now drop its registration to Webex Calling. |
| 2 |
Confirm that your local gateway isn’t registered to Webex Calling by entering the following commands. |
| 3 |
Take the new address that you copied from Control Hub, and add the registrar line from above back. In the below example, our OBP was Your Local Gateway will register with the new OBP. |
| 4 |
Validate the registration was successful using the following command. It should produce output similar to the below. |
What to do next
Update the other local gateways by following the same steps as above.
For an unsuccessful migration simply re-register your previous outbound proxy address. Follow the instructions below to roll back and restore service.
voice class tenant 201
  no registrar
  outbound-proxy dns:lgwrestest.killarney.cisco.com
  registrar dns:lgw2.killarney.cisco.com scheme sips expires 240 refresh-ratio 50 tcp tls
!
-
If you roll back, your configuration in Control Hub still shows the new outbound proxy address. This is expected behavior. Service will continue to work with the old outbound proxy address.
-
Ensure that you followed Step 2 correctly in Migrate your local gateway in Control Hub section and there is no firewall blocking access to the new outbound proxy.
-
If you can't resolve this issue, contact Cisco Webex Calling Support.
It's important to ensure services are operating as normal post-migration. Make sure to test your service after you complete the migration. You can test your service by making calls to phone numbers from your Webex Calling devices, or testing calls to any SBC that’s used in conjunction with Webex Calling.


