
Thanks for your feedback.
Create or edit your people insights profile in meetings and webinars
 Feedback?
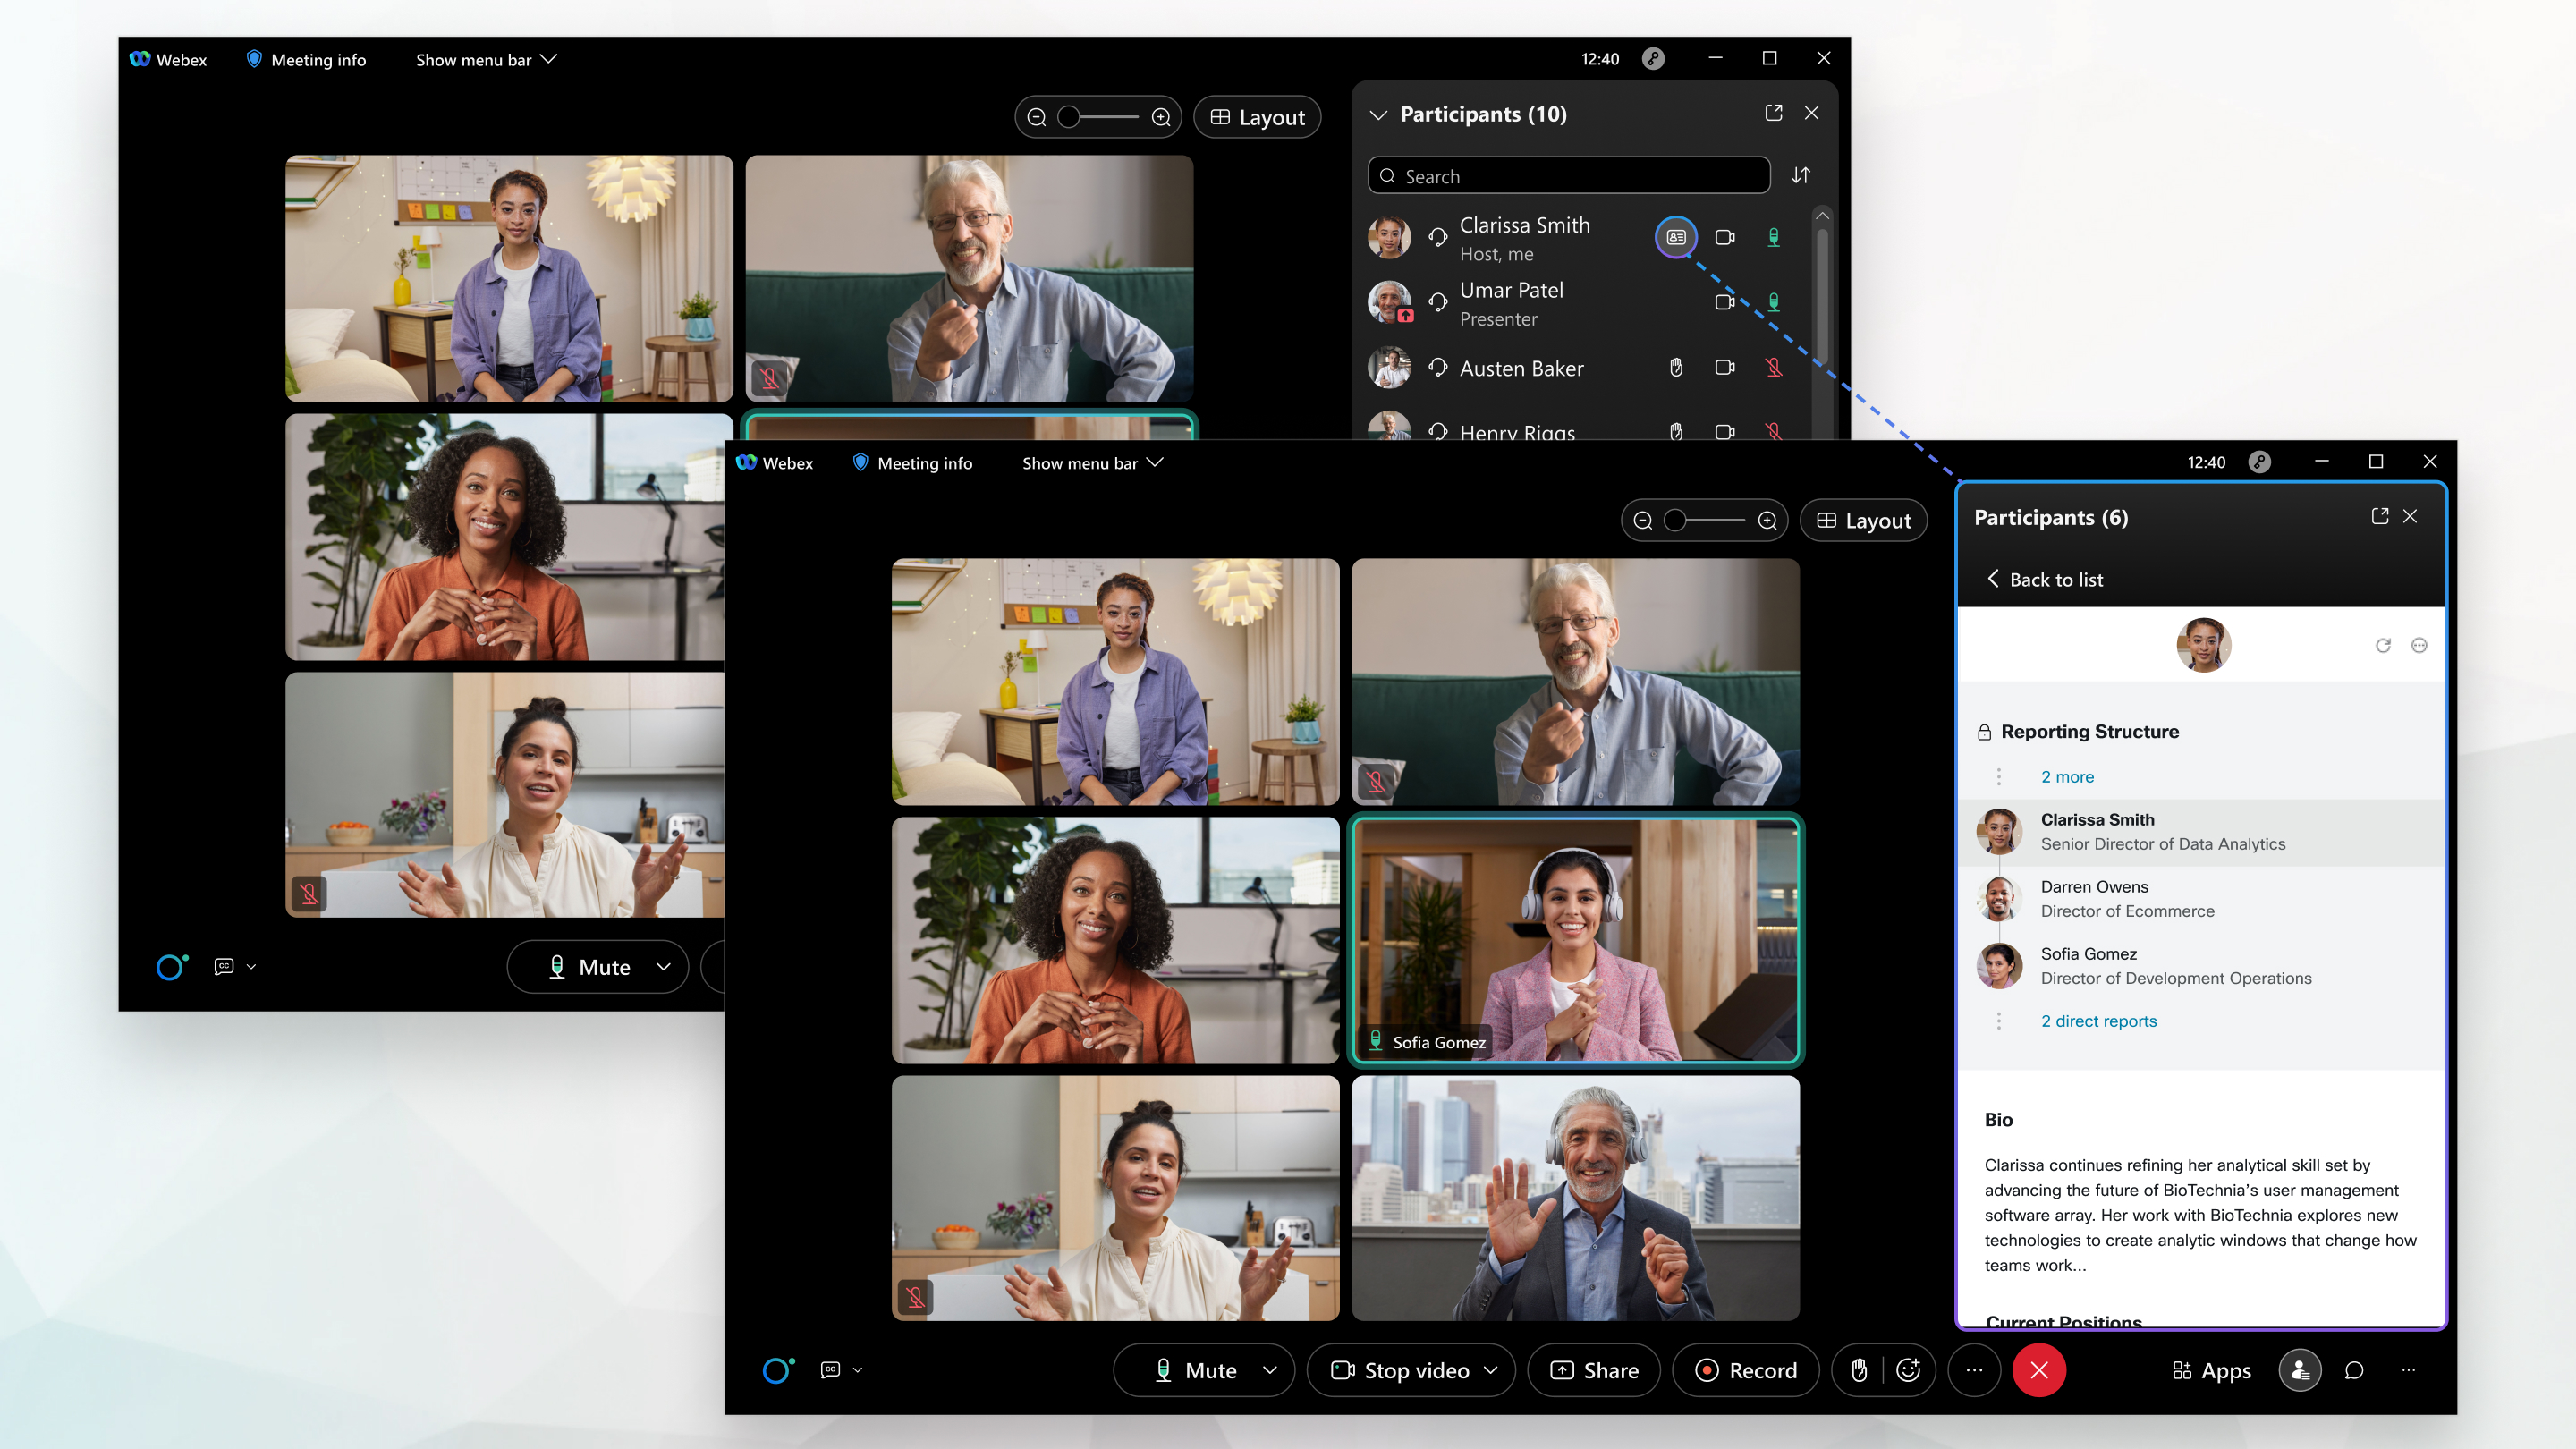
People insights profiles are available on the Meetings desktop app, the Webex App, the Meetings app for Android or iOS, and Webex Webinars. Your Webex site and users must be linked to Control Hub or managed in Control Hub, with Directory Synchronization enabled.
People insights profiles in meetings and webinars are available for users joining meetings and webinars on US-based cluster sites, and are only available in English at this time. Users who join from non-US organizations can access the public people insights profiles of anyone who is in a meeting on a site that has people insights profiles enabled. This feature will be rolled out to more devices and platforms soon.
For in-depth information about people insights profiles, see the technical paper People Insights Profiles: Creating a Human Collaboration Experience.
If at any time you don't want to show your profile publicly, you can hide your profile. For more information, see Hide or show your people insights profile in meetings and webinars.
From https://people.webex.com, select Edit Profile, and go to Step 3 below.
During a meeting or webinar, select View my People Insights profile
 next to your name in the Participants panel and go to Step 3 below.
| 1 |
Click your name in the upper-right corner, and select My profile. |
| 2 |
Click View my people insights profile. |
| 3 |
On the My people insights profile page, enter or edit your name and the headline that you want to include in your profile. To show or hide your headline in your profile, select Public or Hidden next to the Headline field. The general information area also contains optional fields to enter your professional honorifics, phonetic name, location, and bio. If your organization enabled pronouns, your pronouns are now managed in Webex App. When you choose a pronoun in Webex App, it overwrites any previous selection you made in your people insights profile. Your profile may already include information from your company's internal directory. This information is not visible to people outside your company. To change this information, update your company's internal directory. Your profile may also include publicly available information that is found on public websites, such as conference profile pages. |
| 4 |
To add or change your profile photo, select Add photo or Edit photo, and follow the on-screen instructions. To hide or show your photo in your profile, select Hide photo or Show photo. |
| 5 |
Enter or edit your current and past positions, your education, and links to the social media accounts that you want to include in your profile. Select Add current position or Add past position to add other positions. Select Add education to add other education. |
| 6 |
To show or hide a position, your education, or the social media links, select Public or Hidden next to that section. |
| 7 |
To delete a position, your education, or the social media links, select
|
| 8 |
Select Save. |
| 9 |
To see the change in your profile, select
|
 in that section.
 at the top of your profile.
| 1 |
During a meeting or webinar, select View my people insights profile
|
| 2 |
Select |
| 3 |
An email that contains a link to the create or edit page is sent to you. Select Got it. |
| 4 |
Check your inbox and click the link in the email. The email looks similar to the following: |
| 5 |
On the My people insights profile page that opens in a new browser window, enter or edit your name and the headline that you want to include in your profile. To show or hide the headline in your profile, select Public or Hidden next to the Headline field. The general information area also contains optional fields to enter your professional honorifics, phonetic name, location, and bio. If your organization enabled pronouns, your pronouns are now managed in Webex App. When you choose a pronoun in Webex App, it overwrites any previous selection you made in your people insights profile. |
| 6 |
To add or change your profile photo, select Add photo or Edit photo, and follow the on-screen instructions. To hide or show your photo in your profile, select Hide photo or Show photo. |
| 7 |
Enter or edit your current and past positions, your education, and links to the social media accounts that you want to include in your profile. Select Add current position or Add past position to add other positions. Select Add education to add other education. |
| 8 |
To show or hide a position, your education, or the social media links, select Public or Hidden next to that section. |
| 9 |
To delete a position, your education, or the social media links, select |
| 10 |
Select Save. |
| 11 |
To see the change in your profile, go back to your meeting or event and select |
 >
>


