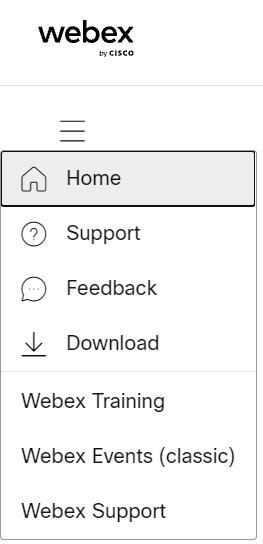
Customize your site's download link
 Feedback?
| 1 |
Sign in to Control Hub at https://admin.webex.com and go to the Meeting page. |
| 2 |
Select the meeting site you want to manage, and when the overview panel opens, click Configure Site. |
| 3 |
In the Common Settings list, click Site Options. |
| 4 |
Find the settings for Left Navigation Bar Customization for All Services. |
| 5 |
In the Support section, enter custom URLs for the Help, Downloads, Training, or Contact Us links. |
| 6 |
For each URL you supply, select whether you'd like it to show in a New Window, or in the Main, Parent, or Top frame of the user's browser. |
| 7 |
To prevent guests from clicking your download link, check Hide the Download link for guest users. |

| 1 |
Sign in to your Webex site and open Webex Administration. |
| 2 |
Go to . |
| 3 |
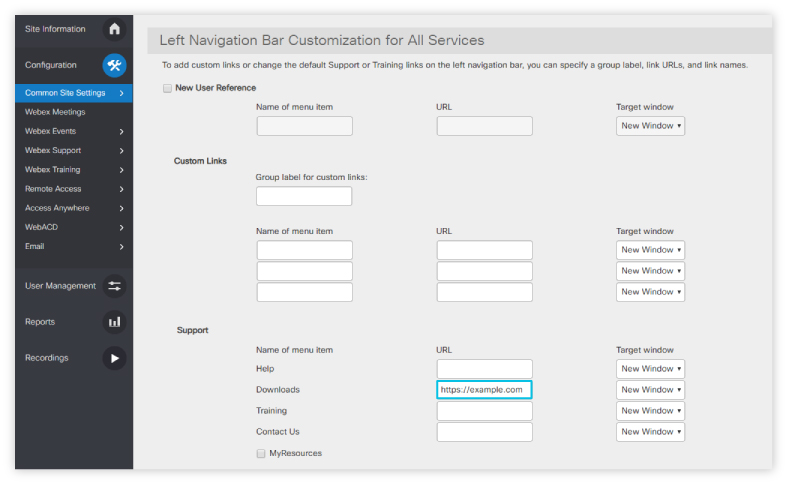
Scroll down to the Left Navigation Bar Customization for All Services section. |
| 4 |
In the Support section, enter custom URLs for the Help, Downloads, Training, or Contact Us links.
|
| 5 |
For each URL you supply, select whether you'd like it to show in a New Window, or in the Main, Parent, or Top frame of the user's browser. |
| 6 |
To prevent guests from clicking your download link, check Hide the Download link for guest users. |
| 7 |
If you don't want guest users to see your custom download link, go to Site Options and check Hide the Download link for guest users . |
| 8 |
Select Update. |


