
Thanks for your feedback.
Add services to an existing workspace with Board, Desk, and Room Series devices
 Feedback?
| 1 |
From the customer view in https://admin.webex.com, go to , and then select the workspace that you want to update. |
| 2 |
Go to Calling and click the cogwheel
|
| 3 |
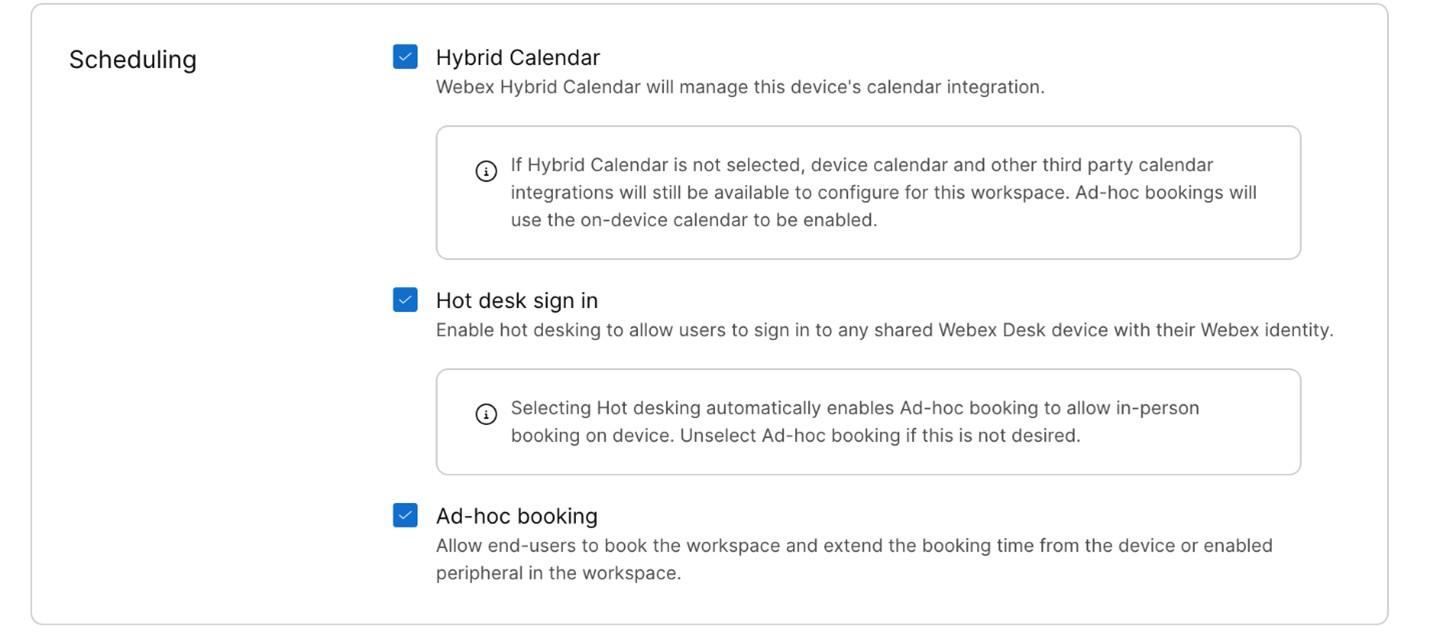
(Optional) Go to Scheduling and click Choose scheduling Click Save.
|
Pre-booking for hot desking
You can configure the hot desk pre-booking solution via Control Hub. This allows for the integration of Hot Desking and Hybrid Calendar features, enabling various combinations of hot desking, ad hoc booking, or hybrid calendar bookings based on deployment needs.
When hot desk sign-in and ad hoc booking are enabled, but the hybrid calendar is disabled, bookings are stored locally on the device. If the hybrid calendar is enabled, the workspace's mailbox can be used for remote hot desk bookings.
If ad hoc booking is disabled, users must pre-book through Outlook or integrations like Cisco Spaces, as walk-up bookings at the device are not possible.
Task based sign-in
When the task-based sign-in feature is enabled, users can utilize hot desk sign-in to access individual tasks requiring their personal accounts without relying on the calendar as a reservation system. Currently, this feature is available for personalized white boarding. It can be used with or without the hybrid calendar enabled for the workspace.
xConfiguration Webex DevicePersonalization TaskBasedSignIn: <On, Off>


