
Thanks for your feedback.
Annotate in Webex meetings, webinars, events, and training sessions
 Feedback?
Anyone can share and annotate content in a meeting. Only presenters can share and annotate content in meetings, webinars and events.
You can annotate several things in your meetings; for example, you can share your screen and annotate whatever is visible on it. You can also upload a document to the meeting to annotate with your meeting participants. Learn more about sharing content here: Share content in Webex Meetings, Webex Webinars, and Webex Events (classic).
To collaborate together and use a whiteboard in a meeting, see Use the whiteboard in Webex Meetings .
Before you can start annotating, you need to enable the Annotate toolbar in one of the following ways:
-
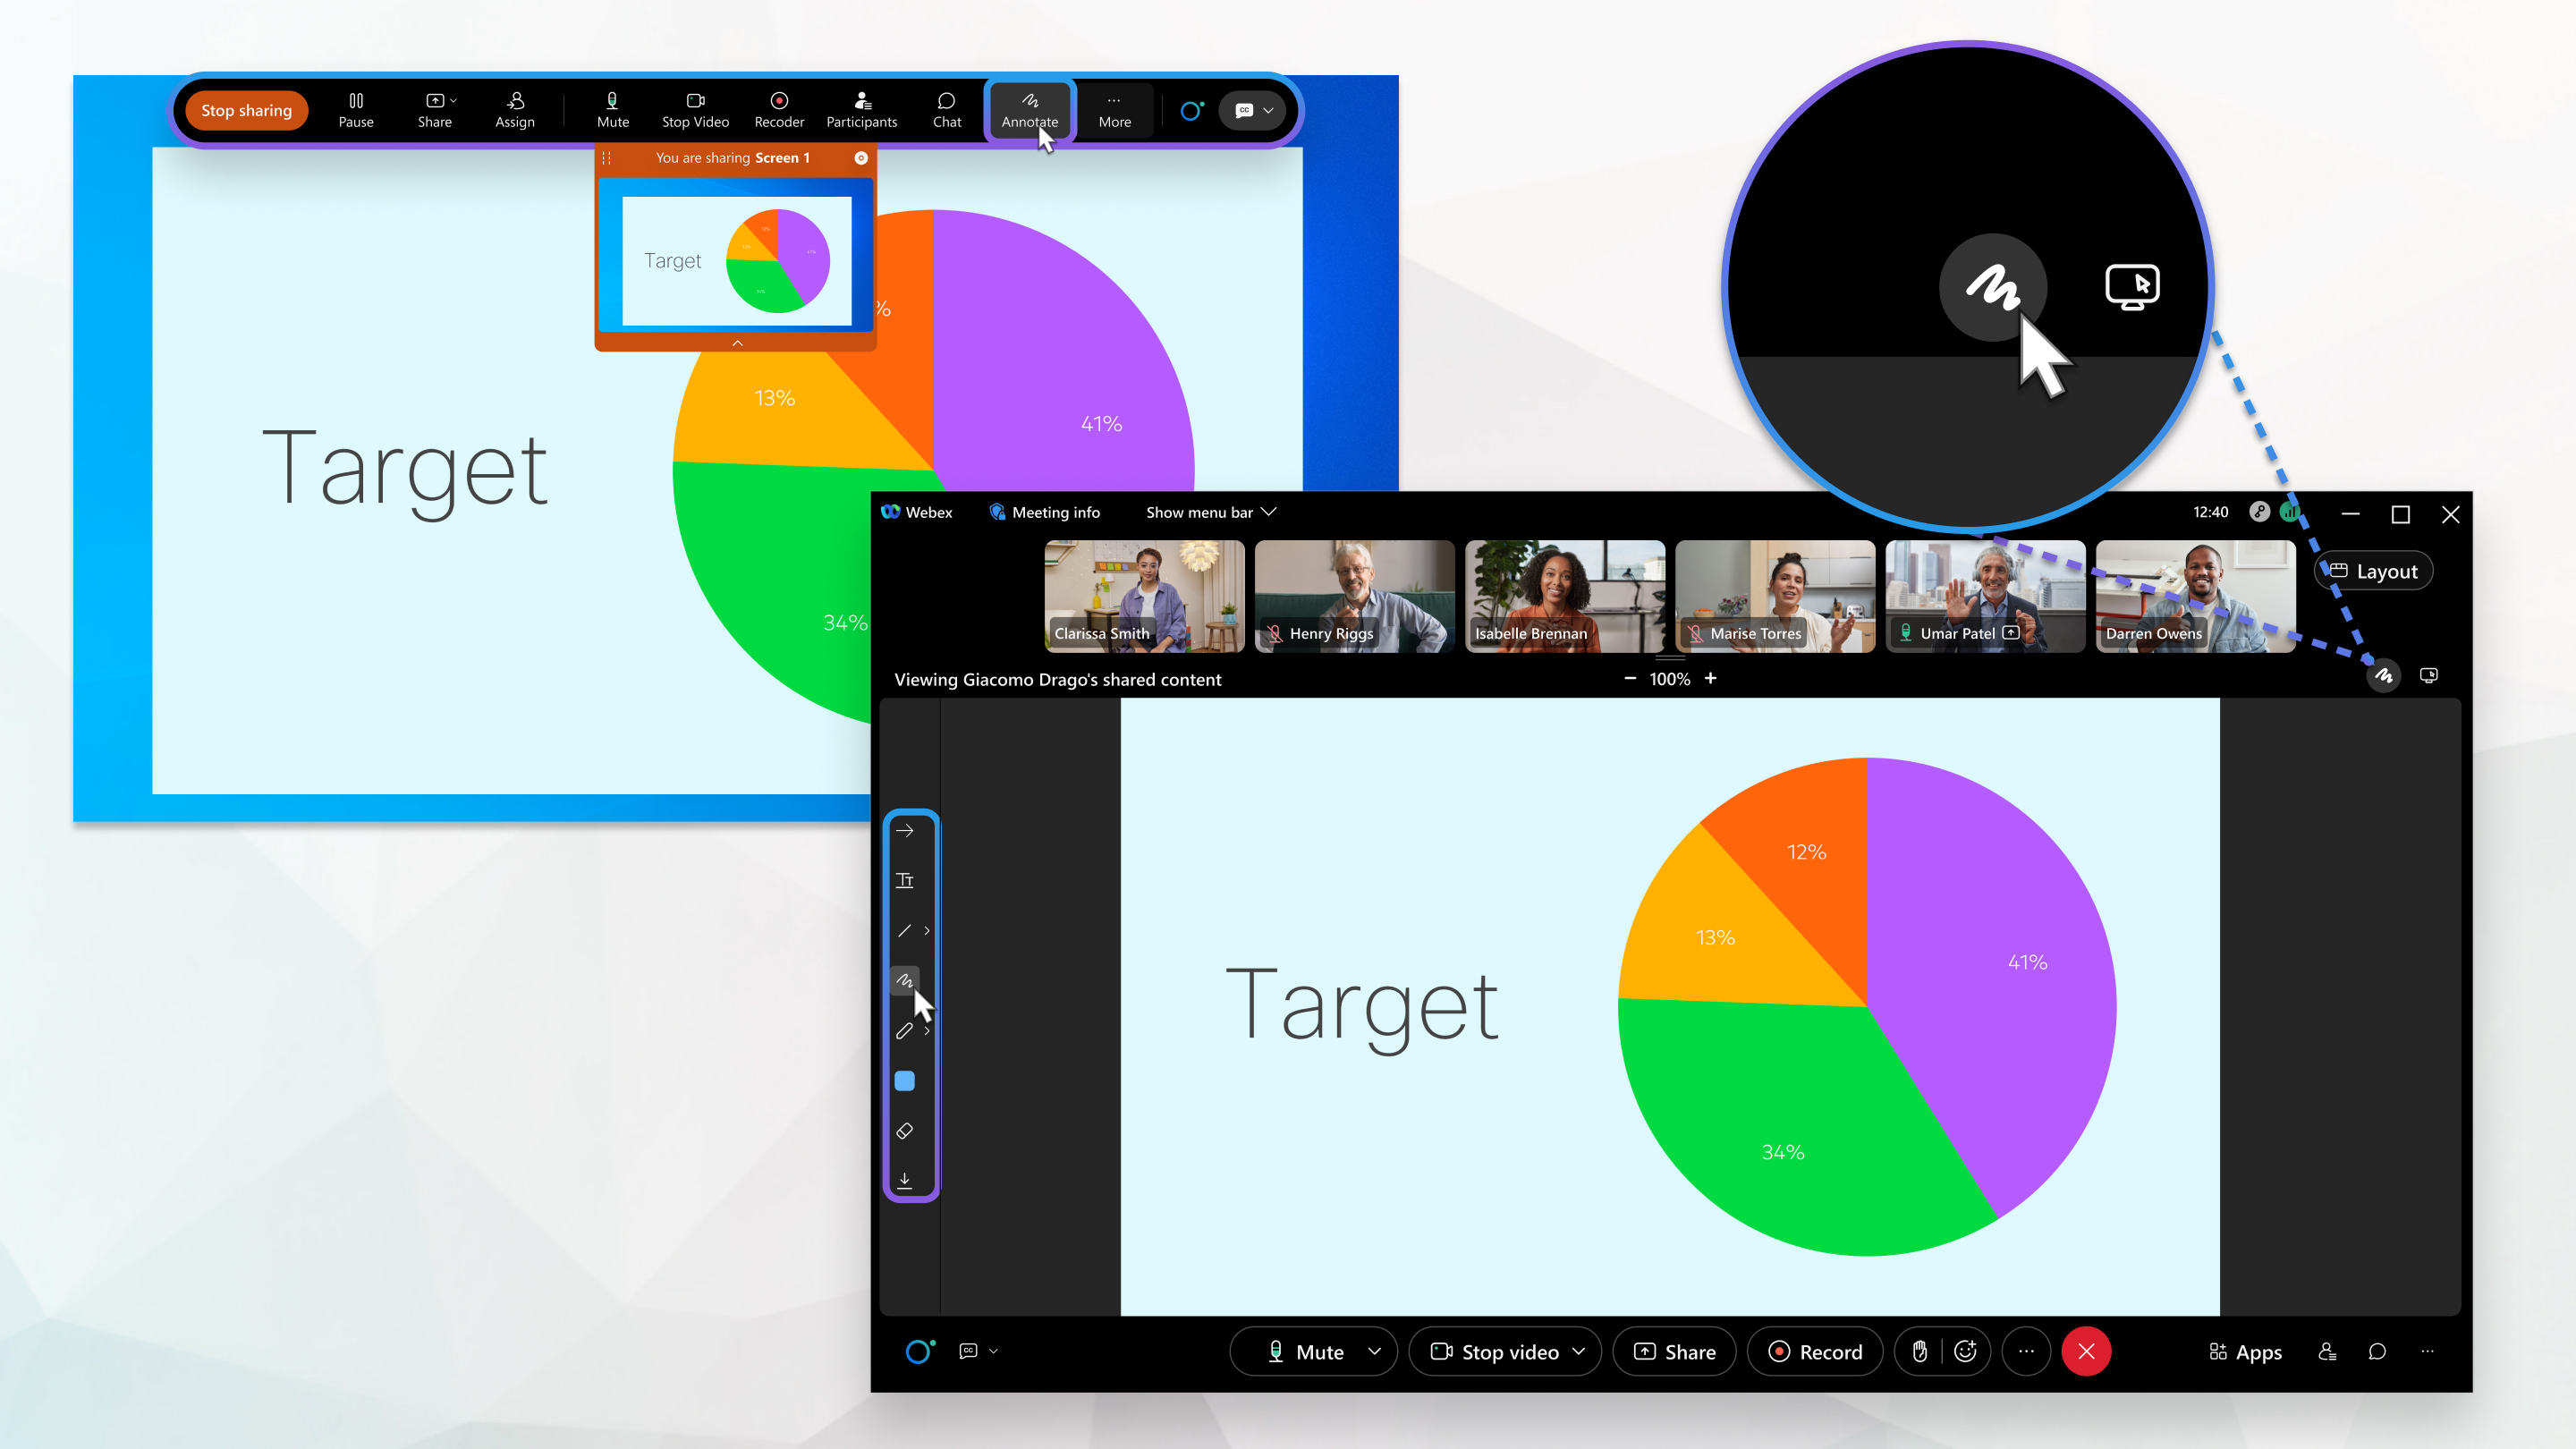
If you're sharing your screen, go to the Controls panel at the right of your screen and click Annotate.
-
If you're sharing a document, but not your screen, click Annotation on the Controls panel at the top.
The Annotate toolbar appears on the top of your meeting. See the Annotate toolbar table below for a detailed list of your annotate options.
| 1 |
Click . |
| 2 |
Navigate to the location of your file. |
| 3 |
Select the file and click Open. To change which page you're viewing you can:
|
| 4 |
To stop sharing click the drop-down arrow next to the document name, then click the close button. If you're sharing multiple documents, you must do this for each of them. |
| 1 |
To allow all participants to annotate content, during the meeting or training session, on the Participant menu, select Assign Privileges, select , and check the Annotate check box. During a webinar or event, click Show Menu Bar and on the Participant menu, select Assign Privileges. Click All Panelists, click the Controls tab, and then check the Annotate check box. |
| 2 |
To allow a specific participant to annotate, in the Participants list, right-click the person's name and select Allow to Annotate. |
You can also use the annotate toggle  from the Annotate toolbar to enable or disable annotations for all meeting participants. If you click the right arrow, you can enable annotations for specific meeting participants.
See the Annotate toolbar table below for details on all your available choices.
| 1 |
To draw an annotation, select one of the options on the Annotate toolbar. |
| 2 |
Press the left mouse button and drag the mouse to draw. You can draw consecutive annotations. 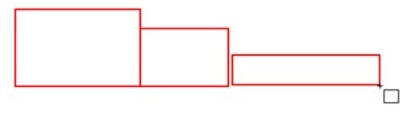 Make sure that your cursor is in draw mode and not move mode 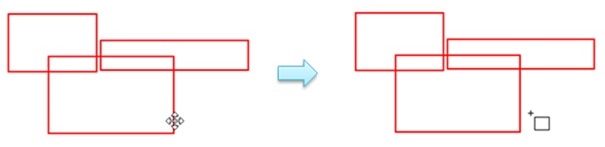 If you want to continue to draw directly on top of the annotation you just drew, hold down the Ctrl key in Windows (Command key on a Mac) to force the cursor into draw mode, press the left mouse button, and drag to draw. |
 . For example, if you selected the square shape on the toolbar, move your cursor until it changes to the draw cursor
 Only the participant with the presenter role can move annotations.
Learn how to pass the presenter role here: https://help.webex.com/WBX1800/
| 1 |
To move a shape, hover over the border of the shape until your cursor changes to the move cursor 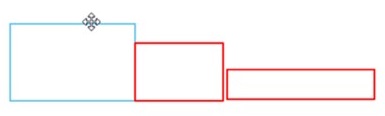
|
| 2 |
To move a line, pen drawing, or text, hover directly over it until your cursor changes to the move cursor |
Follow these steps to save your content.
| 1 |
Choose the document you want to save from the list. |
| 2 |
Click the Save |
| 3 |
Navigate to where you want to save the file. |
| 4 |
Name the file and choose the Portable Document Format (*.pdf). |
| 5 |
Click Save. |
 button from the Annotate toolbar on the left.
Use the annotation tools to annotate your shared content.
|
Tool |
Description |
|---|---|
|
|
Click to enable and disable annotation for all participants. Click > to expand the Annotate menu where you can enable specific particpants to annotate. |

|
Draw attention to specific a point on the screen by using a pointer. The arrow pointer includes your name If you're on Windows, click the arrow to select the laser pointer. 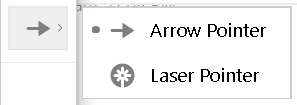 |

|
Add text to shared content. Change the color by selecting |

|
Draw straight lines to underline content or draw attention to it. Drag your mouse to draw a line. If you're on Windows, click the arrow and select single or double arrowhead. Change color by selecting |

|
Draw a square. If you're on Windows, click the arrow to draw an oval, check mark, or x mark. 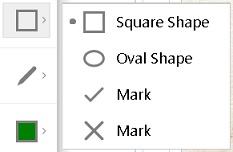 Change the color by selecting |

|
Draw freehand using the pen. If you're on Windows, click the arrow to draw with a pencil. 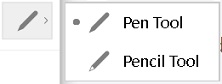 Change color by clicking |

|
Change the color of text, lines, shapes, and the pen or pencil tool. Click the arrow to select a color. 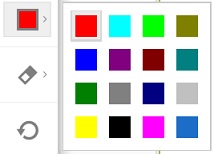 |

|
Erase an annotation by selecting the eraser and then selecting the annotation. If you're on Windows, click the right arrow to erase all annotations or only theirs. |

|
Save your annotations. Unsaved annotations are lost when the meeting ends. |
 .
. first.


