
Hvala za povratne informacije.
 Povratne informacije?
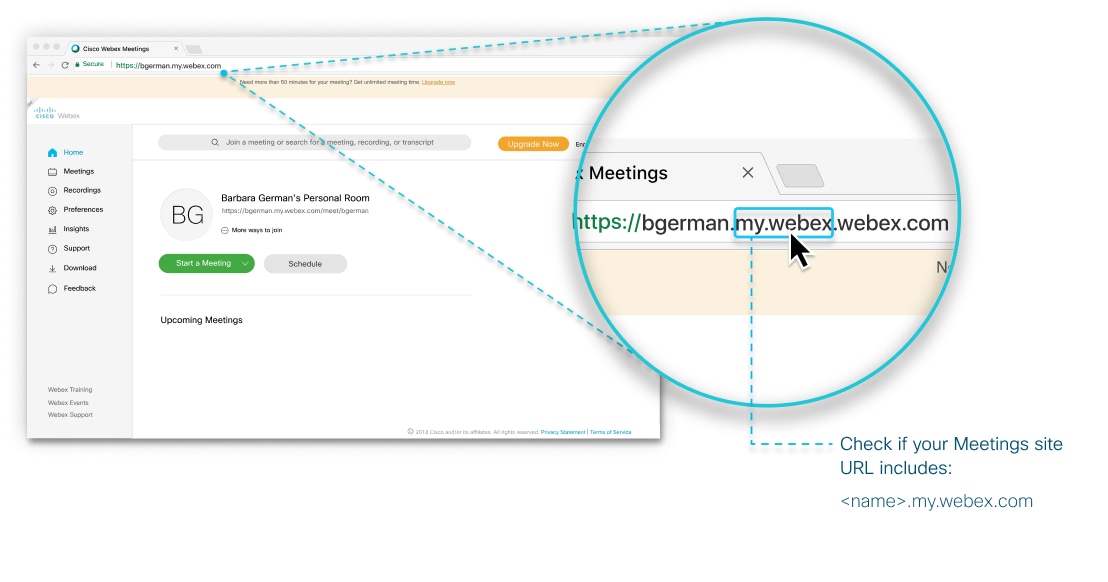
Če se ne spomnite natančno, kdaj ste se registrirali za svoj brezplačni račun, se prijavite v svoj račun in preverite URL spletnega mesta v vrstici brskalnika. Če je URL sestavljen iz štirih delov in je videti nekako takole [name].my.webex.com, sledite korakom v tem članku.
Če ima URL vašega spletnega mesta za srečanja tri dele in vsebuje besedo meetingsgamer, meetingsapecali meetingsemea, ta članek ne velja; namesto tega sledite korakom v Preklop na plačljivi paket Webex (za brezplačne račune, ustvarjene po 17. marcu 2020).
Za nadgradnjo na plačljivi paket:
| 1 | |
| 2 | V zgornjem desnem kotu domače strani kliknite Kupi premium paket. |
| 3 | Na načrtih & Na strani s cenami izberite želeni paket in kliknite Kupi zdaj. |
| 4 | Prilagodite svoj načrt: |
| 5 | Kliknite Nadaljuj na blagajno. |
| 6 | Vnesite e-poštni naslov, ki ste ga uporabili za svoj brezplačni račun. |
| 7 | Kliknite Nadaljuj, da dokončate nadgradnjo na plačljivi paket. |


