- Home
- /
- Article

Thanks for your feedback.

 In this article
 Feedback?
You can manage how people share files with Pro Pack for Control Hub.
Prevent people from sharing files in your spaces
With Pro Pack for Control Hub, you can prevent people from sharing files in your organization's spaces.
This article explains how to manage file sharing settings in Webex spaces. These settings don’t apply to Webex Meetings. For information about file sharing settings in meetings, refer to Collaboration restrictions for Webex Meetings in Control Hub.
| 1 |
Sign in to Control Hub. |
| 2 |
Go to , and then go to the Collaboration Restrictions section. |
| 3 |
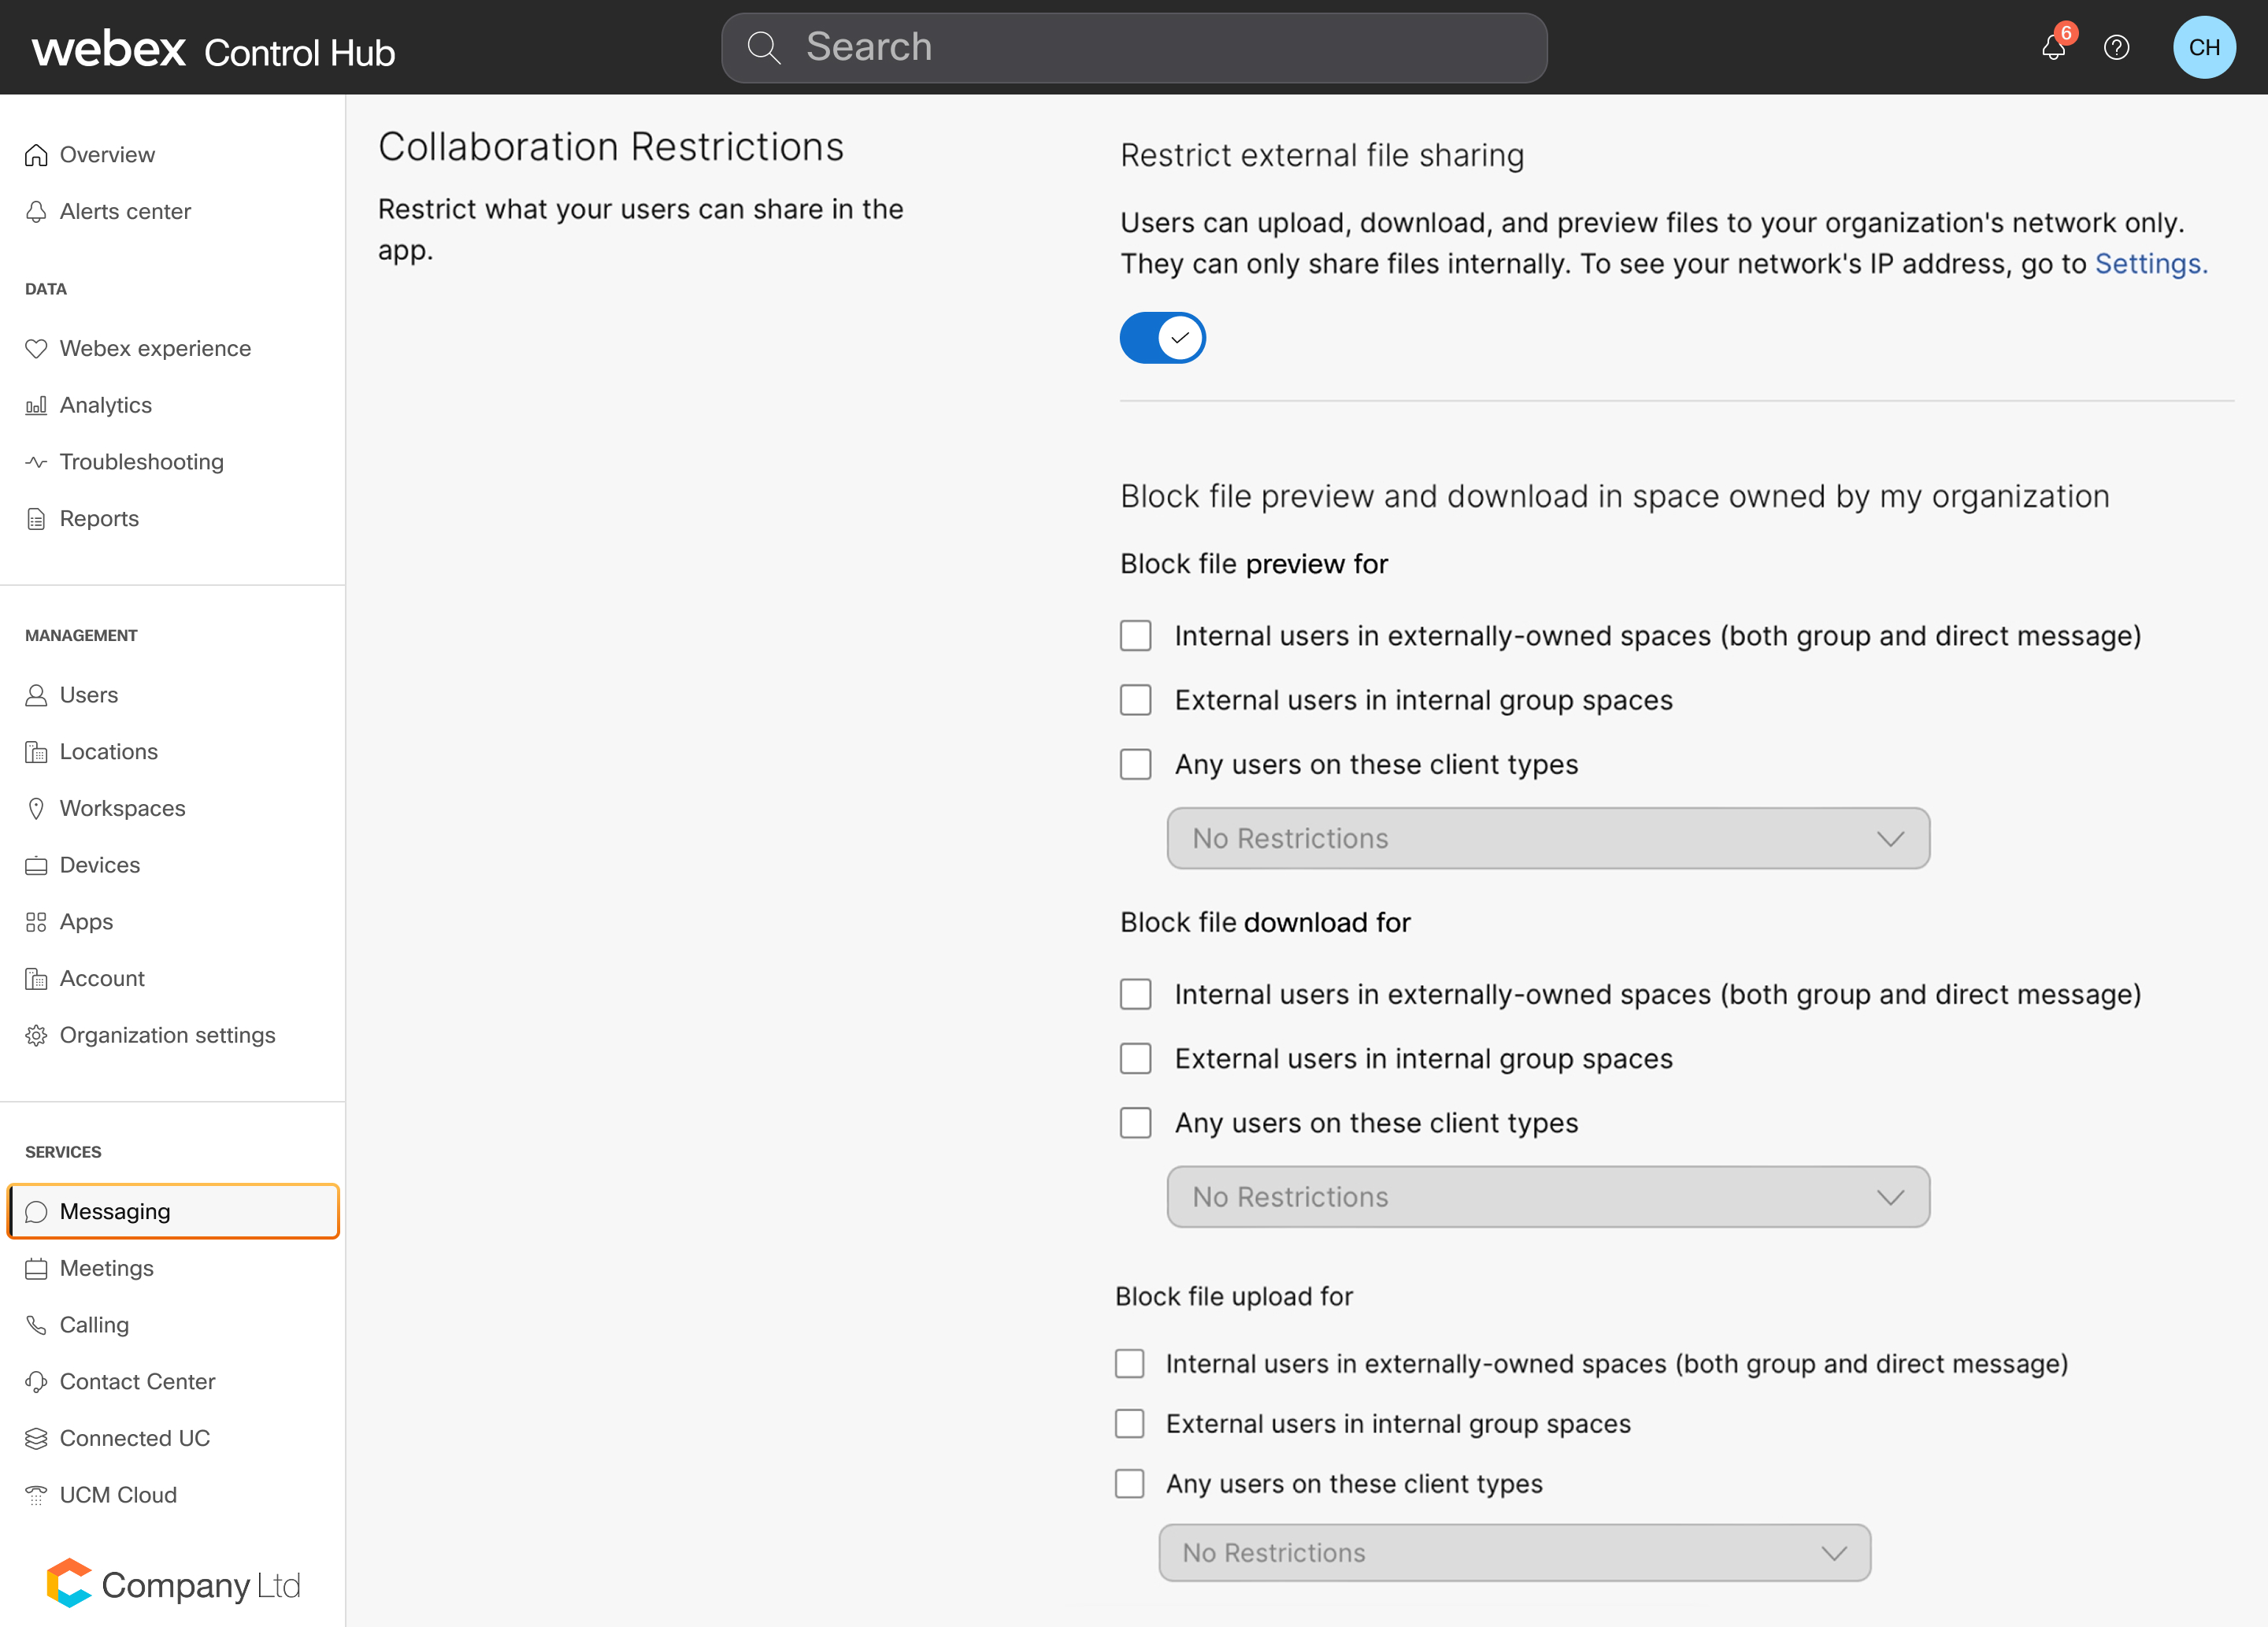
Turn on Restrict external file sharing to allow your users to only share files internally. |
| 4 |
Under the Block file preview and download in space owned by my organization section, you can set granular restrictions for file preview, download, and upload.
You can apply one or more of the following restrictions to each type of file interaction (preview, download, or upload) by selecting the corresponding options.
|
| 5 |
To allow users to log in to whiteboard.webex.com and access whiteboards in their browser, turn on Allow file preview, download, and upload for whiteboards and annotations. For more information about this setting, see Disable user access to whiteboard.webex.com. |
Restrict file sharing by file type
Before you begin
These controls require Pro Pack for Control Hub.
| 1 |
Sign in to Control Hub, and go to . |
| 2 |
In the Collaboration Restrictions section, scroll to File type restriction and check Allow file upload and download for specific file types. If you uncheck this box, users can share all file types in spaces.
|
| 3 |
Enter a comma-separated list of file extensions, then click Allow. For example, enter Supported file types include .doc, .docx, .csv, .key, .ppt, .pptx, .gif, .jpeg, .jpg, .pdf, .xls, .xlsx, .mp3, .mp4, .mov, .mpg, and .wmv. Folders and .tif files aren't currently supported. |
Prevent groups in your organization from sharing files
With Pro Pack for Control Hub, you can prevent people in specific Active Directory groups from sharing files.
Before you begin
You must be synchronizing your Active Directory groups.
| 1 |
Sign in to Control Hub, and go to . |
| 2 |
Select a group from the list. |
| 3 |
Configure this group's file sharing policy:
If a user is a member of multiple groups and any of these collaboration restriction settings is selected in one or more groups, then that restriction applies to the user. |
Prevent people from sharing files outside your corporate network
With Pro Pack for Control Hub, you can include the IP ranges for your organization's network, ensuring that people can't share files in Webex App when people are not on the corporate network.
| 1 |
Sign in to Control Hub, and go to . |
| 2 |
Scroll to and enter your IP ranges or addresses, separated by commas. This defines your trusted network(s), strengthening your organization's security and helping to prevent data loss. You must ensure that you enter your external internet IP ranges or addresses for which you want to allow file sharing. |
| 3 |
Go to . |
| 4 |
Turn on Restrict external file sharing. When you turn this on, Allow file preview, download, and upload for Whiteboards and Annotations is turned on, allowing users to log in to whiteboard.webex.com and access whiteboards in their browser. To turn this setting off, see Disable user access to whiteboard.webex.com. This setting blocks file sharing outside your trusted network, which you created in Define your network. It also allows you to download meeting recordings via APIs only through your trusted network(s). To enable this feature, contact us. IP range or address-based restrictions only apply to file preview, download, and upload whiteboards and annotations. IP range or address-based restriction does not apply to sharing animated GIFs and previews for shared links. |
Prevent people in your organization from uploading large files
With Pro Pack for Control Hub, you can set a limit on the maximum file size that users can upload to your Webex spaces. This feature helps you to comply with your organization's file sharing policy.
| 1 |
Sign in to Control Hub, then go to . |
| 2 |
In the Collaboration Restrictions section, enter a value from 1—2048 MB for your File upload size restriction, then click Save. 2048 MB (2 GB) is the maximum possible file size, and is also the default upload limit. Your users, and guests in your organization's spaces, cannot upload files that are larger than this value. |


