
Thanks for your feedback.
 Feedback?
Settings with a locked symbol beside them can't be accessed until your administrator unlocks them from Control Hub.
If you choose a locked setting, a dialog box appears. To unlock these settings, contact your administrator.
Read more about locked settings: locked settings .
Not all settings are available on all products. Some of the items on the list may or may not be present on your device.
How to open the Settings menu
On Board and Desk series devices and on touch controllers, swipe from the right side of the screen or tap the ![]() button to open the control panel. Then tap Settings.
button to open the control panel. Then tap Settings.
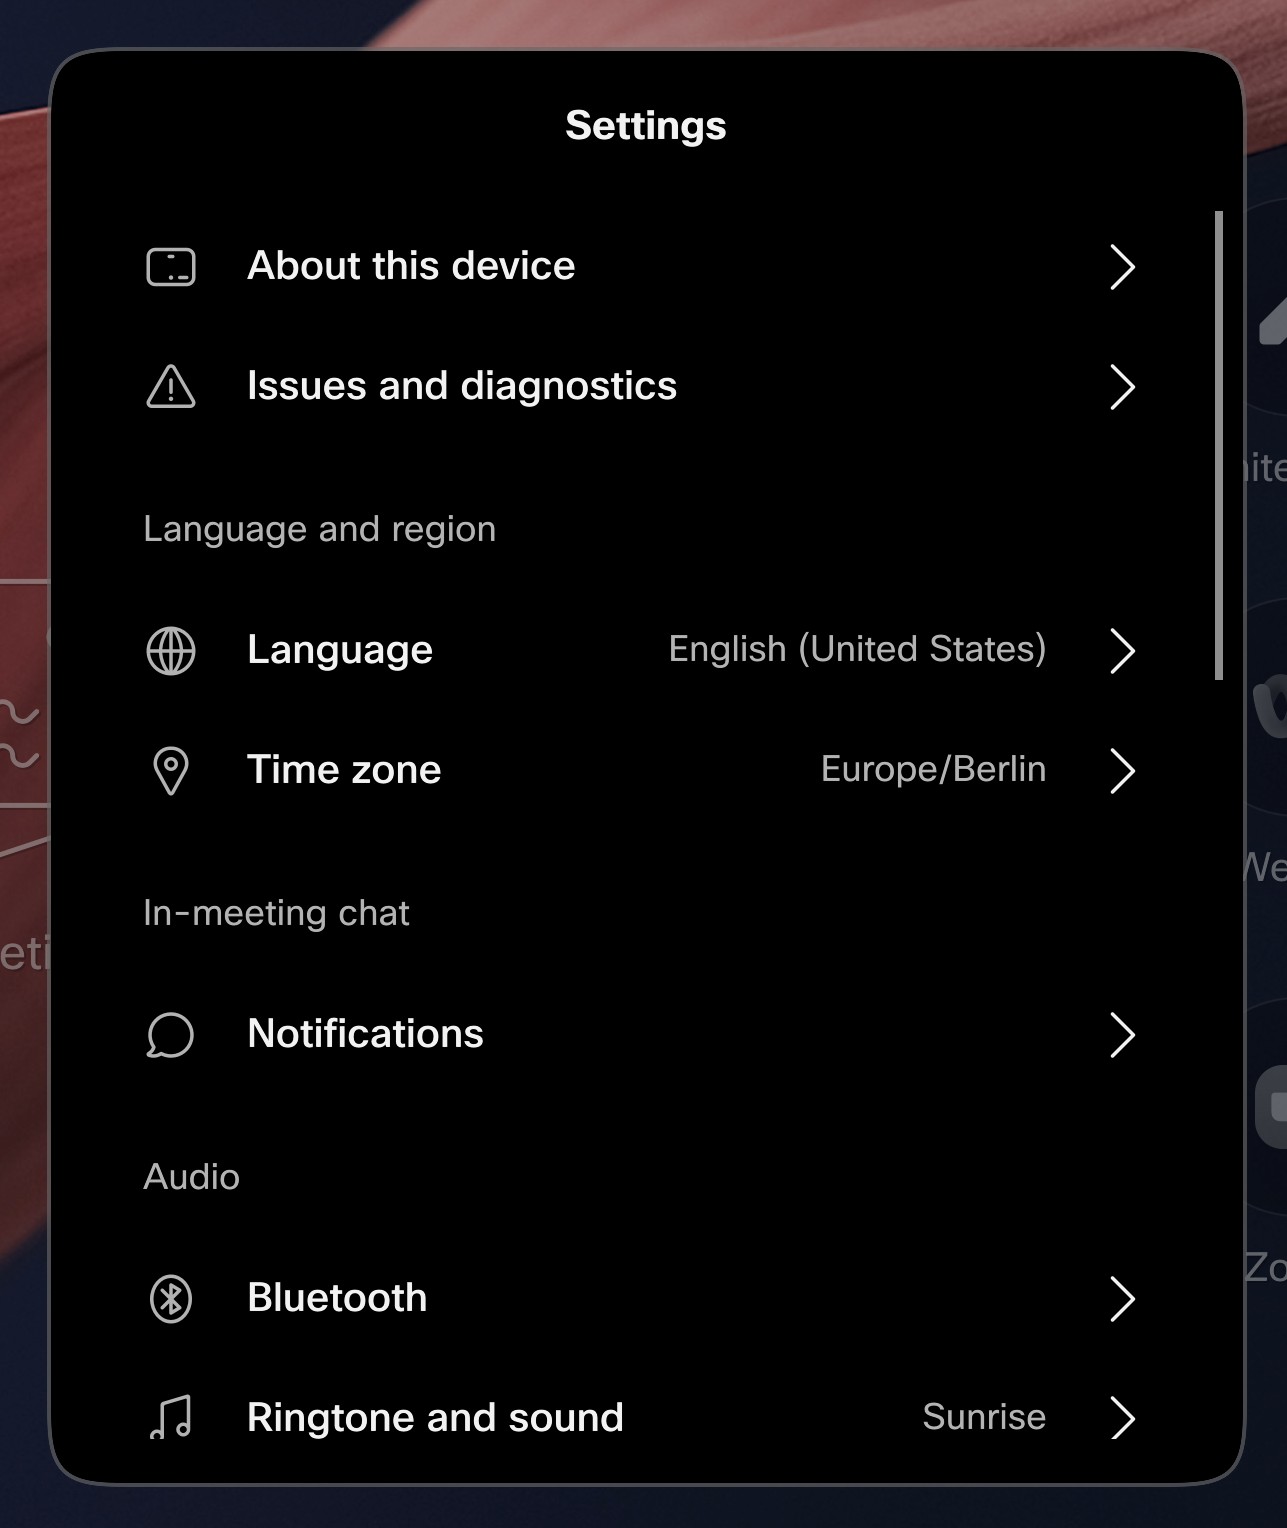
Settings menu overview
-
About this device : View the setup and RoomOS version information for your device.
-
Issues and diagnostics : See if there are any issues with your device, send logs, check your Webex connection details, or perform a Webex connectivity test.
-
Language: Select a language for the user interface.
- Time zone: Select your local time zone.
-
Notifications : Toggle in-meeting chat notifications on or off and choose how you want to see them.
- Bluetooth: Connect to a separate audio device using a Bluetooth connection. Read more about Bluetooth® Headsets for Board, Desk, and Room devices .
- Ringtone and sound: Choose a ringtone and set the default volume for ringtone and calls.
- Microphone: By enabling Music mode, you can sing and play musical instruments over your device. When enabled, you can find Music mode in the control panel. See the article on music mode for more information. Enable or disable USB headset mode .
- Camera: Configure a Meeting zone to ensure that only the people within the relevant area (the meeting zone) are in focus, minimizing distractions from outside the zone.
- Display: tap Connections to see the Inputs and Outputs connected to your device. You can share your laptop screen using an extra HDMI or USB-C cable depending on which device you have.
- Launch AirPlay settings: Check the AirPlay settings. See Wireless sharing with AirPlay for more information.
- Network connection: Configure your device's network settings or select a network connection using Ethernet or Wi-Fi. For more information, see Use Wi-Fi on Board, Desk, and Room series .
- Web apps: Add web apps to your device's home screen. Read about it here .
- Accessibility: Toggle the Screen reader on and off, set the Voice speed for it, and enable or disable the Shortcut gesture for screenreader to allow turning it on and off by touch.
- Personal calendar: Configure your personal calendar settings - which meetings to show, allowing early join, etc.
- Automated services: Toggle Voice Assistant on to allow you to interact with your device using your voice. Read more about Voice Assistant here . Enable Face recognition name labels, so that remote participants can see name labels. Read about it here .
- Restart device: Restart your device.
- Factory reset: If you reset your device to its factory settings, you lose your current registration. You cannot undo a factory reset. After a factory reset, you need a new activation code to use your device.


