
Danke für Ihr Feedback.
Verwaltung der Cisco Room Bar BYOD
 Feedback?
Wir stellen vor: Cisco Room Bar BYOD
Die Cisco Room Bar BYOD ist ein flexibles Raumgerät, mit dem Sie Ihre kleinen Besprechungsräume, Besprechungs- und Fokusräume mit einer kostengünstigen und skalierbaren BYOD-Lösung ausstatten können, die mit jedem Meeting funktioniert. Sie können einfach eine Verbindung zu Ihrem Monitor mit HDMI herstellen und Ihren Computer mit USB-C anschließen, um ein Meeting zu hosten. Es bietet ein großartiges Video- und Audioerlebnis in Besprechungen mit einer hochwertigen Kamera, Lautsprechern und Mikrofonen, die über eine KI-Rauschunterdrückung verfügen.
Room Bar BYOD ist eine Room Bar ohne Room Navigator. Room Bar BYOD funktioniert als erweiterte Webcam ohne Room Navigator. Wenn Sie Ihren Computer mit einem USB-C-Kabel anschließen, können Sie die Kamera, das Lautsprechersystem und die Mikrofone des Geräts nutzen. Zusätzlich kann ein Bildschirm angebracht werden, um PC-Inhalte anzuzeigen.
Wenn Sie einen Navigator zu einem beliebigen Zeitpunkt anschließen, verwandelt er sich in eine normale Room Bar, die ein Standard-Onboarding ermöglicht. Um den BYOD-Modus wiederherzustellen, ist ein Zurücksetzen auf die Werkseinstellungen erforderlich.
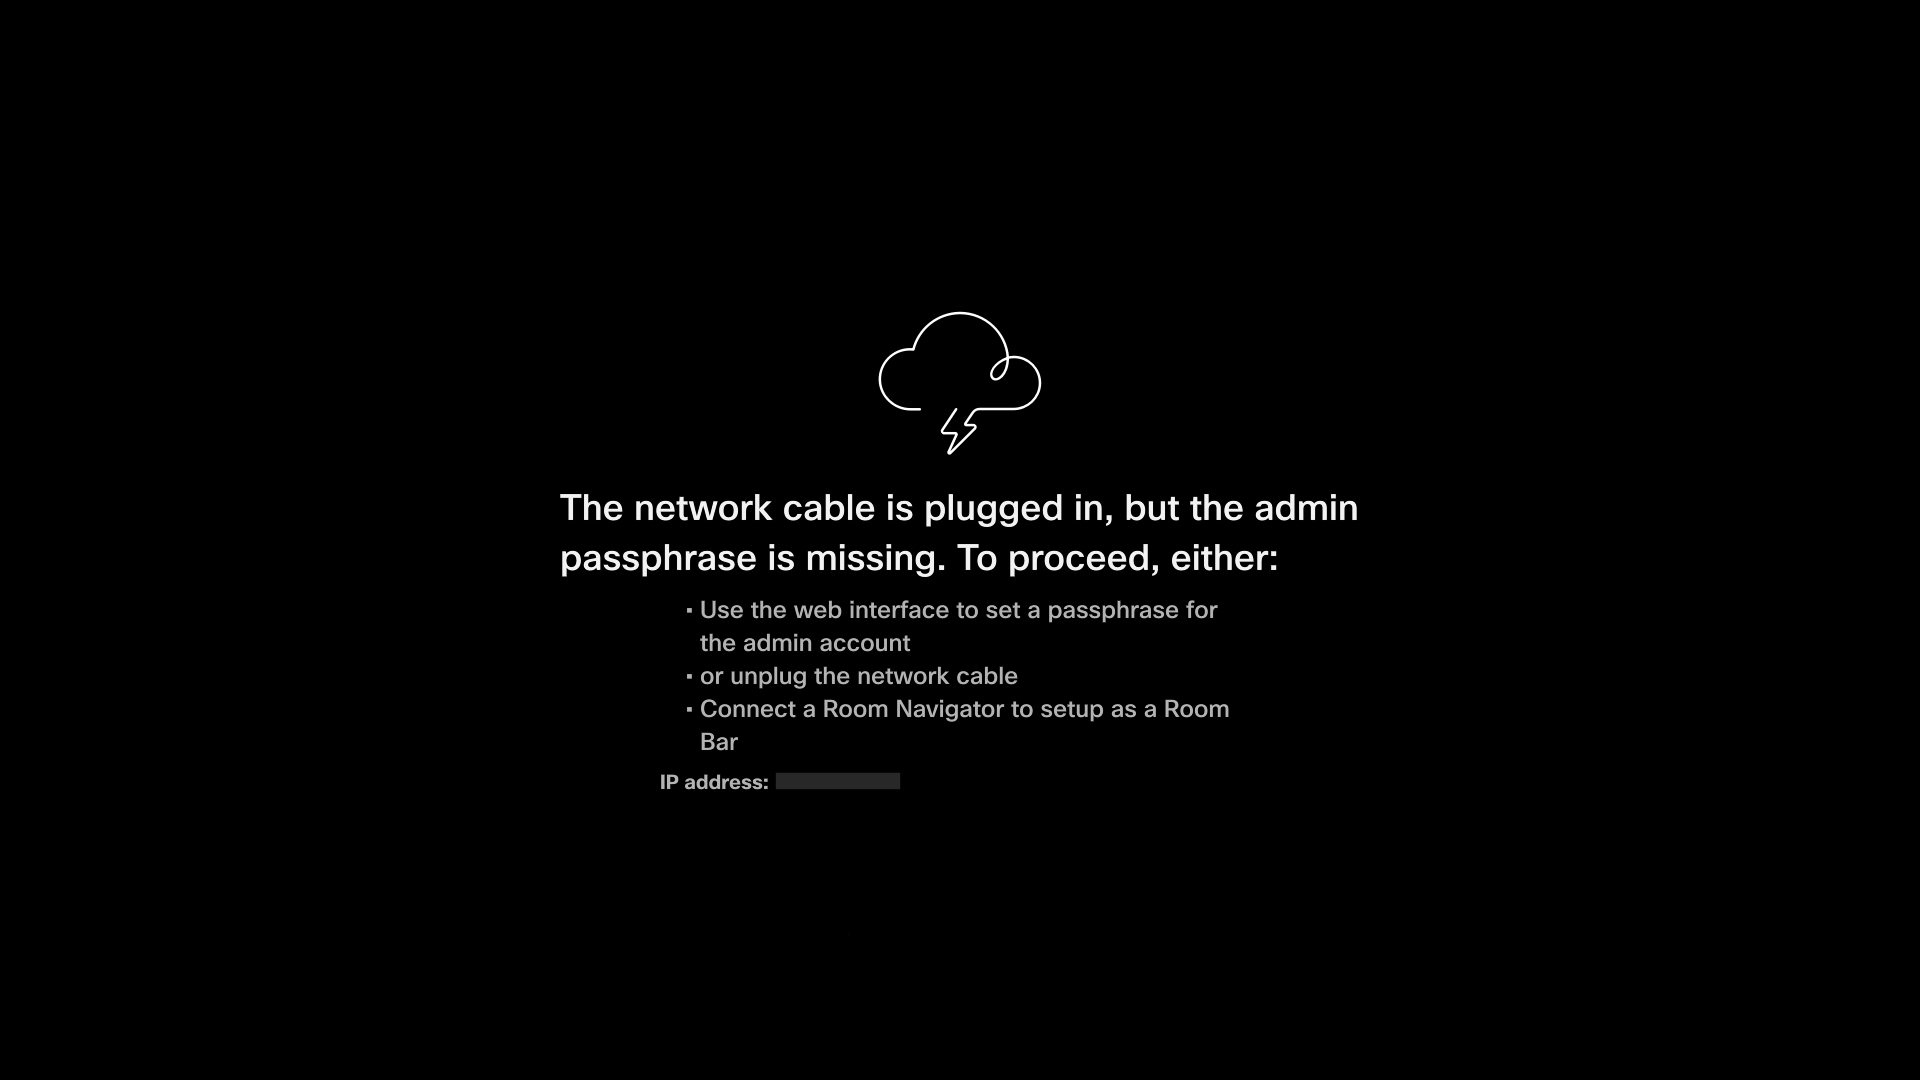
Im BYOD-Modus verfügt das System über einen benutzerdefinierten Startbildschirm, der seine Verwendung erklärt. Es kann als Webcam ohne Netzwerkverbindung betrieben werden. Bei Verbindung mit einem Netzwerk ist neben der USB-C-Konnektivität auch die drahtlose gemeinsame Nutzung von Computern möglich. Die Netzwerkverbindung ermöglicht auch die Systemkonfiguration über die Webbenutzeroberfläche oder die Befehlszeile.
BYOD-Funktionalität der Raumbar
USB-C-Anschluss
Nach dem Anschließen wird der Bildschirm automatisch freigegeben und die Computeranwendung hat Zugriff auf Audio und Video. Anrufe können vom Computer aus getätigt werden. Folgende Funktionen sind über USB-C verfügbar:
- Auf Kamera, Lautsprecher und Mikrofone zugreifen und Inhalte auf dem Bildschirm anzeigen
- KI-Rauschunterdrückung und automatisches Gruppen-Framing
Verbindung mit dem Netzwerk herstellen
Nach dem Anschließen des Netzwerkkabels müssen Sie ein Administratorkennwort einrichten.
Über die Geräte-Webschnittstelle können Sie Folgendes konfigurieren:
- Miracast
- Aktivieren Sie die Control Hub-Registrierung
- Sprache ändern
Administratoren müssen LAN-Zugriff auf das Gerät erhalten und die erweiterten Netzwerkeinstellungen über die Webschnittstelle des Geräts einrichten.
Cisco Webex
Die Webex App kann die Room Bar BYOD wie jedes andere mit der Cloud verbundene Gerät steuern. In Verbindung mit dem BYOD der Raumleiste können Benutzer mit Webex Anrufe tätigen, an Besprechungen teilnehmen und drahtlos präsentieren. Das Room Bar BYOD kann nur als gemeinsam genutztes Gerät registriert werden. Bei Registrierung bei Cisco Webex sind die folgenden Funktionen verfügbar:
- Software verwalten
- Zentralisierte Softwarekonfiguration
- Sichtbarkeit von Peripheriegeräten
- Auslastungsmetriken
- Energieverwaltungskonfiguration
- Gerätesteuerung über Webex App
- Zusammenführen, starten, koppeln, Anrufe annehmen
Raumnavigator oder Touchscreen hinzufügen
Sie können Ihre Room Bar BYOD ganz einfach zu einer voll funktionsfähigen Room Bar aufrüsten, indem Sie einen Room Navigator erwerben. Stellen Sie einfach eine Verbindung zum Room Navigator her und schließen Sie den Einrichtungsvorgang ab. Sobald die Einrichtung abgeschlossen ist, hat Ihre Raumbar Zugriff auf Standardkonfigurationen, wodurch ihre Funktionalität als Raumgerät erweitert wird.
Aktivieren eines BYOD für die Zimmerbar
Bevor Sie beginnen:
Sie müssen die Raumbar BYOD registrieren, um über die Geräte-Webschnittstelle zu Webex. Wenn Sie Ihr Room Bar-BYOD-Gerät bei Cisco Webex registrieren, können Sie es ganz einfach über Control Hub steuern. Weitere Informationen zu Control Hub finden Sie unter Erste Schritte mit Cisco Webex Control Hub.
Bevor Sie mit dem Einrichten Ihres Geräts beginnen, erstellen Sie einen workspace und einen aus 16 Ziffern bestehenden Aktivierungscode im Control Hub. Lesen Sie hier, wie Sie gemeinsam genutzte Geräte und Dienste zu einem Arbeitsbereich hinzufügen und einen Aktivierungscode für ein Gerät generieren.
Sie müssen das Gerät registrieren, um Updates Webex zu erhalten. Wenn Sie das Gerät nicht für die Webex registriert haben, müssen Sie die Software über die Webschnittstelle des Geräts aktualisieren. Weitere Informationen zu Software-Updates finden Sie unter RoomOS-Software-Upgrades .
Verwenden Sie Wi-Fi in Room Bar BYOD
Sie können Wi-Fi Verbindung über die Weboberfläche des Geräts oder mit dem folgenden Befehl einrichten:
xCommand Netzwerk-WLAN-KonfigurationSie müssen das Netzwerkkabel anschließen, um auf alle verfügbaren Wi-Fi Einstellungen zuzugreifen.
Erweiterte Einstellungen und Verwaltung
Folgen Sie diesen Links, um mehr über den Zugriff auf die erweiterten Konfigurationen von Room Bar BYOD auf Control Hub und das Einrichten von Funktionen wie Netzwerkeinstellungen und Raumeinrichtung zu erfahren.
Erweiterte Einstellungen auf Control Hub
Verfügbare Funktionen
Netzwerkeinstellungen
Handbücher zur Raumanordnung und Installation


