- 홈
- /
- 문서

피드백을 보내 주셔서 감사합니다.

교환원 클라이언트 시작하기
 이 문서에서
 피드백이 있습니까?
교환원 클라이언트는 데스크 폰을 데스크탑 인터페이스에 병합하는 웹 기반 도구이며, 조직 내에서 사용자에게 통화를 처리할 수 있게 합니다. 걸려오는 전화를 확인하고, 통화 및 연락처를 관리하거나, 대기열에 있는 통화를 모니터링할 수 있습니다.
지원 종료 알림
접수원 클라이언트는 퇴사했으며 2024년 7월 8일은 지원이 종료됩니다. 기존의 모든 교환원 클라이언트 사용자는 Webex Attendant Console로 마이그레이션할 수 있습니다. 단, 가입 기간이 끝날 때까지 교환원 클라이언트를 계속 사용할 수 있습니다. Cisco가 문제를 심각도 1 또는 중요한 보안 취약성으로 간주하지 않는 한 Cisco는 교환원 클라이언트에 대한 새로운 기능을 출시하지 않습니다. 교환원 클라이언트를 계속 사용하기로 선택하는 경우, 현재 계약이 종료되기 전에 Webex Attendant Console로 마이그레이션을 계획해야 합니다.
자세한 내용은 Webex 교환원 클라이언트 지원 종료 FAQ 및 어텐던트 콘솔 시작하기를 참조하십시오.
대시보드에 로그인
User Hub에서 교환원에게 액세스합니다. 로그인하면 대시보드에 있는 디스플레이 분할 창에서 다음 작업을 실행할 수 있습니다.
-
글로벌 메시지, 응용프로그램 설정, 사용자 계정 및 통화 상태에 대한 정보를 확인합니다.
-
현재 설정을 확인하고 변경합니다.
-
통화 콘솔에서 활동 중인 통화를 확인하고 관리합니다.
-
연락처를 만들고 관리합니다.
-
대기 중인 통화 분할 창에서 대기 중인 통화를 모니터링하고 관리합니다.
시작하기 전에
전화를 걸고/받거나 하려면 데스크 폰 또는 Webex 앱이 필요합니다.
| 1 |
User Hub에 로그인한 후 |
| 2 |
Cisco 로그인 옵션을 선택합니다. 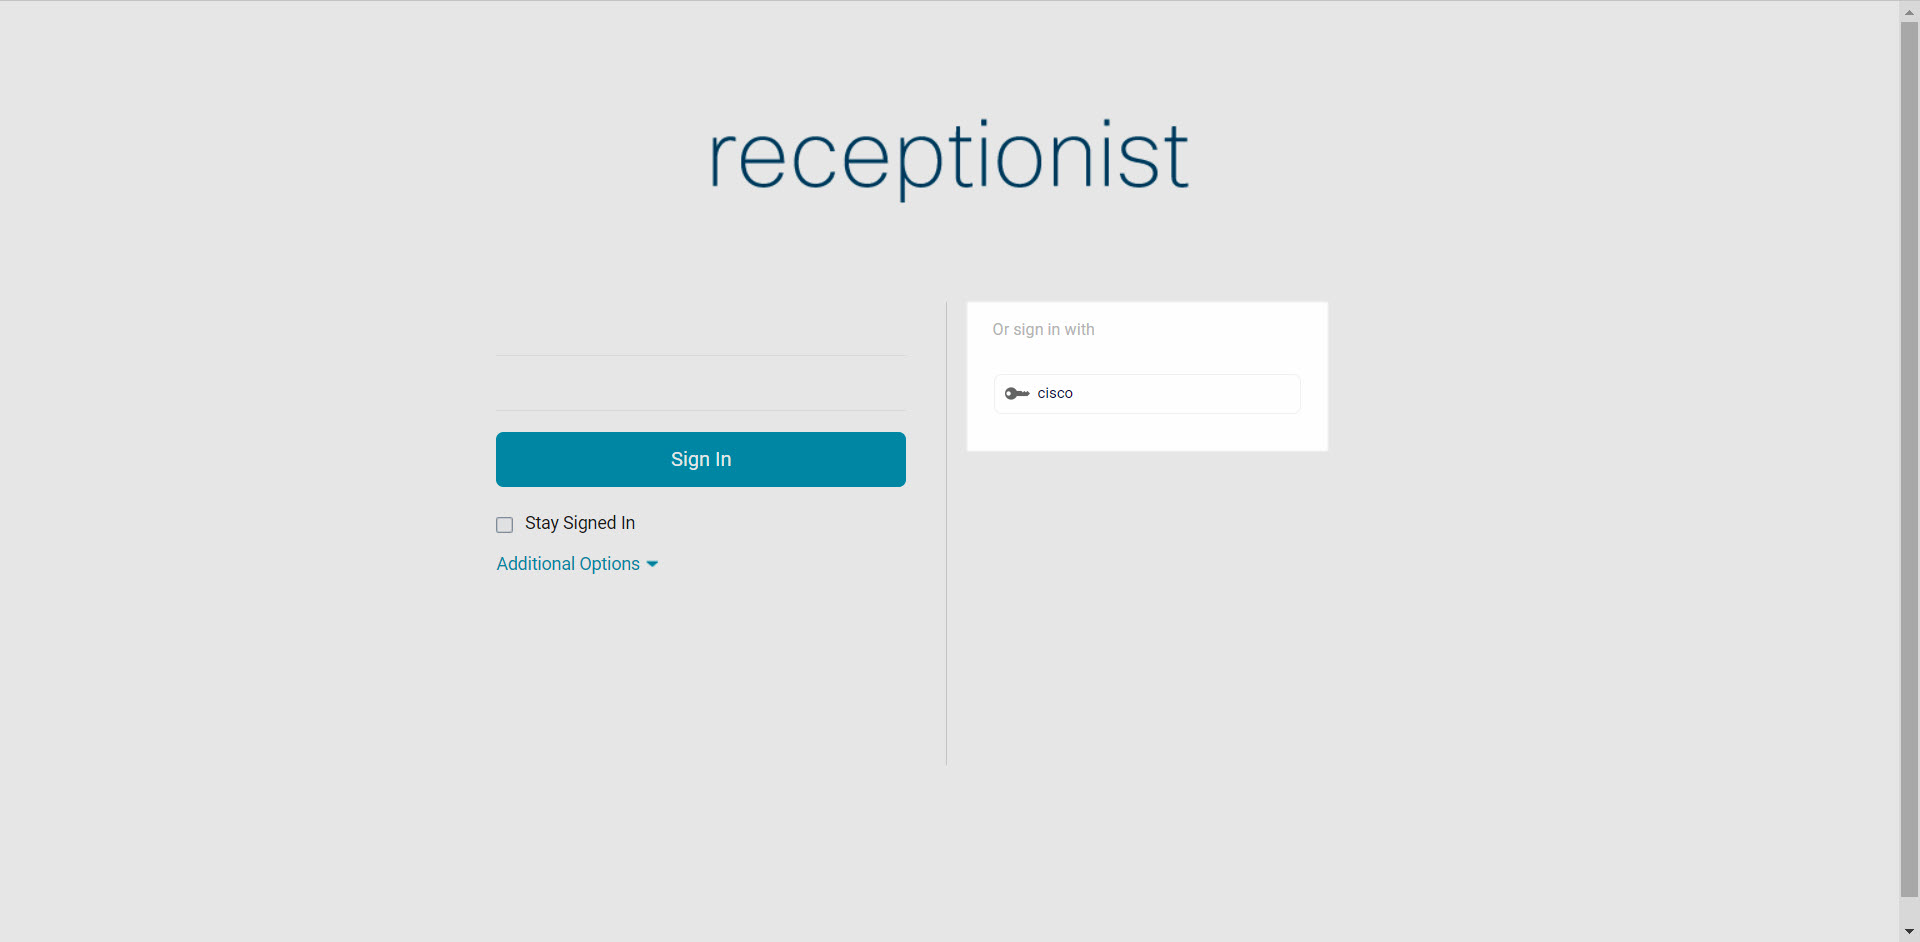 |
다음에 수행할 작업
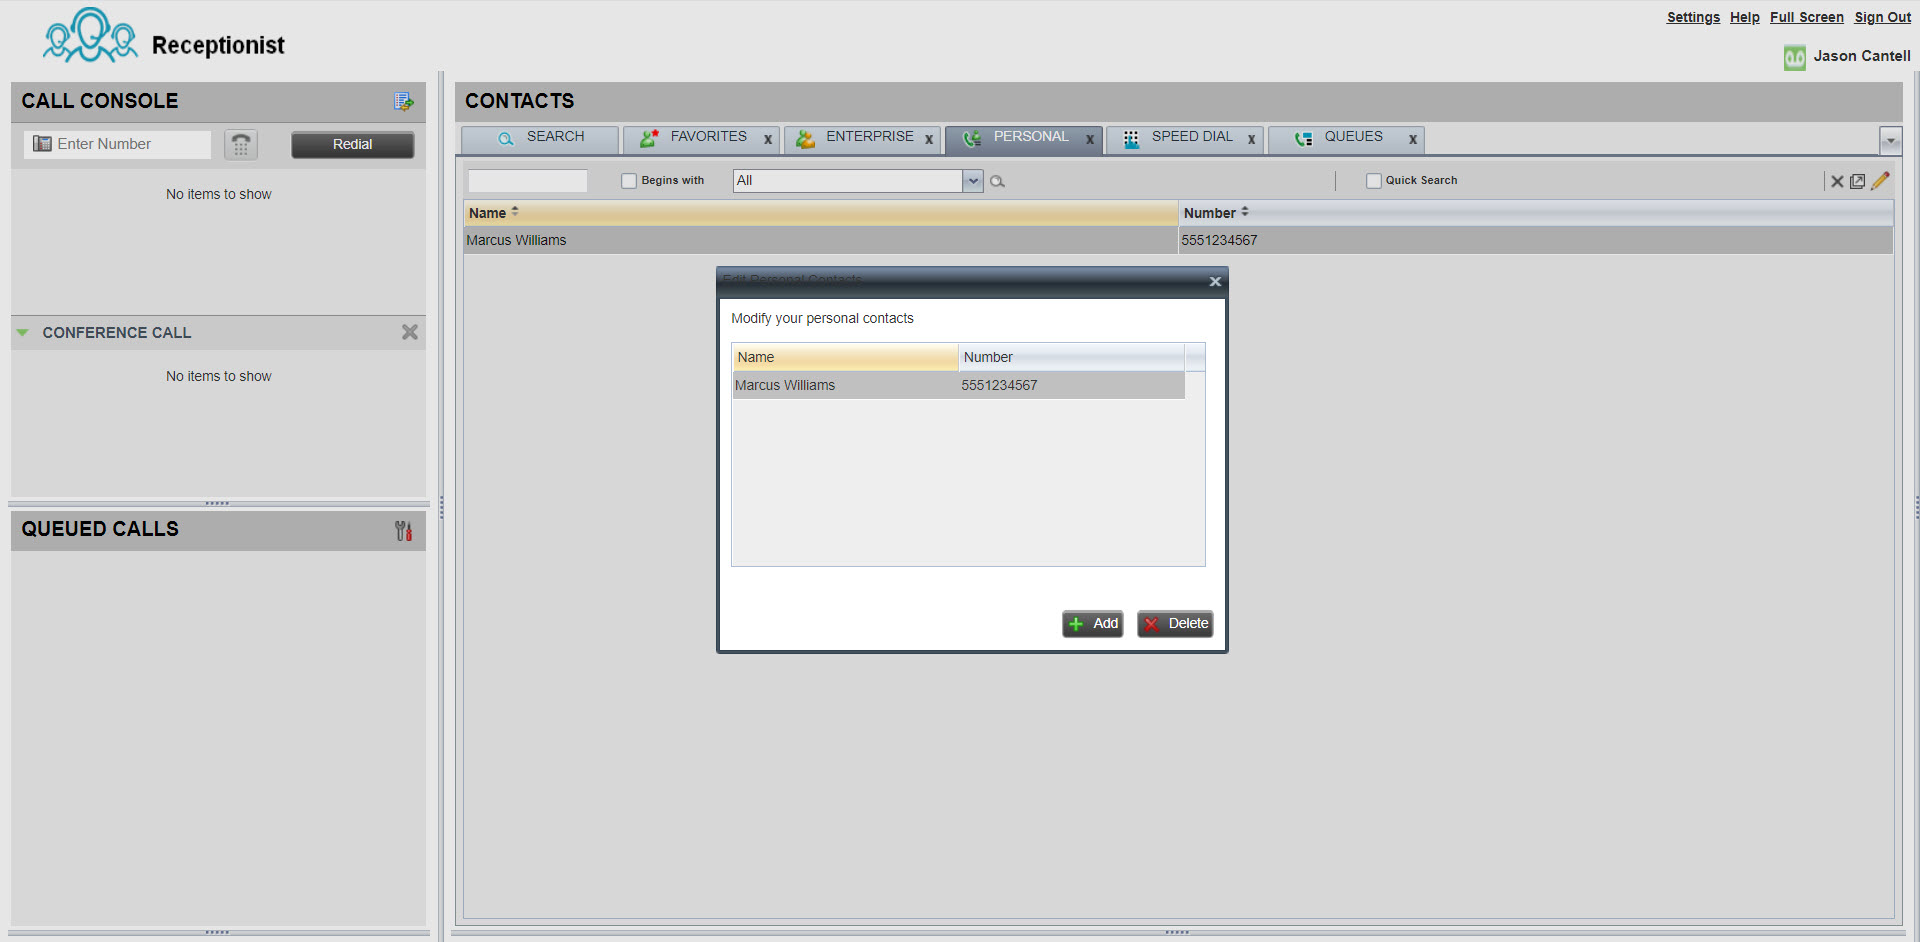
연락처 관리
교환원 내에서 연락처를 만들고 관리하여 저장된 번호에 쉽게 전화할 수 있습니다. 연락처를 만들면 고정적으로 연락처를 업데이트하고, 삭제하거나, 모니터링할 수 있습니다(동일한 연락처를 매일 모니터링하는 경우에 사용됨). 또한, 동적으로 연락처를 모니터링하고(필요할 때마다 선택한 연락처를 확인하기 위해 사용됨) 연락처에 메모를 추가할 수도 있습니다.
고정적으로 모니터링할 수 있는 최대 연락처의 수는 200명입니다. 동적으로 모니터링할 수 있는 최대 연락처의 수는 100명입니다.
| 1 |
연락처 분할 창에서 개인 탭을 선택합니다. |
| 2 |
개인 연락처를 추가하고, 업데이트하거나, 삭제하려면 편집 아이콘을 클릭합니다. |
| 3 |
연락처에 메모를 추가하려면 연락처를 선택하고 메모를 클릭합니다. |
전화 걸기
| 1 |
통화 콘솔 분할 창에서 다이얼러를 사용하거나 재다이얼을 클릭합니다. |
| 2 |
연락처 분할 창에서 다이얼할 연락처를 선택합니다. 여기에서 통화 기록을 확인하도록 선택하거나 특정 연락처를 검색할 수도 있습니다. |
| 3 |
통화를 클릭합니다.  |
회의 전화 걸기
시작하기 전에
통화 사용자 포털에서 교환원에 액세스합니다. 로그인하는 방법에 대한 단계는 대시보드에 로그인을 참조하십시오.
| 1 |
통화를 진행할 때 두 번째 통화를 보류로 지정합니다(다이얼러 또는 연락처 분할 창에서). |
| 2 |
통화가 연결되면 CONF를 클릭합니다. 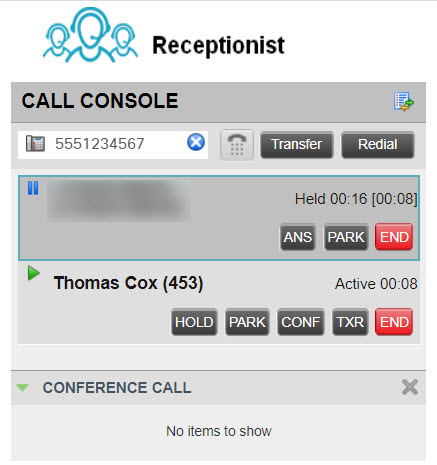 |
| 3 |
(선택 사항) 회의에서 특정 통화를 제거하려면 제거하고자 하는 통화 위에 마우스를 올린 후 종료를 클릭합니다. |
| 4 |
(선택 사항) 통화를 종료하려면 회의 나가기를 클릭합니다. 전화회의 시작자인 경우, 통화가 3자 통화인 경우를 제외하고 모든 참가자에 대해 통화가 종료되고, 다른 2자는 직접 통화로 돌아갑니다. 전화회의 참가자인 경우, 전화회의에서 나가면 연결된 다른 상대방이 전화회의에 남게 됩니다. 통화 중 하나를 선택한 후 추가할 통화 위에 마우스를 올리고 회의를 클릭하여 이미 활동 중인 두 개의 통화가 포함된 회의 통화를 시작할 수 있습니다. |
완료 방법을 보고 싶습니까? 교환원을 사용하여 전화회의를 하는 방법에 대해 이 비디오 시 연을 시청하십시오.
전화 받기
콘솔 분할 창에서 응답을 클릭합니다.
교환원 클라이언트에서 자동 응답 통화
발신 통화
아웃바운드 통화의 경우, 교환원 클라이언트의 전화에 대한 초기 통화가 자동으로 응답되고 아웃바운드 통화가 대상으로 실행됩니다.
이렇게 하면 아웃바운드 통화가 실행되기 전에 교환원이 초기 통화에 응답할 필요가 없어집니다.
-
다이얼러를 사용하거나 연락처를 선택하여 원하는 사람에게 전화를 겁니다.
-
다이얼 을 클릭하여 전화를 겁니다.
-
수신에 대한 초기 통화는 자동으로 응답되고 통화는 대상 번호 또는 내선 번호로 실행됩니다.
-
인바운드 통화
교환원에게 착신 전화의 경우, 교환원 클라이언트에 자동 응답 버튼이 노출됩니다. 이 버튼을 켜거나 끌 수 있습니다.
자동 응답 버튼을 사용하면 교환원 클라이언트에 발신된 통화에 대한 자동 응답이 활성화되거나 비활성화됩니다.
-
OFF(기본값) - 각 수신 전화에 수동으로 응답해야 합니다.
-
켜짐 - 교환원에게 걸려오는 전화는 자동으로 응답됩니다.
활동 중인 통화를 보류로 지정
교환원 클라이언트를 통해 여러 통화를 동시에 관리할 수 있습니다. 활동 중인 통화를 보류로 지정할 수 있습니다. 또는 통화가 활동 중인 동안 걸려오는 전화에 응답할 수도 있습니다. 첫 번째 통화는 자동으로 보류로 지정됩니다.
-
통화가 활동 중인 동안 콘솔 분할 창에서 보류로 지정하고자 하는 통화에 대해 보류를 클릭합니다.
-
통화를 다시 시작하려면 응답을 클릭합니다.
통화 콘솔에서 여러 통화를 관리할 수 있습니다. 통화 중일 때 새로운 전화가 걸려오는 경우, 응답을 클릭하여 새 전화를 수신합니다. 첫 번째 통화는 자동으로 보류됩니다.
통화 전송
| 1 |
통화를 실행하는 동안 다이얼러를 사용하거나 연락처를 선택하여 전송하고자 하는 사용자에게 전화합니다. 첫 번째 통화는 자동으로 보류됩니다. |
| 2 |
(선택 사항) 통화를 알립니다. |
| 3 |
알림 없이 통화를 전송하려면(블라인드 전송) 전송 대상으로 다이얼한 후 전송을 클릭합니다. |
| 4 |
활동 중인 통화 위에 마우스를 올린 후 전송을 클릭합니다.  |
대기열에 있는 통화 모니터
시작하기 전에
통화 사용자 포털에서 교환원에 액세스합니다. 로그인하는 방법에 대한 단계는 대시보드에 로그인을 참조하십시오.
| 1 |
대기 중인 통화 분할 창에서 모니터링하고자 하는 대기열을 선택합니다. |
| 2 |
을 선택합니다. |
| 3 |
모니터링할 대기열을 선택합니다. |
| 4 |
저장을 클릭합니다. |
| 5 |
대기열에서 대기 중인 통화를 받으려면 대기 중인 통화 분할 창에서 통화 위에 마우스를 올리고 창을 클릭한 후 검색을 클릭합니다. |
| 6 |
대기열에서 통화를 확인하고 우선순위를 부여하려면 대기 중인 통화 분할 창에 있는 통화 위에 마우스를 올리고 재정렬을 클릭합니다. 해당 통화는 대기열의 맨 앞으로 이동합니다. 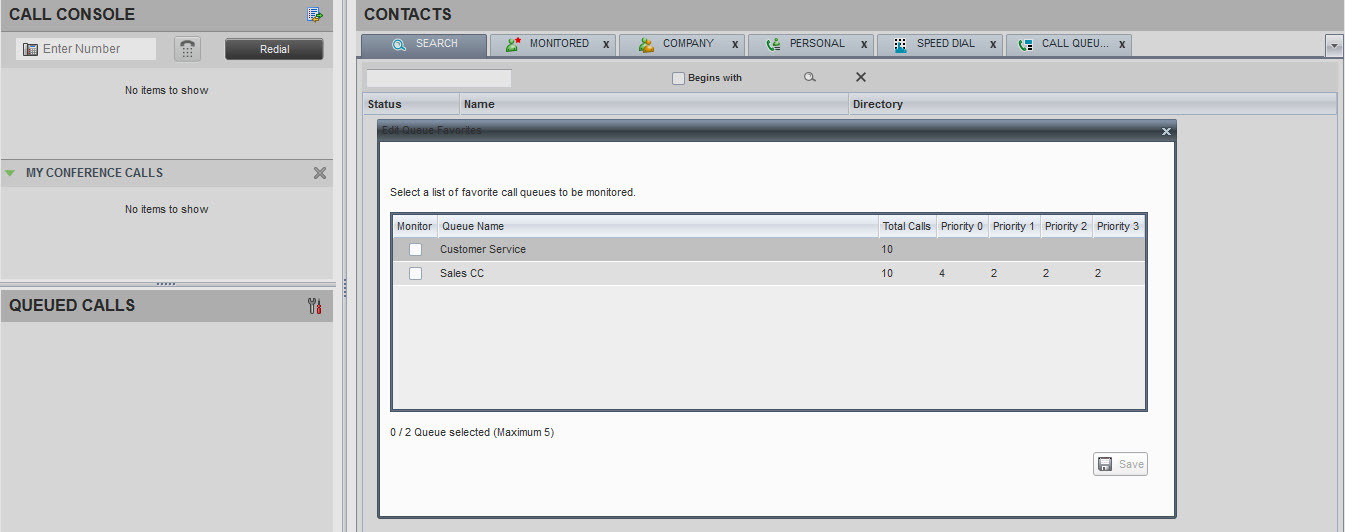 |
완료 방법을 보고 싶습니까? 이 비디오 데모 를 시청하여 교환원의 대기열에 있는 통화를 모니터링하는 방법을 알아보십시오.
통화를 직접 보이스메일로 전송
시작하기 전에
통화 사용자 포털에서 교환원에 액세스합니다. 로그인하는 방법에 대한 단계는 대시보드에 로그인을 참조하십시오.
| 1 |
통화를 실행하는 동안 다이얼러를 사용하여 전송하고자 하는 사용자에게 전화하거나 연락처를 클릭합니다. |
| 2 |
연락처 분할 창에서 대상 연락처를 선택합니다. |
| 3 |
연락처 위에 마우스를 올리고 VM을 클릭합니다. 이 옵션은 연락처에 음성 메시징이 지정되고 활성화된 경우에만 사용할 수 있습니다.  |


