- Home
- /
- Article

Thanks for your feedback.

Synchronize Okta users into Control Hub
 In this article
 Feedback?
You can add Webex to the Okta Integration Network and then synchronize users from the directory in to your organization managed in Control Hub. No on-premises infrastructure or connectors are required. This integration keeps your user list in sync whenever a user is created, updated, or removed from the application in Okta.
System for Cross-domain Identity Management (SCIM)
The integration between users in the directory and Control Hub uses the System for Cross-domain Identity Management ( SCIM 2.0) API. SCIM 2.0 is an open standard for automating the exchange of user identity information between identity domains or IT systems. SCIM 2.0 is designed to make it easier to manage user identities in cloud-based applications and services. SCIM 2.0 uses a standardized API through REST.
If your organization already uses Directory Connector to synchronize users, you cannot synchronize users from Okta.
The Okta integration supports the following User attributes:
-
userName -
active -
name.givenName -
name.familyName -
name.middleName -
name.honorificPrefix -
name.honorificSuffix -
displayName -
nickName -
emails[type eq "work"] -
profileUrl -
title -
preferredLanguage -
locale -
timezone -
externalId -
phoneNumbers[type eq "work"] -
phoneNumbers[type eq "mobile"] -
addresses[type eq "work"] -
employeeNumber -
costCenter -
organization -
division -
department
The preferredLanguage and locale attributes must be
formatted as an underscore-separated string consisting of an ISO 639-1
language code and an ISO 3166-1 alpha-2 country code. For example,
en_US or fr_FR.
The Okta integration also supports the following Group attributes:
-
displayName -
members
Supported features
This integration supports the following user and group synchronization features in Okta:
-
Create Users—Creates or links a user in Webex App when assigning the app to a user in Okta.
-
Update User Attributes—Okta updates a user's attributes in Webex App when the app is assigned. Future attribute changes made to the Okta user profile automatically overwrite the corresponding attribute value in the Webex cloud.
-
Deactivate Users—Deactivates a user's Webex App account when it’s unassigned in Okta or their Okta account is deactivated. Accounts can be reactivated if you reassign the app to a user in Okta.
-
Create Groups—Creates or links a group when assigning a group in Okta.
- Update Group Attributes—Okta updates a group's attributes when the group is assigned. Future attribute changes made to the Okta group profile automatically overwrite the corresponding attribute value in Control Hub.
- Delete Groups—Delete a group's account in Control Hub when it's unassigned in Okta or the Okta group account is deleted.
Add Webex to Okta
Before configuring Control Hub for automatic user provisioning with Okta, you need to add Webex from the Okta application gallery to your list of managed applications. You must also choose an authentication method. Currently, Webex services in Control Hub only supports Federated SSO with Okta.
Before you begin
-
Okta requires that you have a valid Okta tenant and a current license with their platform. You must also have a current paid subscription and a Webex organization.
-
In your Webex organization, you must configure automatic license assignment templates, otherwise newly synchronized users in Control won't be assign licenses for Webex services.
-
Set up Okta SSO integration before you configure user provisioning.
| 1 |
Sign in to the Okta Tenant ( |
| 2 |
Search for Cisco Webex Identity SCIM 2.0 and add the application to your tenant. If you already integrated Okta SSO in to your Control Hub organization, you can skip the above steps and just reopen the Cisco Webex entry in the Okta application list. |
| 3 |
In a separate browser tab, go to the customer view in https://admin.webex.com, click your organization name, and then next to Company Information, copy your Organization ID. Record the organization ID (copy and paste in a text file). You'll use the ID for the next procedure. |
Configure Okta for user and group synchronization
Before you begin
Make sure you kept your organization ID from the previous procedure.
Make sure you have the Customer Full Administrator role when creating bearer tokens for your customers.
| 1 |
In Okta Tenant, go to and check Enable API Integration. |
| 2 |
Enter the ID value in the Organization ID field. |
| 3 |
Copy the following URL in the Base URL field:
Replace |
| 4 |
Follow these steps to get the bearer token value for the Secret Token:
|
| 5 |
Return to Okta, paste the bearer token into the API Token field and click Test API Credentials. A message appears that says Webex was successfully verified. |
| 6 |
Click Save. |
| 7 |
Go to . |
| 8 |
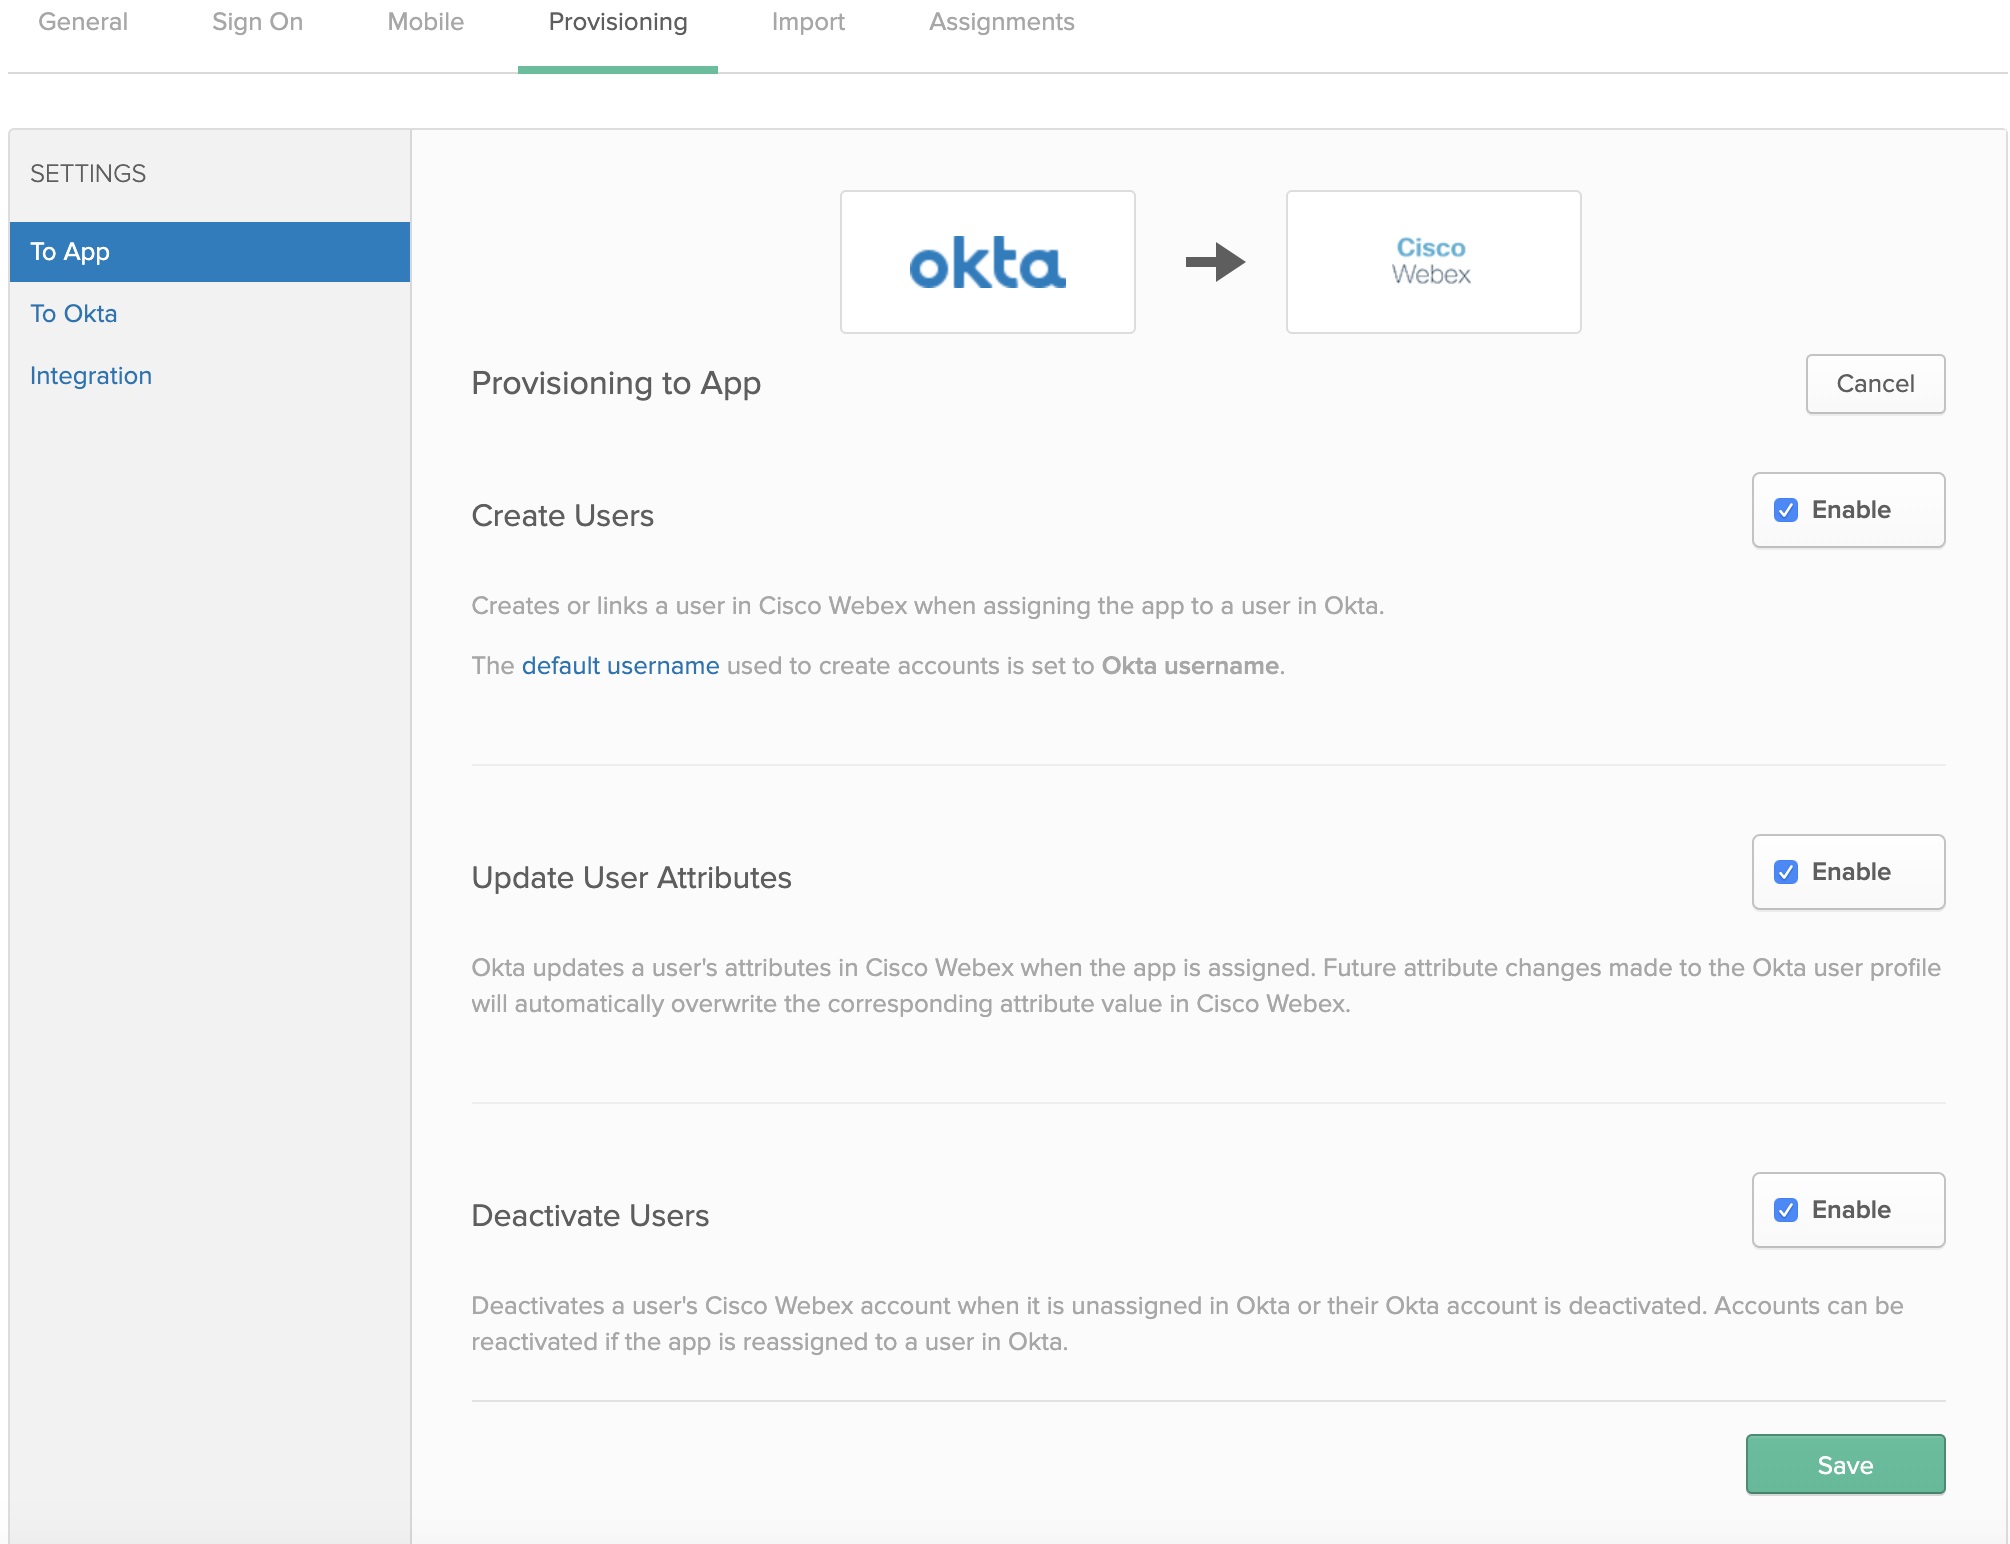
Select Create Users, Update User Attributes, Deactivate Users, and click Save.
|
| 9 |
Click and choose one of the following:
|
| 10 |
If you configured SSO integration, click Assign next to each user or group that you want to assign to the application, and then click Done. Users that you chose are synchronized into the cloud and appear in Control Hub under Users. Any time you move, add, change, or delete users in Okta, Control Hub picks up the changes. If you didn't enable auto assign license templates, users are synchronized to Control Hub without any license assignments. To reduce administrative overhead, we recommend that you enable an auto assign license template before you synchronize Okta users into Control Hub. |
| 11 |
Click Push Groups, select Find groups by name or Find groups by rule, and click Save. Groups that you choose are synchronized into the cloud and appear in Control Hub under Groups. Any changes to groups in Okta appear in Control Hub. |