- Home
- /
- Article

Thanks for your feedback.

Create schedules in Control Hub
 In this article
 Feedback?
Create different schedules and apply them to auto attendants and user call settings to efficiently route calls based on business hours, holidays, or user availability.
Manage location schedules
You can create business hours or holiday schedules for locations in the organization and apply them to features such as auto attendant. The auto attendant operates based on the defined day and time in the business hours schedule.
You can also apply the schedules created at a location to user's call settings, such as sequential ring, simultaneous ring, or priority alert, within that location.
Create a location schedule
| 1 |
Sign in to Control Hub. |
| 2 |
Go to . |
| 3 |
Select a location and click the Calling tab. |
| 4 |
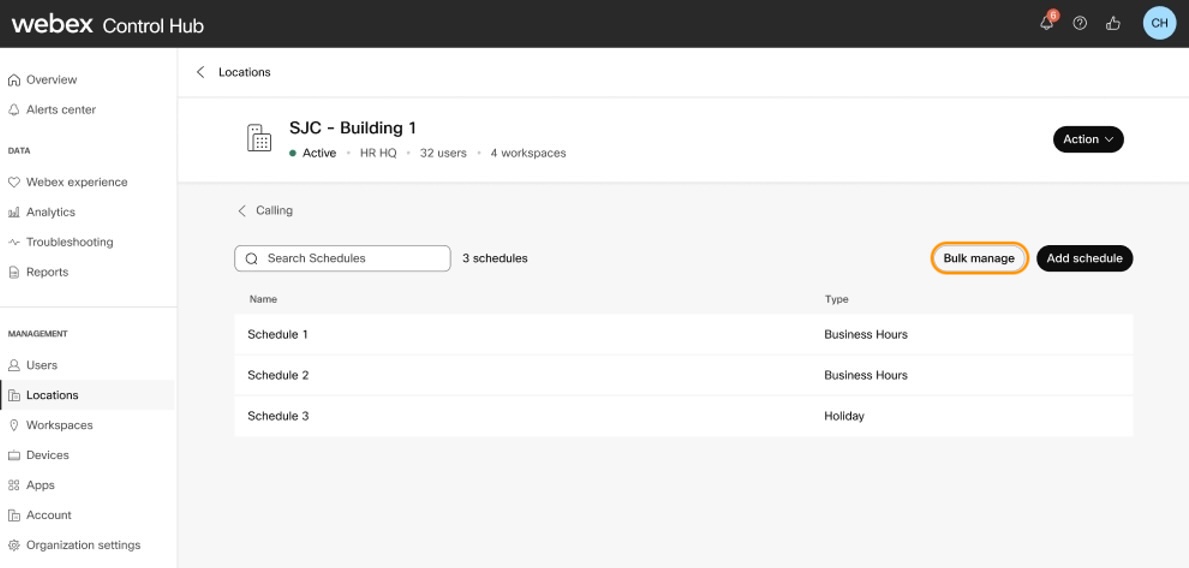
Go to the Calling features settings section and select Schedules. |
| 5 |
Click Add Schedule. |
| 6 |
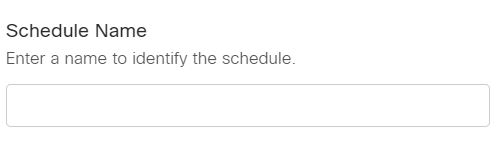
Enter a Schedule Name and choose the Schedule Type as Business Hours or Holiday. Schedule names and event names need to be unique. |
| 7 |
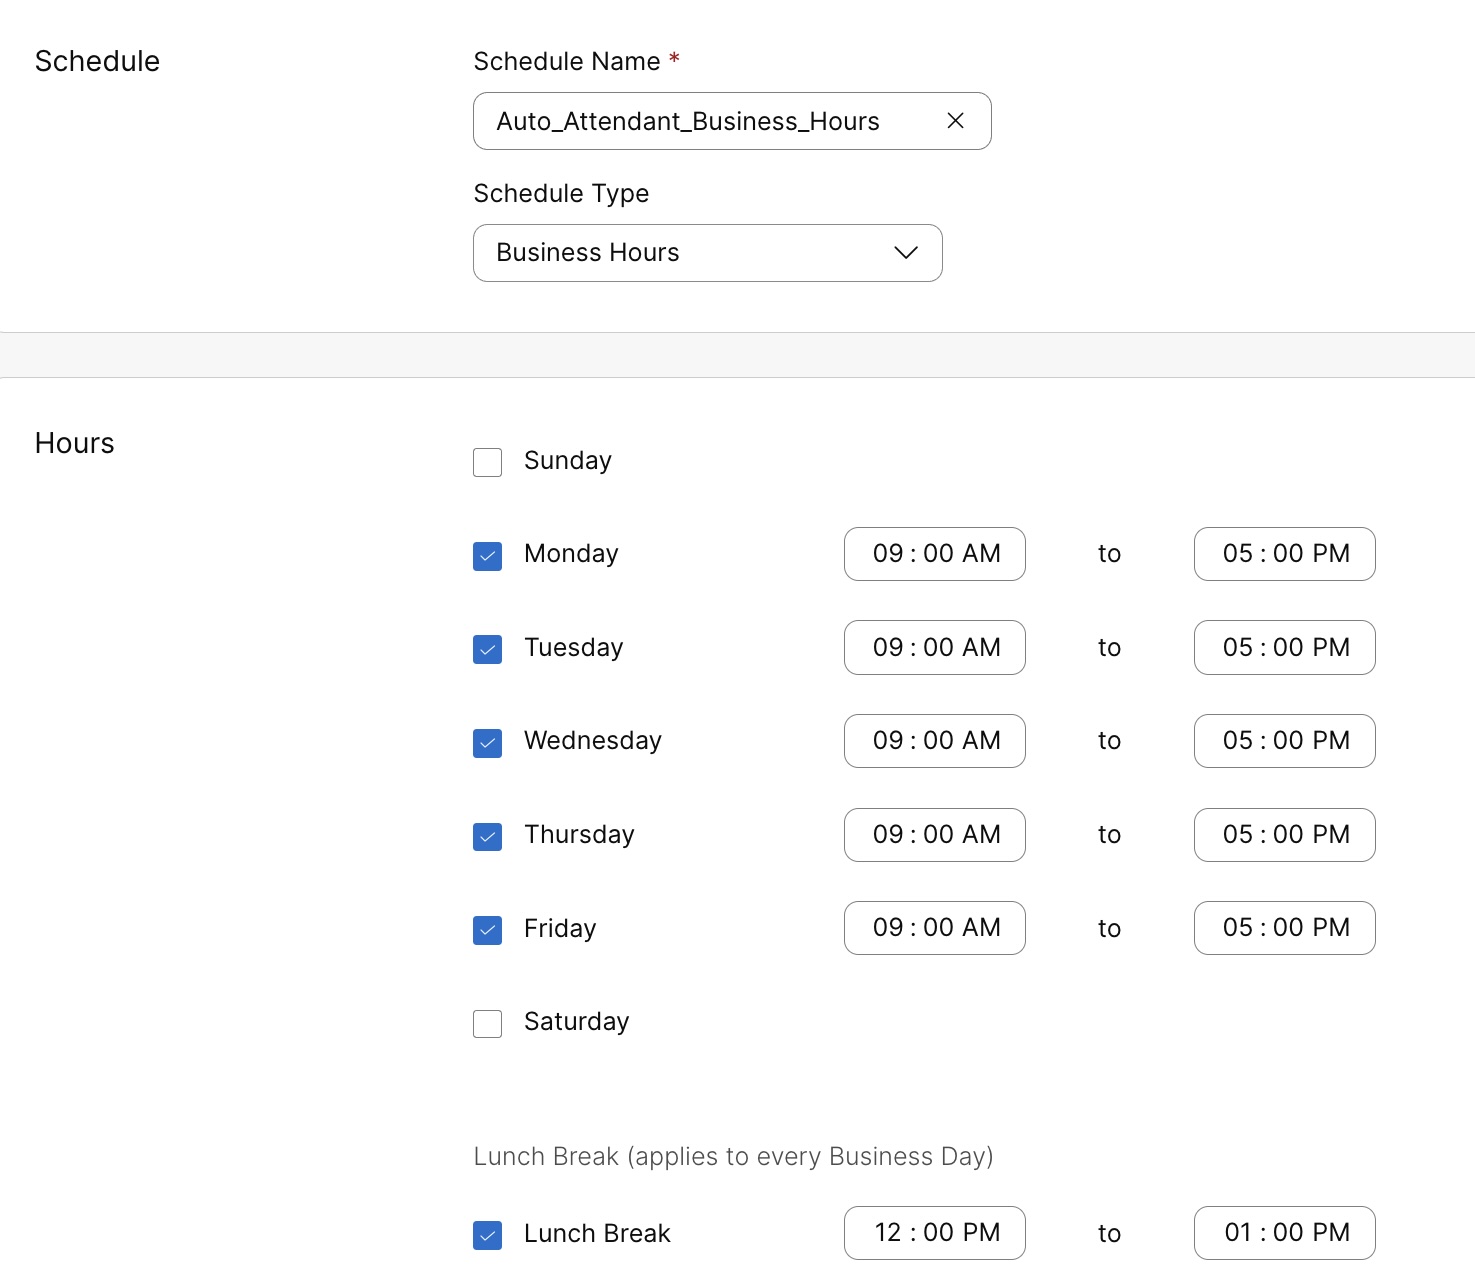
If you choose Business Hours, do the following to determine the schedule for your working hours during the day.
Once you've created the business hours schedule, you can edit the individual events if
you want to update its recurrence as None (a one-time event that
can last multiple days), Weekly (repeats on selected days),
Yearly (repeats on a specific date or day each year), or
All Day (lasts the entire day).
|
| 8 |
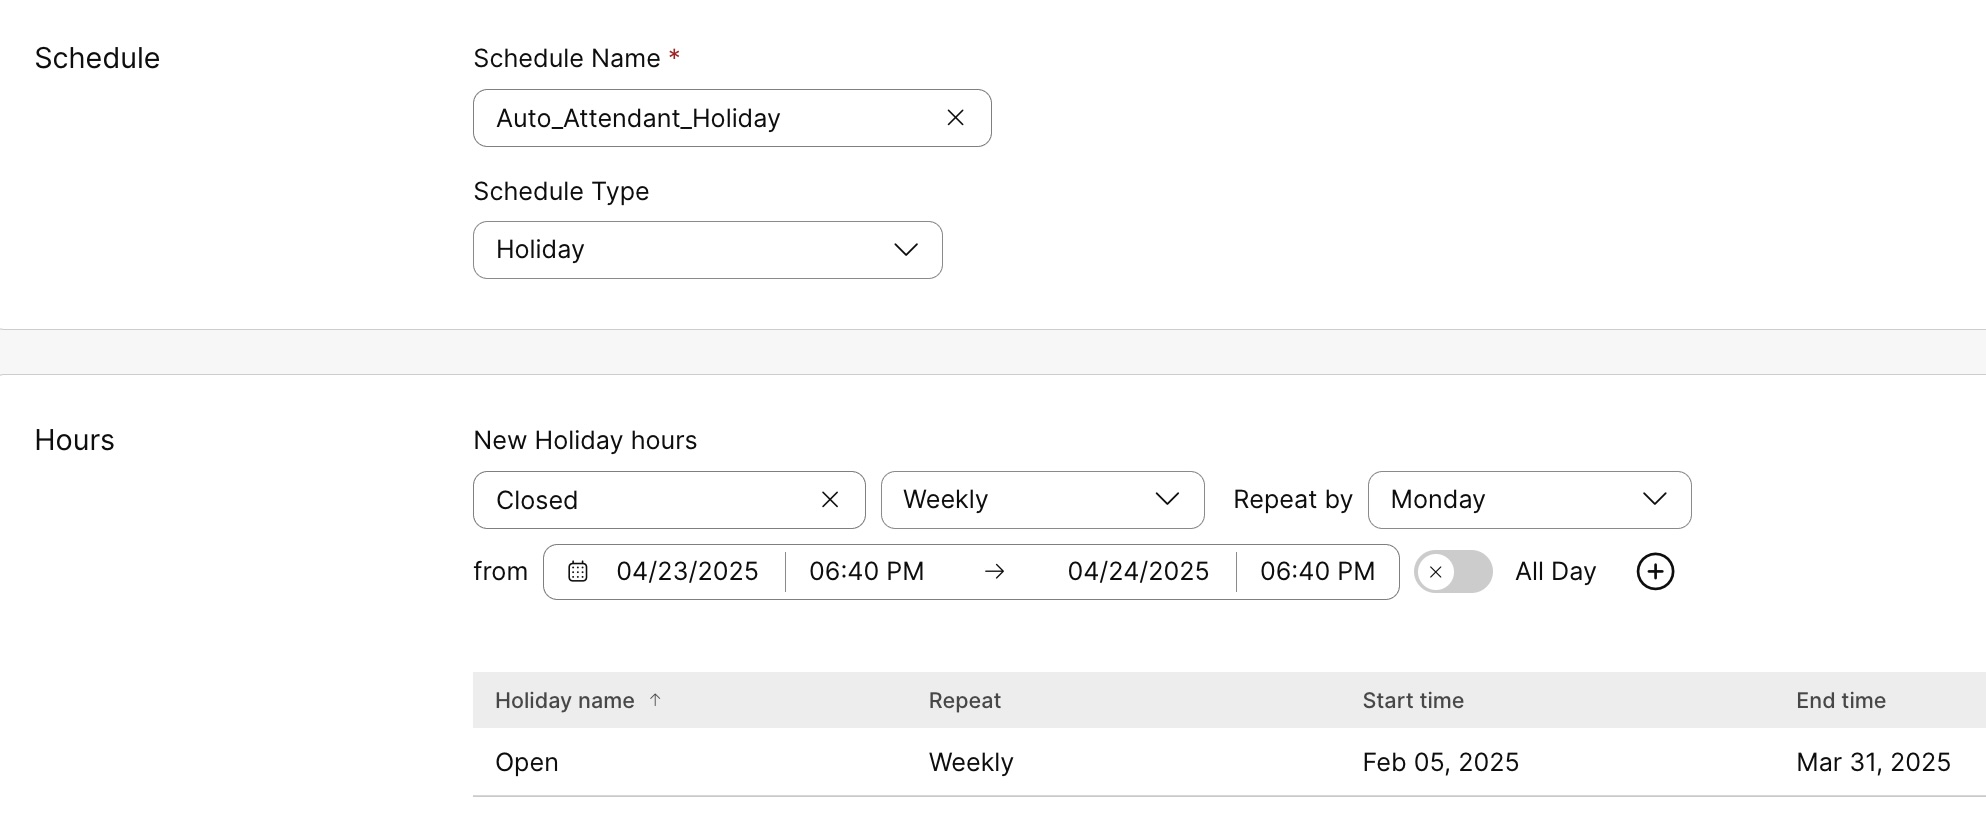
If you choose Holiday, do the following to create a schedule for specific days during the year when your organization isn’t open.
|
| 9 |
Click Save. |

Edit or delete a location schedule
You can change or delete a location schedule at any time. You can also export all the events of the schedule.
Before you begin
To delete a location schedule, you must first remove it from all the features that are using it.
| 1 |
Sign in to Control Hub. |
| 2 |
Go to . |
| 3 |
Select a location and click the Calling tab. |
| 4 |
Go to the Calling features settings section and select Schedules. |
| 5 |
In the list of schedules, hover over a schedule and click |
| 6 |
To export the events of a schedule as a
|
 to make changes or
  to delete.
 .
.
Add or edit schedules for multiple locations
Using bulk import/export of schedule and events CSV, you can add, edit, or delete the schedules in bulk across locations at the same time.
Before you begin
-
Before uploading your Schedule/Events CSV, make sure to read Bulk provisioning Webex Calling elements using CSV to understand the CSV conventions.
-
You can either export your current Schedule/Events, which allows you to add, delete, or modify your existing data set, or you can export a sample set of Schedule/Events. Once modified, the file can be uploaded through the bulk features.
Exporting CSV file into ZIP file format: When exporting data to a CSV file, the number of records may exceed 1000. In such cases, the ZIP file is downloaded, where the ZIP file contains the full set of record(s) in a single CSV file. A separate folder containing all the data is broken down into multiple CSV files with less than 1000 records each. These files are generated for the administrators to quickly import any updates and upload.
-
It’s important to know the mandatory and optional columns, and information that you need to provide when filling out the CVS template. The specific fields for the Schedule/Events CSV are found in the following table.
-
The maximum number of rows is 1,000 (not including the header).
-
Each row can hold a maximum of 10 events.
-
A maximum of 1000 schedules can be created for a location.
-
A maximum of 150 events can be added per schedule.
| 1 |
Sign in to Control Hub. |
| 2 |
Go to . |
| 3 |
Select a location and click the Calling tab. |
| 4 |
Go to the Calling features settings section and select Schedules. |
| 5 |
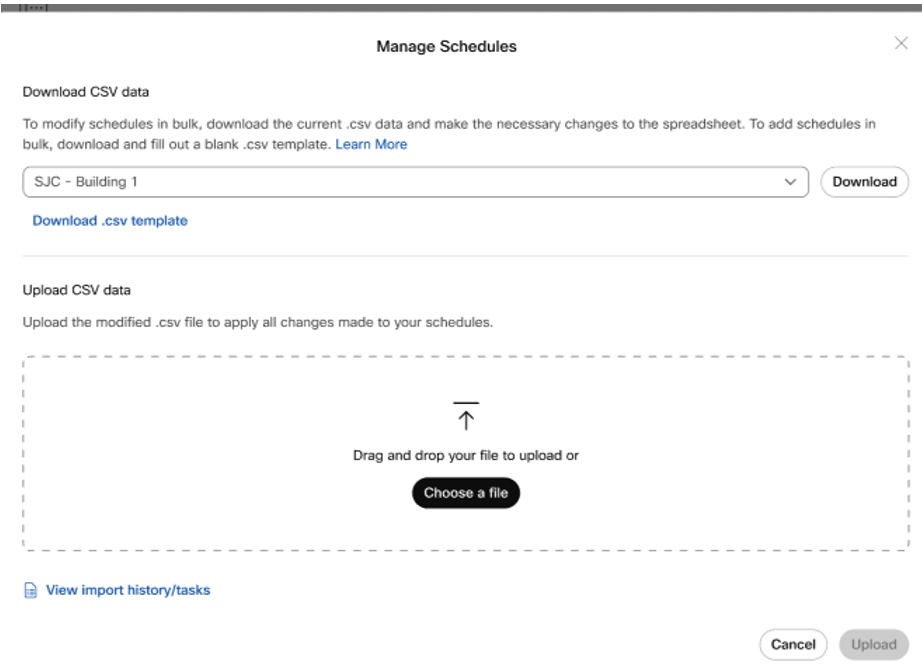
Click Bulk manage. |
| 6 |
In the Manage Schedules pop-up window, choose the location and click Download .csv template. The .CSV template is schedule oriented with multiple events attached to a schedule.
|
| 7 |
Fill out the spreadsheet. |
| 8 |
Drag and drop to upload the CSV file or click Choose a file. |
| 9 |
Click Upload. |
CSV file format reference
Use this table to see what fields are mandatory or optional, and what you need to determine when adding or editing schedules and events in bulk.
| Column | Mandatory/Optional | Description | Supported Value (Example) |
|---|---|---|---|
|
Name |
Mandatory |
Enter a name to identify the schedule. |
Location_A |
|
Location |
Mandatory |
Enter the location of the organization. To duplicate a schedule across multiple locations, copy the schedule record to a new row and associate it with the new location. To make parallel changes to a schedule across multiple locations, do a search/replace on the exported CSV and re-import.
A maximum of 1000 schedules can be created for a location. |
Location A |
|
Schedule action |
Mandatory |
Enter the Schedule action column value to add, modify, and remove. To add a schedule, enter ADD. To modify a schedule, enter the column that you want to update with the new value. To remove a schedule, enter REMOVE. |
ADD REMOVE |
|
Schedule type |
Mandatory |
Enter the type of schedule (Time/Holiday) that you want to add. Enter TIME for adding the business hours schedule and HOLIDAY for adding the holiday schedule. |
TIME HOLIDAY |
|
Event action |
Optional |
In a single row, you can add up to 10 events for the same location. To add more events, proceed with adding a new row. Enter ADD to add an event. Enter REPLACE to replace the previously assigned event details with the new one. Enter REMOVE to remove an event. |
ADD REPLACE REMOVE |
|
Event name |
Optional |
Enter the name of the event. |
Cisco Day |
|
Event start date |
Optional |
Enter the start date of the event in the format YYYY-MM-DD. |
2025-06-18 |
|
Event end date |
Optional |
Enter the end date of the event in the format YYYY-MM-DD. |
2025-06-18 |
|
Event start time |
Optional |
Enter the start time of the event. |
12:00 |
|
Event end time |
Optional |
Enter the end time of the event. |
14:00 |
|
Event recurrence type |
Optional |
Enter the Recurrence as None/Weekly/Yearly by day/Yearly by date. |
None |
|
Event day of recurrence by week |
Optional |
Choose the recurrence based on the event - day of recurrence by week, day of yearly recurrence by day, week of yearly recurrence by day, month of yearly recurrence by day, date of yearly recurrence by date, month of yearly recurrence by date. A maximum of 150 events can be added per schedule. |
- |
|
Event day of yearly recurrence by day |
Optional |
MONDAY |
|
|
Event week of yearly recurrence by day |
Optional |
FIRST |
|
|
Event month of yearly recurrence by day |
Optional |
JANUARY |
|
|
Event date of yearly recurrence by date |
Optional |
- | |
|
Event month of yearly recurrence by date |
Optional |
- |
Manage user schedules
You can create a schedule for a user and apply it only to that user's call settings such as sequential ring, simultaneous ring, or priority alert. These call settings perform the defined actions based on the time frame in the schedule, making it more convenient for users to manage their calls.
Create a user schedule
| 1 |
Sign in to Control Hub. |
| 2 |
Go to . |
| 3 |
Select a user and click the Calling tab. |
| 4 |
Go to the Call handling section and select Schedules. |
| 5 |
Click New Schedule. |
| 6 |
Enter a Schedule Name. 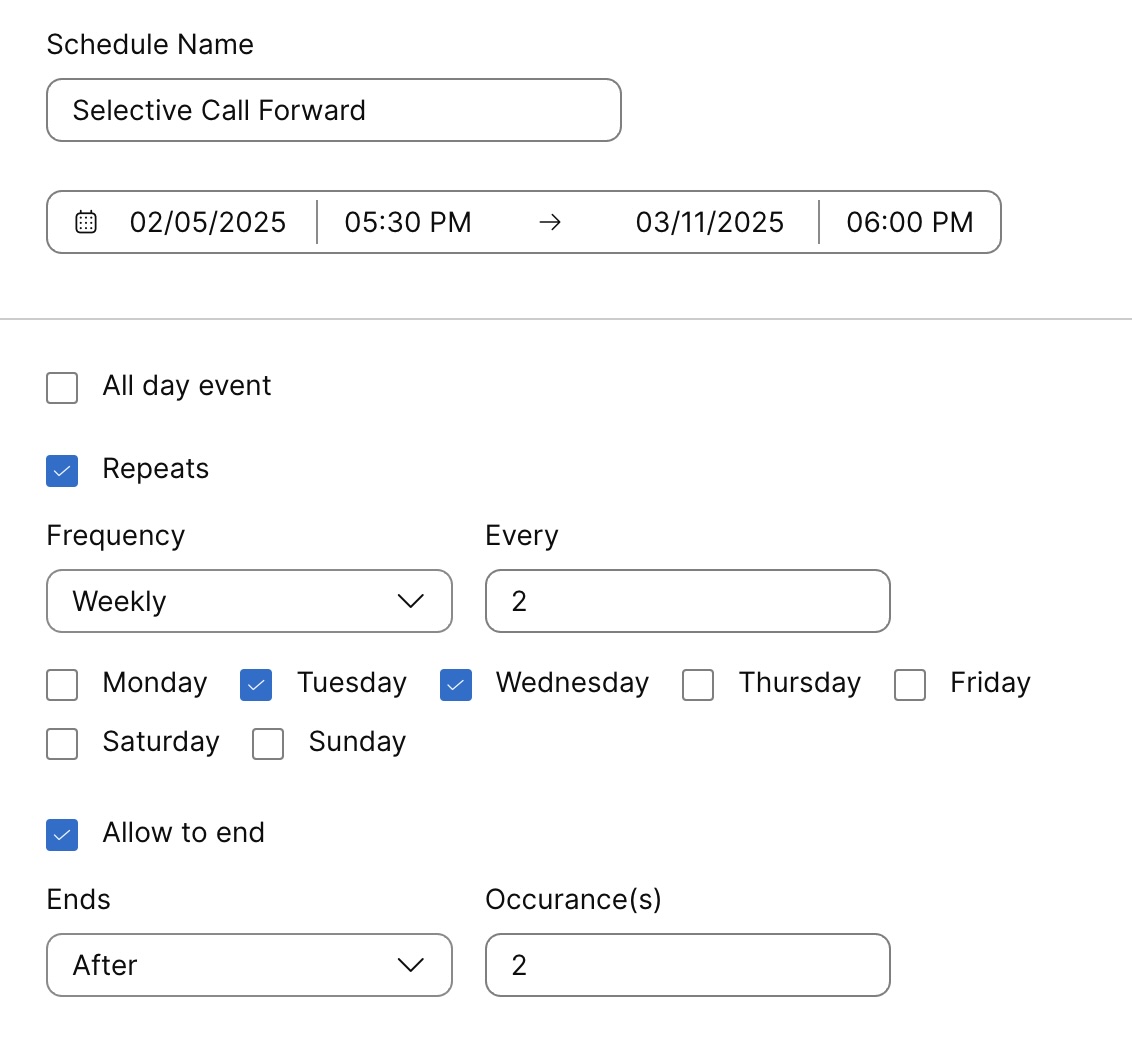
|
| 7 |
Set the schedule start and end date and time. |
| 8 |
Select All day event if the schedule lasts the entire day. |
| 9 |
Select Repeats if you want the schedule to occur repeatedly. Choose one of the following frequencies:
Select Allow to End if you want to define when the repeating schedule should stop. When selected, the Ends drop-down appears with two options:
|
| 10 |
Click Save. A user can also create schedules on their own in the User Hub. For more details, see, Create schedules for call settings. Any changes made to these settings by the user will be reflected in both the User Hub and Control Hub. |
Edit or delete a user schedule
Before you begin
To delete a user schedule, you must first remove it from all the call settings that are using it.
| 1 |
Sign in to Control Hub. |
| 2 |
Go to . |
| 3 |
Select a user and click the Calling tab. |
| 4 |
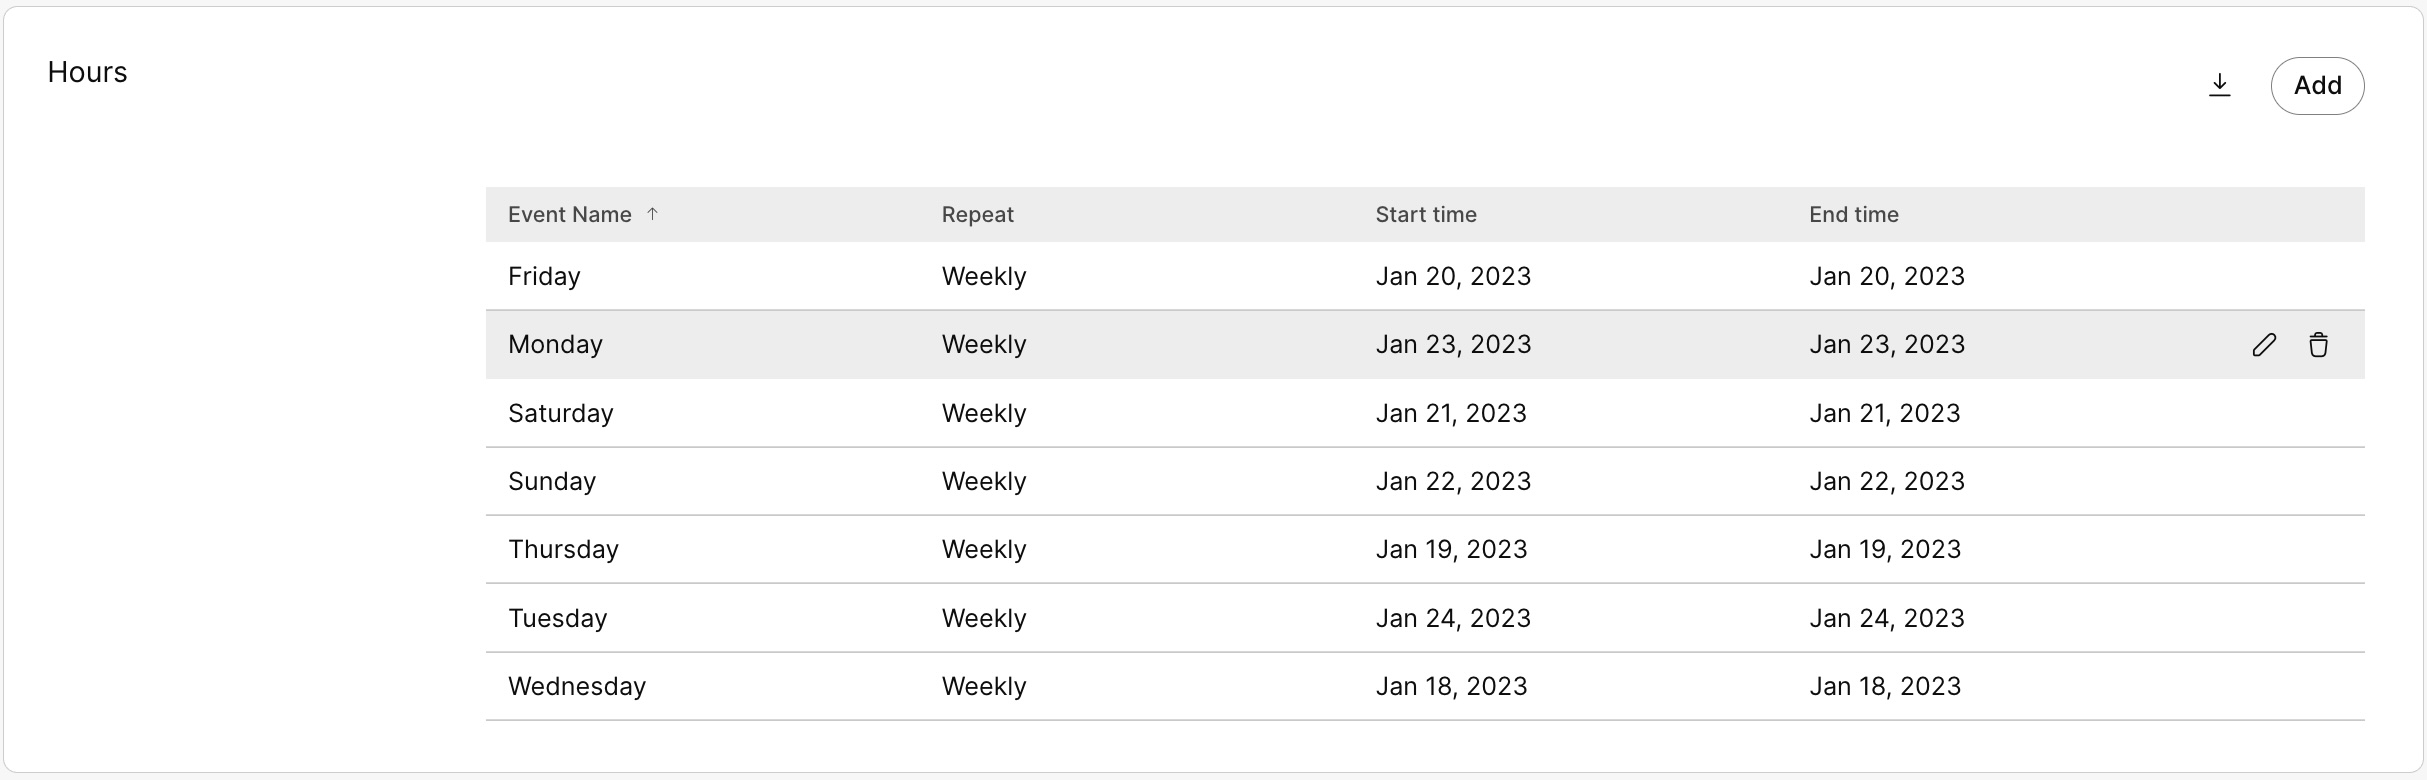
Go to the Call handling section and select Schedules. The list of the schedules and events created appears.
|
| 5 |
To add more events to a schedule, expand the schedule and click Add event. |
| 6 |
To delete a schedule, click
|
 and choose