If you're going to be away from your desk but don't want to miss an important phone call, you can forward your calls to another phone number. Or, if you don't want to be interrupted, you can send all your calls to voicemail instead. If you forward your calls to another number, you won't get called in Webex App anymore. So, be sure to turn call forwarding off when you're ready to take calls in the app again.

How you set up your call forwarding, depends on the phone service you have. If you're not sure, there's an easy way to tell.
If you don't see the Call Forward setting, you might need to turn it on first in the Self Care portal. You might be familiar with using the Self Care portal to set up options for your phone. Webex App uses those settings and lets you conveniently add to them from the app.
| 1 |
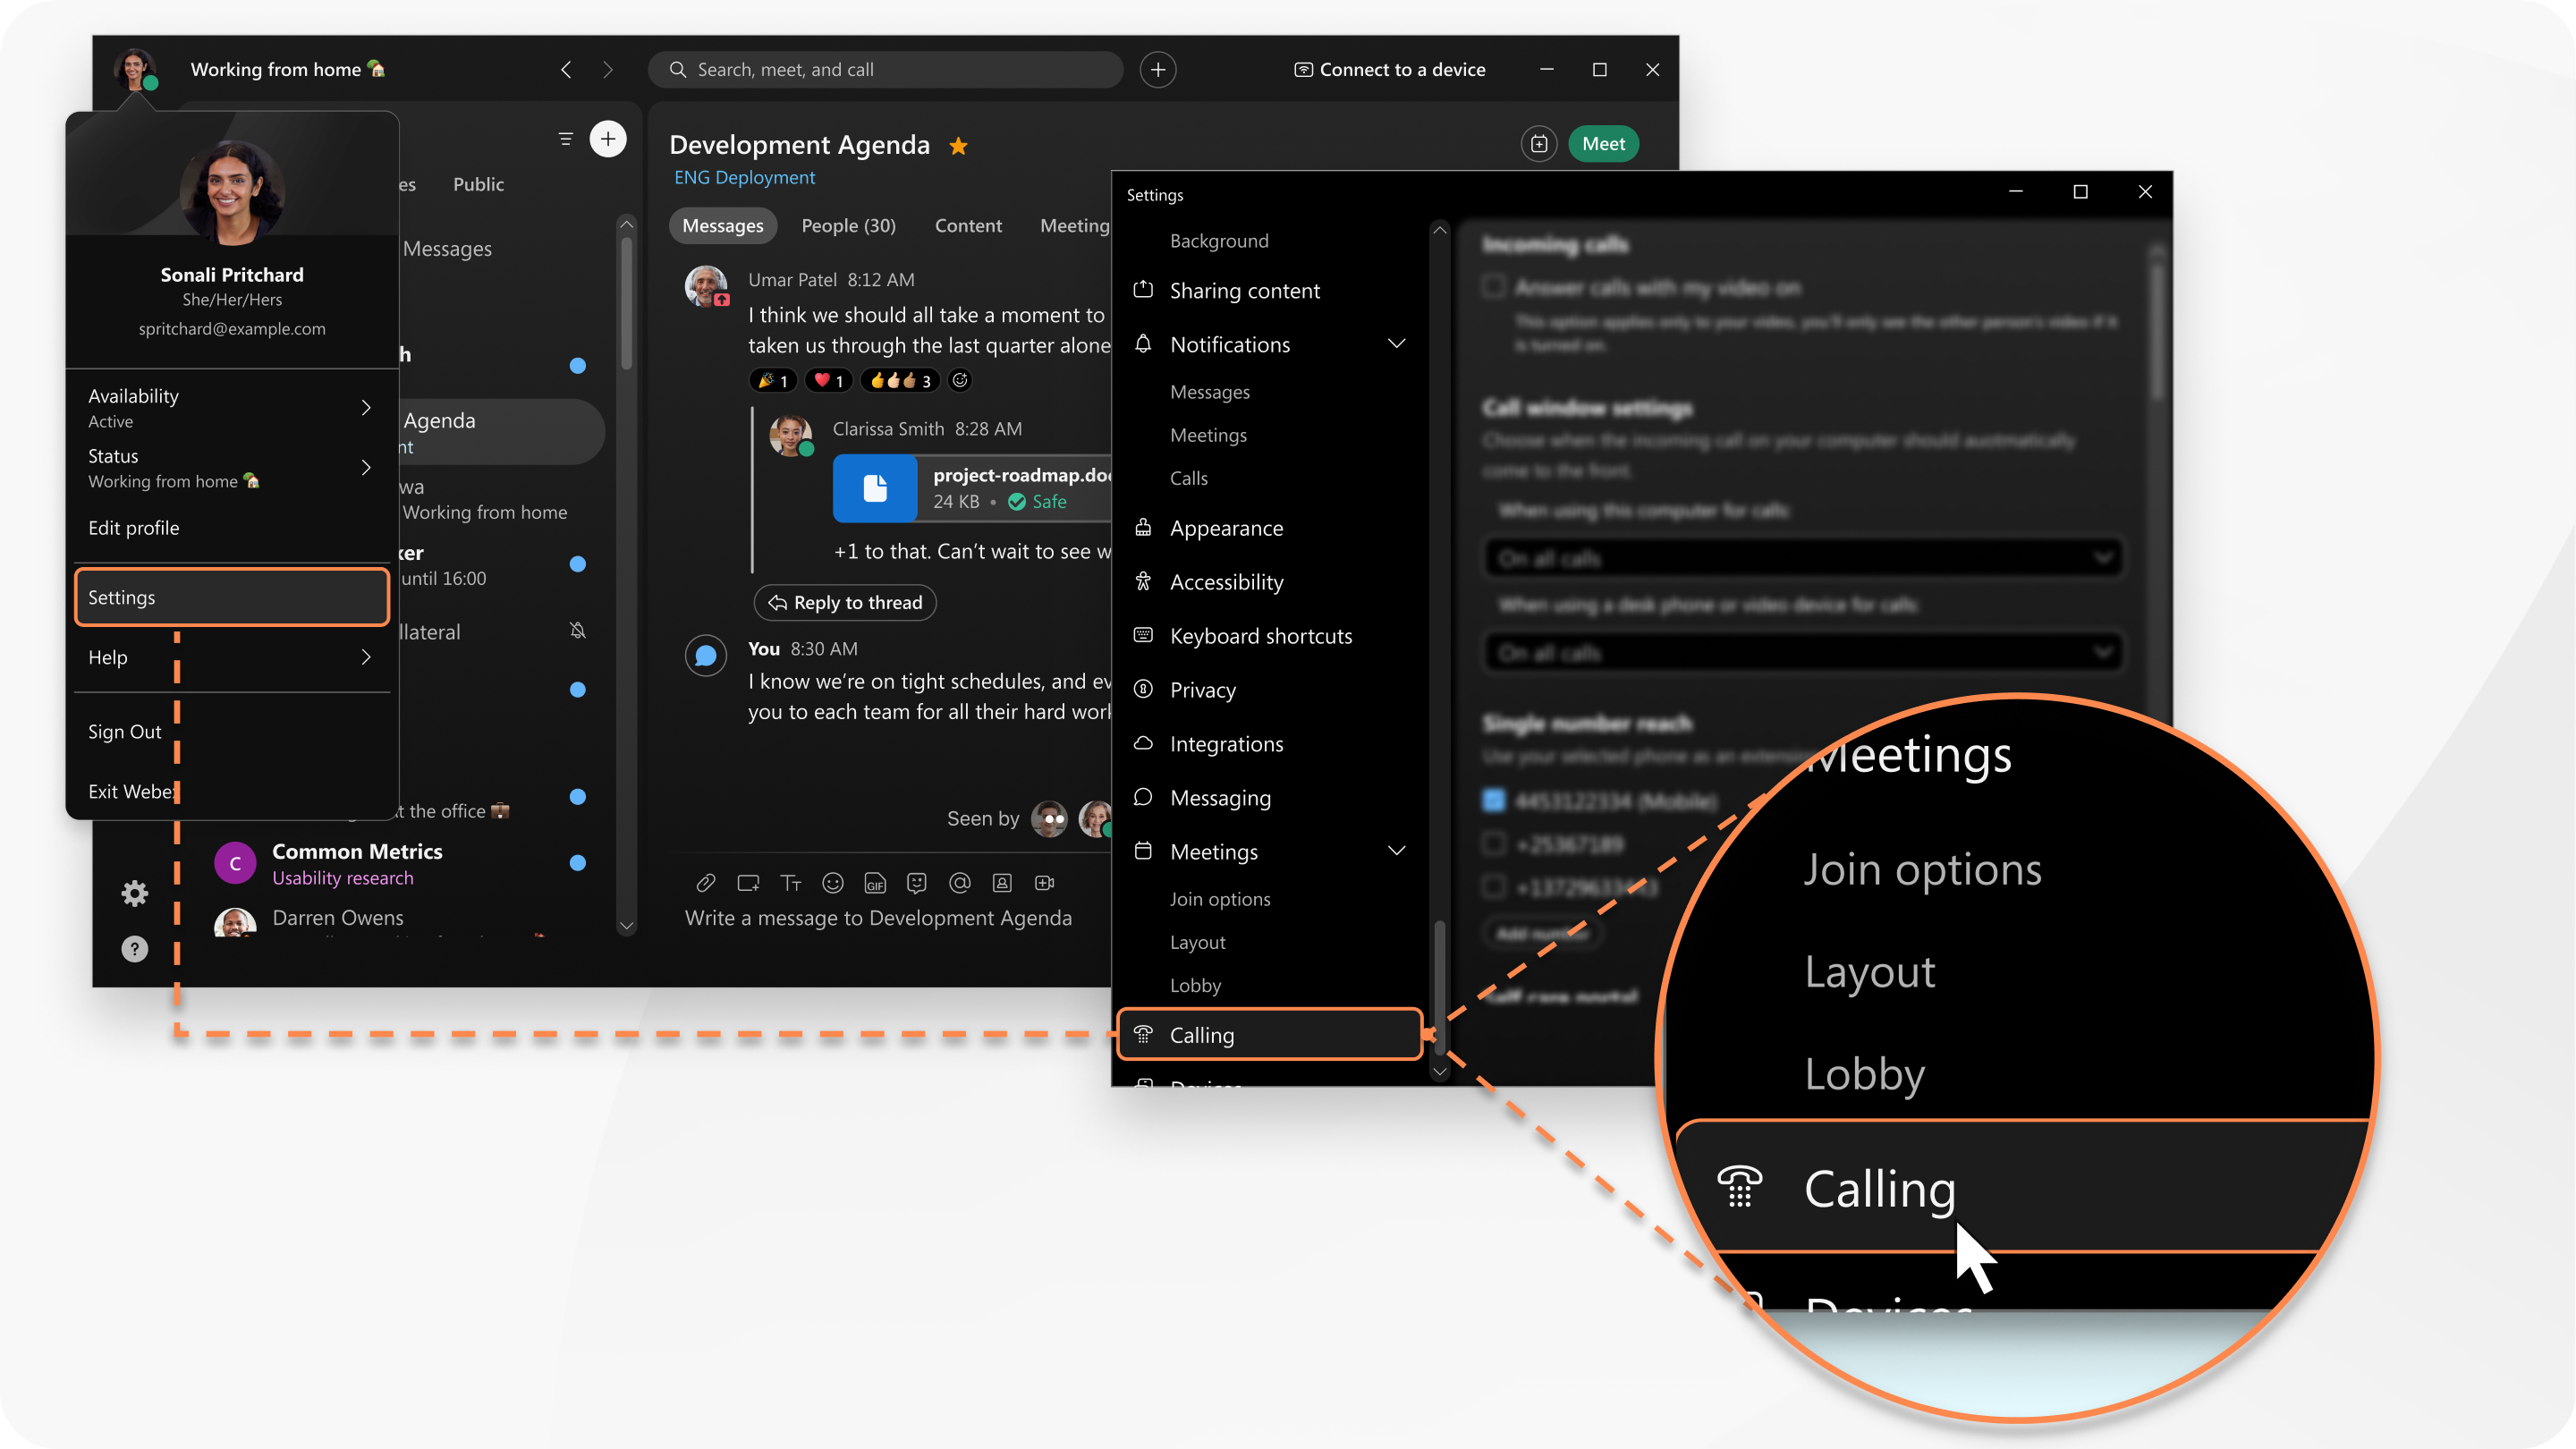
Click Settings
|
| 2 |
Scroll to Additional Call Settings and then click Advanced Call Settings to open the portal in a web browser. |
| 3 |
Select My Phones and follow the instructions to add the number you want to forward your phone calls to. |
| 4 |
After you've turned on call forwarding, you can go to Phone and forwarding settings
|
| 1 |
Click Settings
|
| 2 |
Go to Call Forward and then add a number to forward calls to or choose to forward your calls to voicemail. After you've turned on call forwarding, Phone and forwarding settings |
|
Tap your profile picture, go to , and then choose where you want to forward your phone calls, such as to voicemail or a number you've set before. Or, you can add another number. When you're finished, the Calling icon at the bottom of your app changes in appearance and you see a banner at the top of your Calling list showing you where your calls are being forwarded. |
 on the navigation sidebar, and then click
  in the footer of your app and select where to forward your phone calls. From there, you can forward calls to your voicemail, another work line if you have multiple lines, or a number you've set before. Or, to add a new number, go to
