- Home
- /
- Article

Thanks for your feedback.

Choose which calls you accept, reject, and forward
 In this article
 Feedback?
You can create different rules to accept, reject, or forward certain calls based on the phone number, who's calling, and/or the time and day of the call.
Selective capabilities (accept, reject, forward) of a call take precedence over other call settings.
Before you begin
-
Your administrator must have enabled this feature for you to access and configure it. If you don’t see this setting, check with your administrator.
-
You can configure all the call settings from the User Hub by navigating to .
The Calling option is available only for users with the Webex Calling license. If you don’t see the Calling option, it means you don’t have the Webex Calling license.
If you want to find out which calling service you’re set up with, you can check from the Webex App. For more details, see Find out what calling service you have.
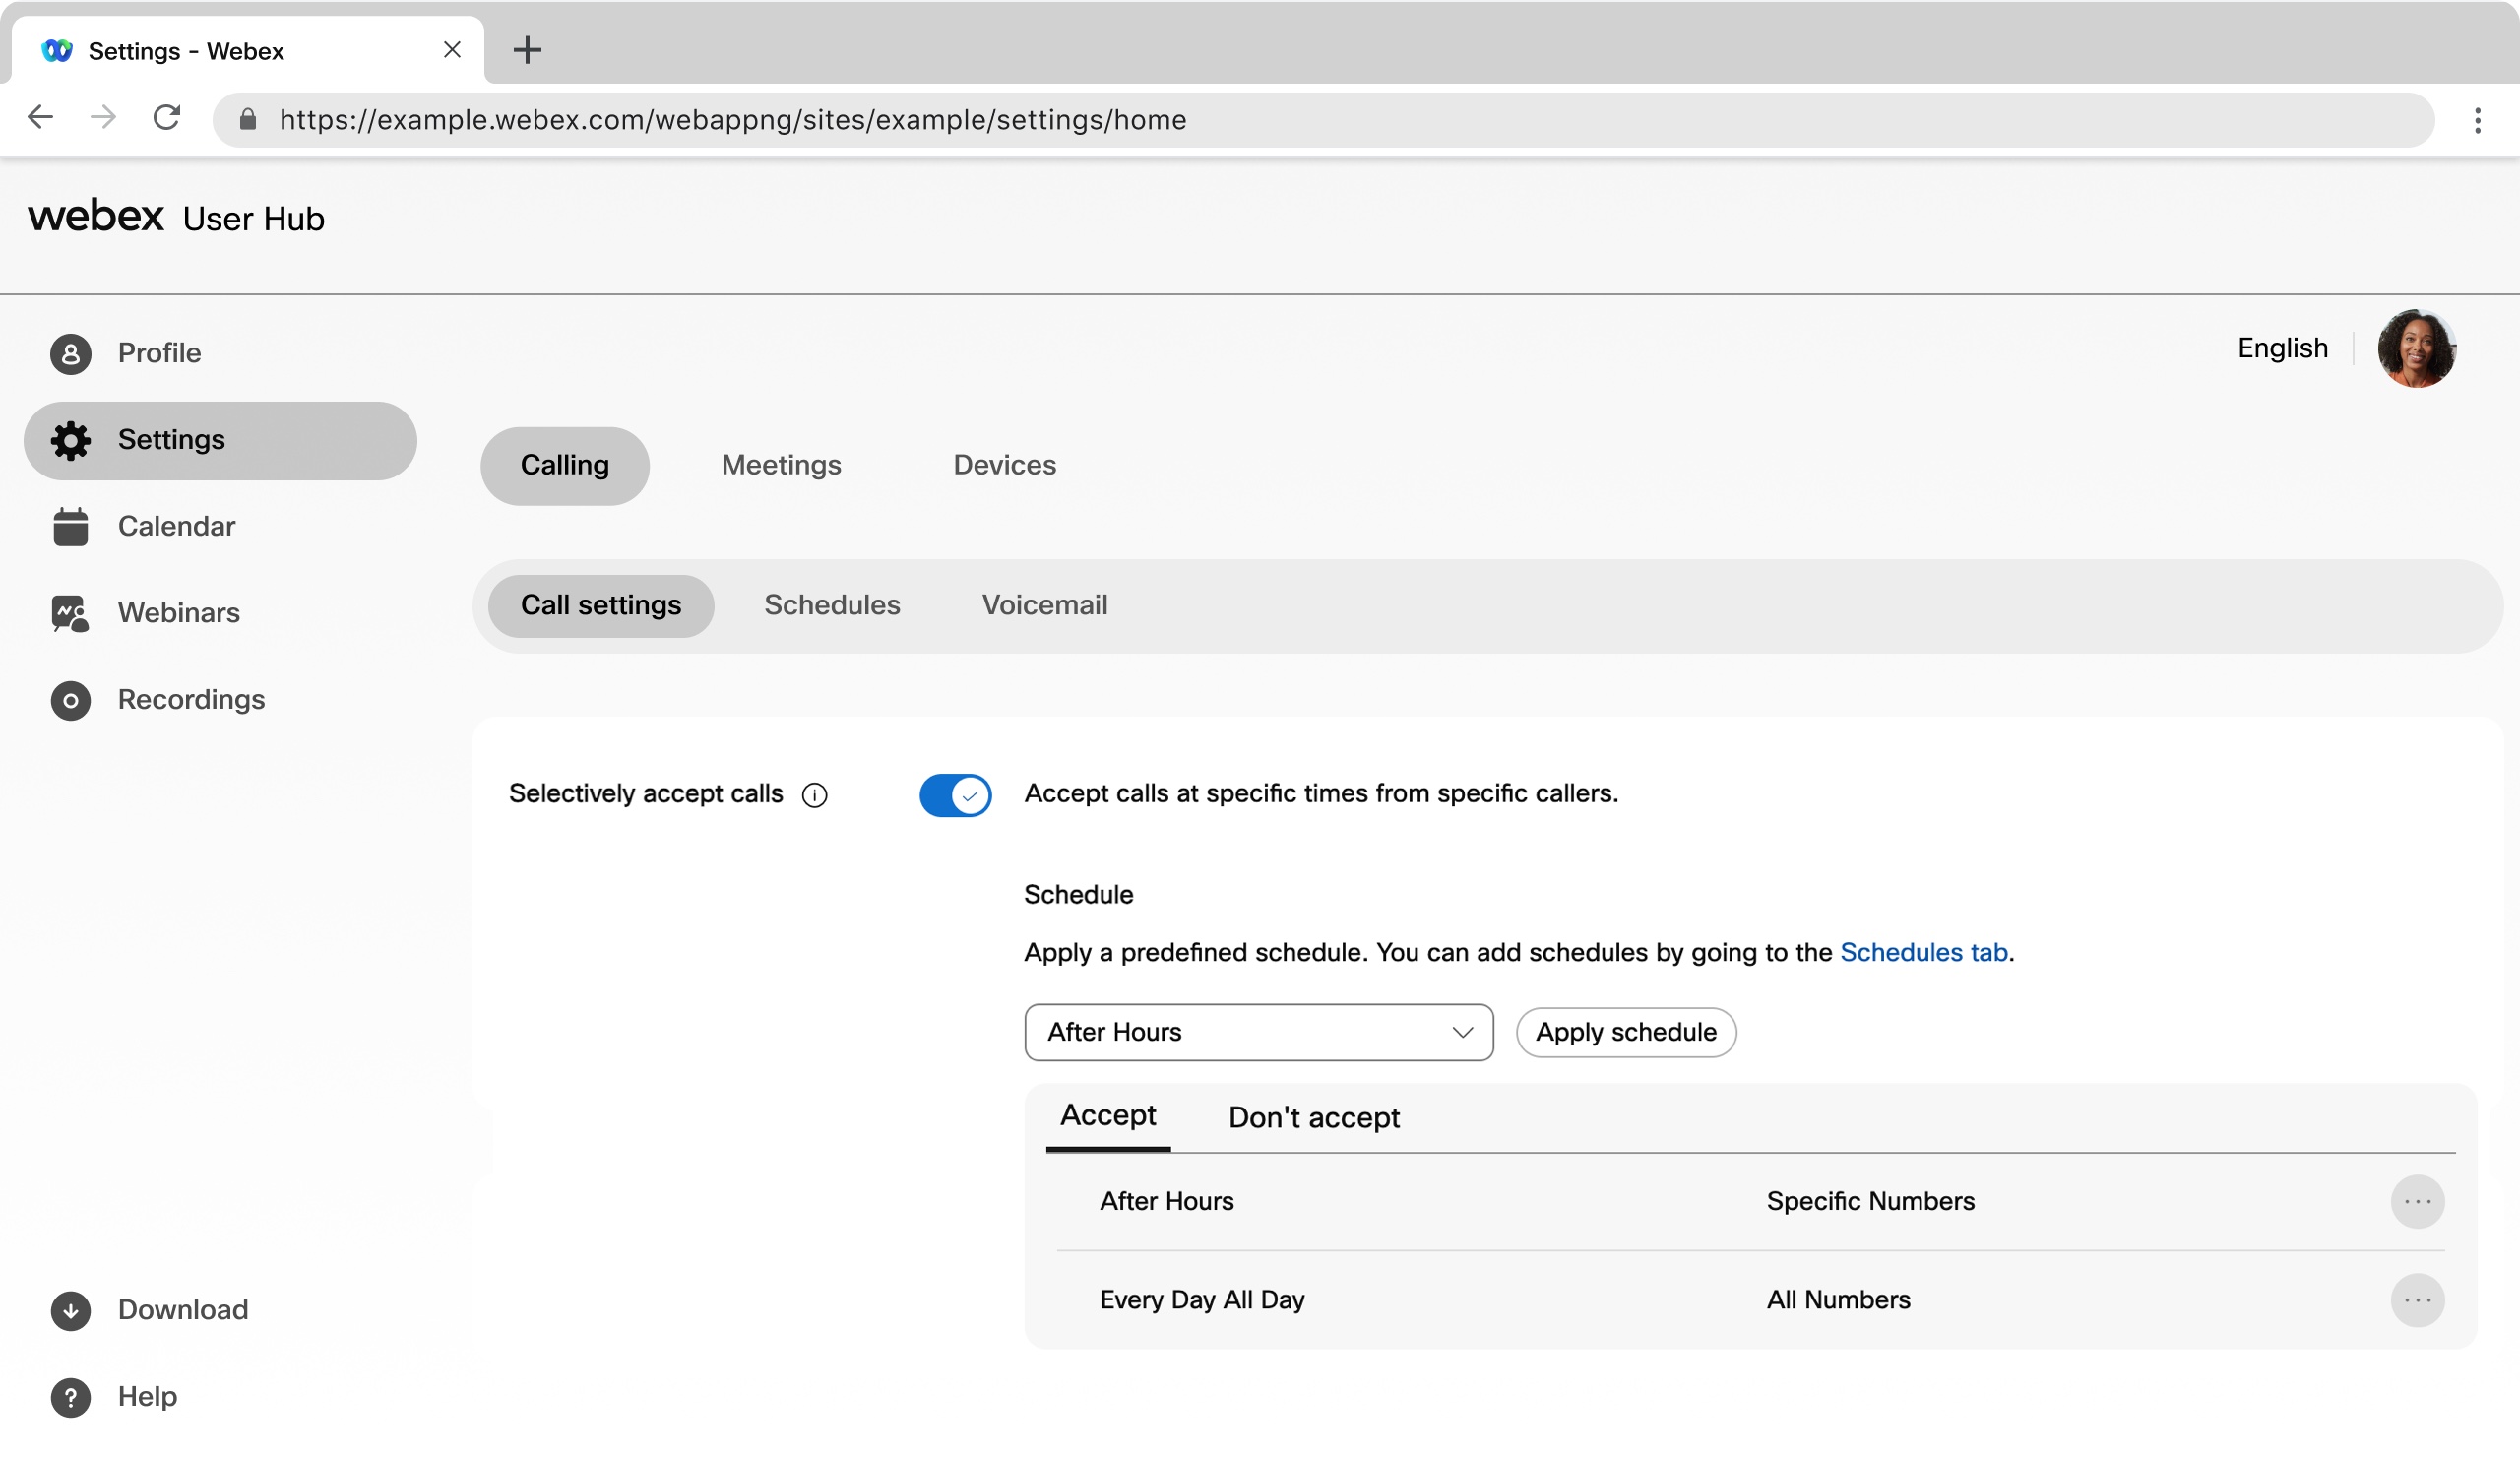
Selectively accept calls
You can accept calls at specific times from specific callers.
| 1 |
Sign in to User Hub. |
| 2 |
Go to . |
| 3 |
Go to the Selectively Accept Calls section and turn on the toggle. |
| 4 |
Select a predefined schedule from the drop-down list. If you don’t see a schedule that you want to use for this setting, you can add a schedule on the Schedules tab. For more information, see Create a schedule for call settings. |
| 5 |
Click Apply schedule to set the following parameters:
|
| 6 |
Click Save. Your schedule is added to an Accept or Don't Accept table. You can edit or delete schedules from the tables, as needed. Don't Accept takes precedence over Accept. |
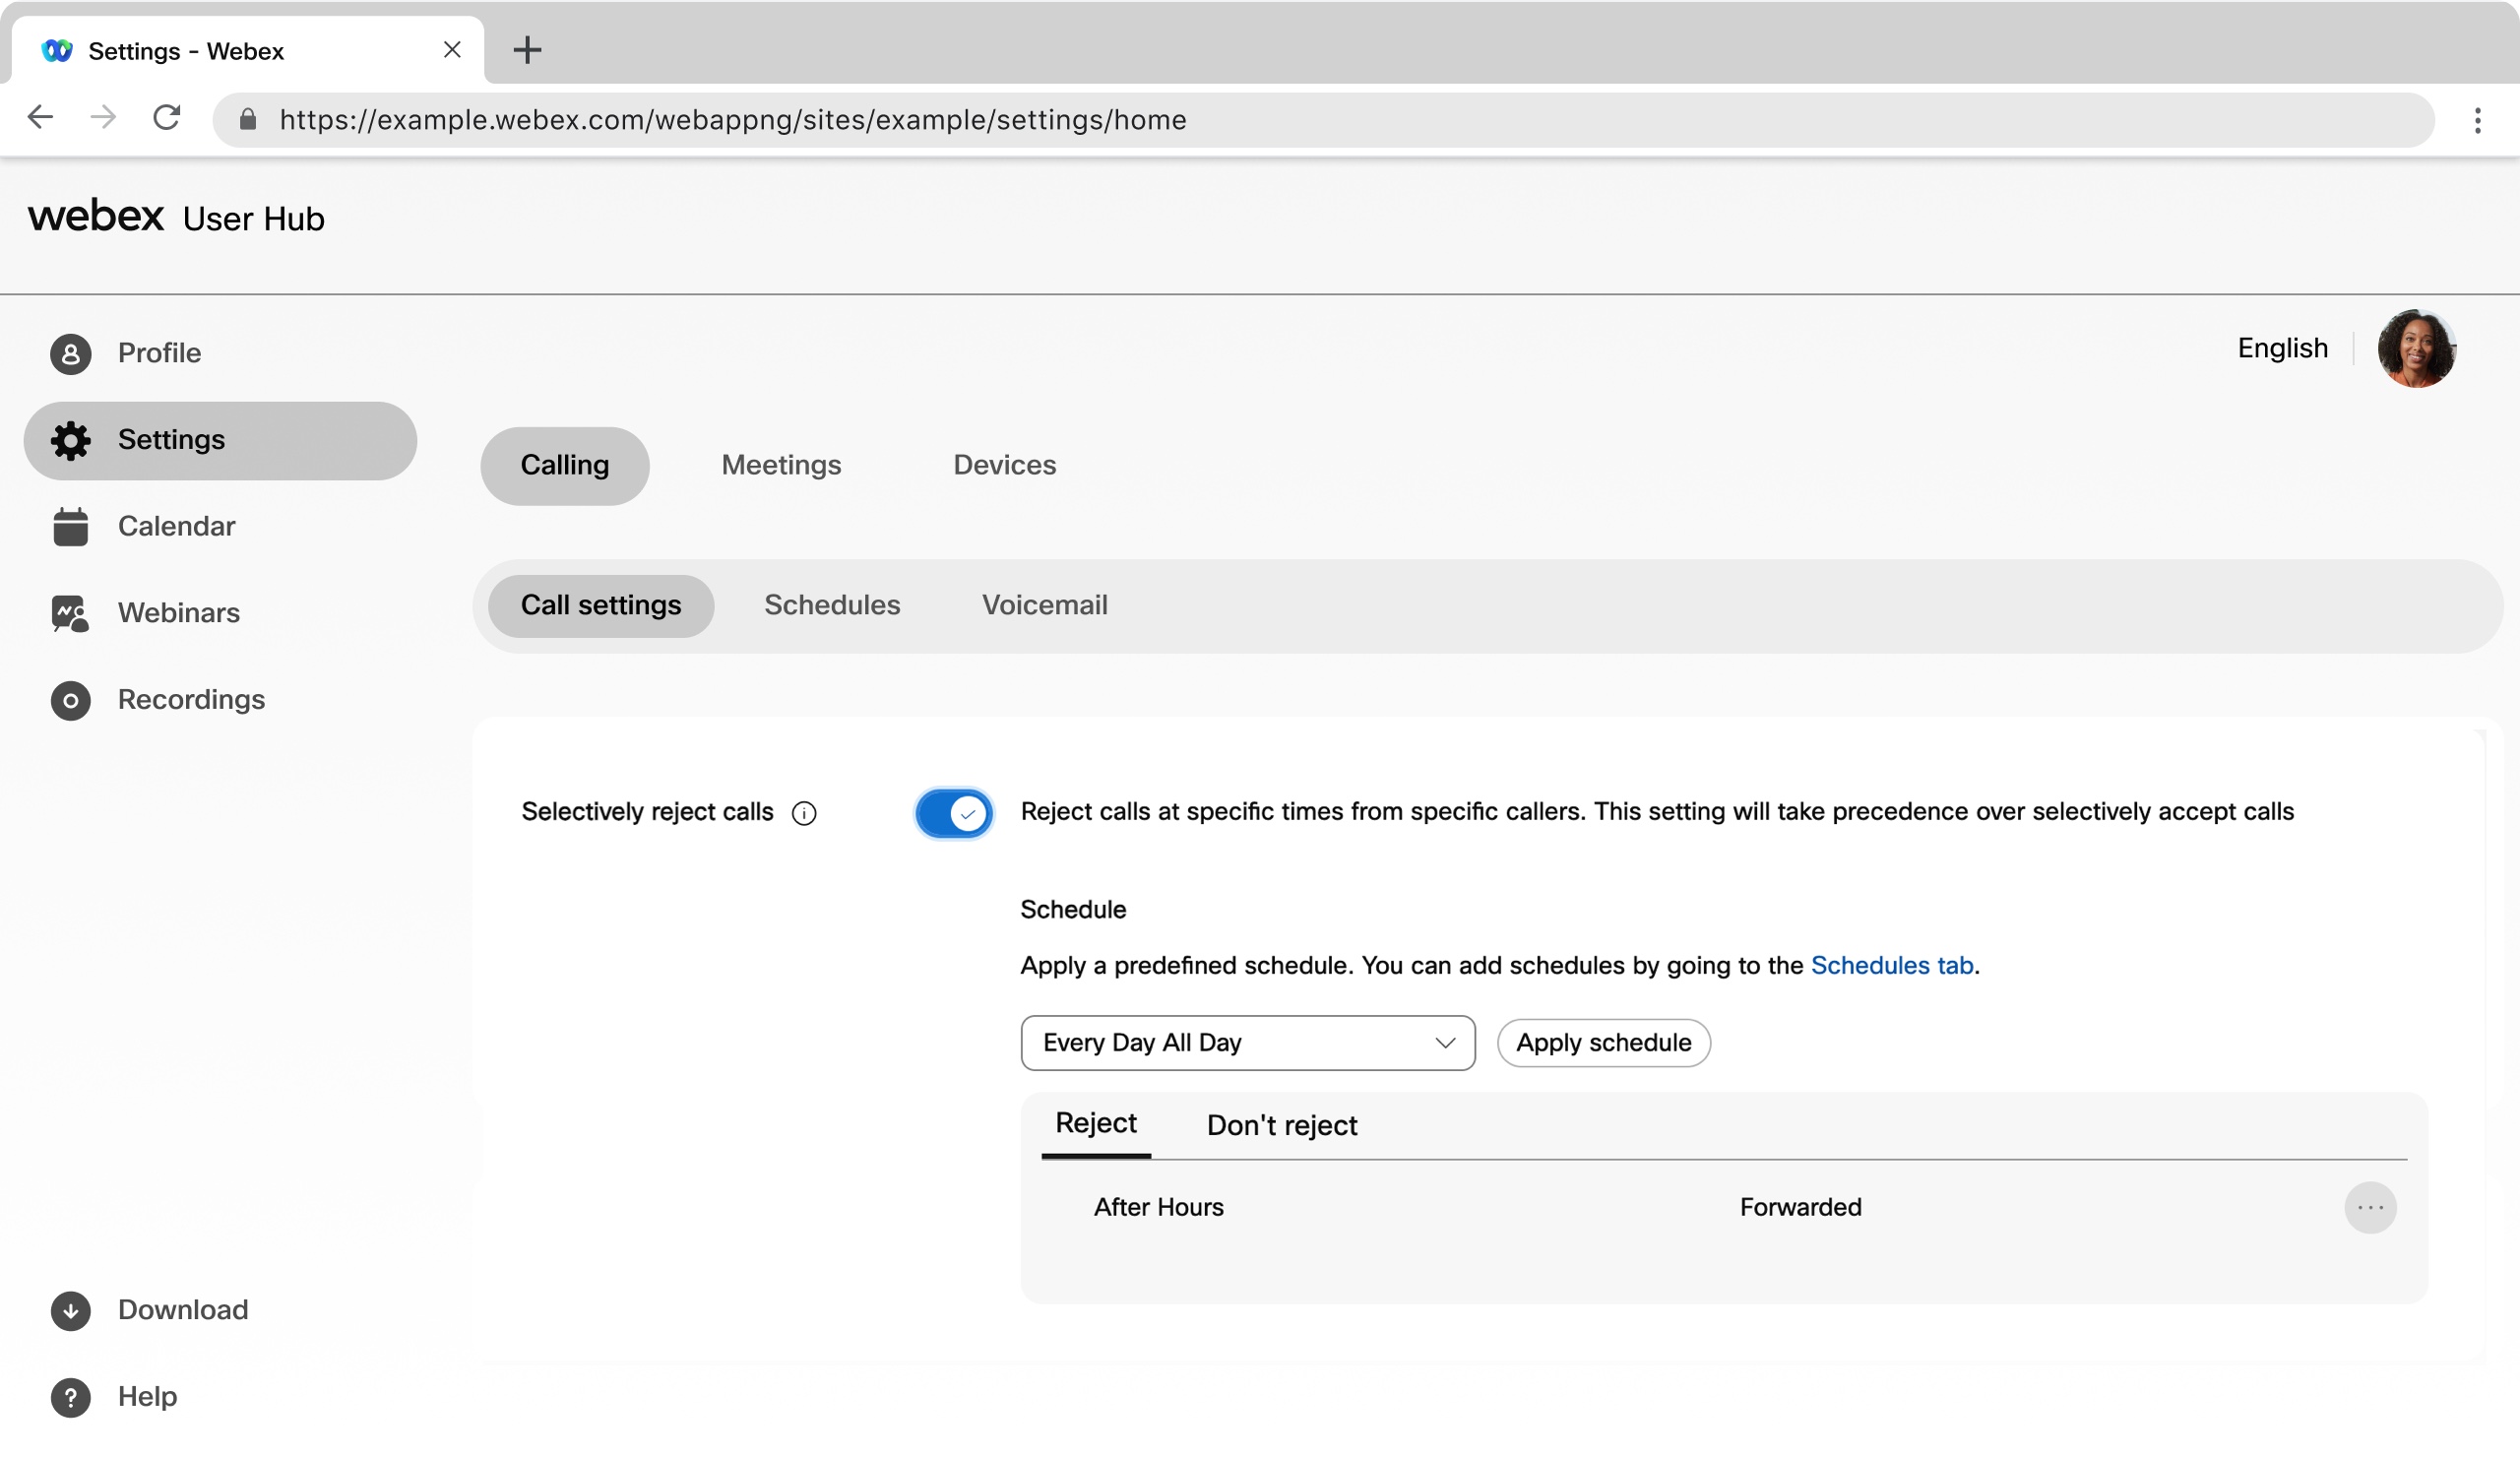
Selectively reject calls
You can reject calls at specific times from specific callers. This setting takes precedence over Selectively Accept Calls.
| 1 |
Sign in to User Hub. |
| 2 |
Go to . |
| 3 |
Go to the Selectively Reject Calls section and turn on the toggle. |
| 4 |
Select a predefined schedule from the drop-down list. If you don’t see a schedule that you want to use for this setting, you can add a schedule on the Schedules tab. For more information, see Create a schedule to apply to call settings. |
| 5 |
Click Apply schedule to set the following parameters:
|
| 6 |
Click Save. Your schedule is added to an Reject or Don't Reject table. You can edit or delete schedules from the tables, as needed. Don't Reject takes precedence over Reject. |
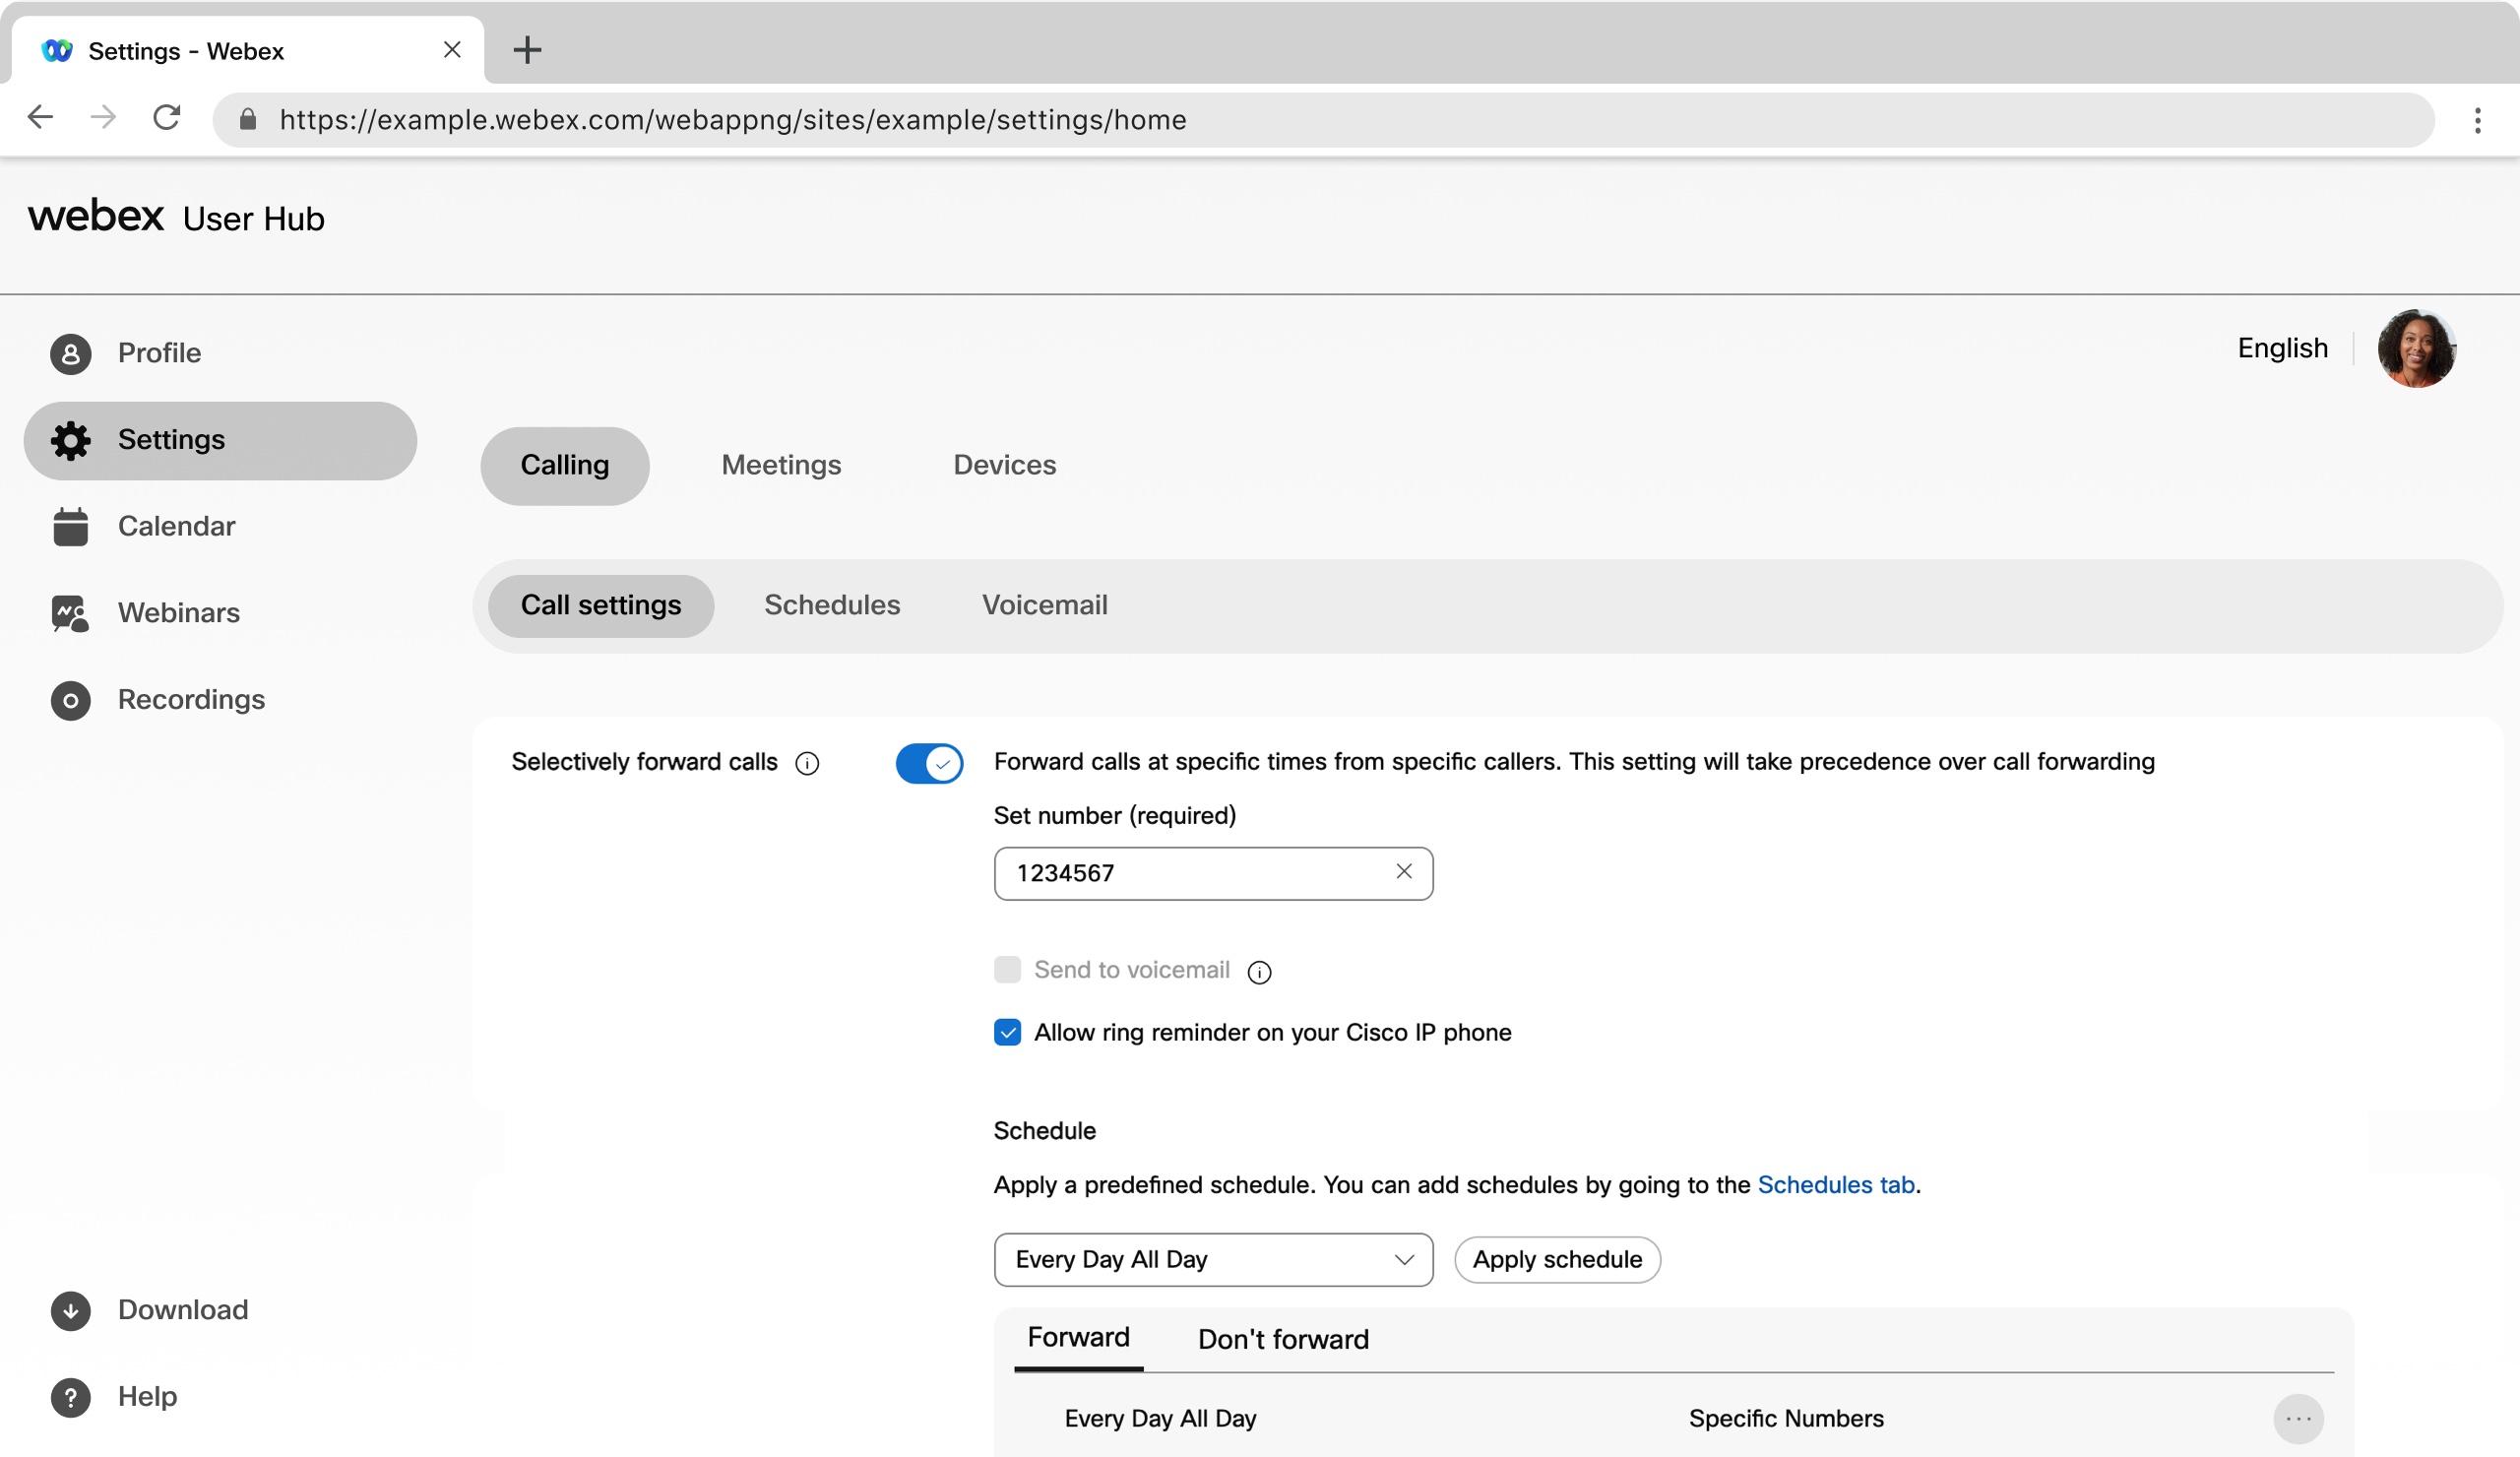
Selectively forward calls
You can forward calls at specific times from specific callers. This setting takes precedence over call forwarding.
| 1 |
Sign in to User Hub. |
| 2 |
Go to . |
| 3 |
Go to the Selectively Forward Calls section and turn on the toggle. |
| 4 |
Enter the phone number to forward calls to. |
| 5 |
Select Send to voicemail to forward all calls to voicemail. The Send to voicemail option is only available for internal phone numbers or extensions. |
| 6 |
Select Enable ring reminder on your Cisco IP phone to enable a ring reminder for these calls. |
| 7 |
Select a predefined schedule from the drop-down list. If you don’t see a schedule that you want to use for this setting, you can add a schedule on the Schedules tab. For more information, see Create a schedule to apply to call settings. |
| 8 |
Click Apply schedule to set the following parameters:
|
| 9 |
Click Save. Your schedule is added to a Forward or Don't Forward table. You can edit or delete schedules from the tables, as needed. Don't Forward takes precedence over Forward. |


