Schedule and join meetings with Webex Scheduler for Microsoft Outlook
 Feedback?
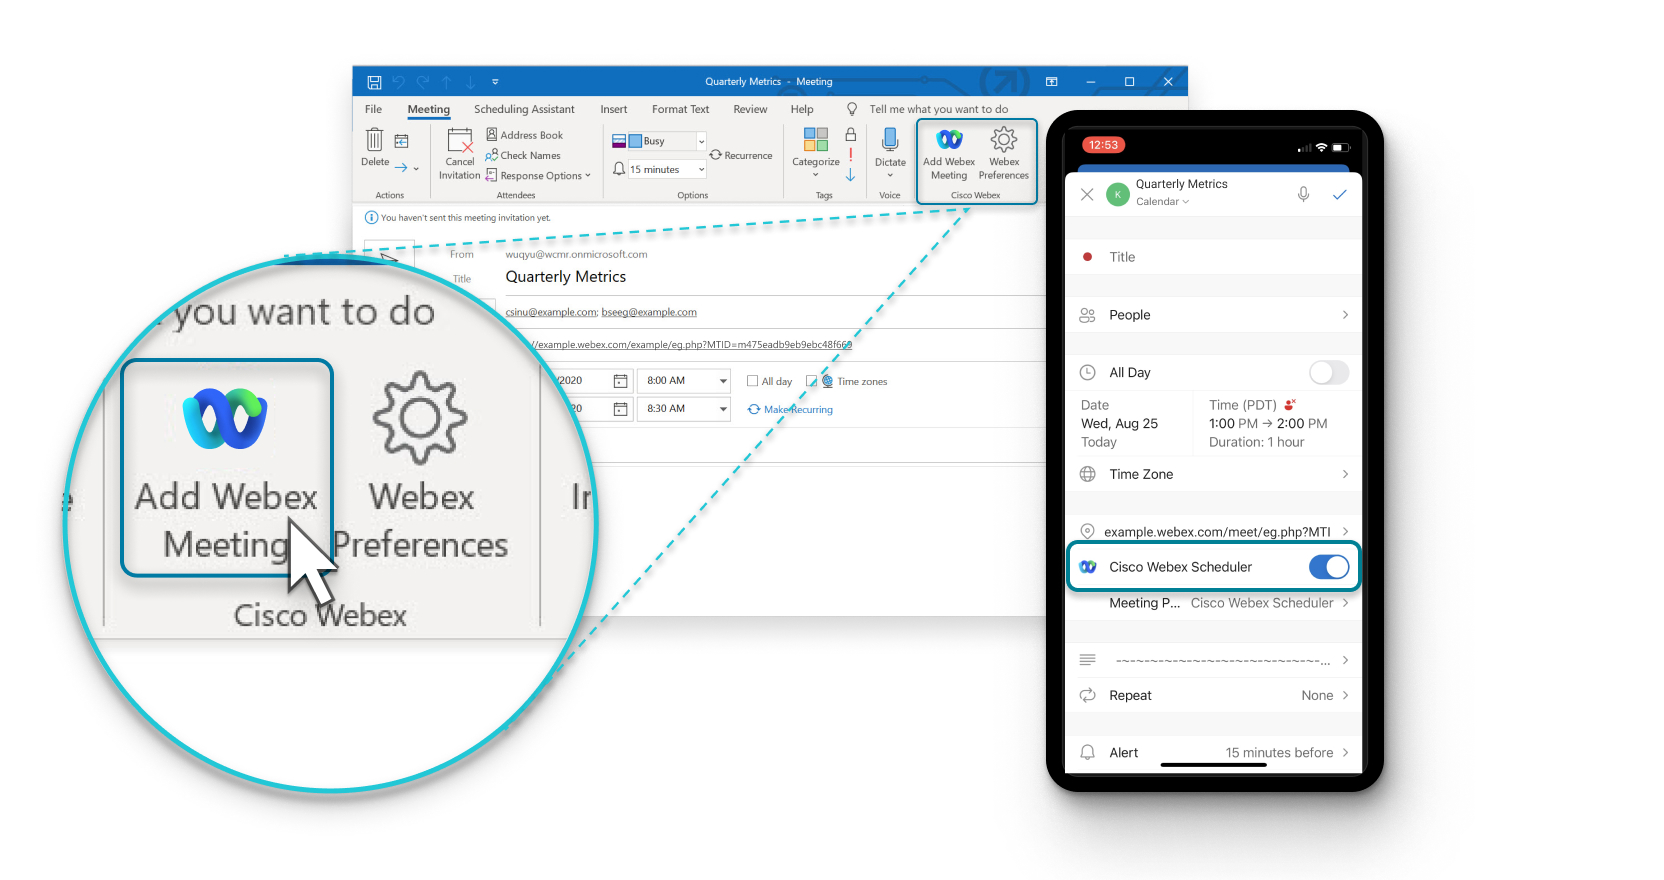
If you have a Microsoft 365 acccount and your administrator hasn’t installed the Webex Scheduler add-in, you can install the app yourself.
| 1 |
Go to Microsoft AppSource. |
| 2 |
Search for the |
| 3 |
Select Get it now and follow the on-screen instructions. After you've added the app, follow the instructions in Set your Webex site in Outlook. |
Before you can schedule a meeting using the Webex Scheduler, you must specify the Webex site to use with your account.
| 1 |
If you're using Outlook for desktop, in the Cisco Webex group on the ribbon, select Add Webex Meeting.  If you're using Outlook on the web, select . To see this option, you or your administrator must have added the Webex Scheduler add-in and your Webex site administrator must have configured the Webex Scheduler for Microsoft 365. The Welcome screen appears. 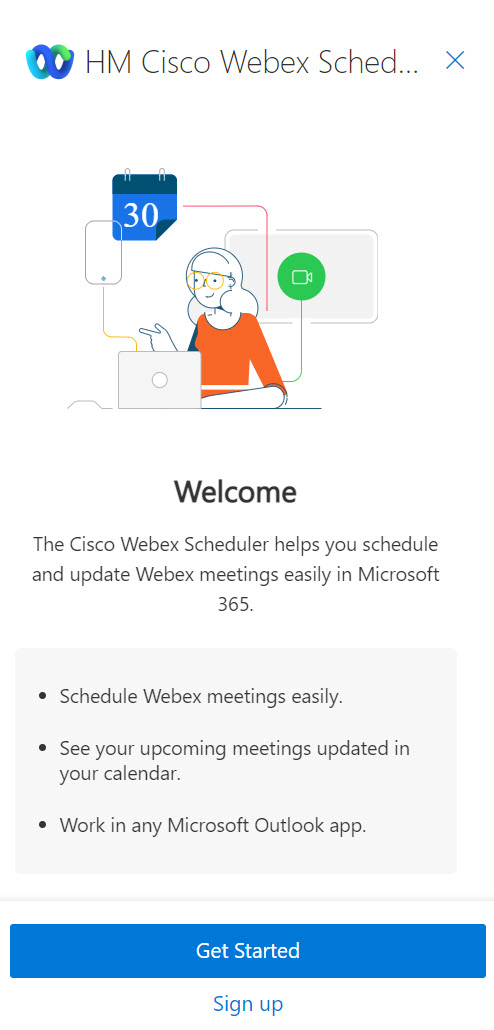 |
| 2 |
Select Get Started. |
| 3 |
Select or enter the Webex site URL that you want to use, in the format 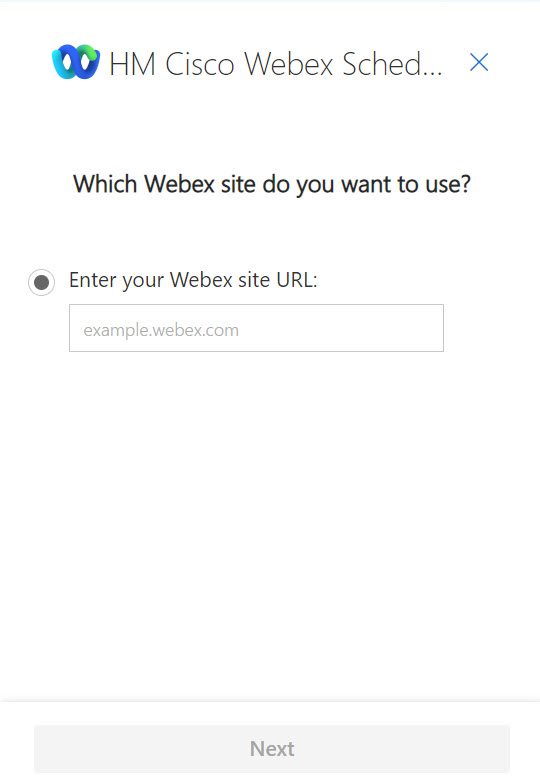 If you see a message that Webex Preferences wants to display in a new window, select Allow. |
| 4 |
The Sign in screen opens in a new browser window. Enter your Microsoft 365 email address, and then select Next. 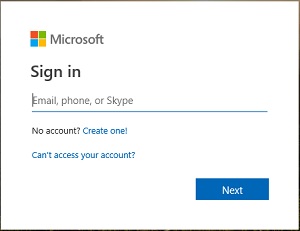 |
| 5 |
Enter your Microsoft 365 password, and then select Sign in. 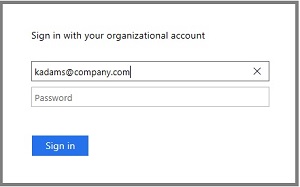 If you see a Stay signed in? message, select Yes to reduce the number of times you have to sign in. |
After you've set your Webex site, you can add a Webex meeting to any appointment that you create in Outlook.
| 1 |
Create an appointment in Outlook. |
| 2 |
Enter the appointment name, meetings classification level, location, and start and end times. |
| 3 |
If you want the appointment to repeat, do one of the following:
|
| 4 |
To invite others, do one of the following:
|
| 5 |
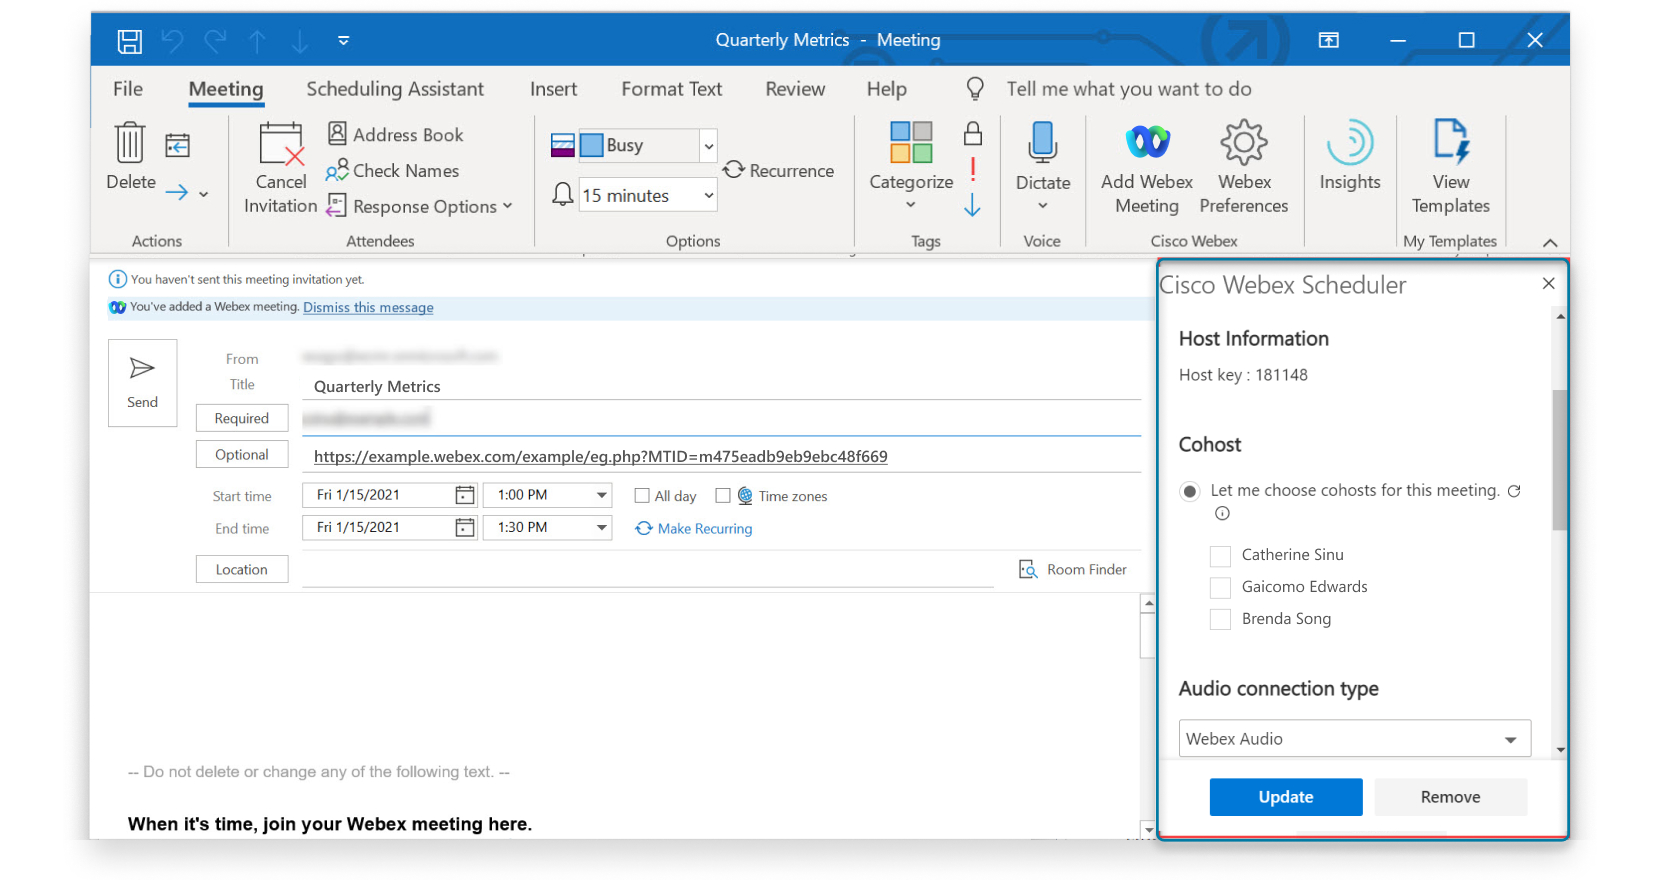
If you're using Outlook for desktop, in the Cisco Webex group on the ribbon in Outlook, select Add Webex Meeting.  If you're using Outlook on the web, select the Cisco Webex
Scheduler
 After a few moments, a link to the meeting is added to the location field and the meeting details are added to the body of the appointment. If you encounter an error after trying to add a meeting to Webex Meetings, you can see the error details above the body of the appointment. |
| 6 |
(Optional) Edit the meeting options, such as add an alternate host or cohost. You can also set the entry and exit tone, change the meeting password, or add a tracking code.
Select Update meeting when you've finished editing the meeting options. |
| 7 |
Select Send. The appointment shows the meeting details, including a link to join the meeting. You can copy the link and share it with others.
|
What to do next
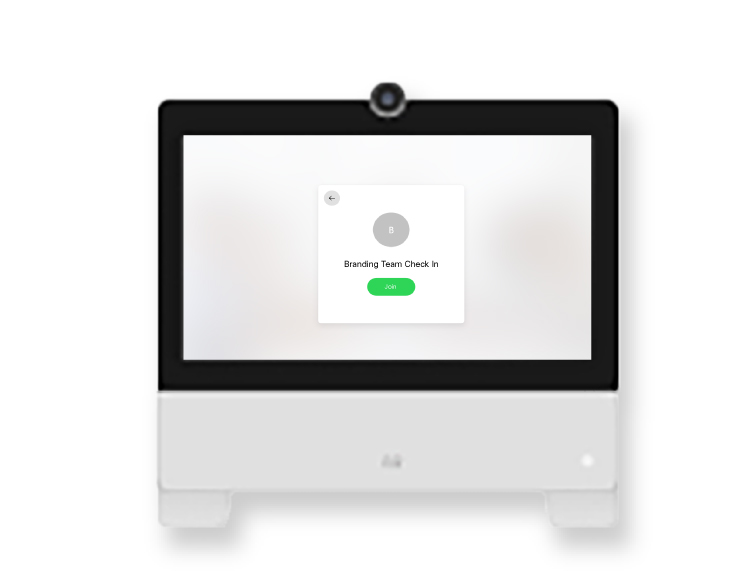
It's convenient to start or join a meeting that's been scheduled using the Webex Scheduler in Microsoft Outlook.
|
To start or join a meeting, do one of the following:
|
After you schedule a meeting, use Outlook to edit it at any time. Change the attendees and the meeting information, such as the date and time, or change the meeting options, like the meeting type or template.
When you edit a scheduled meeting, an updated email invitation gets sent to the attendees, and the meeting information on your Webex site gets updated.
| 1 |
In your Outlook calendar, edit the scheduled meeting. |
| 2 |
Change any of the following:
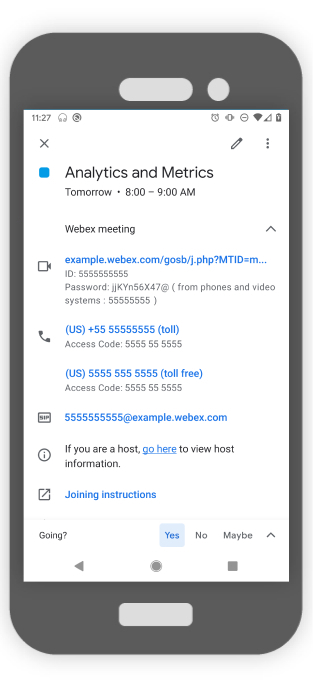
The Webex meeting details look similar to the following: 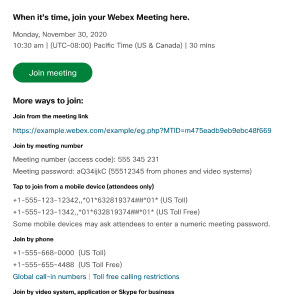 |
| 3 |
Change the Webex meeting options.
|
| 4 |
Select Update when you've finished editing the meeting options, then select Send Update. If you're using Outlook for Microsoft Exchange, you don't need
to select Update. Your meetings update automatically when you
change meeting details. |
Remove Webex meetings from Outlook appointments that no longer need them, or if you want to change the Webex meeting type.
| 1 |
In your Outlook calendar, open an appointment that contains a Webex meeting. |
| 2 |
Open Webex Preferences:
|
| 3 |
Select Remove or Remove meeting. |
-
Generate a one-time meeting link—Each meeting has a unique meeting link and video address.
-
Use my Personal Room link—All meetings use your Personal Room link as the meeting link and your Personal Room video address as the video address.
| 1 |
If you're using Outlook for desktop, in the Cisco Webex group on the ribbon in Outlook, select Webex Preferences.  If you're using Outlook on the web, select . |
| 2 |
Select the default meeting type under Webex Meeting Link and select Save. The change applies to all future Webex meetings that you add to appointments.
|
If there's more than one Webex site that you use for meetings, you can specify which site you prefer to use when you add a Webex meeting to an appointment in Outlook.
| 1 |
If you're using Outlook for desktop, in the Cisco Webex group on the ribbon in Outlook, select Webex Preferences.  If you're using Outlook on the web, select . |
| 2 |
Select Change Webex site. |
| 3 |
Select or enter the Webex site URL that you want to use and select Next.  |
| 4 |
Select the default meeting type and select Save. |
If you installed the app yourself and you no longer want to schedule meetings using the Webex Scheduler, you can remove the app. If your administrator installed the app, contact your administrator to remove it.
| 1 |
If you're using Outlook for desktop, select Get Add-ins in the Add-ins group in the Outlook ribbon. If you're using Outlook on the web, select More options |
| 2 |
Select My add-ins in the Microsoft 365 Add-ins window. |
| 3 |
Locate the Cisco Webex Scheduler and select 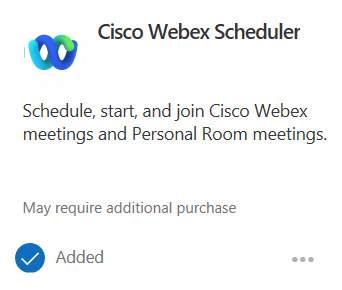 |


 >
>  >
> 
