1

Sign in to Control Hub and go to Users.

2

Select a user and go to Summary > Licenses > Edit Licenses.

The list of services currently assigned to the user appears.
3

Click Edit Licenses.

4

Choose a service from the list.


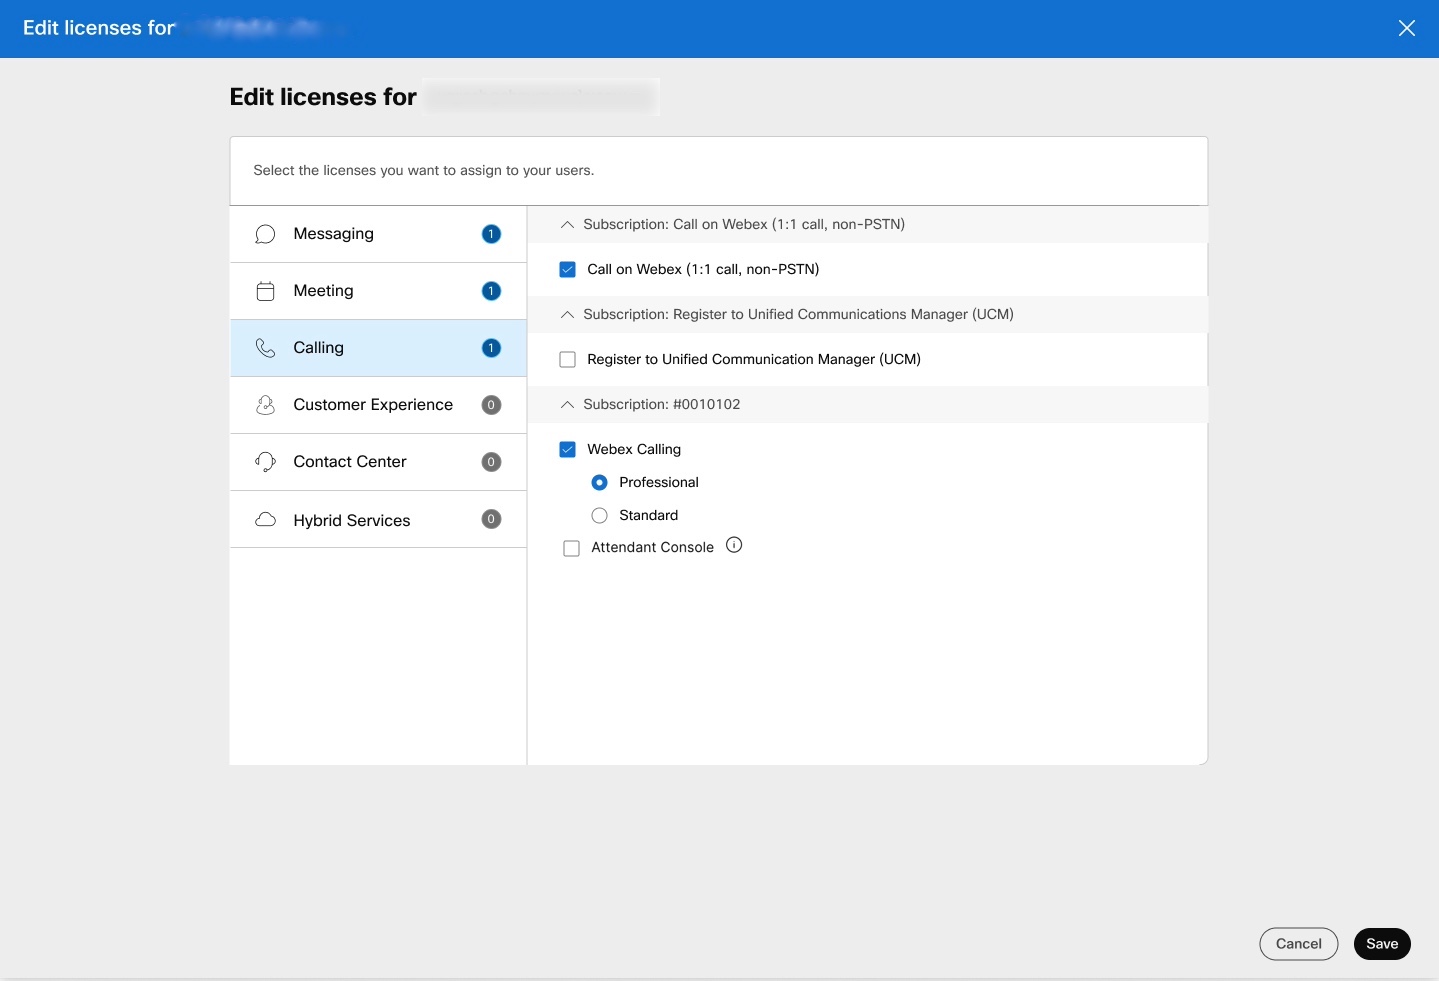
When you select Webex Attendant Console, set the Webex Calling service to Professional license.

 
You can’t assign both the Webex Calling standard license and Customer Experience Essentials license to a user.
5

Select the subscription to add or remove, and click Save.

6

If you've assigned a Webex Meetings license, choose an account type to assign the user with for each Webex Meetings site, and click Save.


You can use only one calling license at a time. However, it’s possible to select both Webex Calling and Unified CM registration for migration scenarios. Selecting both calling licenses for individual users provides the administrative screens in the Control Hub to configure Webex Calling and end-user access and calling behavior configuration for Unified CM. This configuration allows an end user to have an uninterrupted calling service on Unified CM while the administrator configures Webex Calling. Once the configuration of Webex Calling is done, the administrator can then remove the Unified CM entitlement. This completes the migration of the user to Webex Calling.


You must have the Attendee account feature enabled for your Webex site to assign users as attendees. If you don't see the Attendee account column in the CSV file, then contact the Cisco Technical Assistance Center (TAC) to enable this feature for your Webex site.

The attendee account type isn't available for users with the Webex Site Administrator role. If you want to assign these users with an attendee account, you must remove their administrative privileges for that Webex Meetings site.


Immediately after adding a Calling license, if an error is received when selecting the user Calling settings, we recommend that you remove the Webex Calling license and then reassign the license to the user.

Want to see how it's done? Watch this video demonstration on how to edit the service license for individual users in the Control Hub.

If you want to assign a different license to an existing external user whose status is Pending, you must first delete the user, and then add them again. When you remove all licenses from an external user, they won’t show up in the External users list anymore.

1

Sign in to Control Hub and go to Users > External users.

2

Select a user and click Services > Edit Licenses.

3

Uncheck the licenses, and click Save.

What to do next

Add the external user again with the license that you want to change for them.