- Home
- /
- Article

Thanks for your feedback.

Cisco Webex Meetings for Microsoft Power Automate
 In this article
 Feedback?
With the Cisco Webex Meetings connector for Microsoft Power Automate, you can make scheduling a Webex meeting part of your workflow. You can create a workflow for yourself that automatically schedules a Webex meeting when triggered by a designated event. Then, add an action that uses dynamic content from the newly scheduled Webex meeting, such as the meeting topic or password.
Here are some examples of ways you might add scheduling and modifying Webex meetings to your workflow:
-
Automatically add new Webex meetings to your calendar app.
-
Automatically update your Webex meeting when it is updated from your calendar app.
-
Send a customized note in your team chat app whenever a new Webex meeting is created.
-
Create tasks in your to-do list app or task management software whenever a new Webex meeting is created.
-
Create documents with templates in your note-taking or word processing app for each new Webex meeting.
Create a Workflow to Schedule a Webex Meeting
| 1 |
In Microsoft Power Automate, go to Create and select Automated flow to create a workflow for yourself. 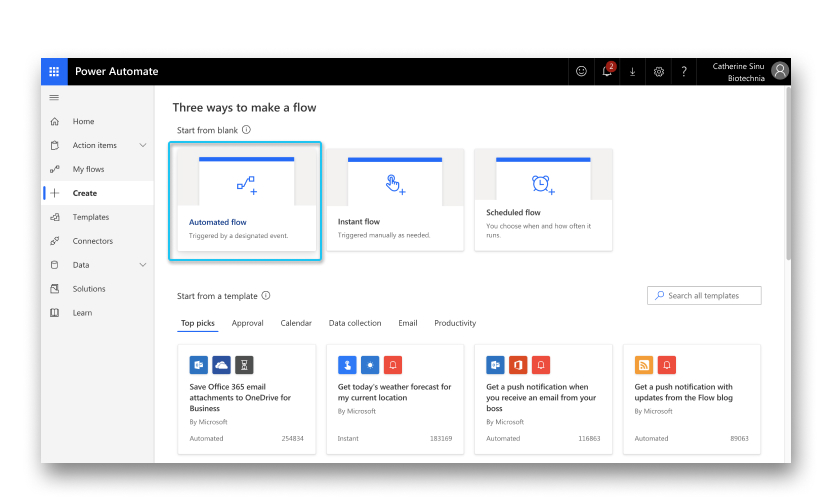 |
| 2 |
Search for the event that will trigger a Webex meeting to be scheduled and select Create. For example, the event could be when a new email message arrives in Gmail or when a new subscription is added in Inoreader. 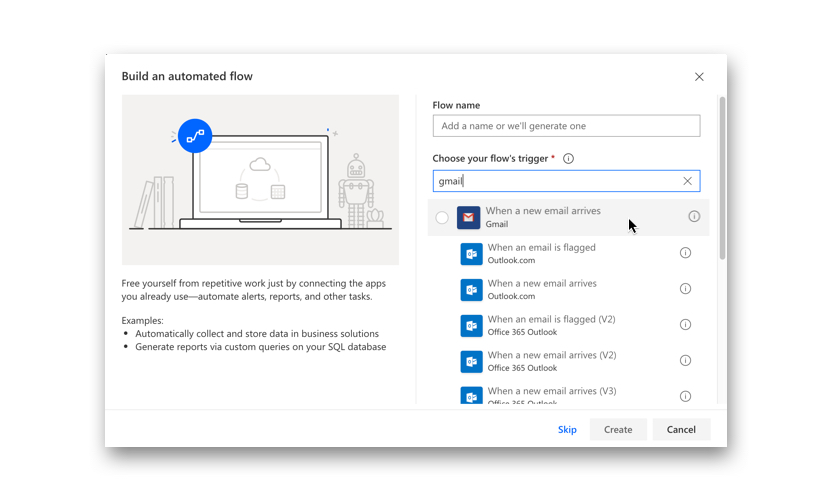 |
| 3 |
Select New step, enter 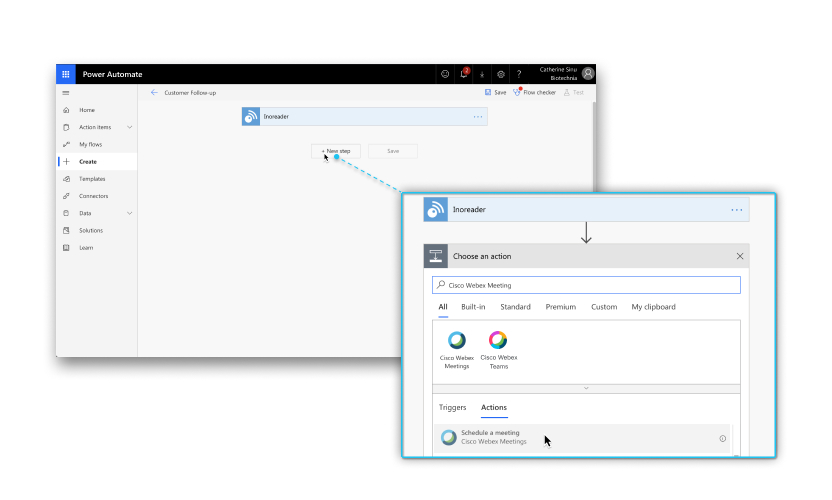 |
| 4 |
If you haven't already connected your Webex Meetings account to Microsoft Power Automate, a prompt to sign in appears: |
| 5 |
Enter the meeting details under Schedule a meeting.
You can enter the start and end time using the YYYY-MM-DDTHH:MM format or the YYYY-MM-DDTHH:MM:ss:000z format. When you use the YYYY-MM-DDTHH:MM format, your Webex preferences determine your time zone. 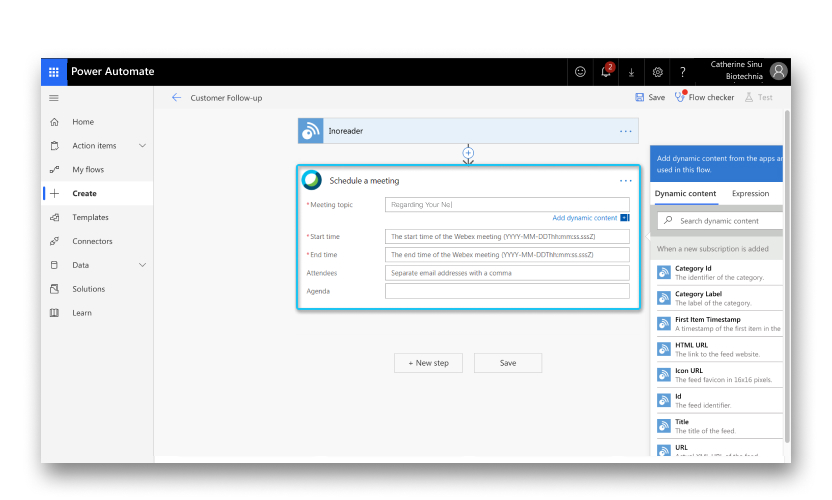 |
| 6 |
If you want an action to occur after the Webex meeting, select . You can add dynamic content from the Webex meeting. Search for dynamic content such as the meeting topic, join meeting link, and meeting password under Add dynamic content from the apps and connectors used in this flow. 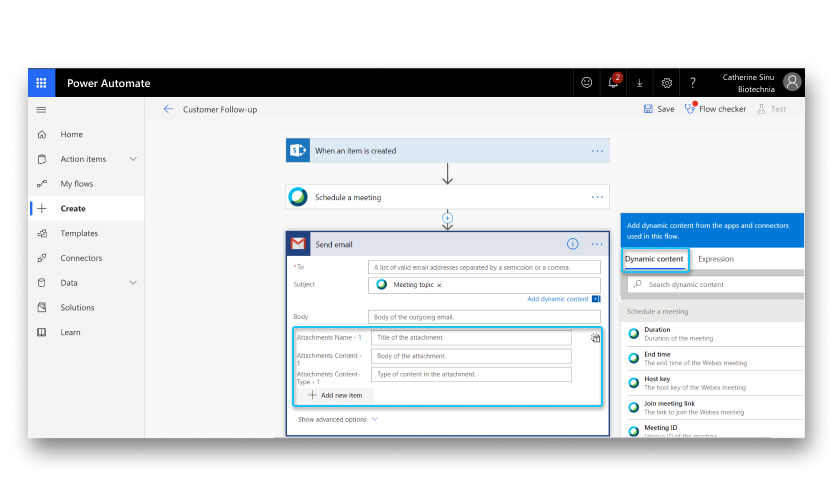 |
| 7 |
When you're finished creating your flow, select Save. |
Configure Cisco Webex Meetings for Microsoft Power Automate
Before you begin
Before you can use the Cisco Webex Meetings connector, you must have a Webex Meetings host account. If you don't have an account, you can go to https://www.webex.com to sign up for an account for you or your company.
Webex administrators must enable third-party applications to integrate with Webex Meetings using REST APIs before Microsoft Power Automate account users can use Webex Meetings in Microsoft Power Automate. If necessary, contact your Webex administrator for assistance.
| 1 |
Webex site administrators can do one of the following:
|
| 2 |
Under Third-Party Integration, check Enable 3rd party apps and developers to integrate with Webex Meetings using REST APIs. |
| 3 |
Select Update. |


