Thanks for your feedback.
Share meeting and webinar content with others
 Feedback?
When Webex Assistant is turned on, the host and participants can capture highlights, such as action items, with one click or a voice command, and show captions so that no one misses what's being said. After the meeting or webinar ends, highlights are emailed to the host and are available to them on their Webex site. Hosts can share the highlights with anyone who has an account on their Webex site, and they can also email selected highlights to others.
Record the meeting or webinar to get a post-meeting transcript.
-
Webex Assistant is available in Meetings and Webex Webinars (available for hosts only in webinars in webcast view).
-
In addition to Meetings and Webinars, Webex Assistant is also available for Webex App. Meetings started or joined from a space don't support Webex Assistant.
-
Webex for Government doesn't support Webex Assistant.
-
This feature requires Webex video platform version 2.0 with joining meetings from video systems enabled. Find your Webex Meetings version number.
-
Hosts can turn Webex Assistant on or off during the meeting or webinar. Hosts can automatically turn on Webex Assistant whenever you start a meeting.
-
Closed captions aren’t turned on by default for the hosts or participants when Webex Assistant is turned on by the hosts. Webex remembers if you used automated captions or not in your previous meeting or webinar. Closed captions automatically turn on or off for your next one, depending on your last usage.
-
Webex site admins can turn off automatic post-meeting emails to prevent cluttering inboxes. To turn post-meeting emails on or off, contact your Webex site admin.
-
You can generate the following types of transcripts:
- A transcript embedded with the video recording. This transcript supports English transcription only.
- A transcript that's available on the post-meeting site page for the duration that recording is on AND Webex Assistant or closed captions are on. This transcript and any Webex Assistant highlights support transcription in all spoken languages (see Show real-time translation and transcription in meetings and webinars to see which languages are available to you).
-
To access this transcript, sign in your Webex account, click Calendar, then select Review.
-
| 1 |
Select Preferences in the left navigation bar. |
| 2 |
Select the Scheduling tab. |
| 3 |
Check the Automatically share the meeting highlights, recording, and transcript with meeting participants and invitees and allow them to make edits check box. If you enabled Webex Assistant and recorded the meeting, all your internal attendees from your organization would receive the meeting or webinar highlights, recording, and transcript. External attendees receive an email with a link to the recording and password. This link also shows a recording-associated transcript.
If you didn't record the meeting, internal users could still access the highlights and transcripts. These transcripts would be available on the site after the meeting or webinar ended. However, in this case, external attendees wouldn't be able to access the content. |
| 1 |
SelectCalendar in the left navigation bar, and then click the Completed tab. 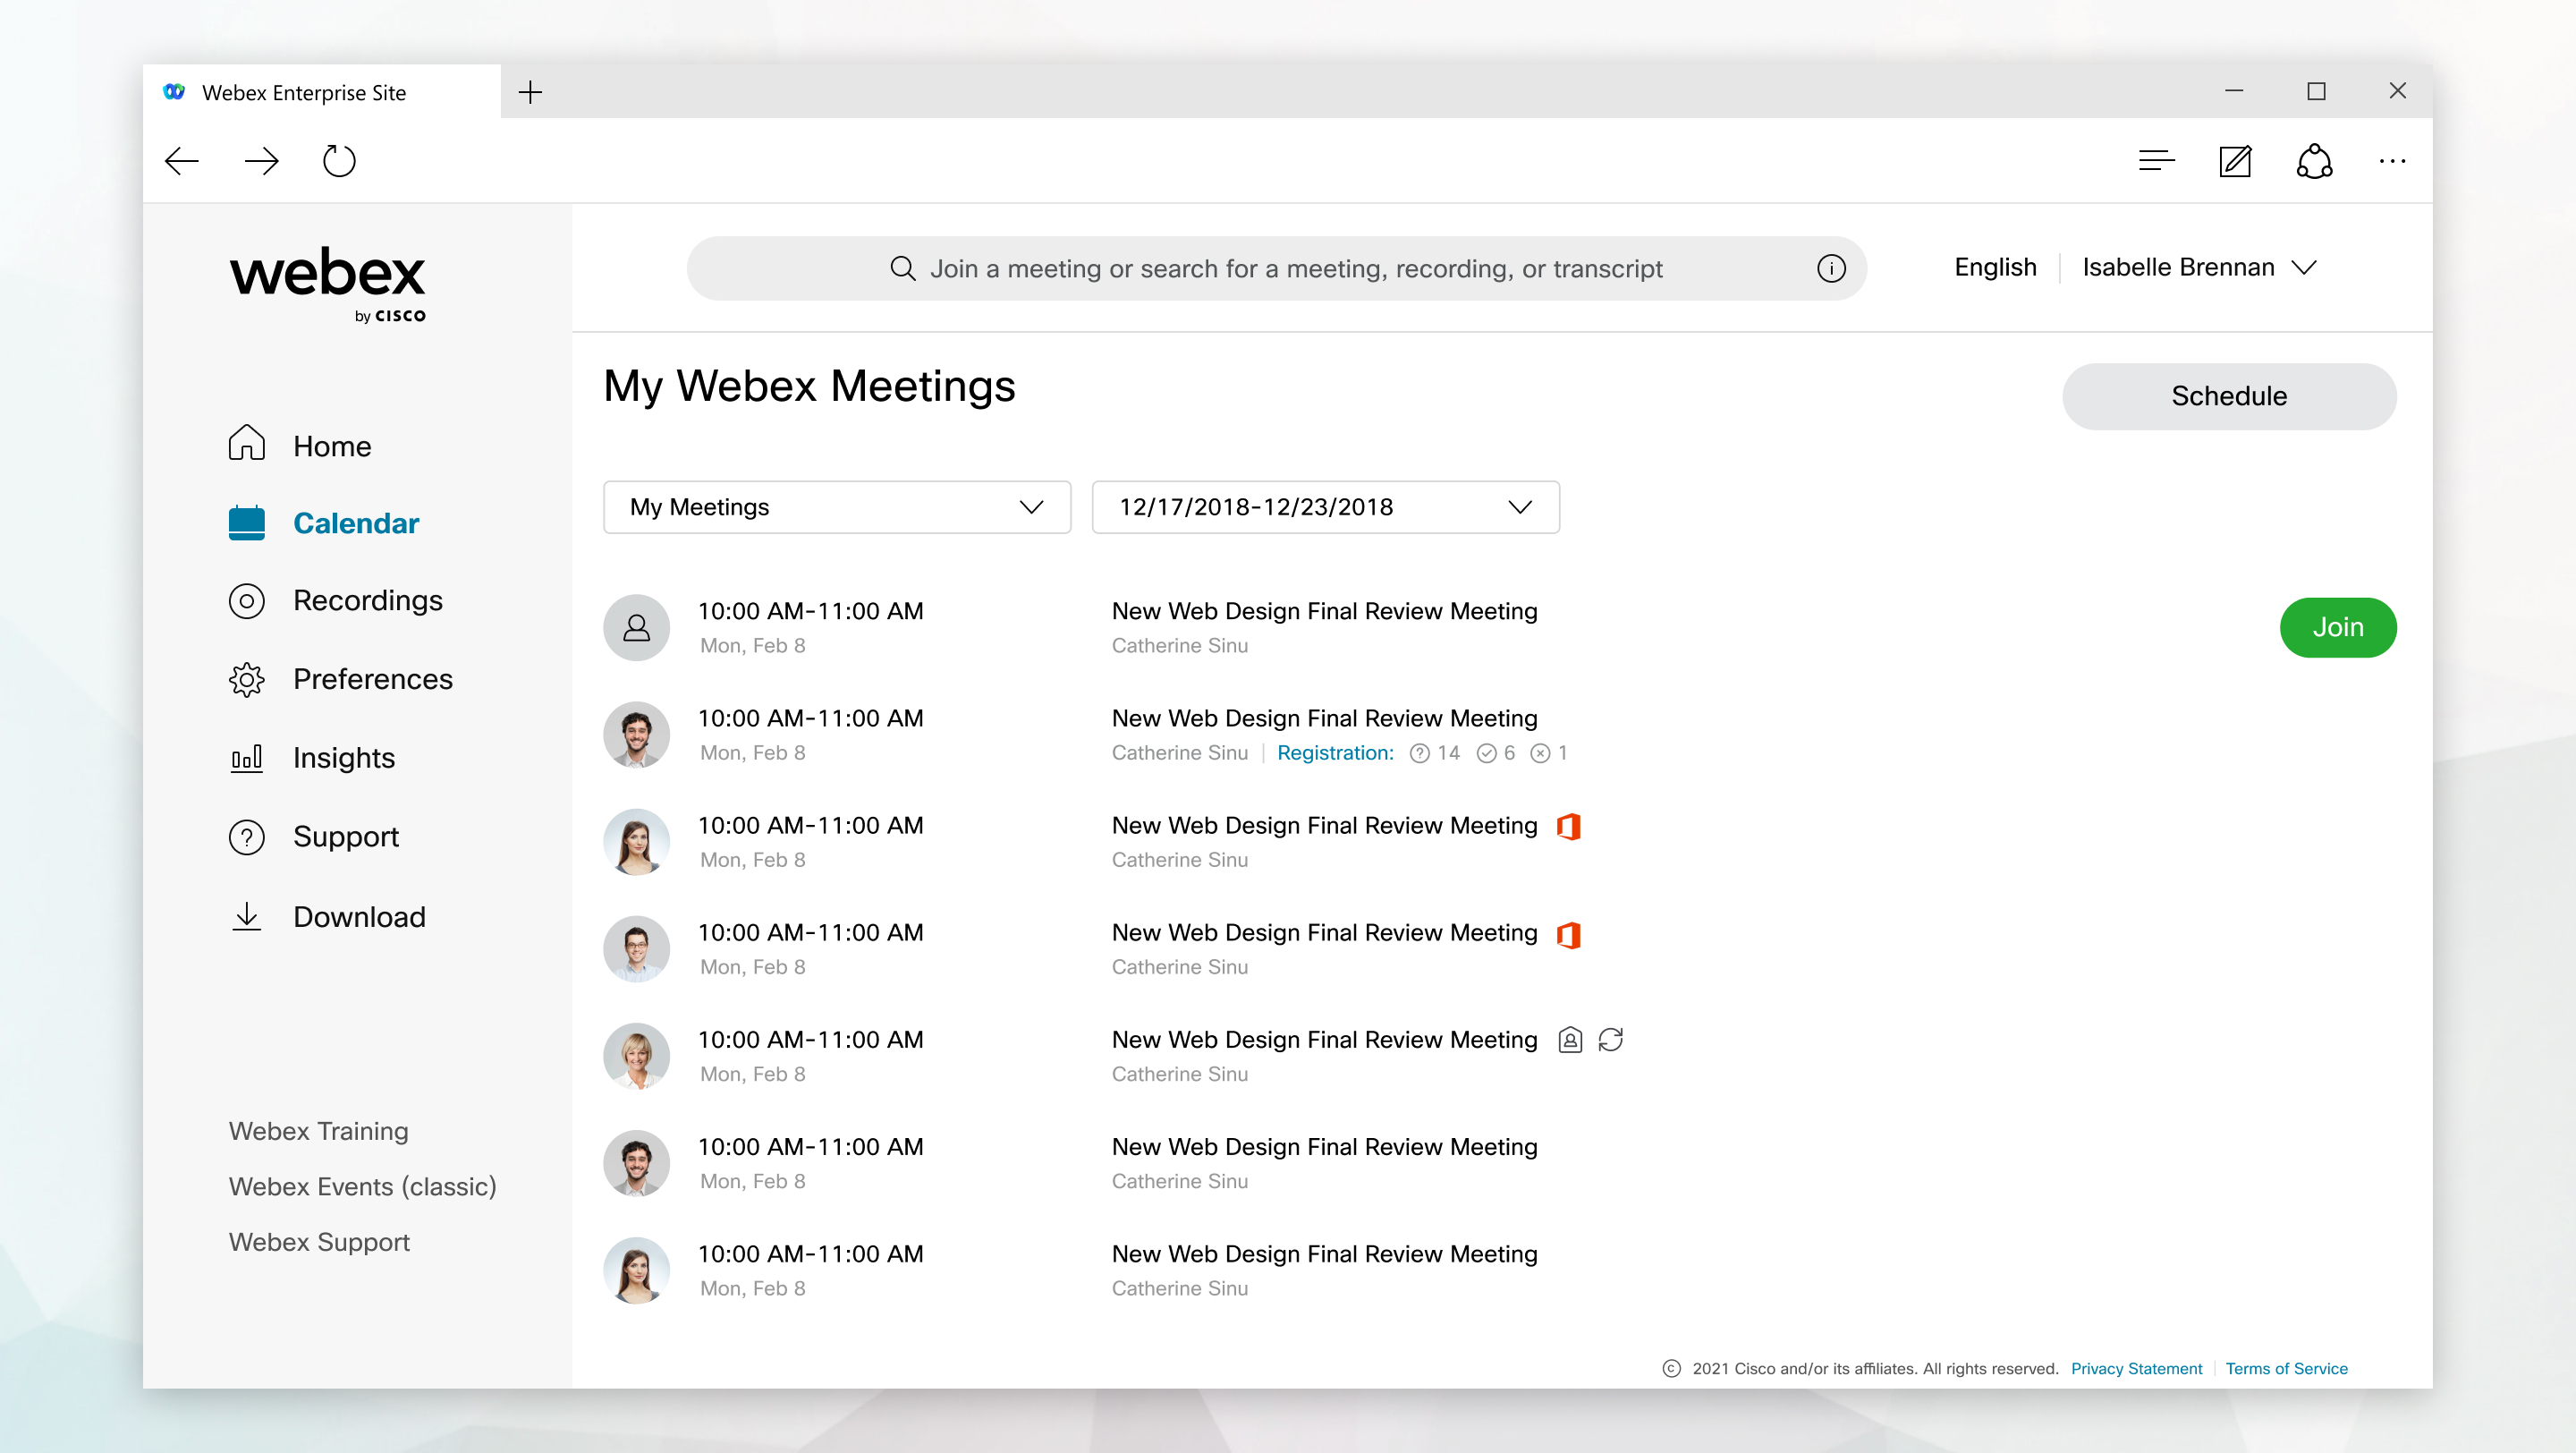 |
| 2 |
Locate and select the meeting or webinar. If you want to change the name of the meeting or webinar and the name of the recording to something more descriptive before you share it, click Edit the meeting |
| 3 |
Select the check boxes next to the highlights that you want to share. |
| 4 |
Select Share highlights, |
| 5 |
Select the check box next to each person with whom you want to share the meeting or webinar content, and then click Select. |
| 6 |
Click Share. |
 and then click
 | 1 |
Select Calendar in the left navigation bar, and then select the Completed tab. |
| 2 |
Locate and select the meeting or webinar. If you want to change the name of the meeting or webinar and the name of the recording to something more descriptive before you share it, click Edit the meeting |
| 3 |
Next to the meeting or webinar topic, click Share the meeting |
| 4 |
Enter the names or email addresses of the people with whom you want to share the content. |
| 5 |
Click Permissions, and then select Viewer or Editor to specify whether each person can view or edit the content. |
| 6 |
Click Back. |
| 7 |
(Optional) Enter an introductory message to include with the email. |
| 8 |
Click Share. |
 , and select
 | 1 |
Select Calendar in the left navigation bar, then select the Completed tab. |
| 2 |
Locate and select the meeting or webinar. If you want to change the name of the meeting or webinar and recording to something more descriptive before you share it, click Edit the meeting
 , make your changes, then select Save your changes , make your changes, then select Save your changes . Make sure that the Make recording topic match new meeting topic check box is selected, then click Yes. . Make sure that the Make recording topic match new meeting topic check box is selected, then click Yes. |
| 3 |
Next to the meeting or webinar topic, click Share the meeting |
| 4 |
Type the name of the space you want to share meeting or webinar content to in the search bar, select the space, and click Share. |
| 1 |
Go to Meetings in the left navigation bar, then select the Completed tab. |
| 2 |
Locate and select the meeting or webinar. If you want to change the name of the meeting or webinar and the name of the recording to something more descriptive before you share it, click Edit the meeting
, make your changes, then select Save your changes. Make sure that the Make recording topic match new meeting topic check box is selected and then click Yes. |
| 3 |
Next to the meeting or webinar topic, click Edit the meeting |
| 4 |
Start typing in the search bar and select Create a space. |
| 5 |
Name the space and add people to it. You can click Select people from participants and invitees to add meeting or webinar attendees to the new space. |
| 6 |
Select Share. |
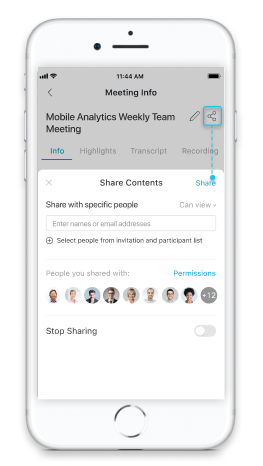
| 1 |
From the Meeting Info page, tap To navigate to the Meeting Info page, see View meeting and webinar content created by the Webex Assistant.
If you want to change the name of the meeting or webinar and the name of the recording to something more descriptive before you share it, tap |
| 2 |
Enter or select the names or email addresses of the people who you want to share the meeting or webinar content with, and then tap Share. To stop sharing content with someone, tap To stop sharing meeting or webinar content with everyone, tap Stop Sharing. Everyone that you shared content with will no longer be able to access the meeting or webinar content. |
 .
.