
Thanks for your feedback.
 Feedback?
With a personal 6-digit PIN on your device, you can keep your private information safe. When your device is locked, sensitive data like calendars, call records, and whiteboards are inaccessible. Also, meeting notifications show up without subjects. Important notifications continue to reach you without revealing details, and emergency calling remains functional.
In the locked state, the device paired to the Webex App can't make calls or use wireless sharing such as Proximity, Airplay, and Miracast. You can dial emergency numbers from the device paired to the Webex App, but without the Add and Transfer call control functions.
Requirements and limitations
PIN lock is available for all Board, Desk and Room Series devices, in personal and shared mode.
On your personal device’s locked screen, tap the Forgot PIN button. Follow the on-screen instructions that will guide you through the process of resetting your PIN. However, the admin may force a user to add a PIN by setting the configuration to Enforced. If that’s the case, they must create a PIN to continue to use the device.
On shared mode devices, the admin must set the to True and provide users with a one-time password before they can create a PIN for the device.
Enable Auto Lock Preference for Devices
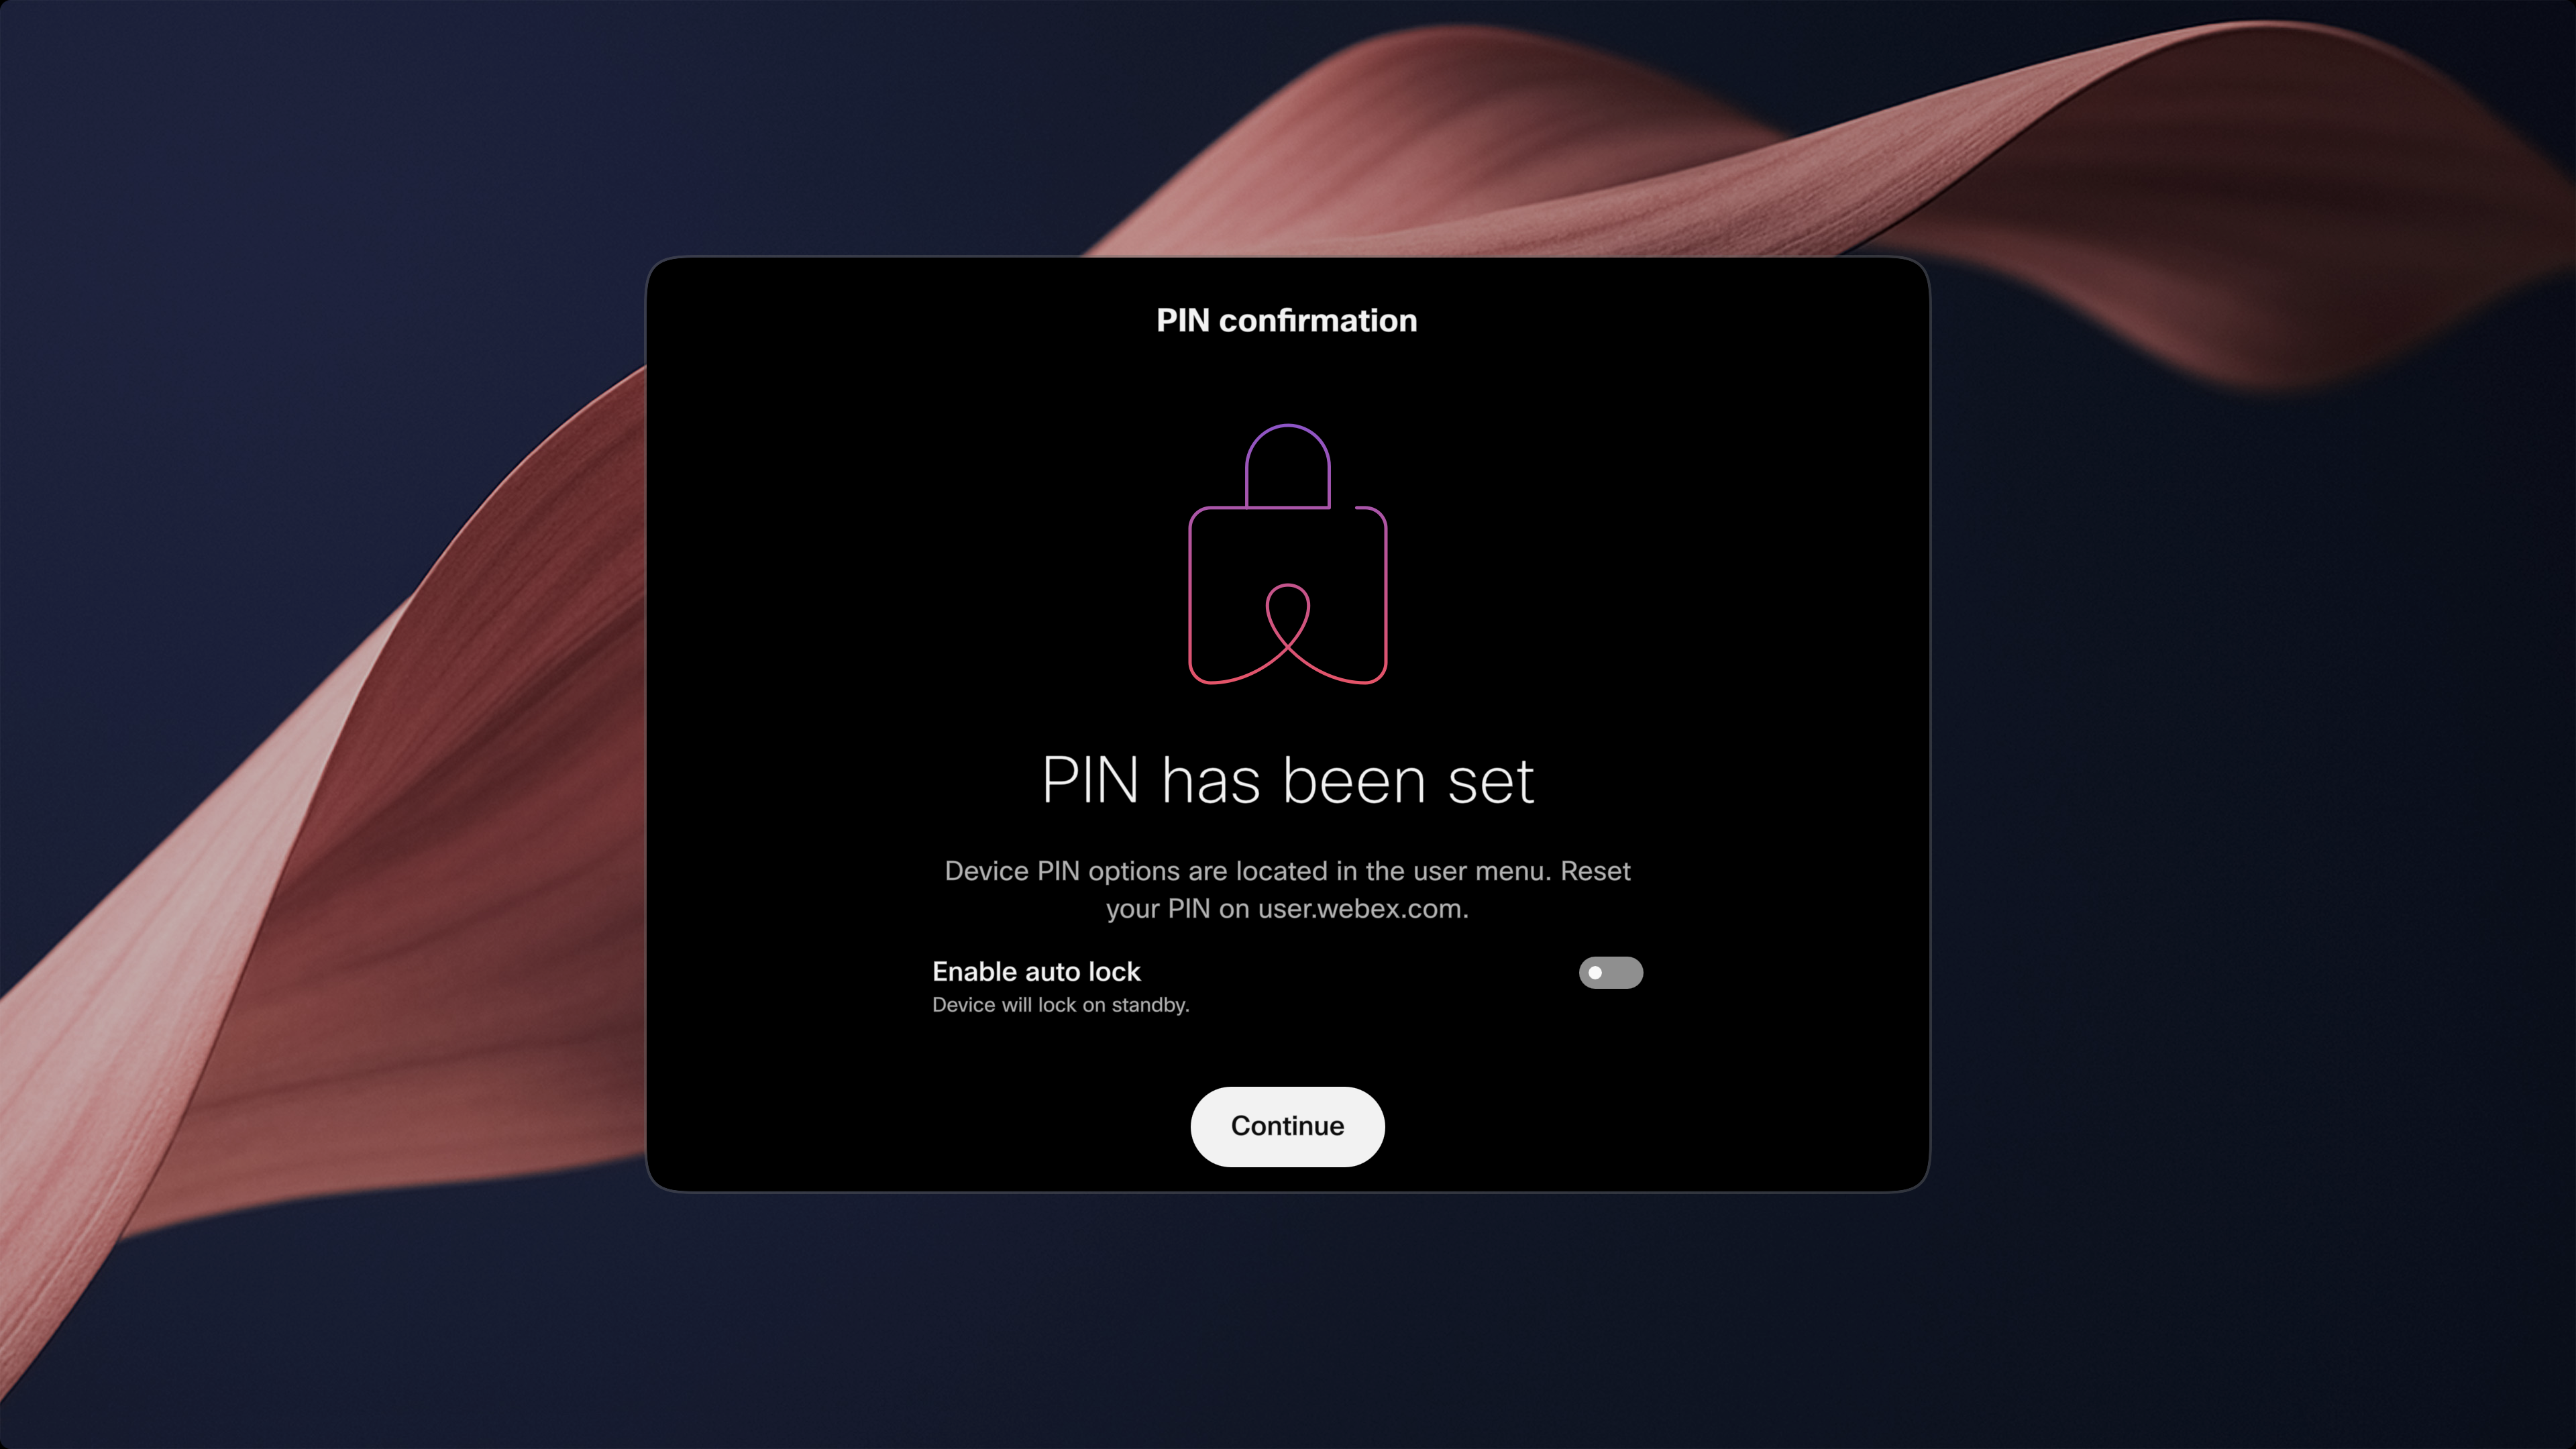
The previous "Allow Locking" preference has been replaced with a new "Enable Auto Lock" preference. This new setting controls how your device locks when not in use.
- When Enable Auto Lock is turned on, the device automatically locks when it goes into standby mode.
- When turned off, users can manually lock the device using the lock button.
At the initial setup, the out-of-box first-time wizard will prompt the user to choose between the auto lock and manual lock preferences.
Preference Settings by Device Type
-
Personal Devices
- Users can choose between manual lock and auto lock.
- This preference is specific to each personal device.
-
Workspace Devices
- Users can choose between manual lock and auto lock.
- This preference is specific to each individual workspace device.
-
Hot-Desks
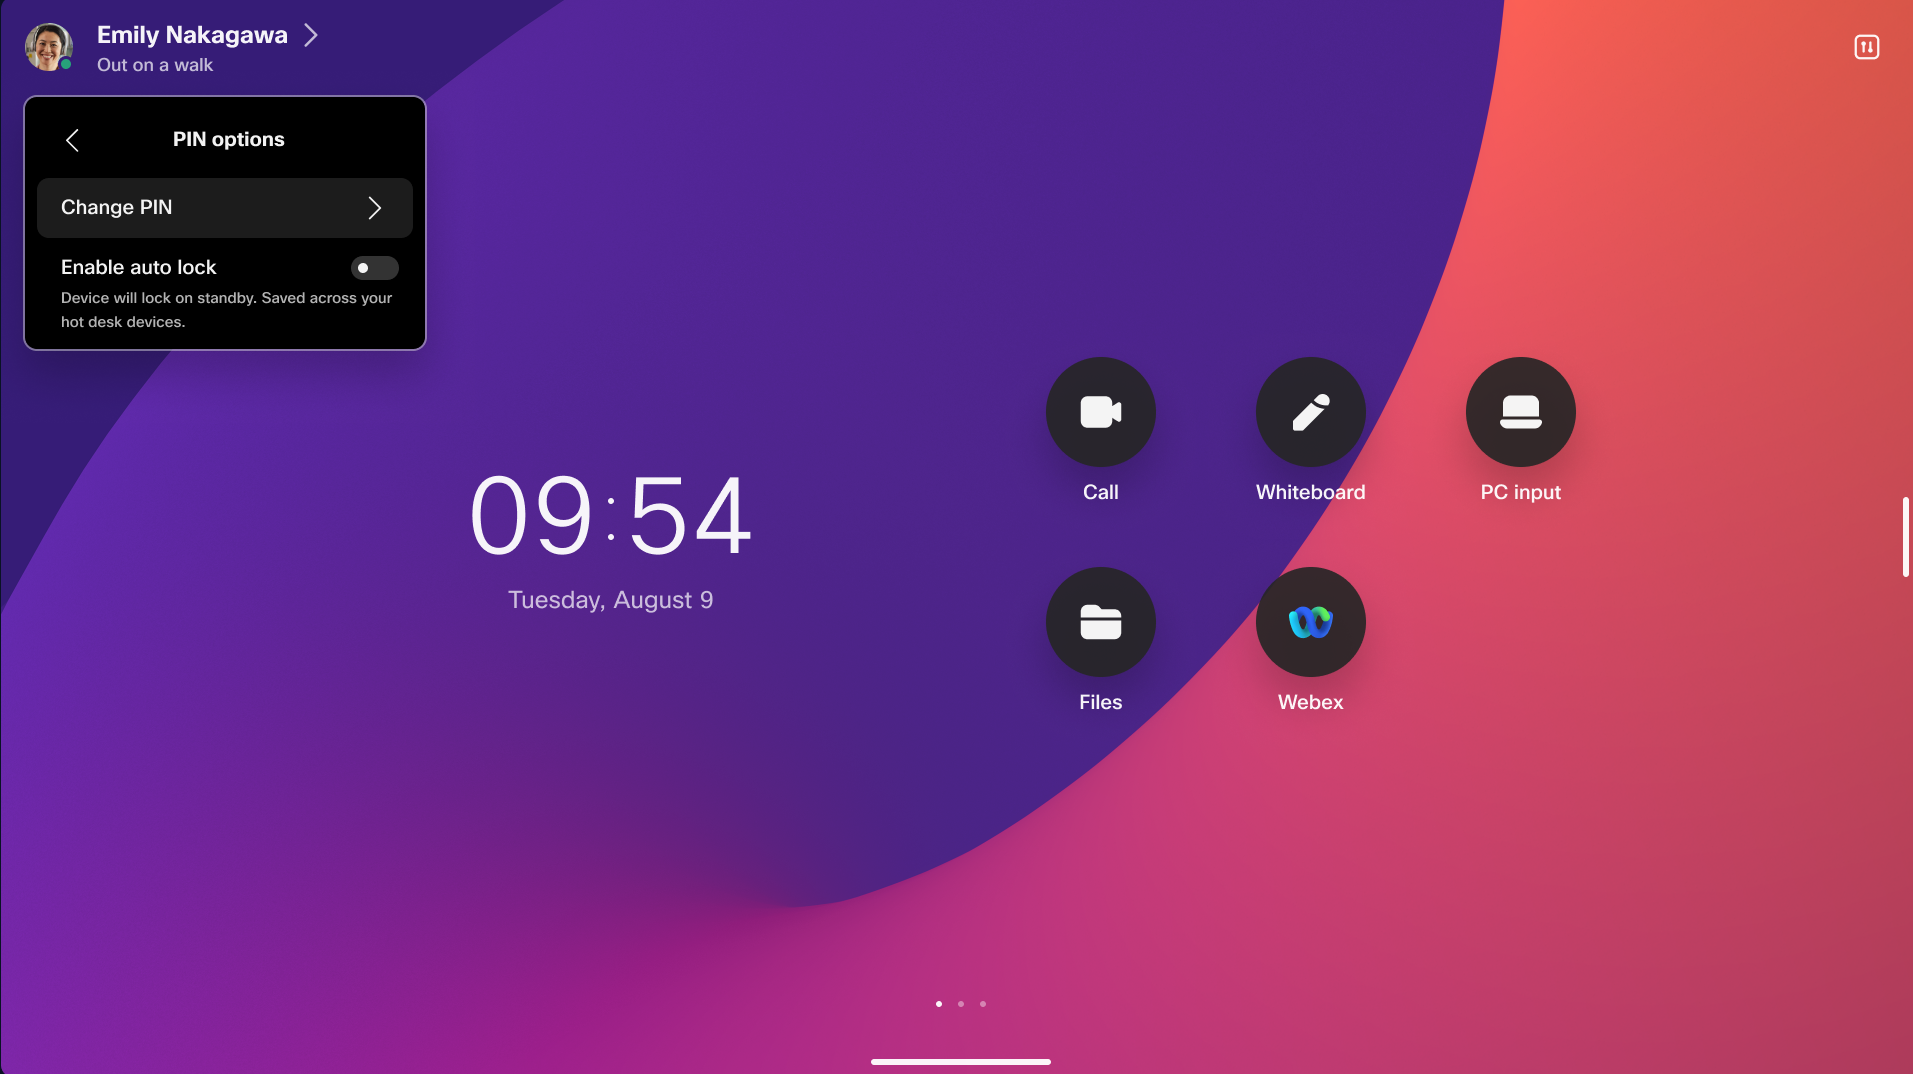
- Users can choose between manual lock and auto lock.
- This preference applies uniformly to all hot desk sessions for a given user and is stored in the cloud
- Users will be able to change this preference from the user portal at user.webex.com in the future. Until then, users can configure their preference directly from a hot desk session.
Additional Information
- User preferences for locking behavior are applicable only when the lock policy is set to Optional by the organization administrator.
- During the initial setup, the out-of-box first-time wizard will prompt users to select their preference for auto lock versus manual lock.
Setting up the PIN for the first time
User-based PIN lock
Users can securely log in to all their devices using a single PIN. This feature enables seamless access and supports locking hot desk devices in shared environments, ensuring convenience and security across multiple devices.
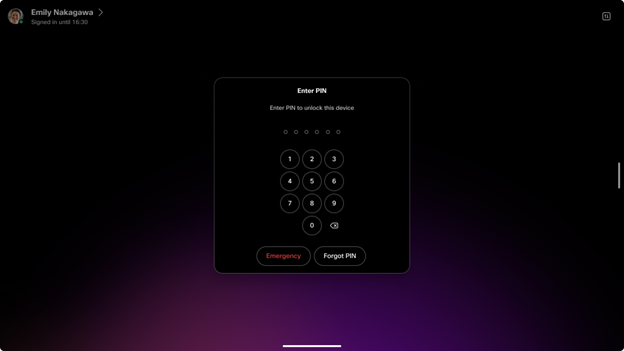
Users can update their PIN codes either directly on their devices or through the user hub, providing flexible and convenient management of their access credentials.
When this feature is enabled, all existing device-based PINs will be seamlessly migrated to user-based PINs, ensuring a smooth transition and consistent access across devices. Please refer to the section Migrating from a device PIN to a user PIN for more information.
User PIN setup
There are three ways to set up a personal PIN code:
-
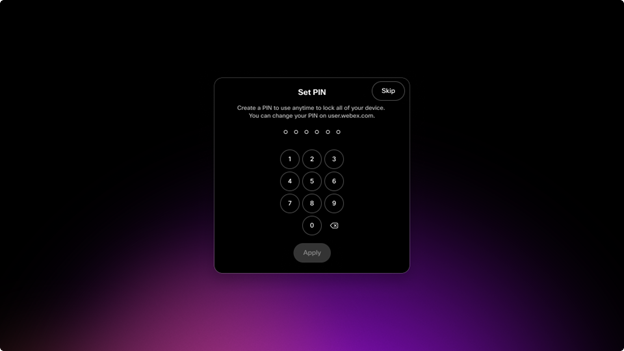
When onboarding a personal device for the first time, the setup wizard will prompt the user to create a user PIN. If a user onboards a second device, they will not be prompted to create a new PIN. The existing user PIN will continue to be applicable and valid on the additional device, enabling consistent and streamlined access across all devices associated with the user.
-
When signing into a hot desk, if the screen lock policy is enforced by the administrator for either the organization or the hot desk device, the user will be prompted to create a PIN immediately after booking the desk. Once the user creates a PIN, the same PIN will be applicable and used across all devices associated with that user, ensuring consistent and seamless access.
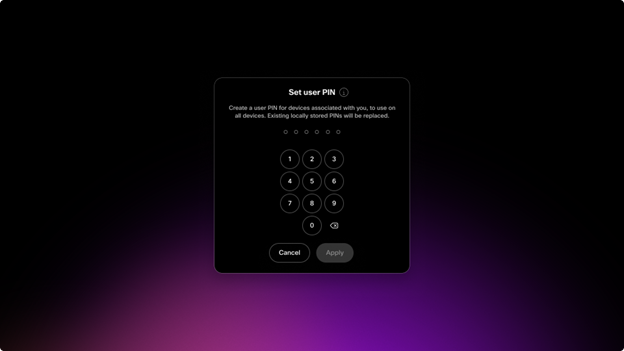
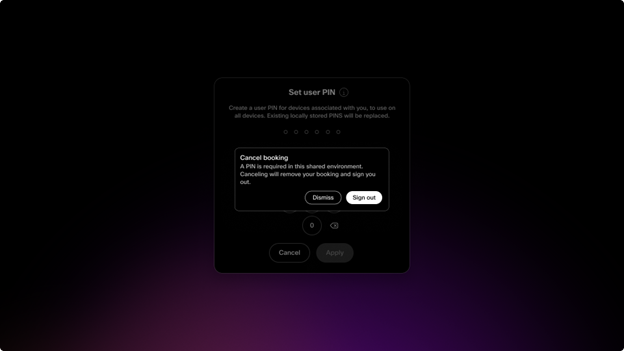
If the screen lock policy is enforced and a user chooses not to create a screen lock PIN, their booking will be cancelled. This enforcement ensures that users must set a PIN to continue using the device or service, maintaining security and compliance with the policy. Failure to create the required screen lock PIN results in cancellation of the booking to prevent unauthorized access.
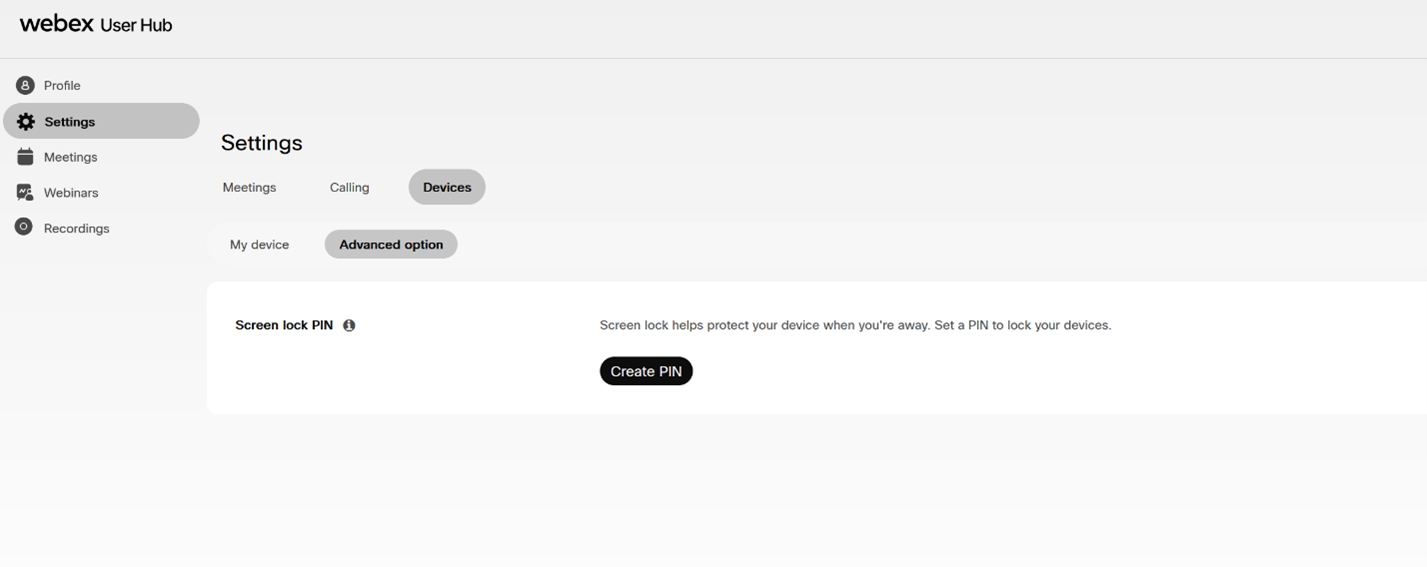
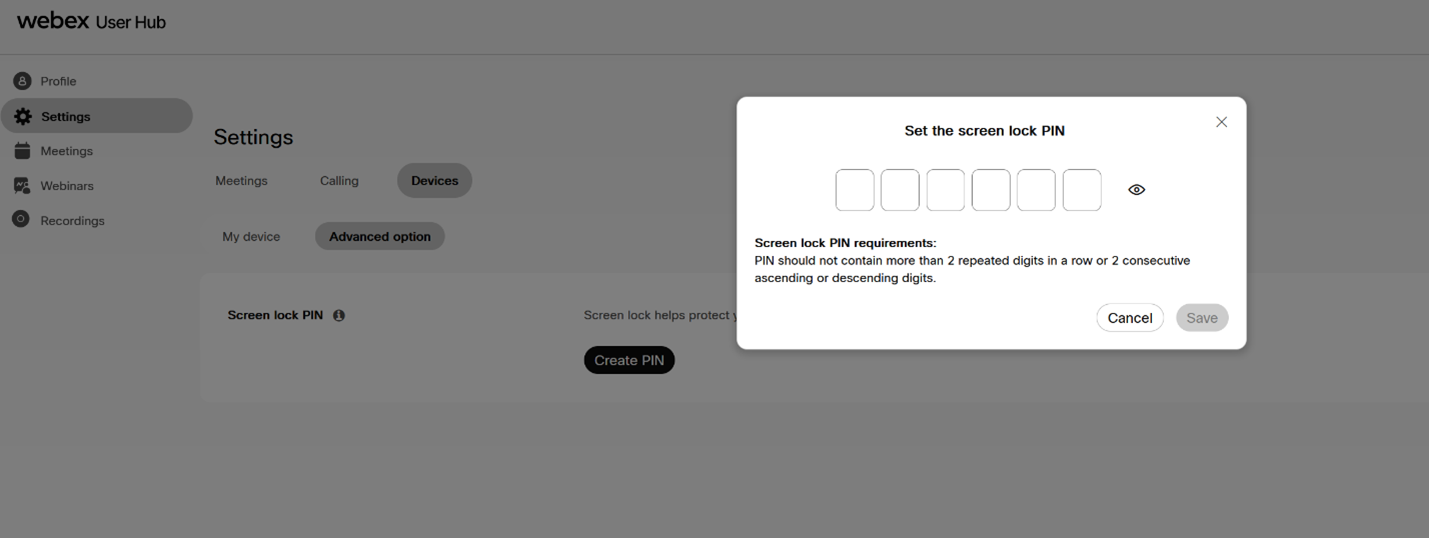
- Users can create or reset their user PIN through the User Hub at user.webex.com.
Sign in to the User Hub ( user.webex.com)
Navigate to Settings > Devices > Advanced options > Screen lock PIN and click Create PIN.
Migrating from a device PIN to a user PIN
If a personal mode device already has a device PIN, and the user PIN is not stored in the cloud, the device starts a migration flow when user-based PIN lock is enabled. The device prompts the user to store their current device PIN as their user PIN.
To migrate manually, open the notification on the device, enter the current device PIN, and follow the on-screen instructions. The PIN is then stored in the cloud and used as the user PIN for the user's devices.
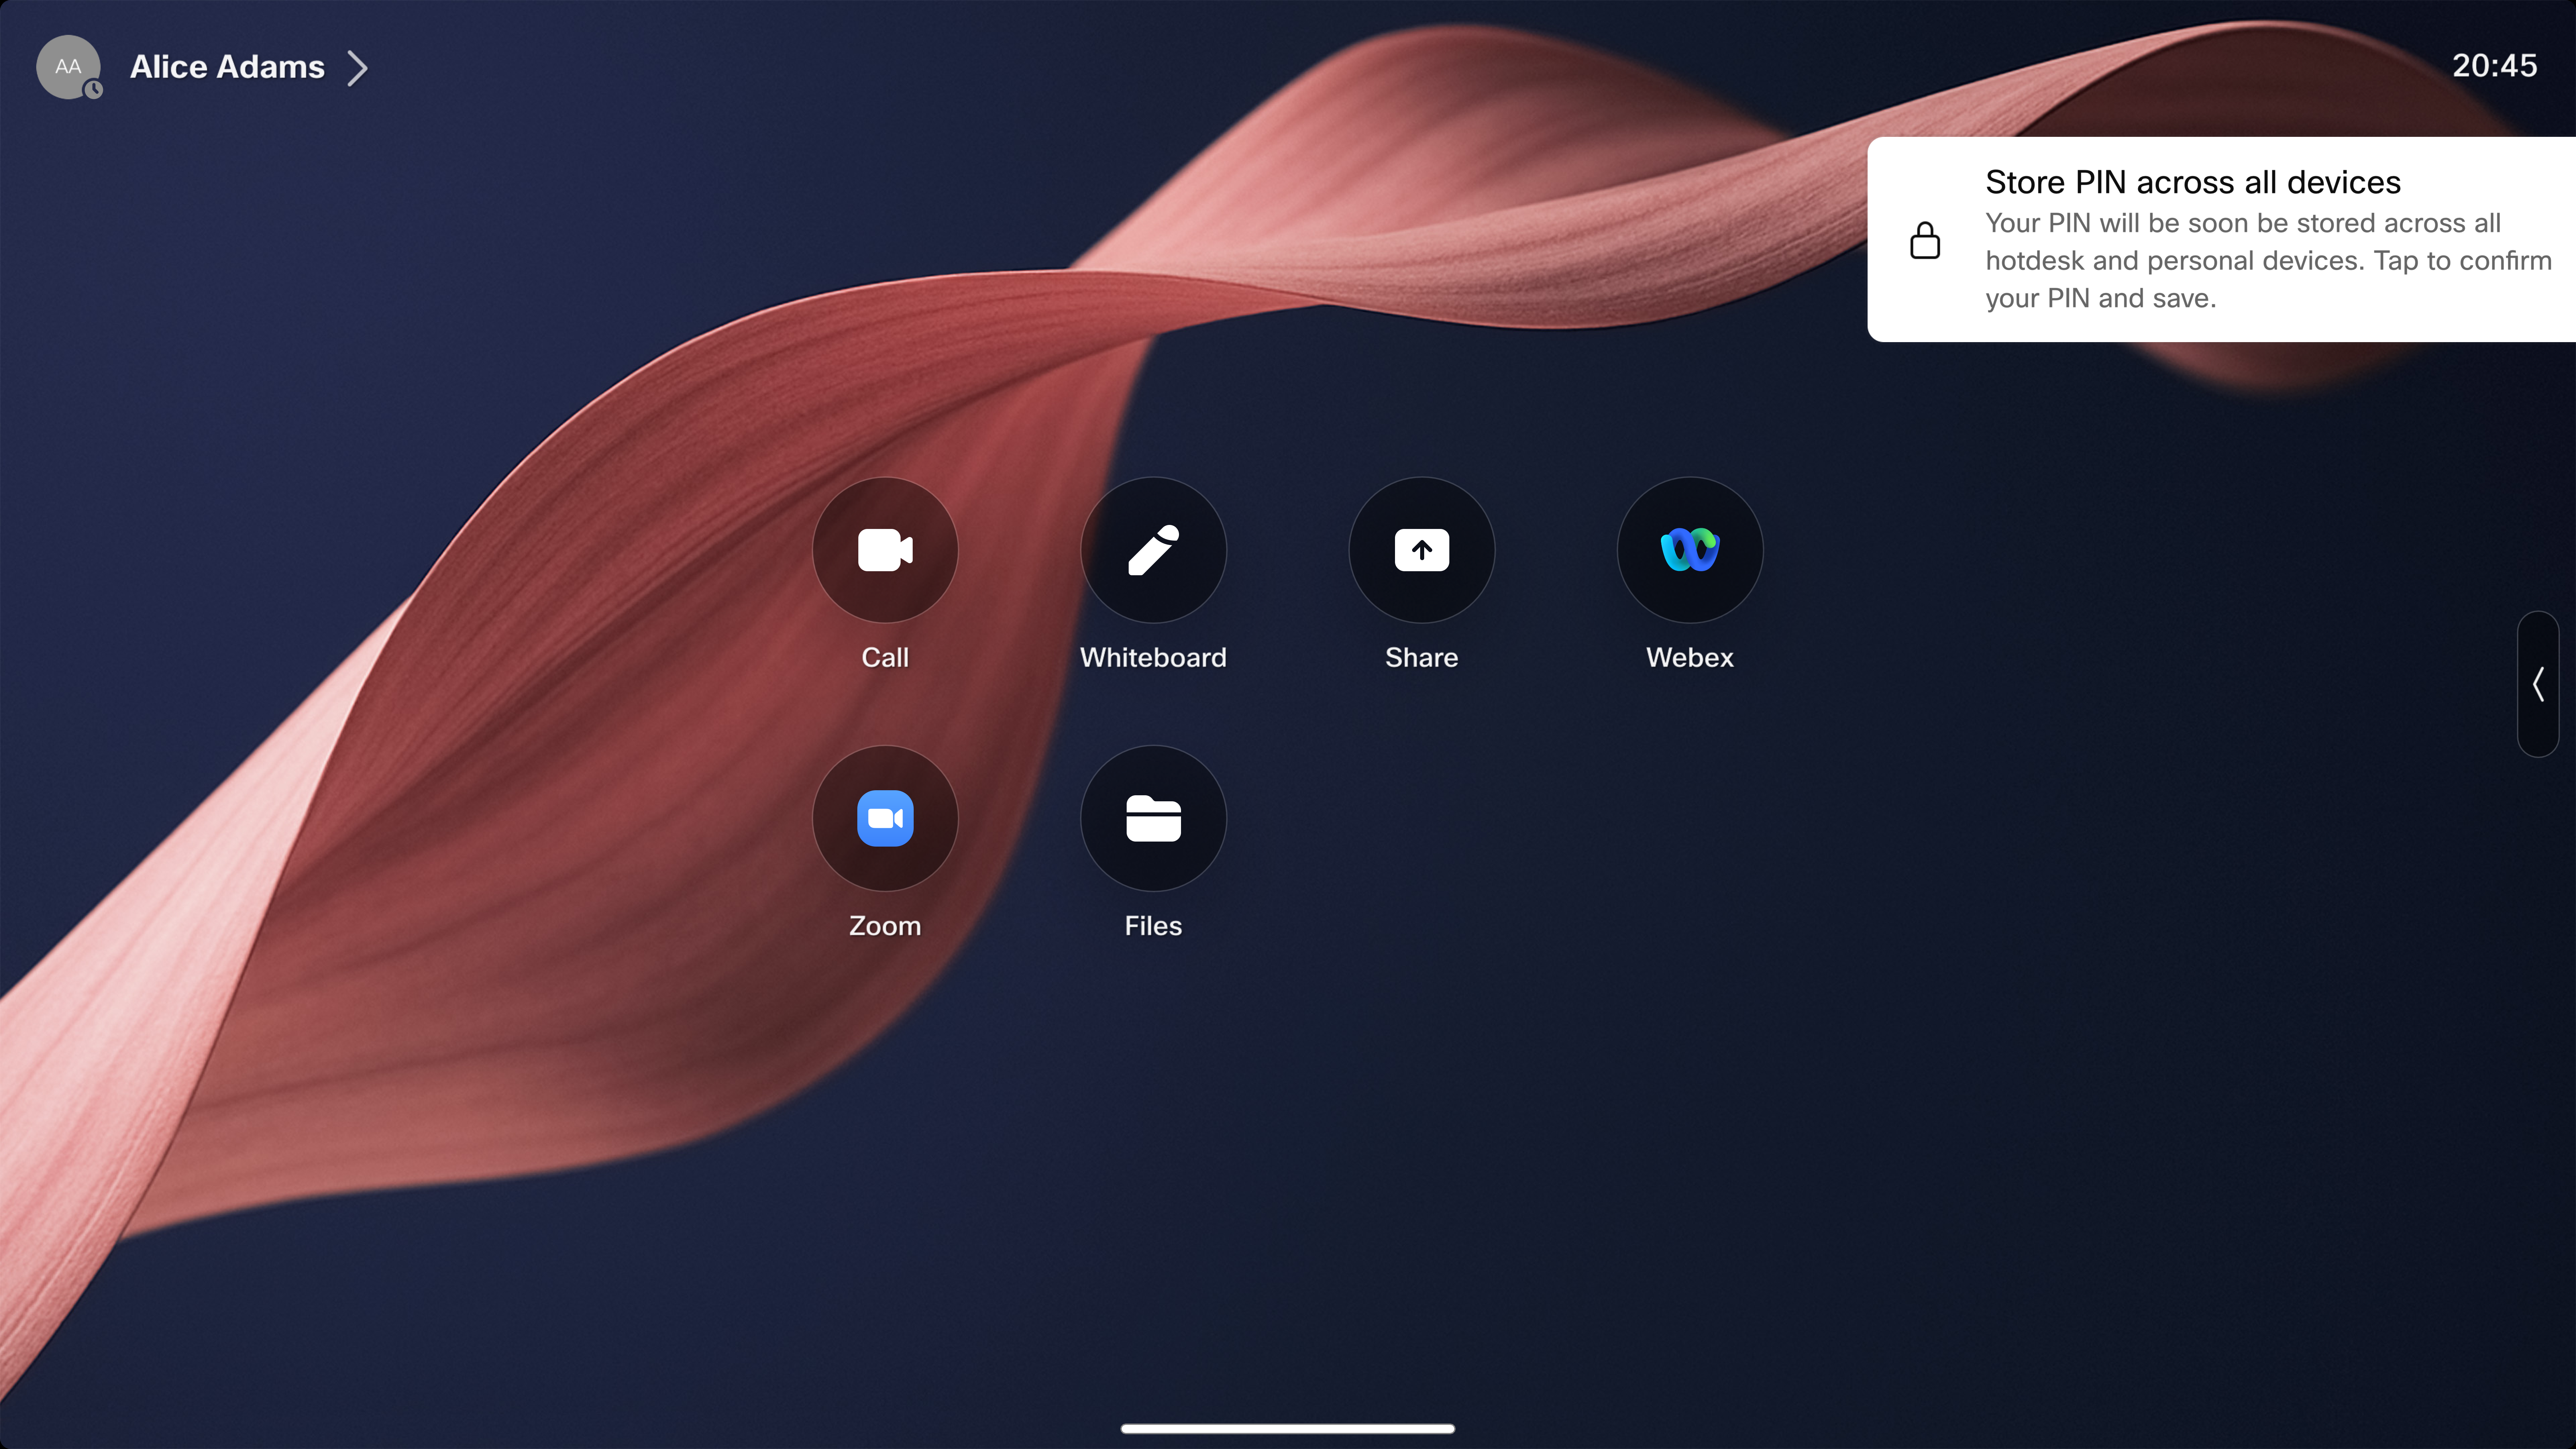
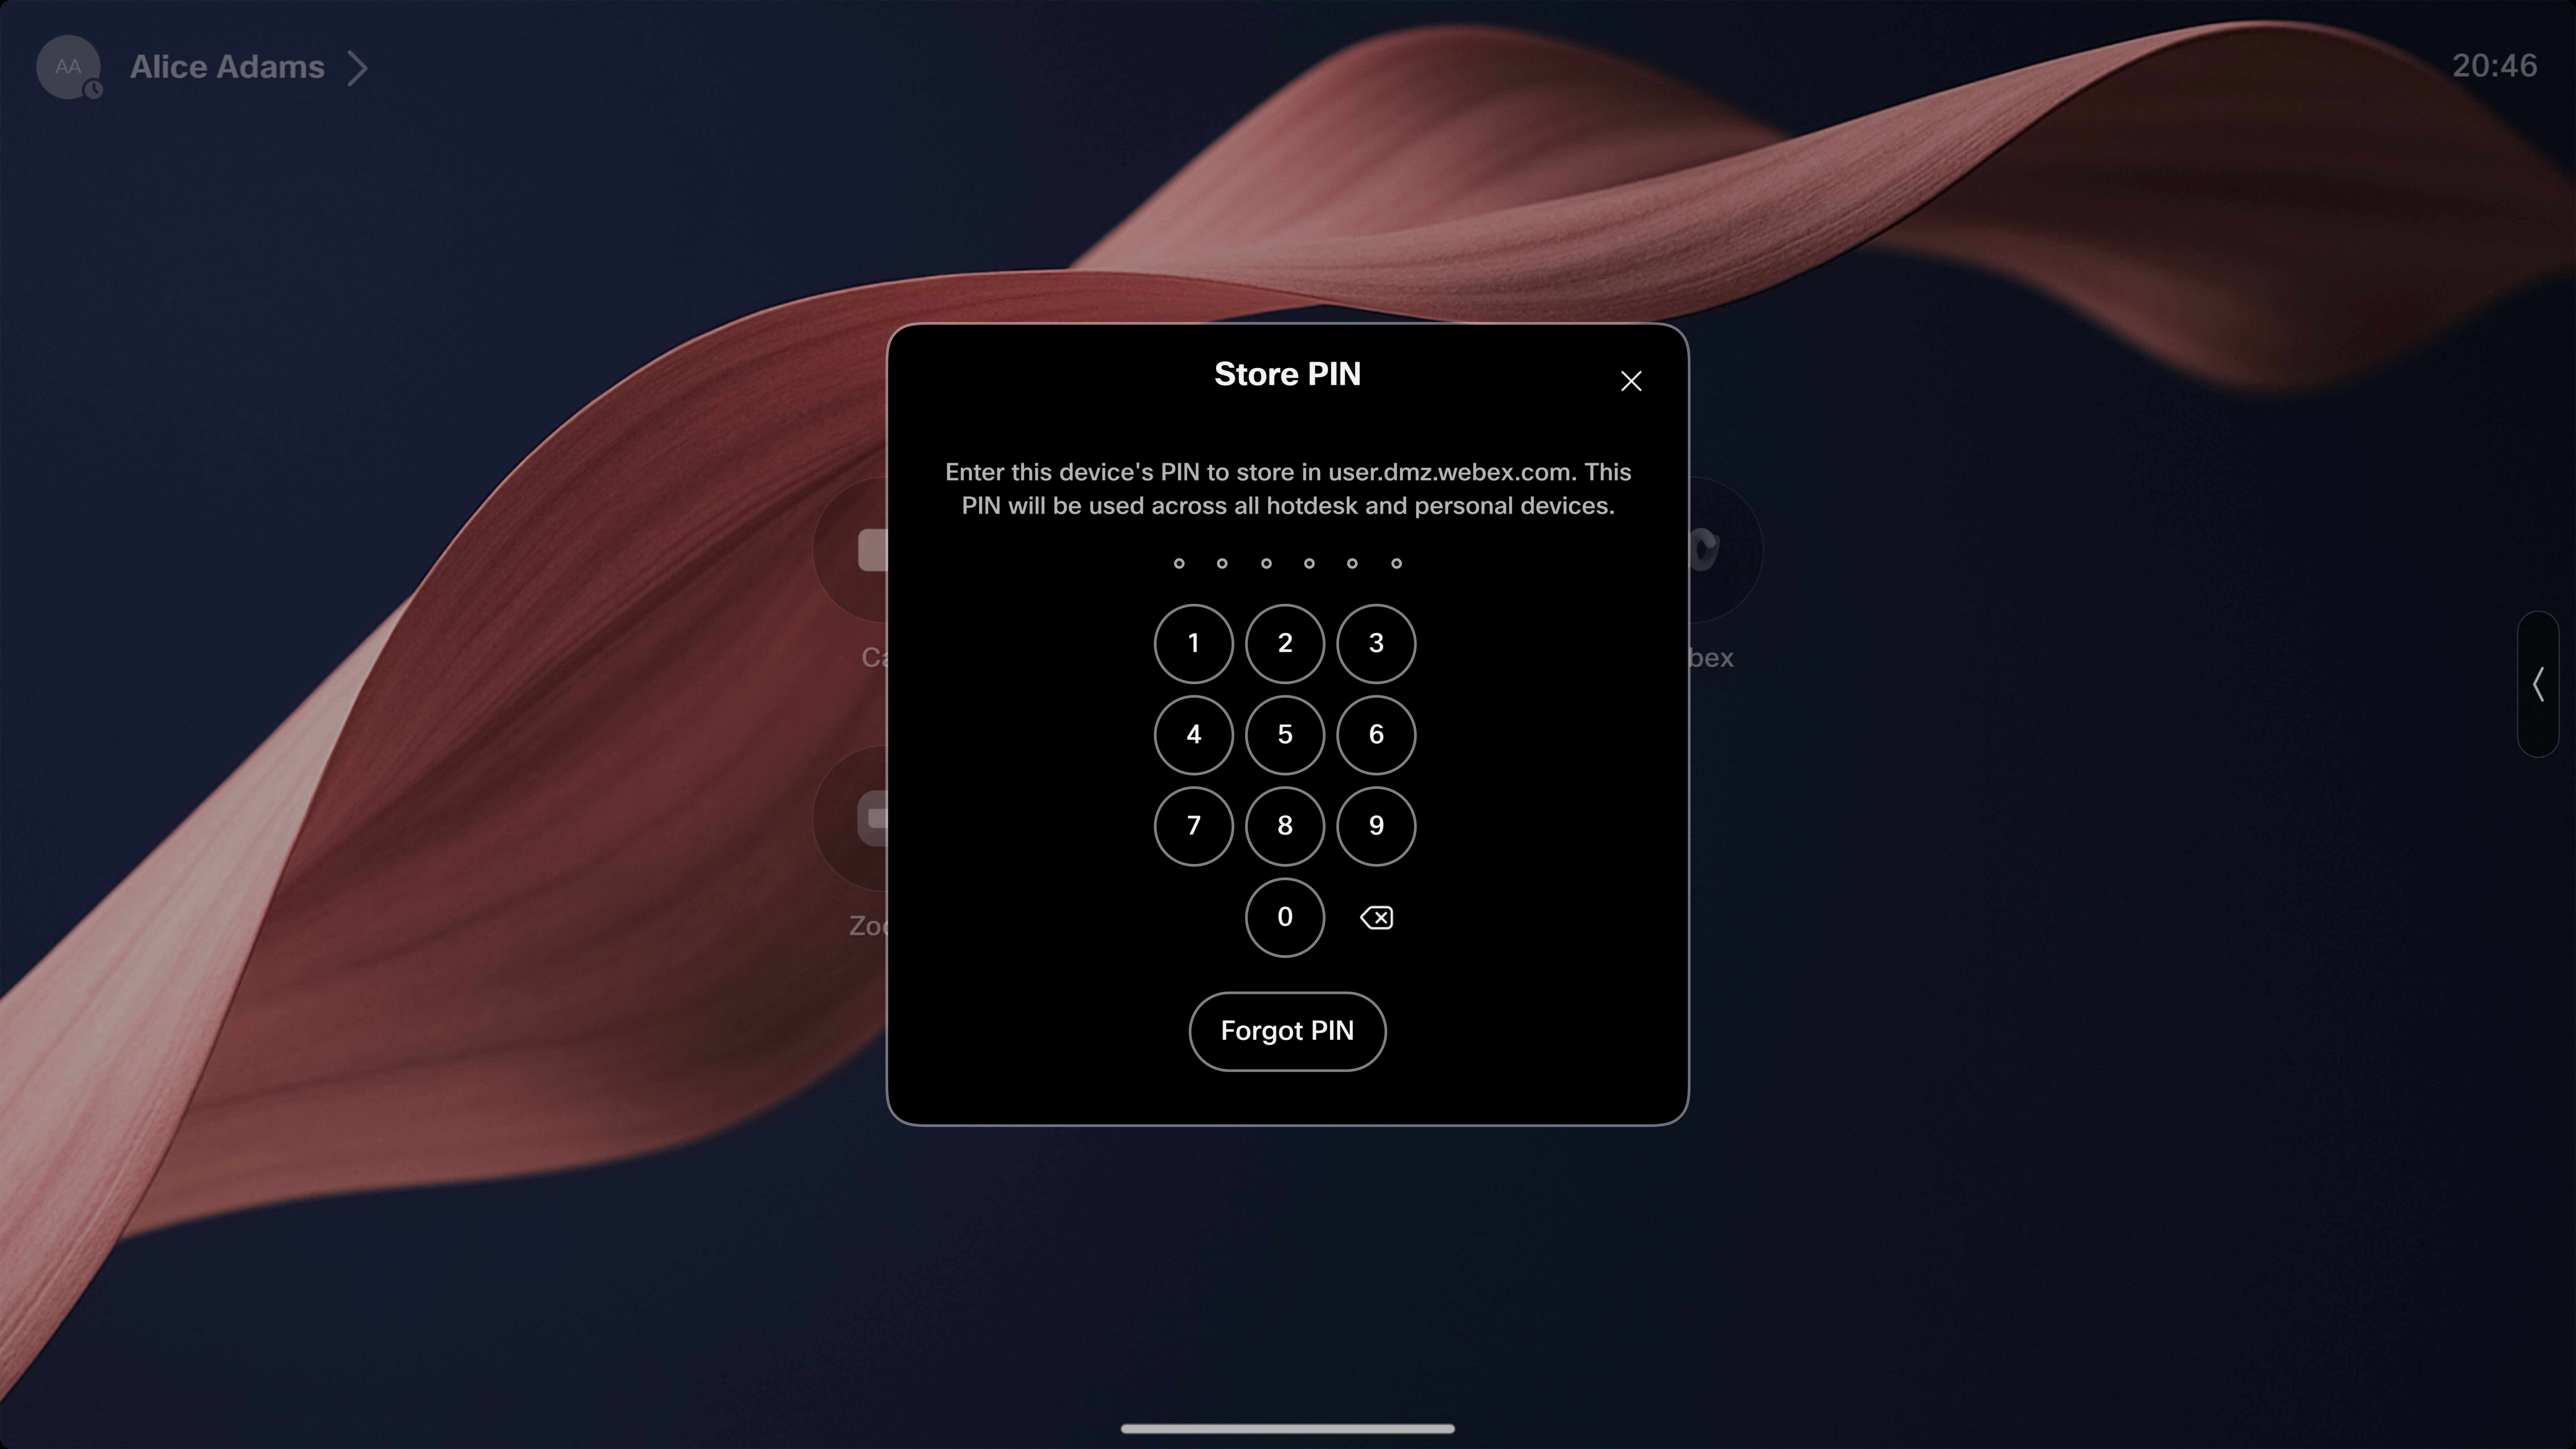
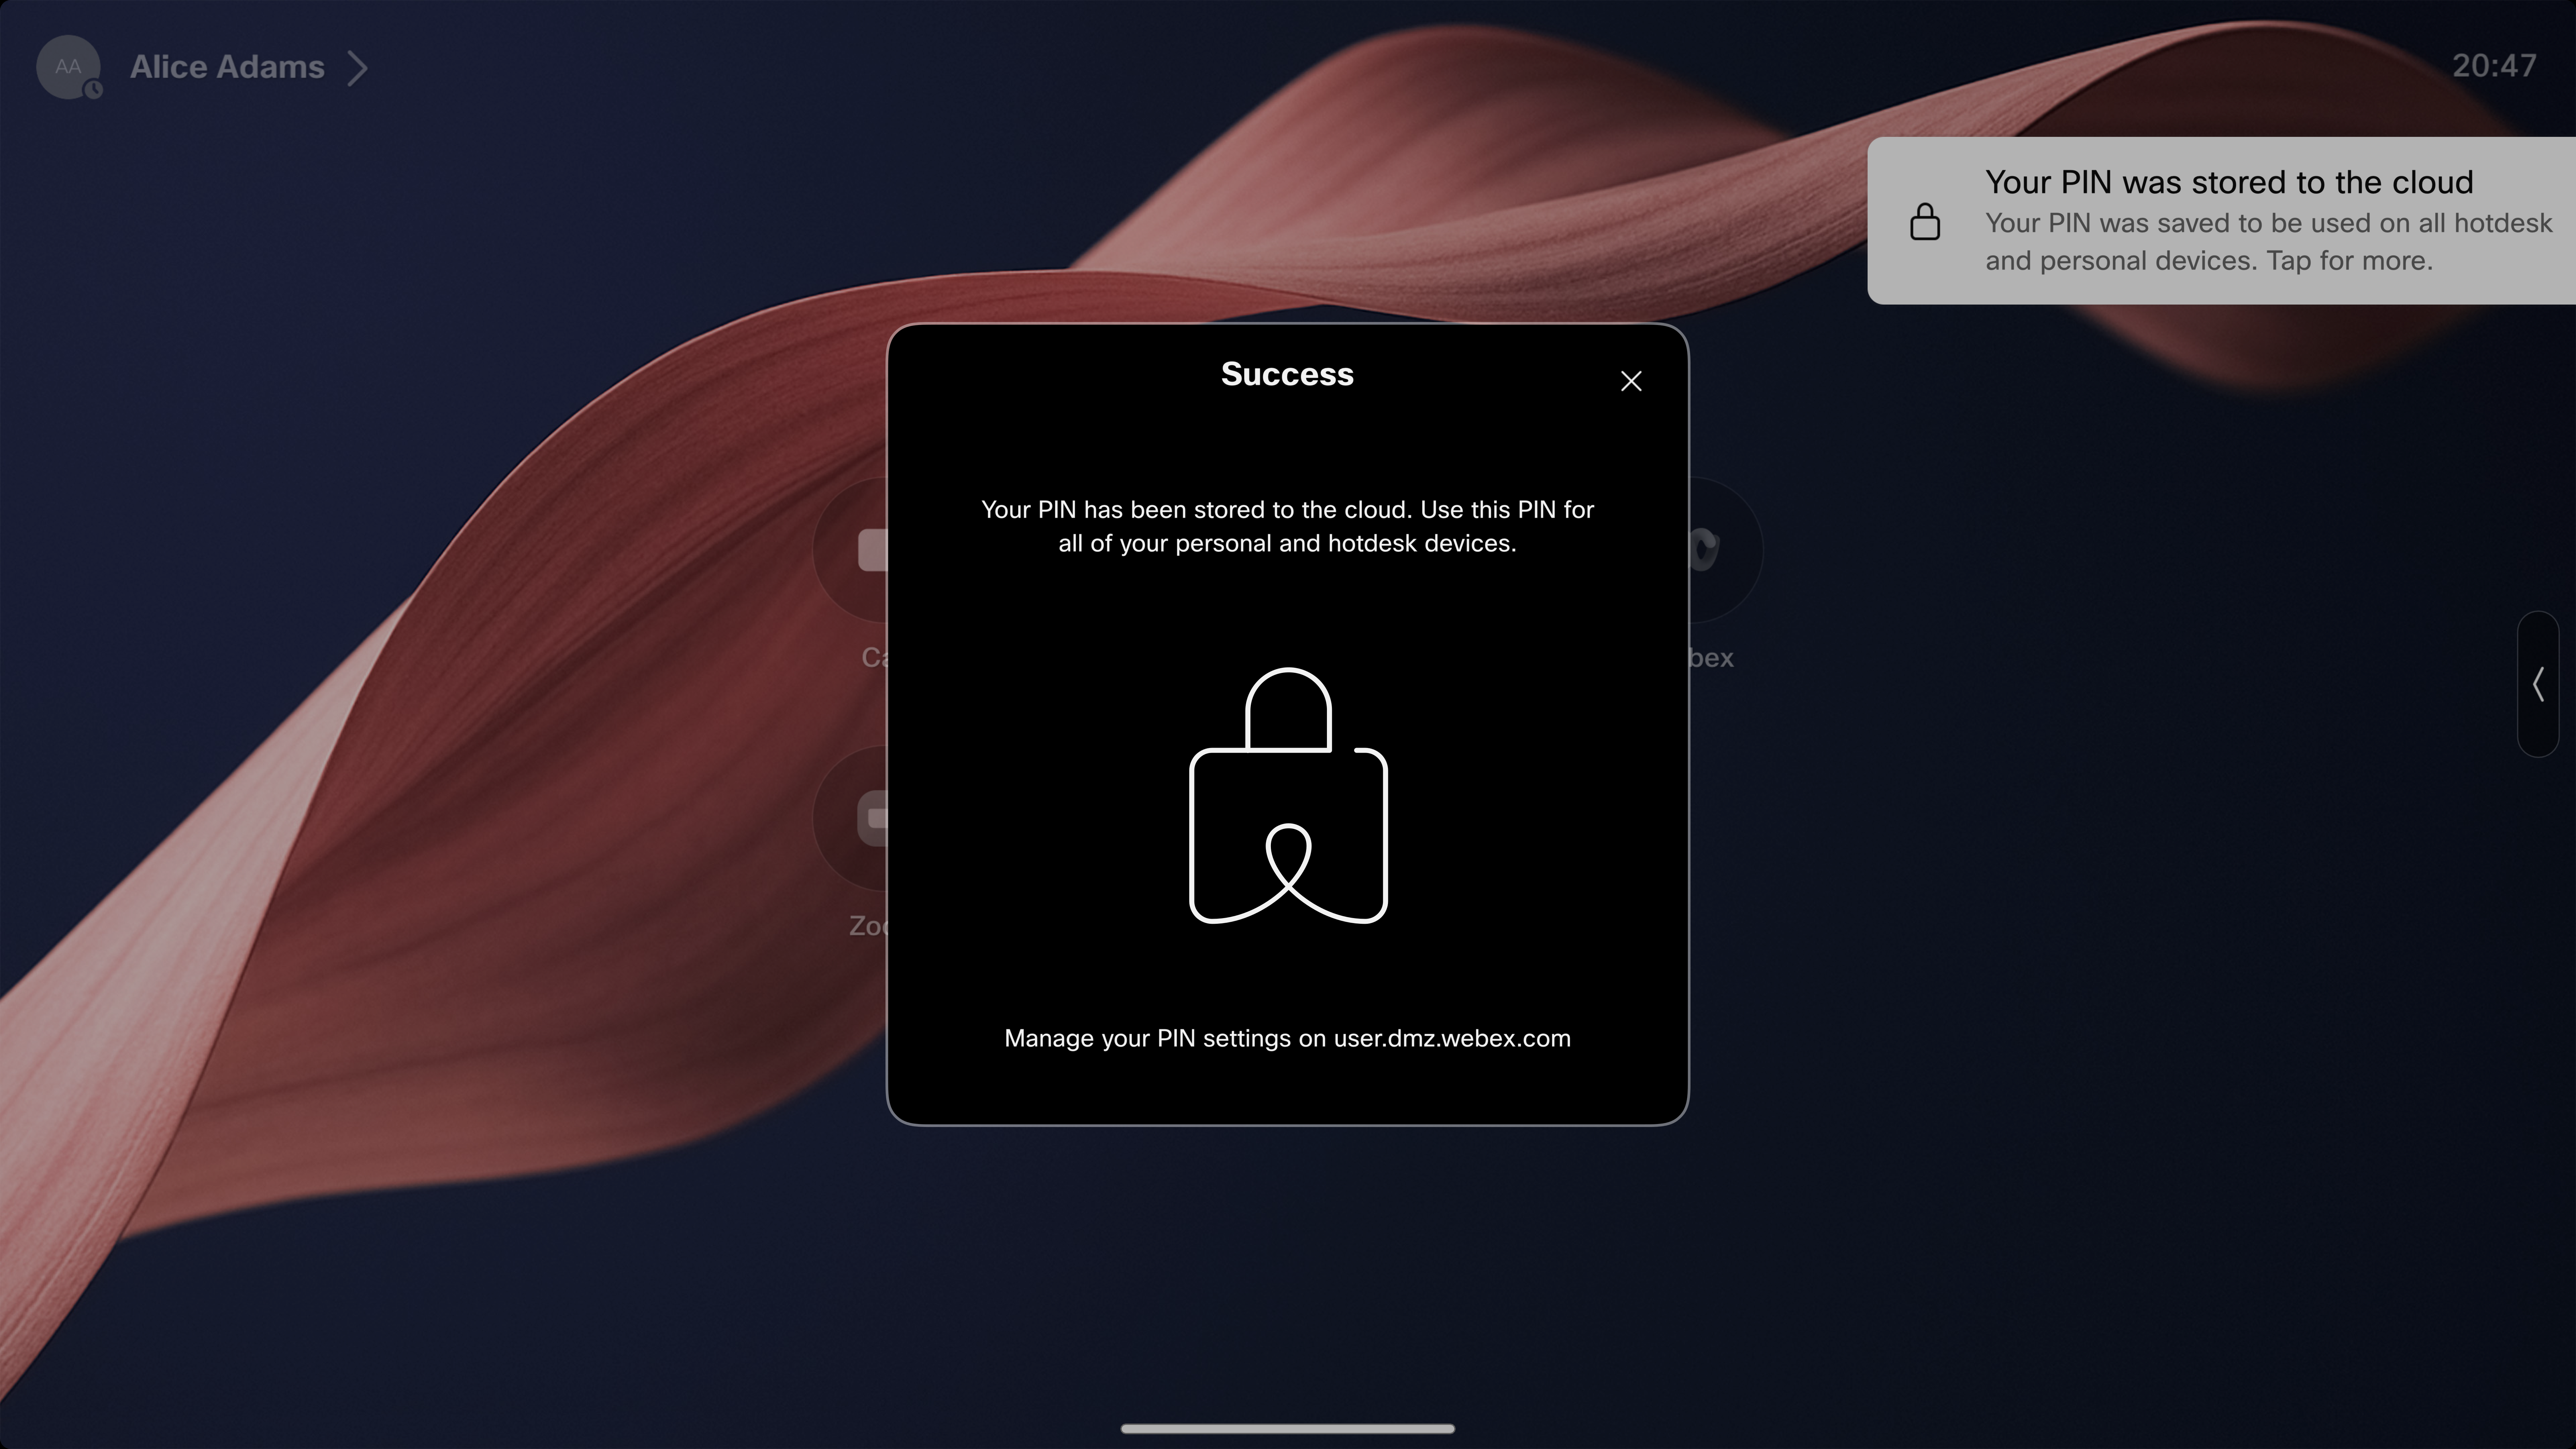
The migration can also happen automatically. After the user first interacts with the migration notification, a 7-day grace period starts. If the user does not finish the flow during that period, the device automatically stores the existing device PIN in the cloud.
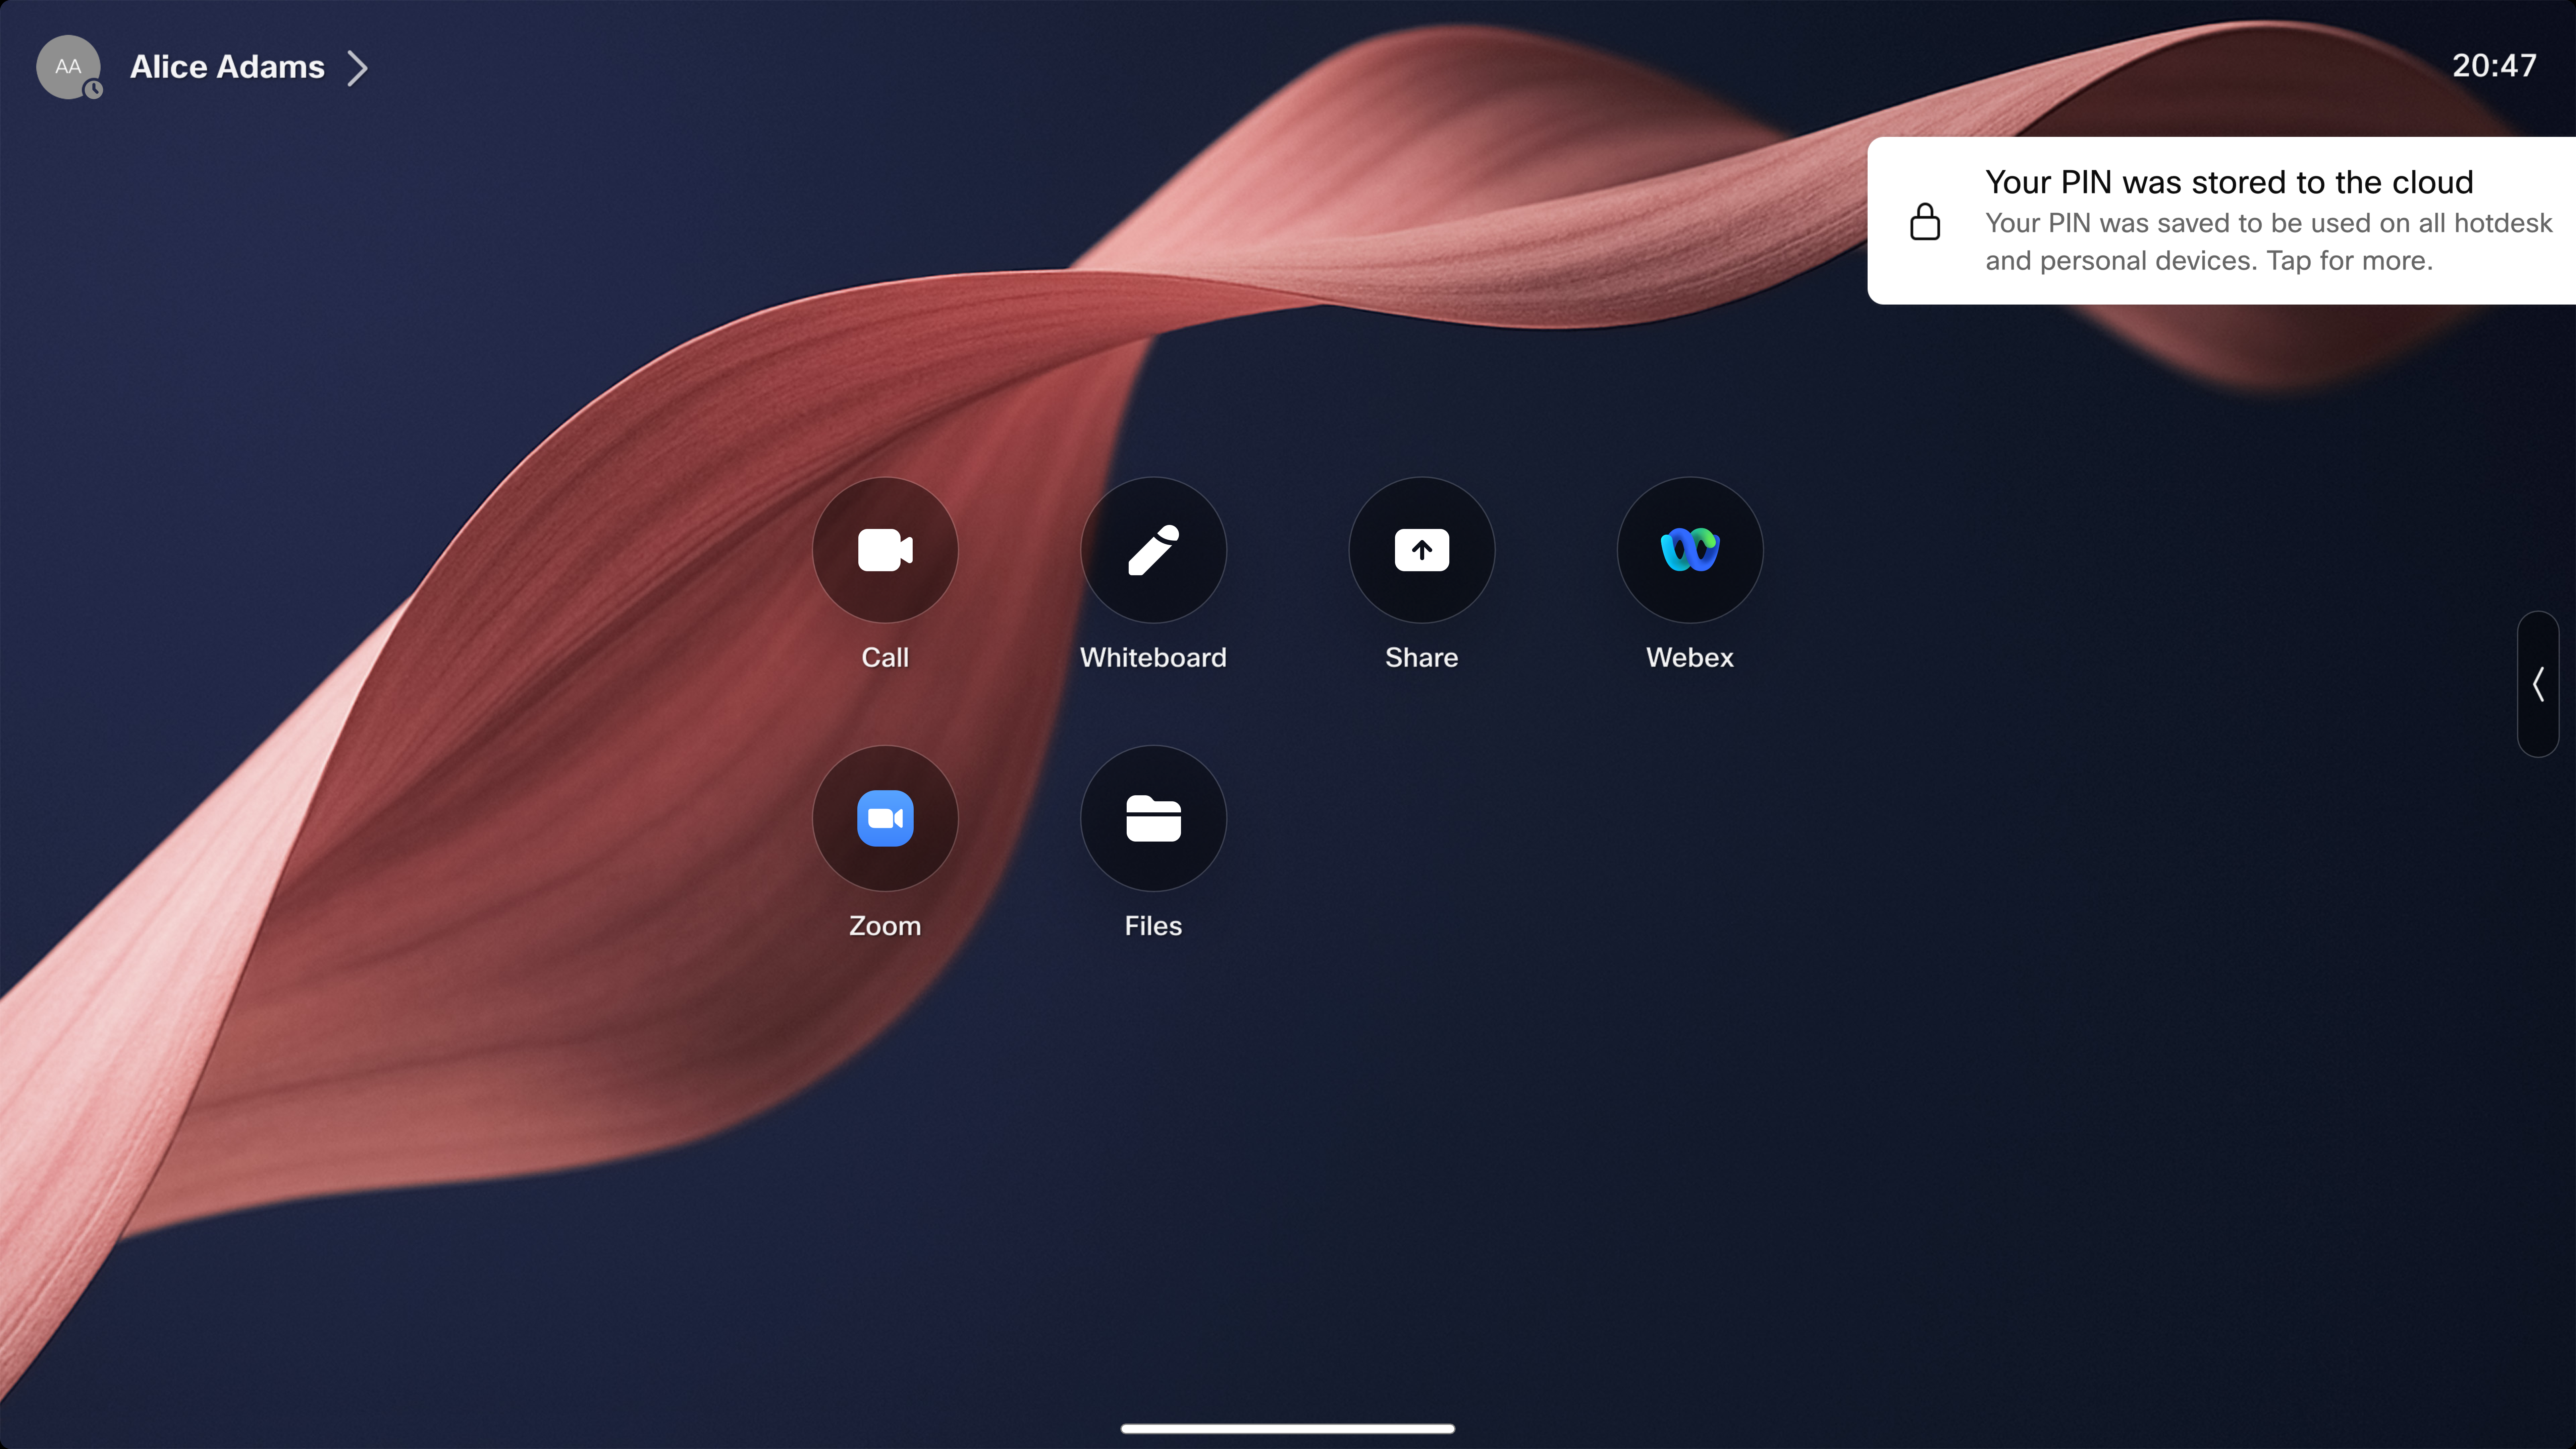
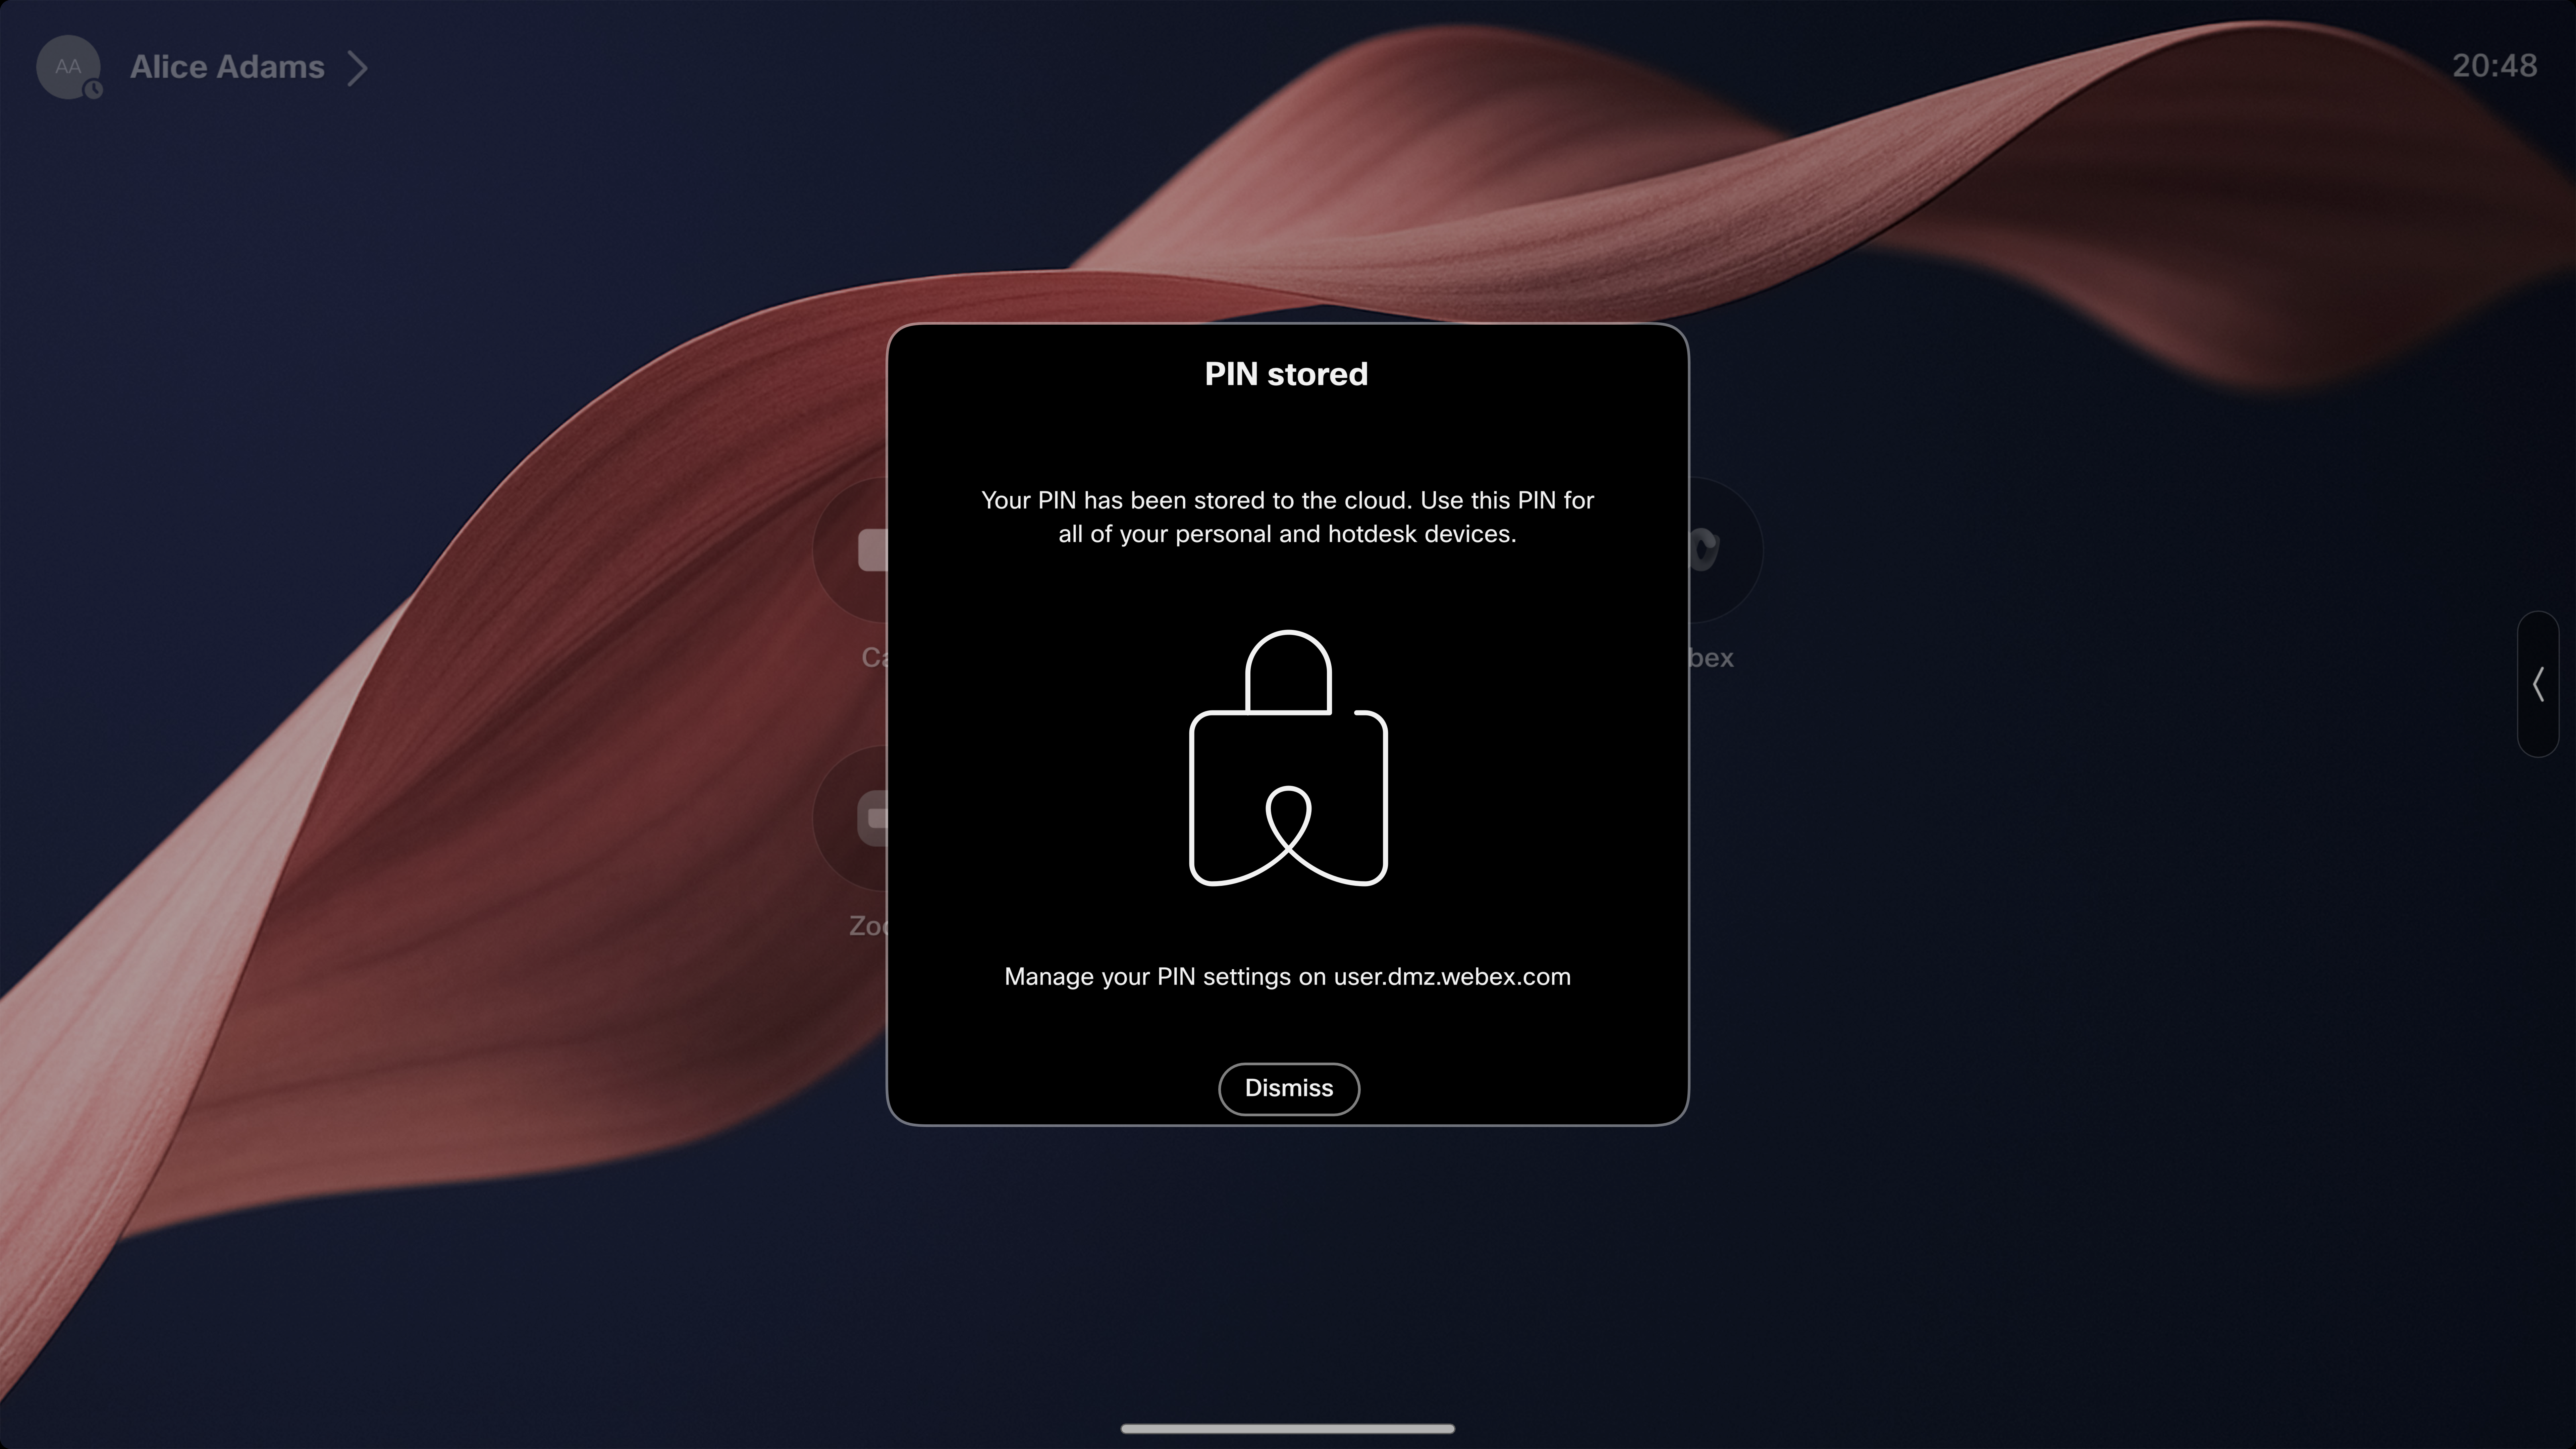
If the user has more than one personal mode device with a local device PIN, completing the migration on one device migrates all of the user's devices. The other devices fetch the cloud-stored user PIN and leave the migration flow. If no device is migrated manually, the first device that reaches the end of the 7-day grace period stores its local PIN in the cloud, and the other devices sync with it.
You can also migrate by changing the screen lock PIN from the device's PIN options menu, or by creating a user PIN through User Hub or during hot desk sign-in.
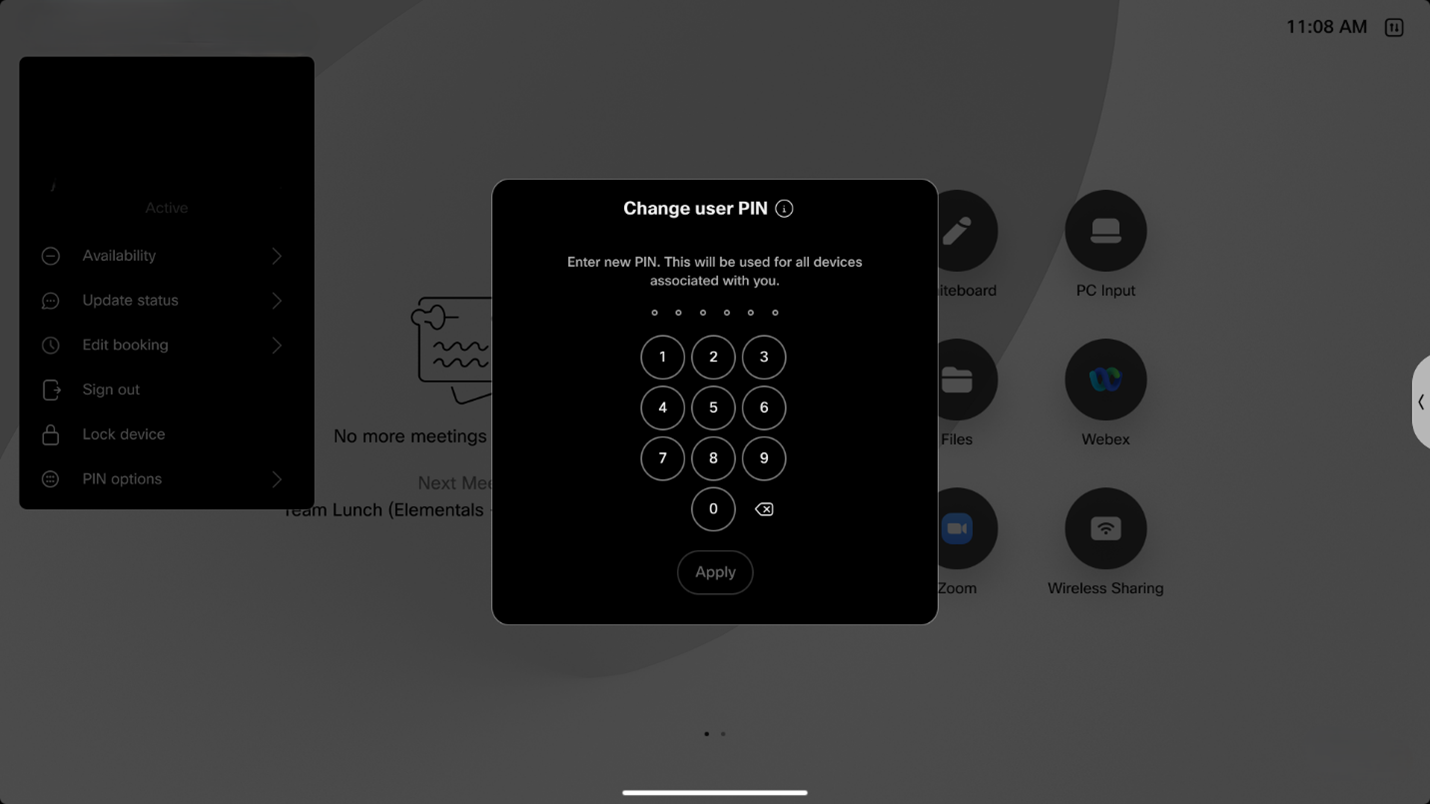
Regular users can't set up PIN lock on a shared mode device without the help of an admin. The admin must configure the device correctly and generate a one-time PIN as described here.
-
Set the UserInterface > ScreenLock > Workspace > Allowed configuration to True.
You can set this in the Control Hub or in the device web interface (see this article for more information). You can also use the API (see this article).
-
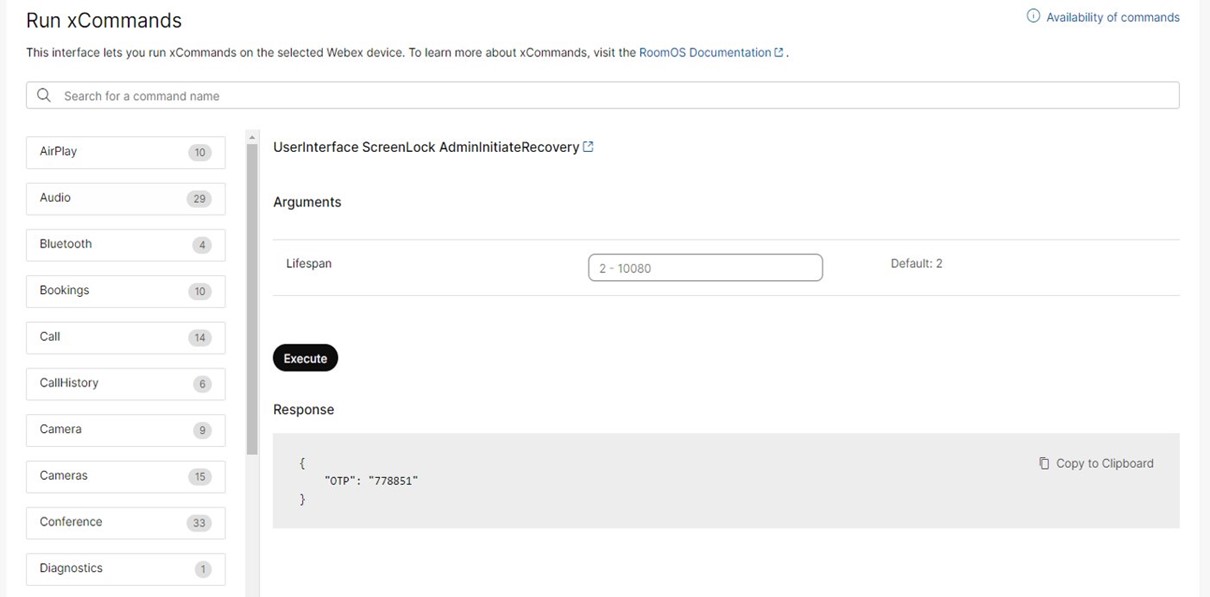
Run this command to generate a one-time PIN. You can run the command in the Control Hub (see this article) or use the API (see this article). Use the
LifeSpanparameter to set for how many minutes the one-time PIN shall be valid. The maximum is 7 days (10,080 minutes).xCommand UserInterface ScreenLock AdminInitiateRecovery Lifespan:<Lifespan>The command returns a 6-digit one-time PIN that you, as an admin, must provide to the user of the device.
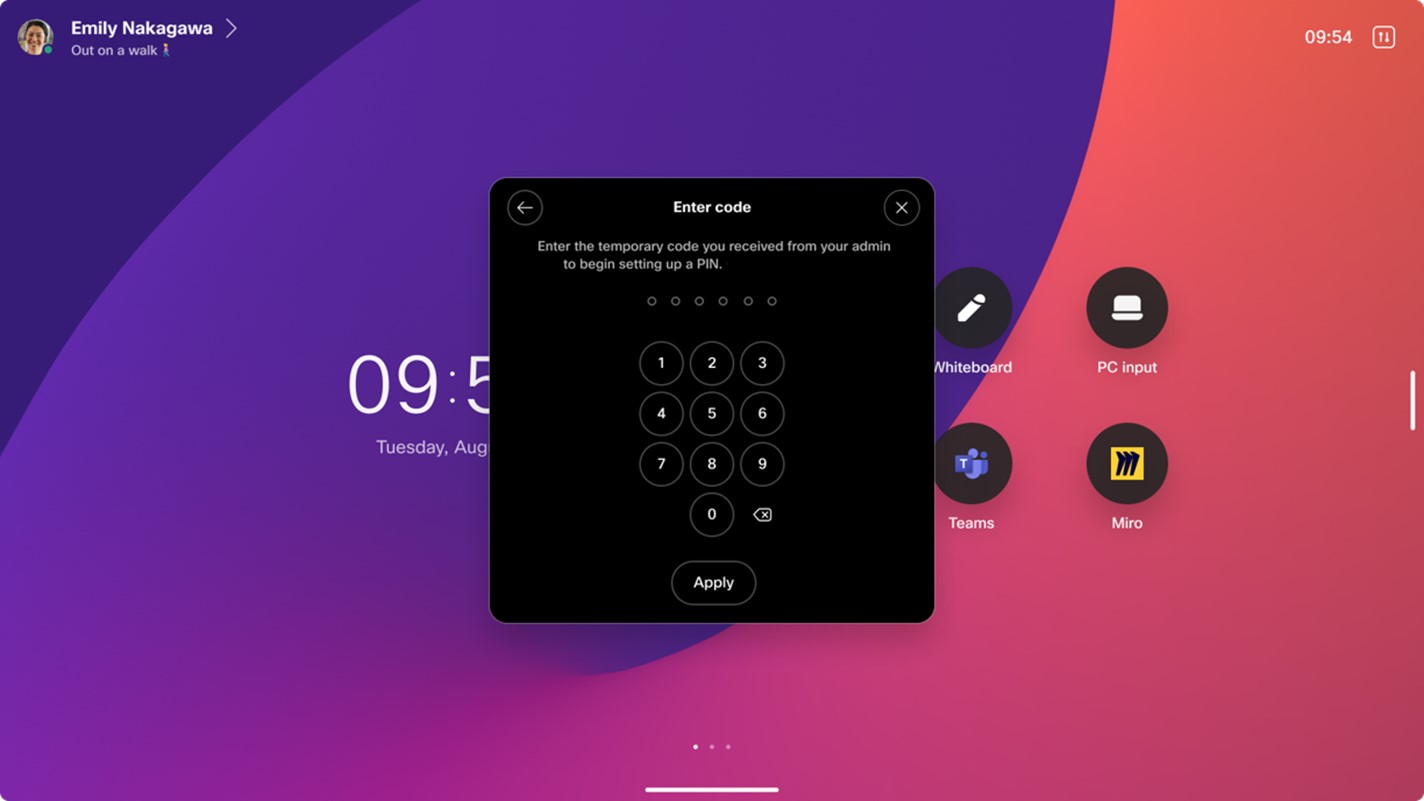
As a result, on the device itself, there's a prompt asking for the one-time PIN.
-
The user of the device must enter the one-time PIN.
Once done, there's a new prompt asking them to enter and confirm their PIN for the device.
Now, you can use the PIN lock as described in the following.
Resetting the PIN
If you've forgotten your PIN or want to reset it, perform the same process as when generating the PIN for the first time.
On a personal mode device, you can do everything yourself. On a shared mode device, the admin must create a new one-time PIN.
Locking the device
To lock the device, go to the top left status menu, and select Lock device. The device also locks automatically when it enters standby.
In both cases, tap the screen and enter the PIN code to unlock the device.
Enforce setting a PIN
An admin can enforce setting a PIN lock either on individual devices or at the organization level, by setting the configuration to Enforce. The default for this configuration is Optional.
Enforce setting a PIN at organization levelIn the Control Hub, go to Devices and Settings. Scroll down to Device screen lock and select Enforce screen lock on all allowed devices.
This includes all personal mode devices and any shared mode devices with screen lock explicitly enabled (that is, with set to True).


