- Home
- /
- Article

Thanks for your feedback.

Schedule and join webinars with Webex Scheduler for Microsoft Outlook
 In this article
 Feedback?
Schedule Webex webinars directly from your Outlook calendar using the Webex Scheduler. Invite participants, assign cohosts, and set other webinar preferences. When it's time, start or join a webinar directly from the email invite.
Add the Webex Scheduler add-in from Microsoft AppSource
If you have a Microsoft 365 acccount and your administrator hasn’t installed the Webex Scheduler add-in, you can install the app yourself.
| 1 |
Go to Microsoft AppSource. |
| 2 |
Search for the |
| 3 |
Select Get it now and follow the on-screen instructions. After you've added the app, follow the instructions in Set your Webex site in Outlook. |
Set your Webex site in Outlook
Before you can schedule a meeting using the Webex Scheduler, you must specify the Webex site to use with your account.
| 1 |
If you're using Outlook for desktop, in the Cisco Webex group on the ribbon, select Add Webex Meeting. 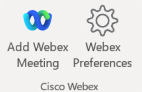 If you're using Outlook on the web, select New event > Cisco Webex Scheduler To see this option, you or your administrator must have added the Webex Scheduler add-in and your Webex site administrator must have configured the Webex Scheduler for Microsoft 365. The Welcome screen appears. 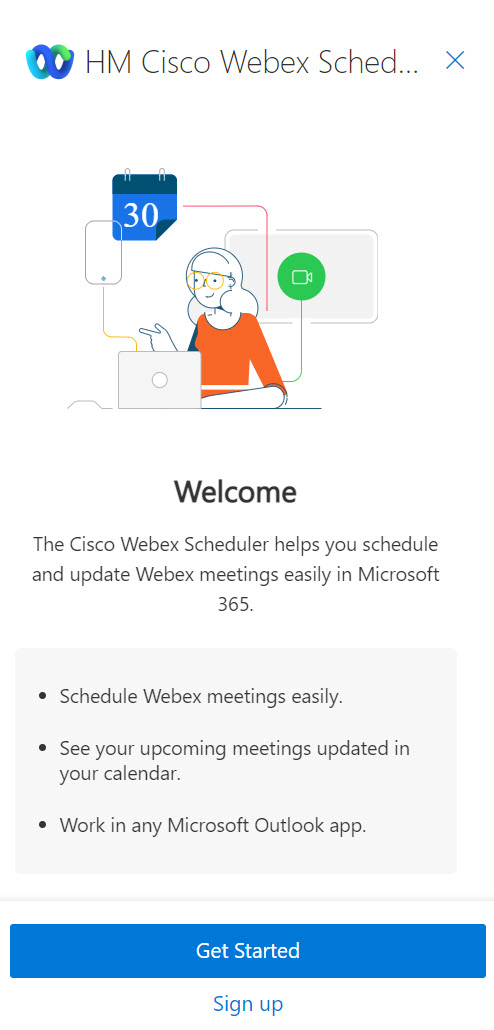 |
| 2 |
Select Get Started. |
| 3 |
Select or enter the Webex site URL that you want to use, in the format 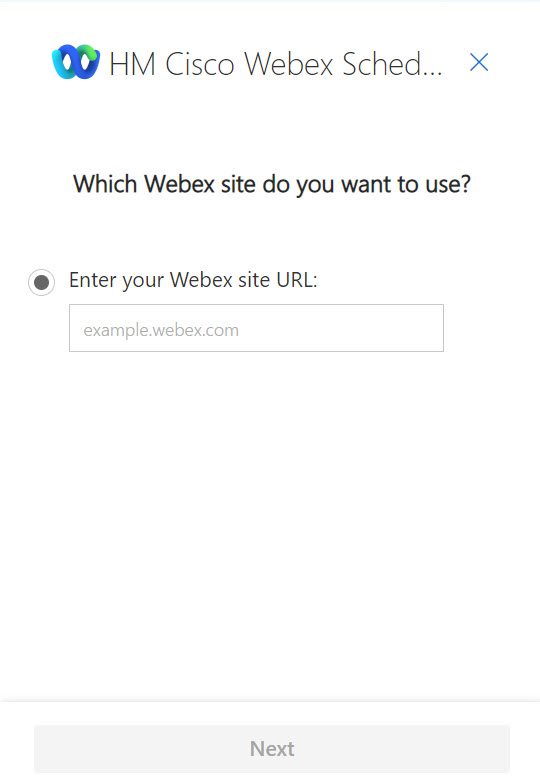 If you see a message that Webex Preferences wants to display in a new window, select Allow. |
| 4 |
The Sign in screen opens in a new browser window. Enter your Microsoft 365 email address, and then select Next. 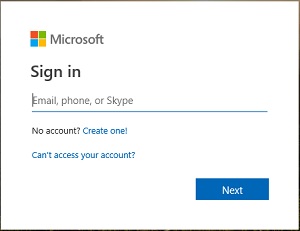 |
| 5 |
Enter your Microsoft 365 password, and then select Sign in. 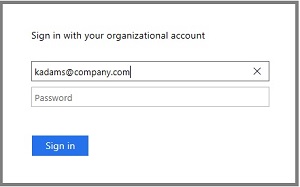 If you see a Stay signed in? message, select Yes to reduce the number of times you have to sign in. |

Schedule a webinar from Outlook
After you set your Webex site, you can add a webinar to any appointment that you create in Outlook.
| 1 |
Create an appointment in Outlook. |
| 2 |
To invite panelists, select Invite Attendees and then type one or more email addresses in the Required box. You can add invitees to your webinar from your Webex site after you schedule it in Outlook. |
| 3 |
In the Cisco Webex group on the ribbon in Outlook, click Webex Preferences. |
| 4 |
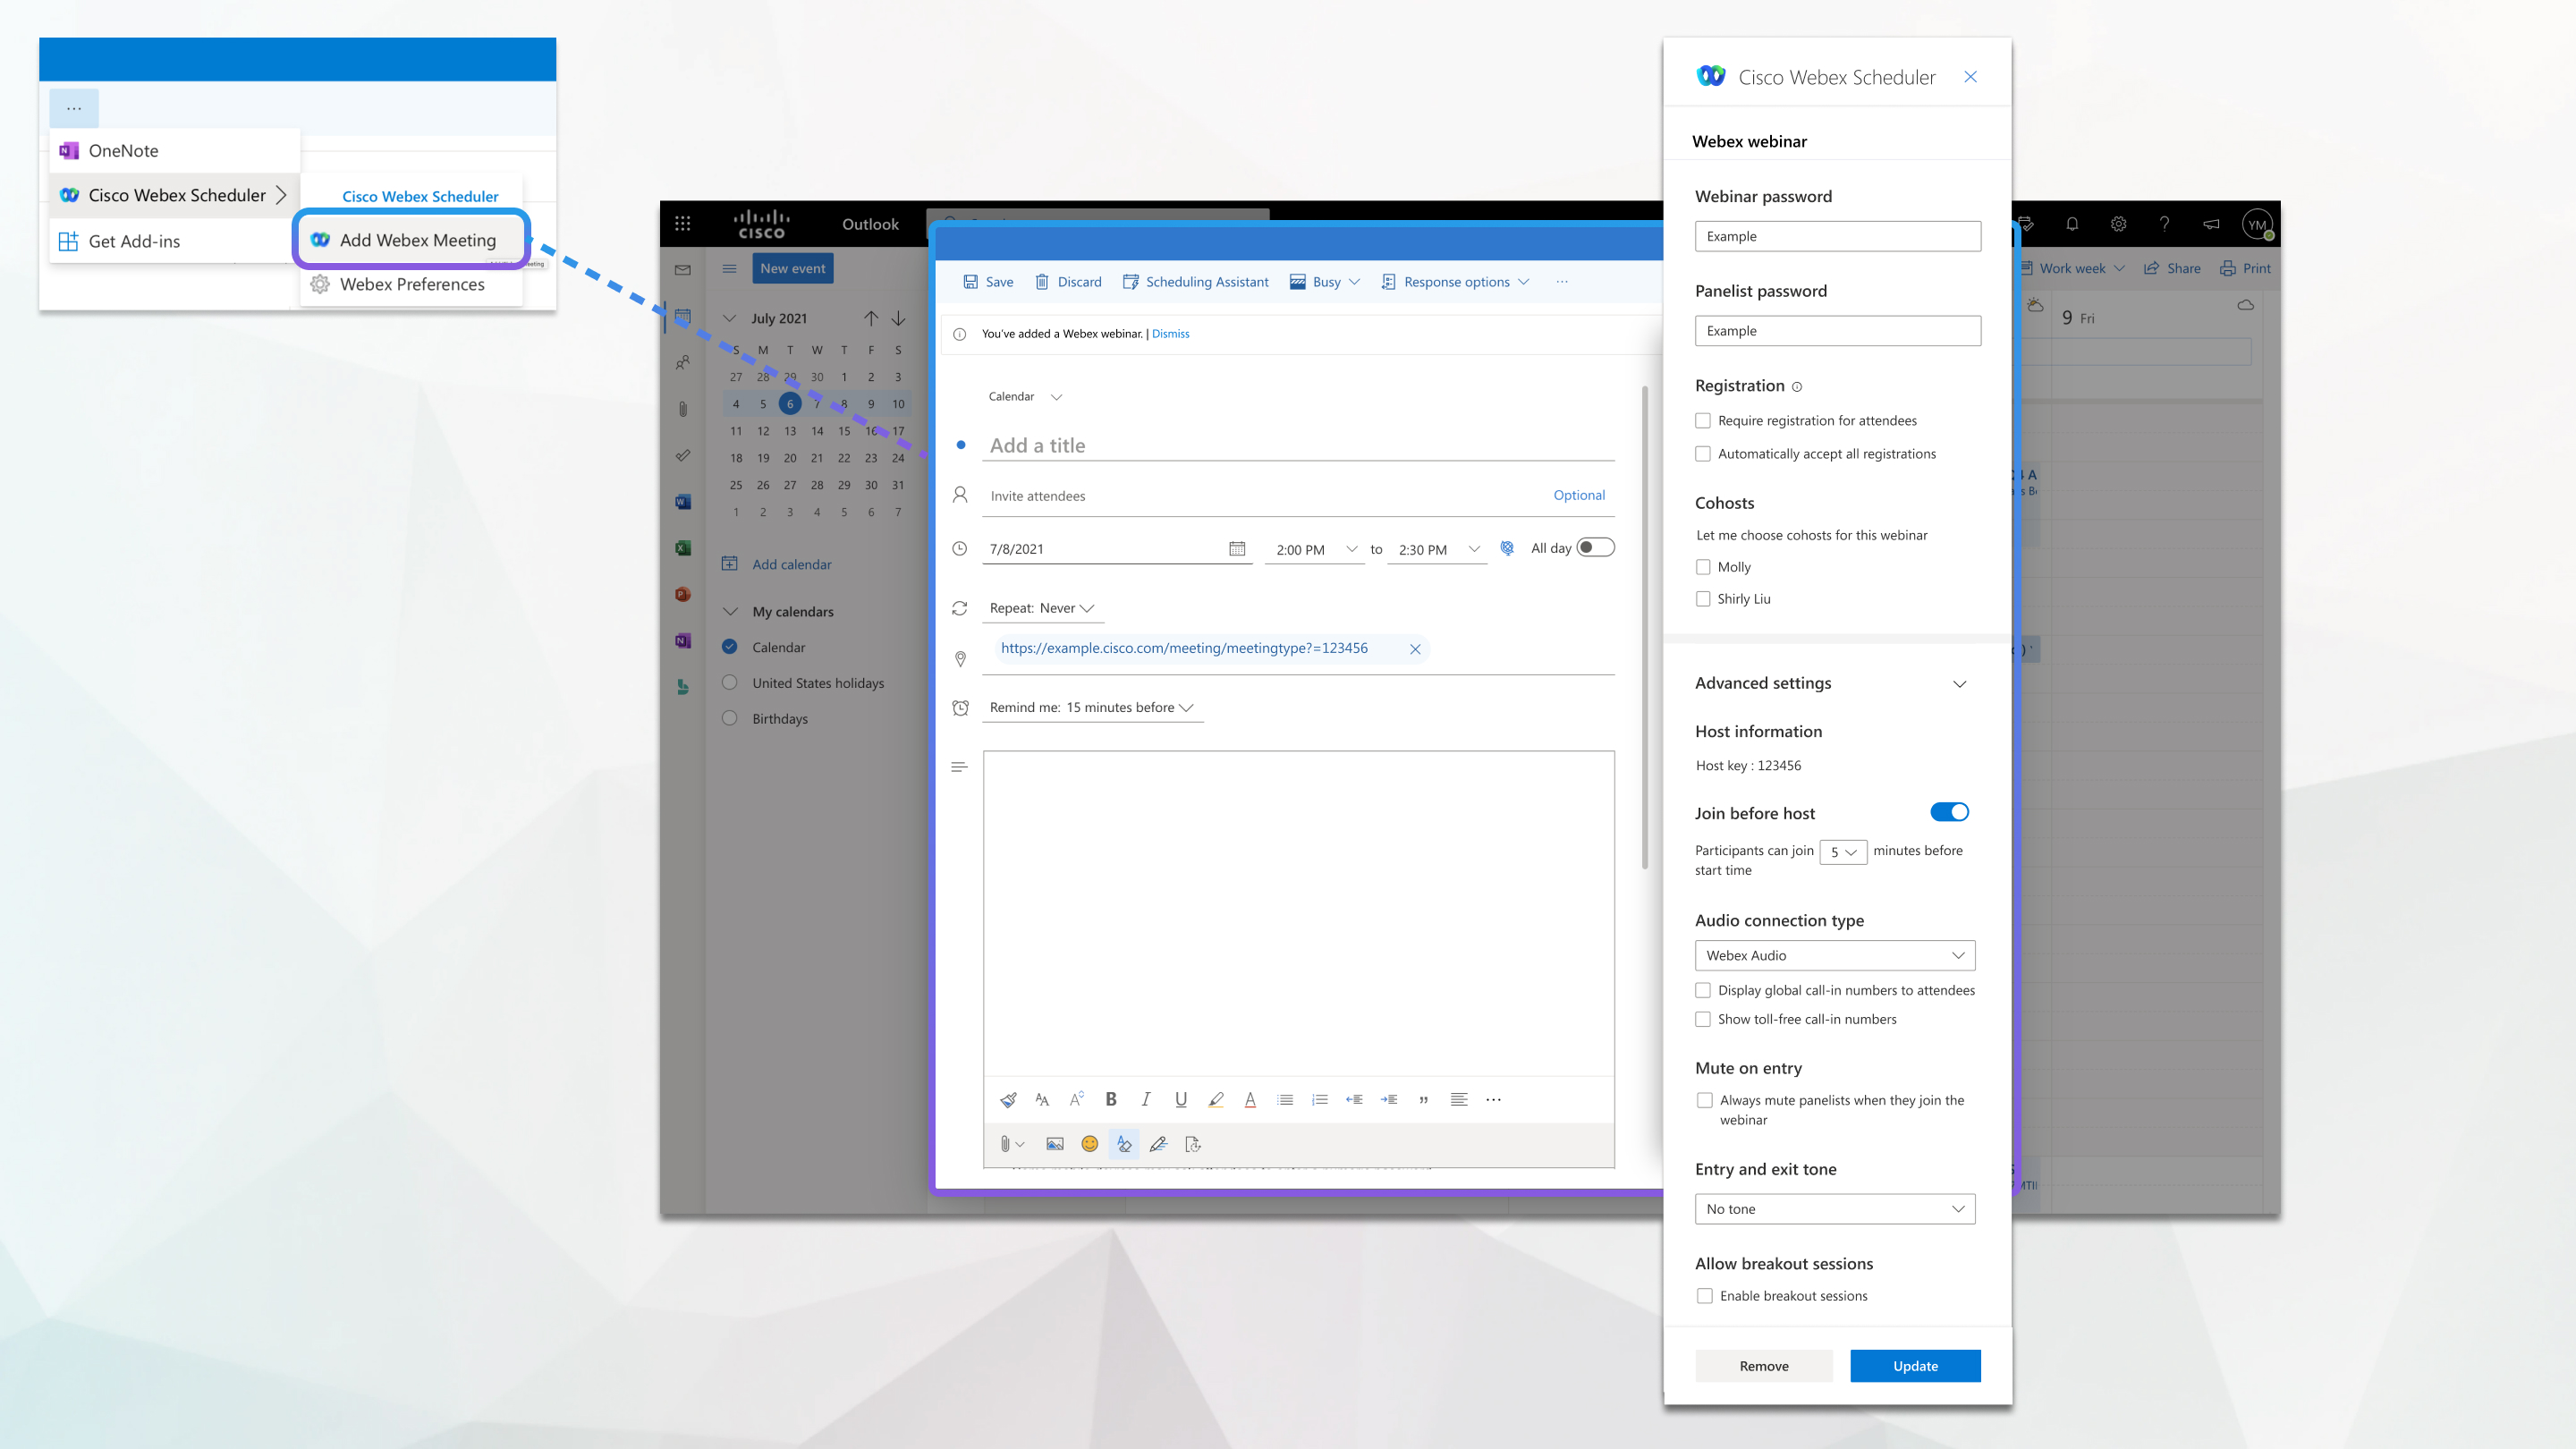
Click the Webinar tab, then select Add Webex webinar. You can't create a series of webinars or schedule on behalf of another host using the Webex Scheduler. A link the webinar appears in the location field and the webinar details appear in the body of the
appointment.
|
| 5 |
To edit the webinar options, such as assigning cohosts, requiring registration, and choosing the audio connection type, in the Cisco Webex group on the ribbon in Outlook, select Webex Preferences. |
| 6 |
Select Update meeting when you've finished editing the meeting options. |
| 7 |
Select Send. The appointment shows the webinar details, including a link to join the meeting. You can copy the link and share it with
others.
|
After you set your Webex site, you can add a webinar to any appointment that you create in Outlook.
| 1 |
Create an appointment in Outlook. |
| 2 |
To invite others, type one or more email addresses in the Invite attendees field. |
| 3 |
To add a webinar to your appointment, click Cisco Webex Scheduler and from the drop-down list, select Webex Preferences. |
| 4 |
Click the Webinar tab, then select Add Webex webinar. You can't create a series of webinars or schedule on behalf of another host using the Webex Scheduler. A link the webinar appears in the location field and the webinar details appear in the body of the
appointment.
|
| 5 |
To edit the webinar options, such as assigning cohosts, requiring registration, and choosing the audio
connection type, select Cisco Webex Scheduler |
| 6 |
Click Update meeting when you've finished editing the meeting options. |
| 7 |
Click Send. The appointment shows the webinar details, including a link to join the meeting. You can copy the link and share it with
others.
|
Edit a webinar
After you schedule a webinar, use Outlook to edit it at any time. Change the attendees and webinar information, such as the date, time, or the webinar details.
| 1 |
In your Outlook calendar, open the scheduled appointment and change any of the following:
|
| 2 |
Change the webinar details.
You can change the following webinar settings:
If you want to change more settings, click Edit
more settings on webinar information page. |
| 3 |
Click Update when you finish editing the webinar options, then select Send Update. |
Remove a webinar
Remove webinars from Outlook appointments that don't need them anymore, or if you want to schedule a webinar using a different template.
| 1 |
In your Outlook calendar, open an appointment that has a webinar. |
| 2 |
Open Webex Preferences.
|
| 3 |
Click Remove. |


