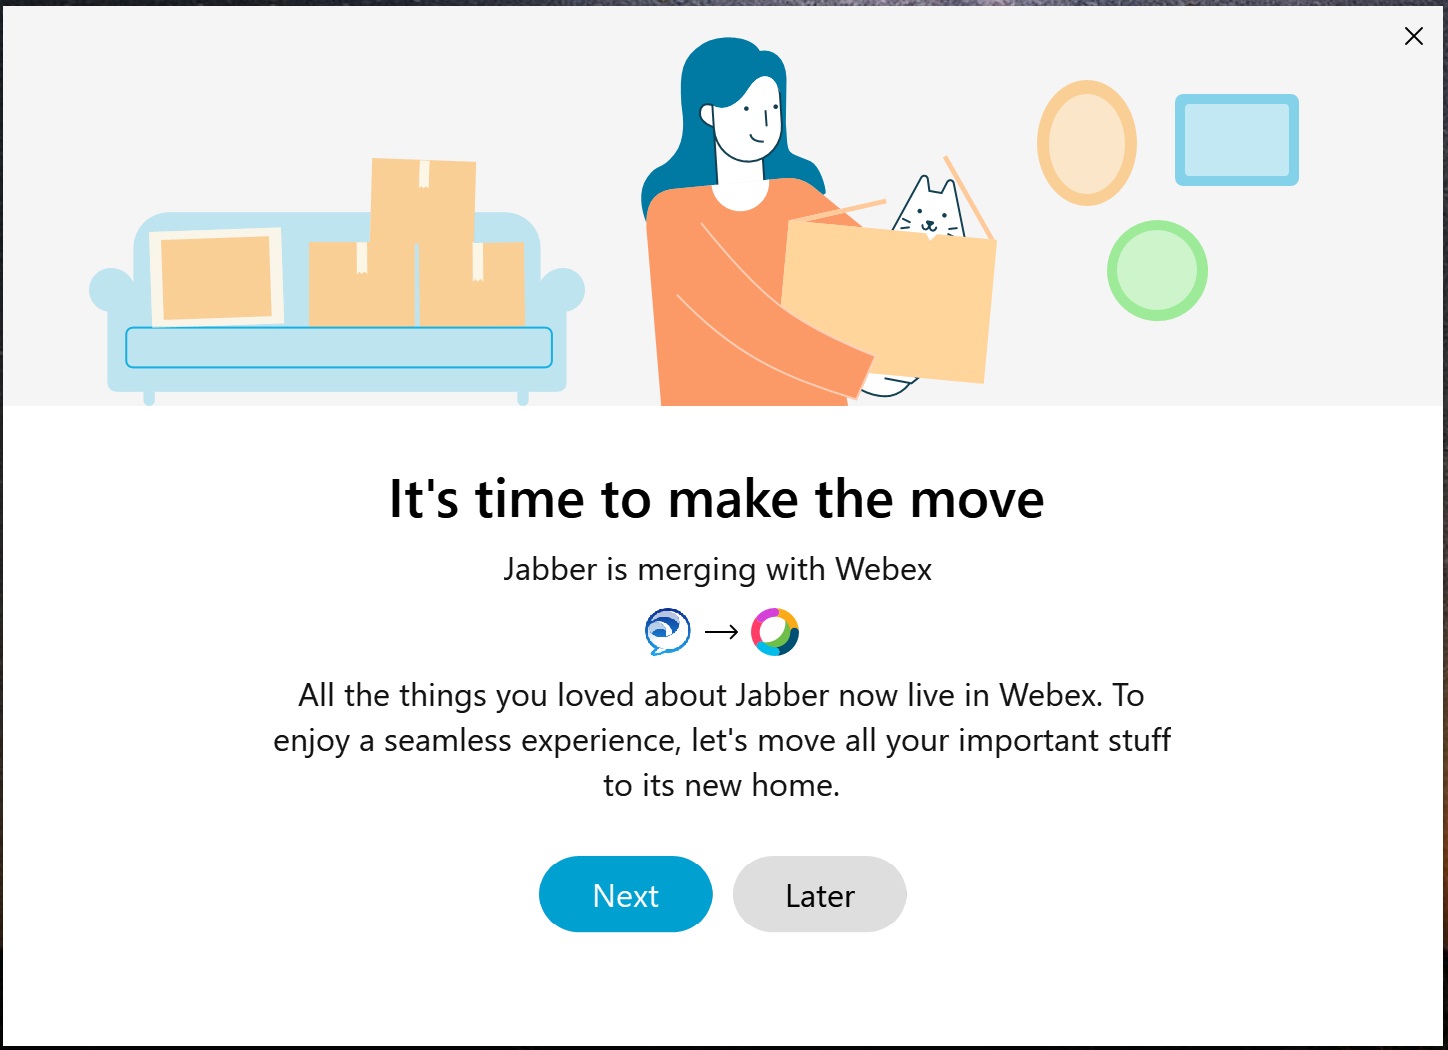
Configure Users to Move Jabber Contacts and Common Settings to Webex App
 Feedback?
This feature is built into Cisco Jabber and provides a way to move contacts in the buddy list and other calling-related user preferences from Jabber to Webex App. The data is encrypted. You just need to configure some things before users see this option pop up automatically.
-
These contacts are migrated to Webex App:
-
Jabber directory contacts whose emails also exist in the cloud Identity Service (the same service that Webex App uses).
-
Custom contacts and photos
-
XMPP federated contacts
If any contacts cannot be migrated, the migration tool allows users to export these contacts as a CSV file that they can review. Users must also restart their Webex App for changes to take effect.
-
-
These user preferences are migrated to Webex App:
-
Chat notification settings (including mute all), unless otherwise noted in the Jabber version information above
-
Call notification settings (including mute all)
-
Audio device and video device selection (except for VDI)
-
Video preferences for incoming calls (start with video or no video)
-
Before You Begin
-
Migration for Jabber covers users on Webex Messenger, Unified CM IM and Presence, Jabber Team Messaging Mode, and phone-only mode with contacts.
-
Make sure your organization uses the following supported releases of Jabber and Webex App.
-
Users must be authenticated through Active Directory.
-
All directory users must be synchronized to the identity service, otherwise the Webex App contact cannot be located.
Custom contacts are moved as-is from Jabber to Webex App.
| Platform | Versions | Patch | What's Migrated |
|---|---|---|---|
| Jabber for Windows |
| No | All contacts and settings mentioned in this article are migrated |
| Yes—download from here | All contacts and settings mentioned in this article are migrated | |
| Jabber for Mac |
| No | All contacts and settings mentioned in this article are migrated |
| Webex App | September 2020 release or later must be installed | No | You may need to sign in before the Jabber data can be moved over |
| 1 |
Open the Cisco Unified CM Administration interface. | |||||||||
| 2 |
Select . | |||||||||
| 3 |
Select Add New. | |||||||||
| 4 |
Select Jabber Client Configuration (jabber-config.xml) as the UC Service Type. | |||||||||
| 5 |
Select Next. | |||||||||
| 6 |
Enter a name in the UC Service Information section, refer to the Unified CM Help for more requirements. | |||||||||
| 7 |
Enter the parameters in the Jabber Configuration Parameters section. Jabber to Webex App Migration Parameters
| |||||||||
| 8 |
Select Save. |
What to do next
Users need to restart Jabber to load the patch or MR. Selected users are presented with a screen to ask if they want to move their local data and settings. Users can proceed with the steps or skip it if they're not ready yet.

The screen shows up between 5 minutes—3 hours after a user signs into Jabber or when they manually initiate the migration from the help menu.
If that data fails to move because of a network issue, server issue, or other reasons, the data transfer stops but users can retry this step on Webex App. If the step doesn't work even after they retry, users are prompted again after 24 hours if Webex App remains logged in. Users are also prompted immediately if Webex App is relaunched.


