- Home
- /
- Article

Thanks for your feedback.

Manage phone numbers in Control Hub
 In this article
 Feedback?
In Control Hub, administrators can view, activate, remove, add phone numbers to their organization, as well as transfer phone numbers between different locations.
Add phone numbers
Before you begin
-
Numbers must follow the E.164 format for all countries, except for the United States, who can also follow the National format.
-
Depending on the country, the numbers are formatted according to local dialing requirements. For example, if a country code is required, you can enter numbers with or without the code, and the code is prefixed.
| 1 |
Sign in to Control Hub. |
| 2 |
Go to . |
| 3 |
Click . |
| 4 |
Choose a location from the Location drop-down menu. |
| 5 |
Click Next. |
| 6 |
To activate the numbers later, turn on Activate Numbers Later.
|
| 7 |
Enter each phone number to be added. Separate each number using a comma.
|
| 8 |
Click Save. The new phone numbers are shown in your numbers list. Additional validation occurs after you click Save. For example, if a number added exists for the location, an error message appears, and you can't save. Remove any invalid numbers and click Save again. |
Activate, modify, or remove phone numbers
| 1 |
Sign in to Control Hub. |
| 2 |
Go to . |
| 3 |
To activate a phone number, click
|
| 4 |
To remove a phone number, click
|
| 5 |
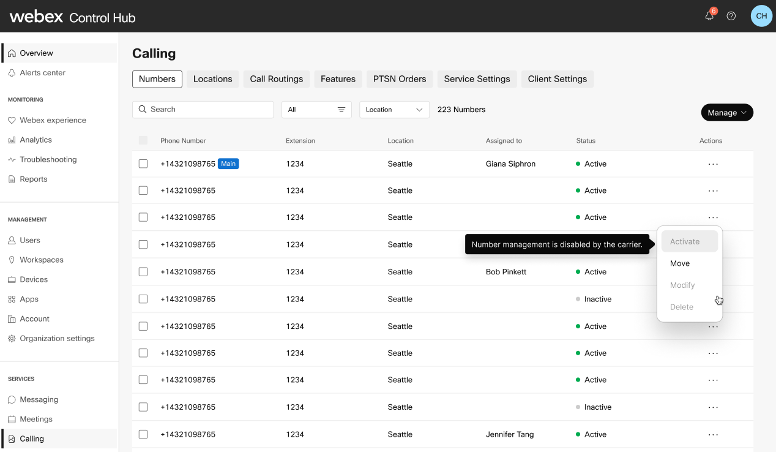
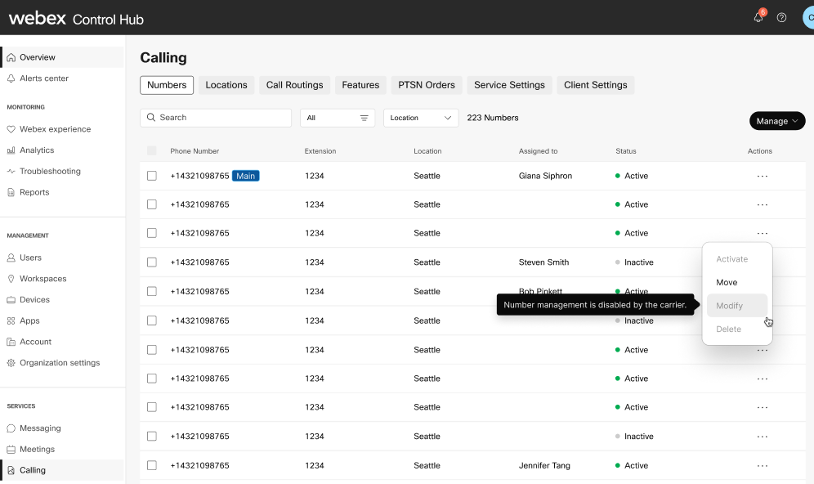
To modify a phone number, click If external number management is enabled for the number’s carrier, the
Modify option is disabled. For more details on external number management, see External number management in Control Hub. |

Activate numbers in bulk
| 1 |
Sign in to Control Hub. |
| 2 |
Go to . |
| 3 |
You can filter your list of numbers based on a specific location, status, or both. Click Inactive to see only the numbers that are in an inactive state. |
| 4 |
Select Activate Numbers from the top of your list. You can activate 500 numbers at a time. |
| 5 |
Click Activate to confirm. |
Delete phone numbers in bulk
Before you begin
Only phone numbers that are unassigned can be deleted in bulk.
If a number belongs to a block of numbers, it can’t be deleted unless all numbers in that block are unassigned.
| 1 |
Sign in to Control Hub. |
| 2 |
Go to . |
| 3 |
Select the phone numbers you’d like to delete. 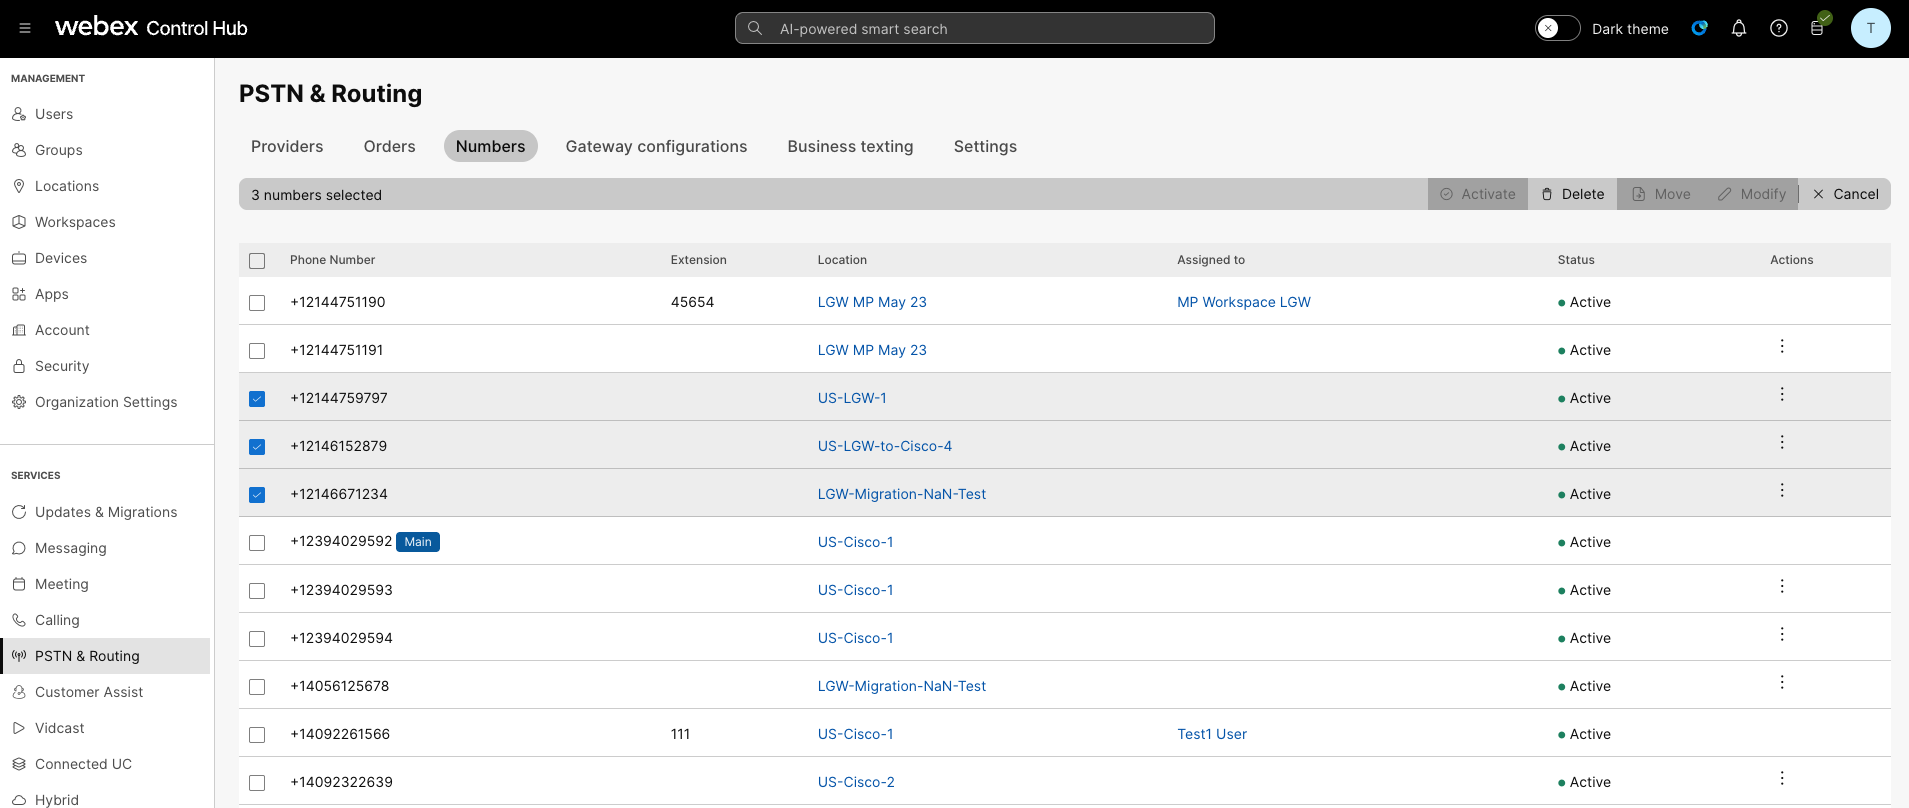
|
| 4 |
Click Delete from the top navigation menu. You can select Delete from Manage. |
| 5 |
Confirm your deletion. |
| 6 |
The bulk delete process starts and can be viewed in Task Manager. Numbers that you cannot delete show as errors. Typical errors include:
To resolve a number range error, you must select the entire block of numbers in that range for deletion. |
Move phone numbers from one location to another
You can move phone numbers, in Control Hub, from one location to another.
Before you begin
-
Only phone numbers that are provided within the same country can be moved.
-
The phone numbers must be provided by the same PSTN provider or provided by a local gateway.
-
The phone numbers must be active and can't be assigned to a user, workspace, or location service like an auto attendant or hunt group.
-
A location's main number cannot be moved.
| 1 |
Sign in to Control Hub. |
| 2 |
Go to . |
| 3 |
Click Manage and select Move. |
| 4 |
Select the source location to move the numbers. |
| 5 |
Select the phone numbers you'd like to move. 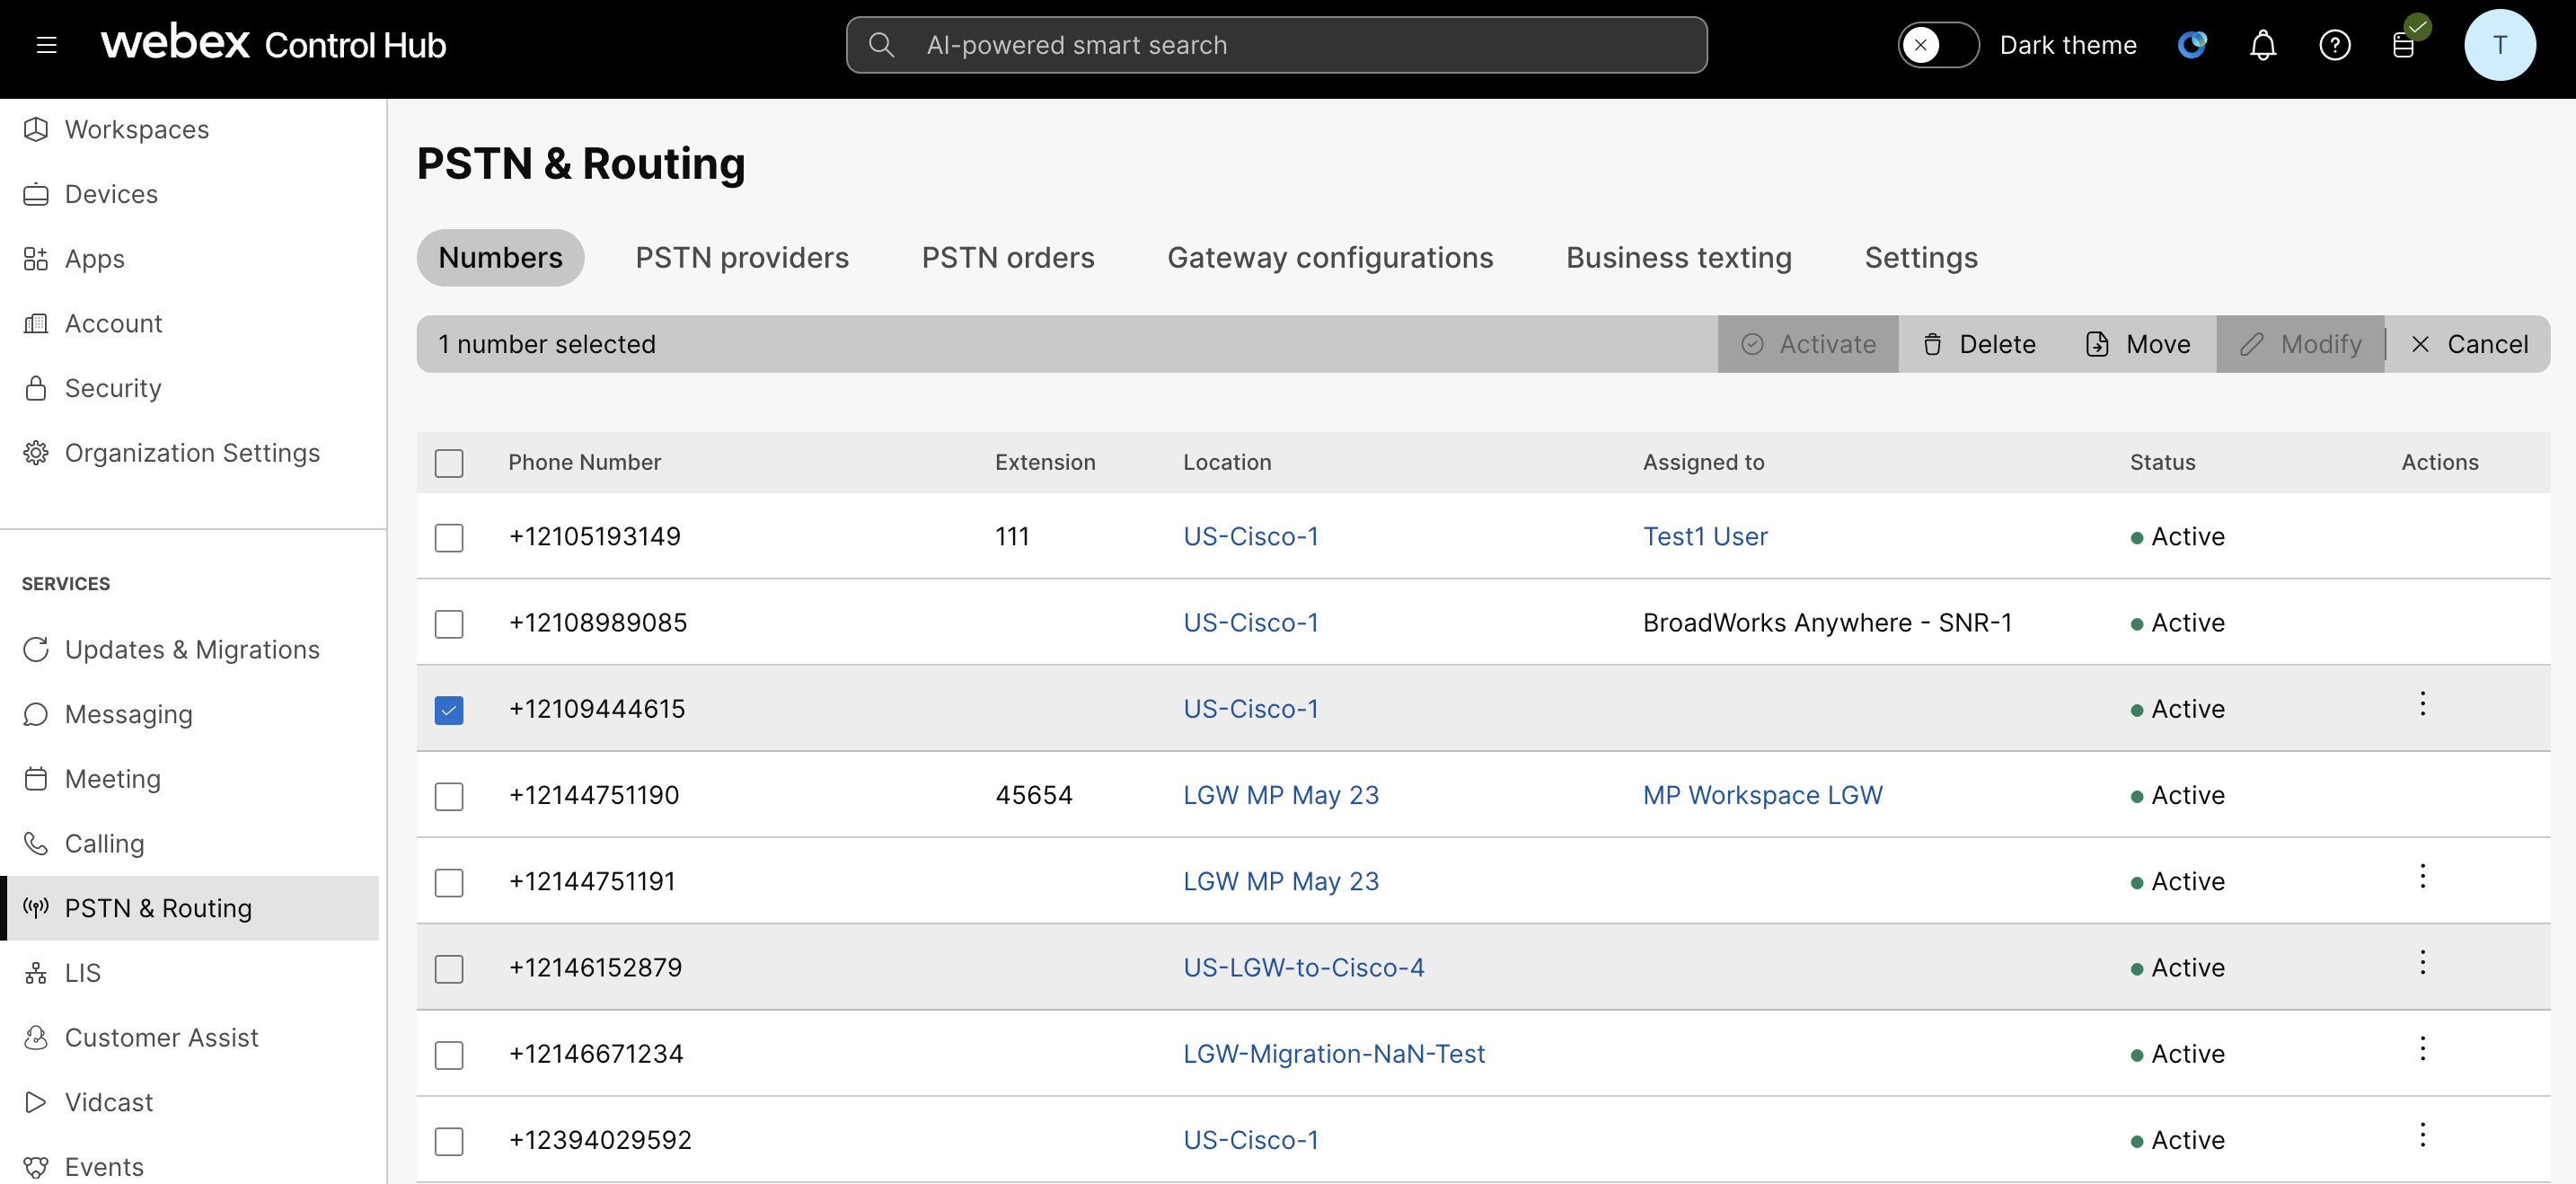
|
| 6 |
Click Move from the top navigation menu. |
| 7 |
Select the target location you'd like to move numbers to. |
| 8 |
The move process starts and can be viewed in Task Manager. Numbers that aren't able to be moved are displayed as errors. A typical error is attempting to move a number that is assigned to a user or service. |
Change the phone number for a location
Administrators can change the main phone number for a location in Control Hub.
| 1 |
Sign in to Control Hub. |
| 2 |
Go to . |
| 3 |
Select the location where you want to change the main number. |
| 4 |
Select the PSTN tab. |
| 5 |
Select the phone number from the Main Number drop-down menu in the PSTN Configuration section. It’s mandatory to assign a main number to the location if it has any trunks or any extension-only entities, such as users, workspaces, virtual lines, or features. Without a main number, the trunks aren't usable and extension-only entities can't make or receive internal or external calls. Users in that location can also use this number as their external caller ID when making PSTN calls. If you choose a toll-free number as the main number for a location, we recommend updating the Emergency Callback Number for the location because a toll-free number doesn’t have an emergency services address. For more information, see Configure Emergency Callback Number for a Location. |
| 6 |
Click Save. |
Search and filter phone numbers and extensions
You can search and filter numbers to quickly find numbers that are unassigned or inactive.
| 1 |
Sign in to Control Hub. |
| 2 |
Go to . |
| 3 |
Use the search bar to find a phone number or extension. |
| 4 |
Select the desired filter to apply to your phone numbers at the top of the page. Filter by All, Unassigned, Assigned, Inactive, Extension Only, Toll-free, Webex Mobile, or Service Numbers. Select a location from the drop-down menu to filter phone numbers based on the selected location. If a routing prefix is assigned to a location, all appearances of extensions assigned to that location include the routing prefix in front of the extension number. For example, 888-1000 (routing prefix-extension). |
Get a list of phone numbers
| 1 |
Sign in to Control Hub. |
| 2 |
Go to . |
| 3 |
Click to download a CSV file with the list of phone numbers for your organization. |


