- Home
- /
- Article

Thanks for your feedback.

Configure call forwarding for users and workspaces
 In this article
 Feedback?
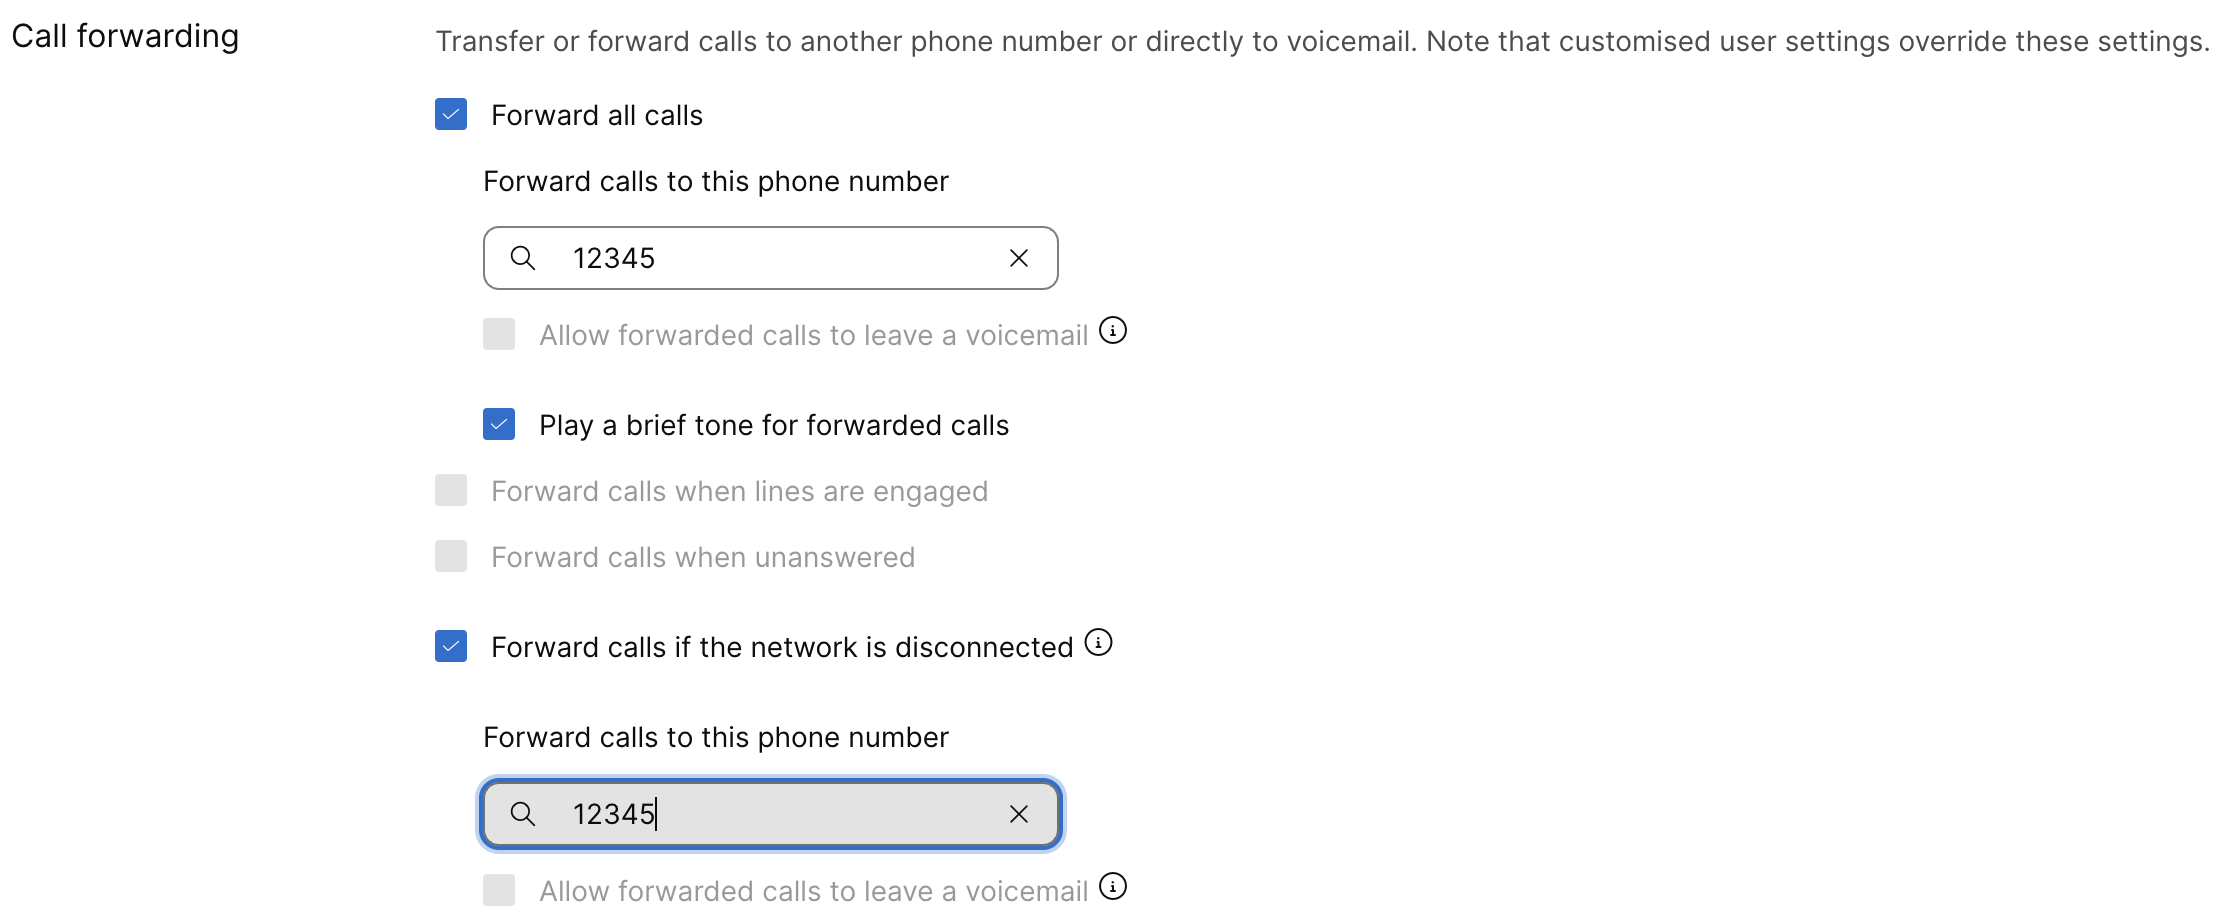
Call forwarding allows transfer or forward of calls to another phone number or directly to voicemail.
On enabling call forwarding, you can choose when to forward the calls and who they forward to. The settings that you choose for call forwarding override the current configurations. You can activate or modify the following call forwarding settings for Webex Calling users and workspaces.
-
Forward all calls—Choose this option to forward all calls to a specific phone number. You can:
-
Enter a specific internal or external phone number to forward the calls.
-
Select Allow forwarded calls to leave voicemail. This option is only available for selection on entering a valid internal phone number with the voicemail service.
-
Select Play a brief tone for forwarded calls to play a brief tone while forwarding a call.
-
-
Forward calls during busy lines—Choose this option to forward the calls when the line is busy. You can:
-
Enter a specific internal or external phone number to which you want to forward the calls.
-
Select Allow forwarded calls to leave voicemail. This option is only available for selection on entering a valid internal phone number with the voicemail service.
If call waiting is enabled, then you can’t enable the Call forwarding option.
-
-
Forward calls when unanswered—Choose this option to forward the calls when it’s unanswered or exceeds the specified number of rings. You can:
-
Enter a specific internal or external phone number to which you want to forward the calls.
-
Set the Number of rings before forwarding. Once the call exceeds the number of rings, the call is forwarded to the specified phone number.
-
Select Allow forwarded calls to leave voicemail. This option is only available for selection on entering a valid internal phone number with the voicemail service.
-
-
Forward calls if the network is disconnected—Choose this option to forward the calls when a user is unreachable or your office loses connectivity. You can:
-
Enter a specific internal or external phone number to which you want to forward the calls.
-
Select Allow forwarded calls to leave voicemail. This option is only available for selection on entering a valid internal phone number with the voicemail service.
-
When you forward a call, the origin number remains the same and it doesn't display the last redirect number in Webex Calling.
-
If you’re using the Webex App for mobile, this feature doesn't apply.
-
Configure call forwarding for Webex Calling users
| 1 |
Sign in to Control Hub. |
| 2 |
Go to . |
| 3 |
Select a user and click the Calling tab. |
| 4 |
Go to Call handling section and select Call forwarding. |
| 5 |
Choose the settings that you want to enable.
Custom user settings override these settings. |
| 6 |
Click Save.
A user can also configure call forwarding on their own in the user portal. For more information, see Configure call forwarding. If the user changes these settings, then the changes are reflected in both the user portal and Control Hub. |
Configure call forwarding for workspaces
| 1 |
Sign in to Control Hub. |
| 2 |
Go to . |
| 3 |
Select a workspace and click the Calling tab. |
| 4 |
Go to Call handling section and select Call forwarding. |
| 5 |
Choose the settings that you want to enable.
The custom settings applied to the workspace override these settings. |
| 6 |
Click Save. |


