- Home
- /
- Article

Thanks for your feedback.

Activate Dedicated Instance
 In this article
 Feedback?
Dedicated Instance is an optional add-on to Webex Calling that you must purchase before proceeding with the activation. Once purchased, you may proceed with activation to access a modern user experience enhanced by advanced cloud calling capabilities.
Dedicated Instance service activation
-
Once the order is placed for Dedicated Instance, a welcome email is sent to the email address provided in the “Provisioning Contact email” in Cisco Commerce Workspace (CCW).
-
Do one of the following:
-
Activate the Dedicated Instance as part of the First-Time Setup Wizard (FTSW).
-
Defer the activation and complete it later in the Control Hub.
-
-
Click the link in the welcome email to Create a Cisco Webex Order for a Customer.
The partner administrator email address in the above wizard is mandatory, as it is used to notify the Dedicated Instance UC application access details along with the credentials. You should also be able to log in to Webex App using the same email ID.
-
Once the Customer Organization is created, navigate to the First-Time Setup Wizard (FTSW) and activate the Dedicated Instance service.
Set up Webex Calling multi-tenant main location
This configuration related to Webex Calling multitenant, where the location selected here will be the main location for the Webex Calling multi-tenant.

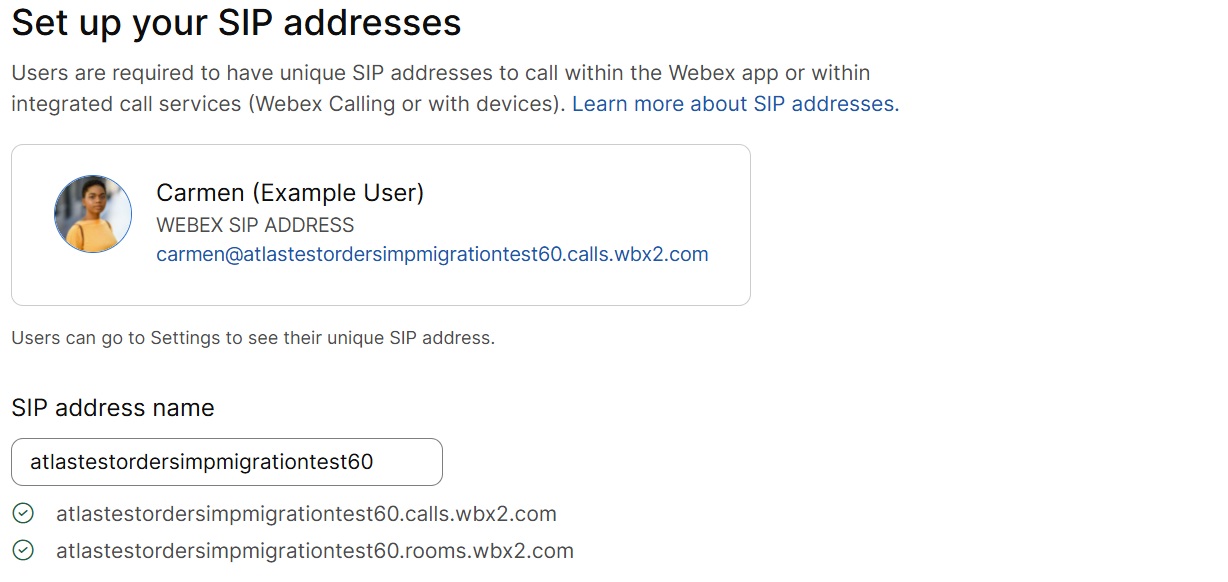
Set up your SIP address
The SIP addresses domain that is provided in this screen is for other Webex services. The value that is provided in the SIP address will be replicated in the Dedicated Instance voice domain service as well. The user can change this value in Voice Service Domain field in the Set up Dedicated Instance window.
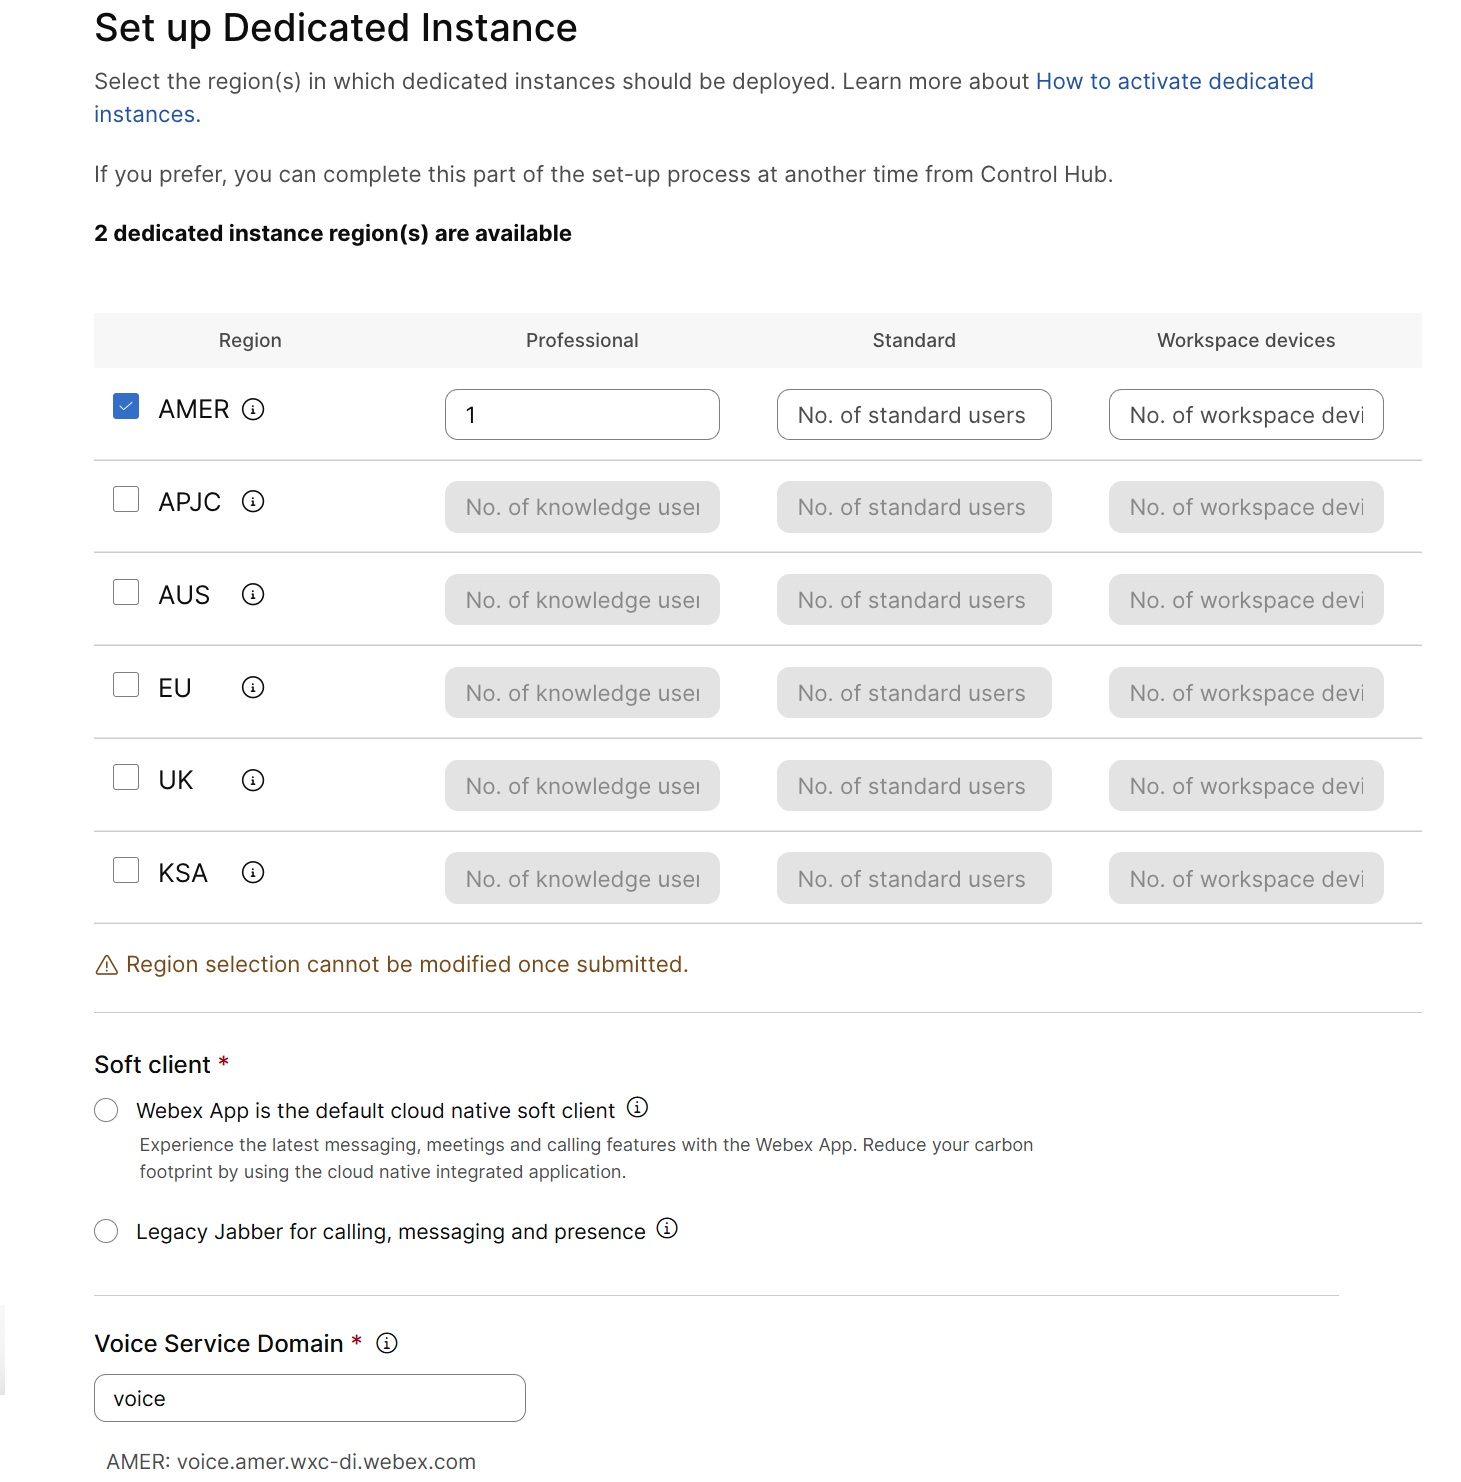
Set up Dedicated Instance
Choose to skip the Dedicated Instance setup by not selecting any of the regions and complete the activation later from Control Hub (Calling > Dedicated Instance > Status option).
Based on the available number of Dedicated Instance regions purchased, you can activate all or subset of required regions, by specifying the quantity of Professional, Standard, and Workspace devices. Refer to Dedicated Instance License Usage for more information.
-
These parameters are only used to size the Dedicated Instance UC applications for that respective region upon activation (for more information, see Dedicated Instance Sizing). The sum of professional, standard and workspace devices across the regions cannot exceed the corresponding license quantity on the Webex Calling subscription.
-
The standard license is displayed only when the standard license is ordered in the subscription.
The Voice Service Domain field becomes editable only after at least one Dedicated Instance region is selected. It is automatically populated based on the SIP address name. Make sure that the domain name does not exceed ten characters. The Voice Service Domain, which may differ in the SIP address, will be used as the domain for all UC applications and Mobile and Remote Access (MRA) within one or more selected regions.
Once a Dedicated Instance is activated in a specific region, it cannot be reversed or moved to another region. The voice service domain that is used during the initial region activation will automatically apply to all future region activations within the same Control Hub organization. Also, the UC applications domain cannot be modified after the Dedicated Instance service has been submitted or activated.
For more information on the data center locations, see Dedicated Instance datacenter locations.
There are no new Dedicated Instance deployments in the EMEA region. The customer must choose between the EU or UK region for Dedicated Instance deployments.
|
Option with IM and Presence |
Option without IM and Presence |
|
|
As part of service activation, the following UC applications are deployed and sized by us, based on the numbers that are provided in the FTSW for professional, standard and Workspace devices for a region:
-
Cisco Unified CM
-
Cisco Unified Unity Connection
-
Cisco Expressway-Core and Edge
-
Cisco Emergency Responder (only in AMER region)
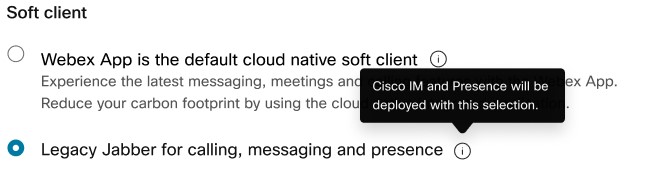
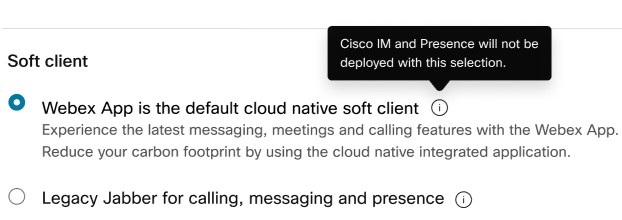
Cisco Unified IM and Presence applications are no longer provided by default as part of Dedicated Instance deployment. They are deployed only if you had selected the Legacy Jabber for calling, messaging and presence option as part of the FTSW screen.
In addition, as part of activation, SIP connectivity is established between the Webex Calling - Dedicated Instance and Multitenant platforms for interop calls.
You must activate interop SIP trunk between Webex Calling - Dedicated Instance and multi-tenant platforms. See Activate inter-op SIP trunk to Webex Calling multi-tenant for more information.
Upon successful completion of the service activation, the UC apps appear in the Calling > Dedicated Instance > Manage tab. For more details regarding accessing the UC applications, see Access Dedicated Instance Applications from Control Hub.


